Spring & Summer Senior Outfit Ideas & Inspiration (Girl Edition)

2 Comments

Spring & Summer Senior Outfit Ideas & Inspiration (Girl Edition)

Spring is right around the corner, which means lots of beautiful, colorful, spring senior sessions! But, let’s be honest, here - one of the best and toughest parts of any senior session is figuring out what to wear. Am I right?? While an upcoming senior session may be a good excuse to head to your favorite local boutique, it can be frustrating not knowing what to wear with so many different options!

Today, I want to share some styling tips specific to spring and summer sessions for senior girls. Below, you’ll find a few ideas to say “yes” to, and a few you might want to consider passing on. Below these two categories, you’ll find a link to my senior spring & summer inspiration board for senior girls (which I update on the regular!), as well as some inspiration from past JHP seniors. But above any of these ideas, make sure you feel comfortable in whatever you choose to wear for your senior session. Confidence in front of the camera can be hampered whenever you’re not fully sold on (or comfortable in) what you’re wearing!

Also, if you’ve never worn the outfit before that you’re thinking about wearing for your senior session, be sure to take it out for a test spin! I’ve had many a senior not realize until after they were 45 minutes away from home that their outfit had a major problem… like a shirt that was a bit too low, or pants that wouldn’t stay up, because they had never worn that particular dress/shirt/jacket before!

And without further ado, here are my top styling tips for senior girls!

SAY YES TO…

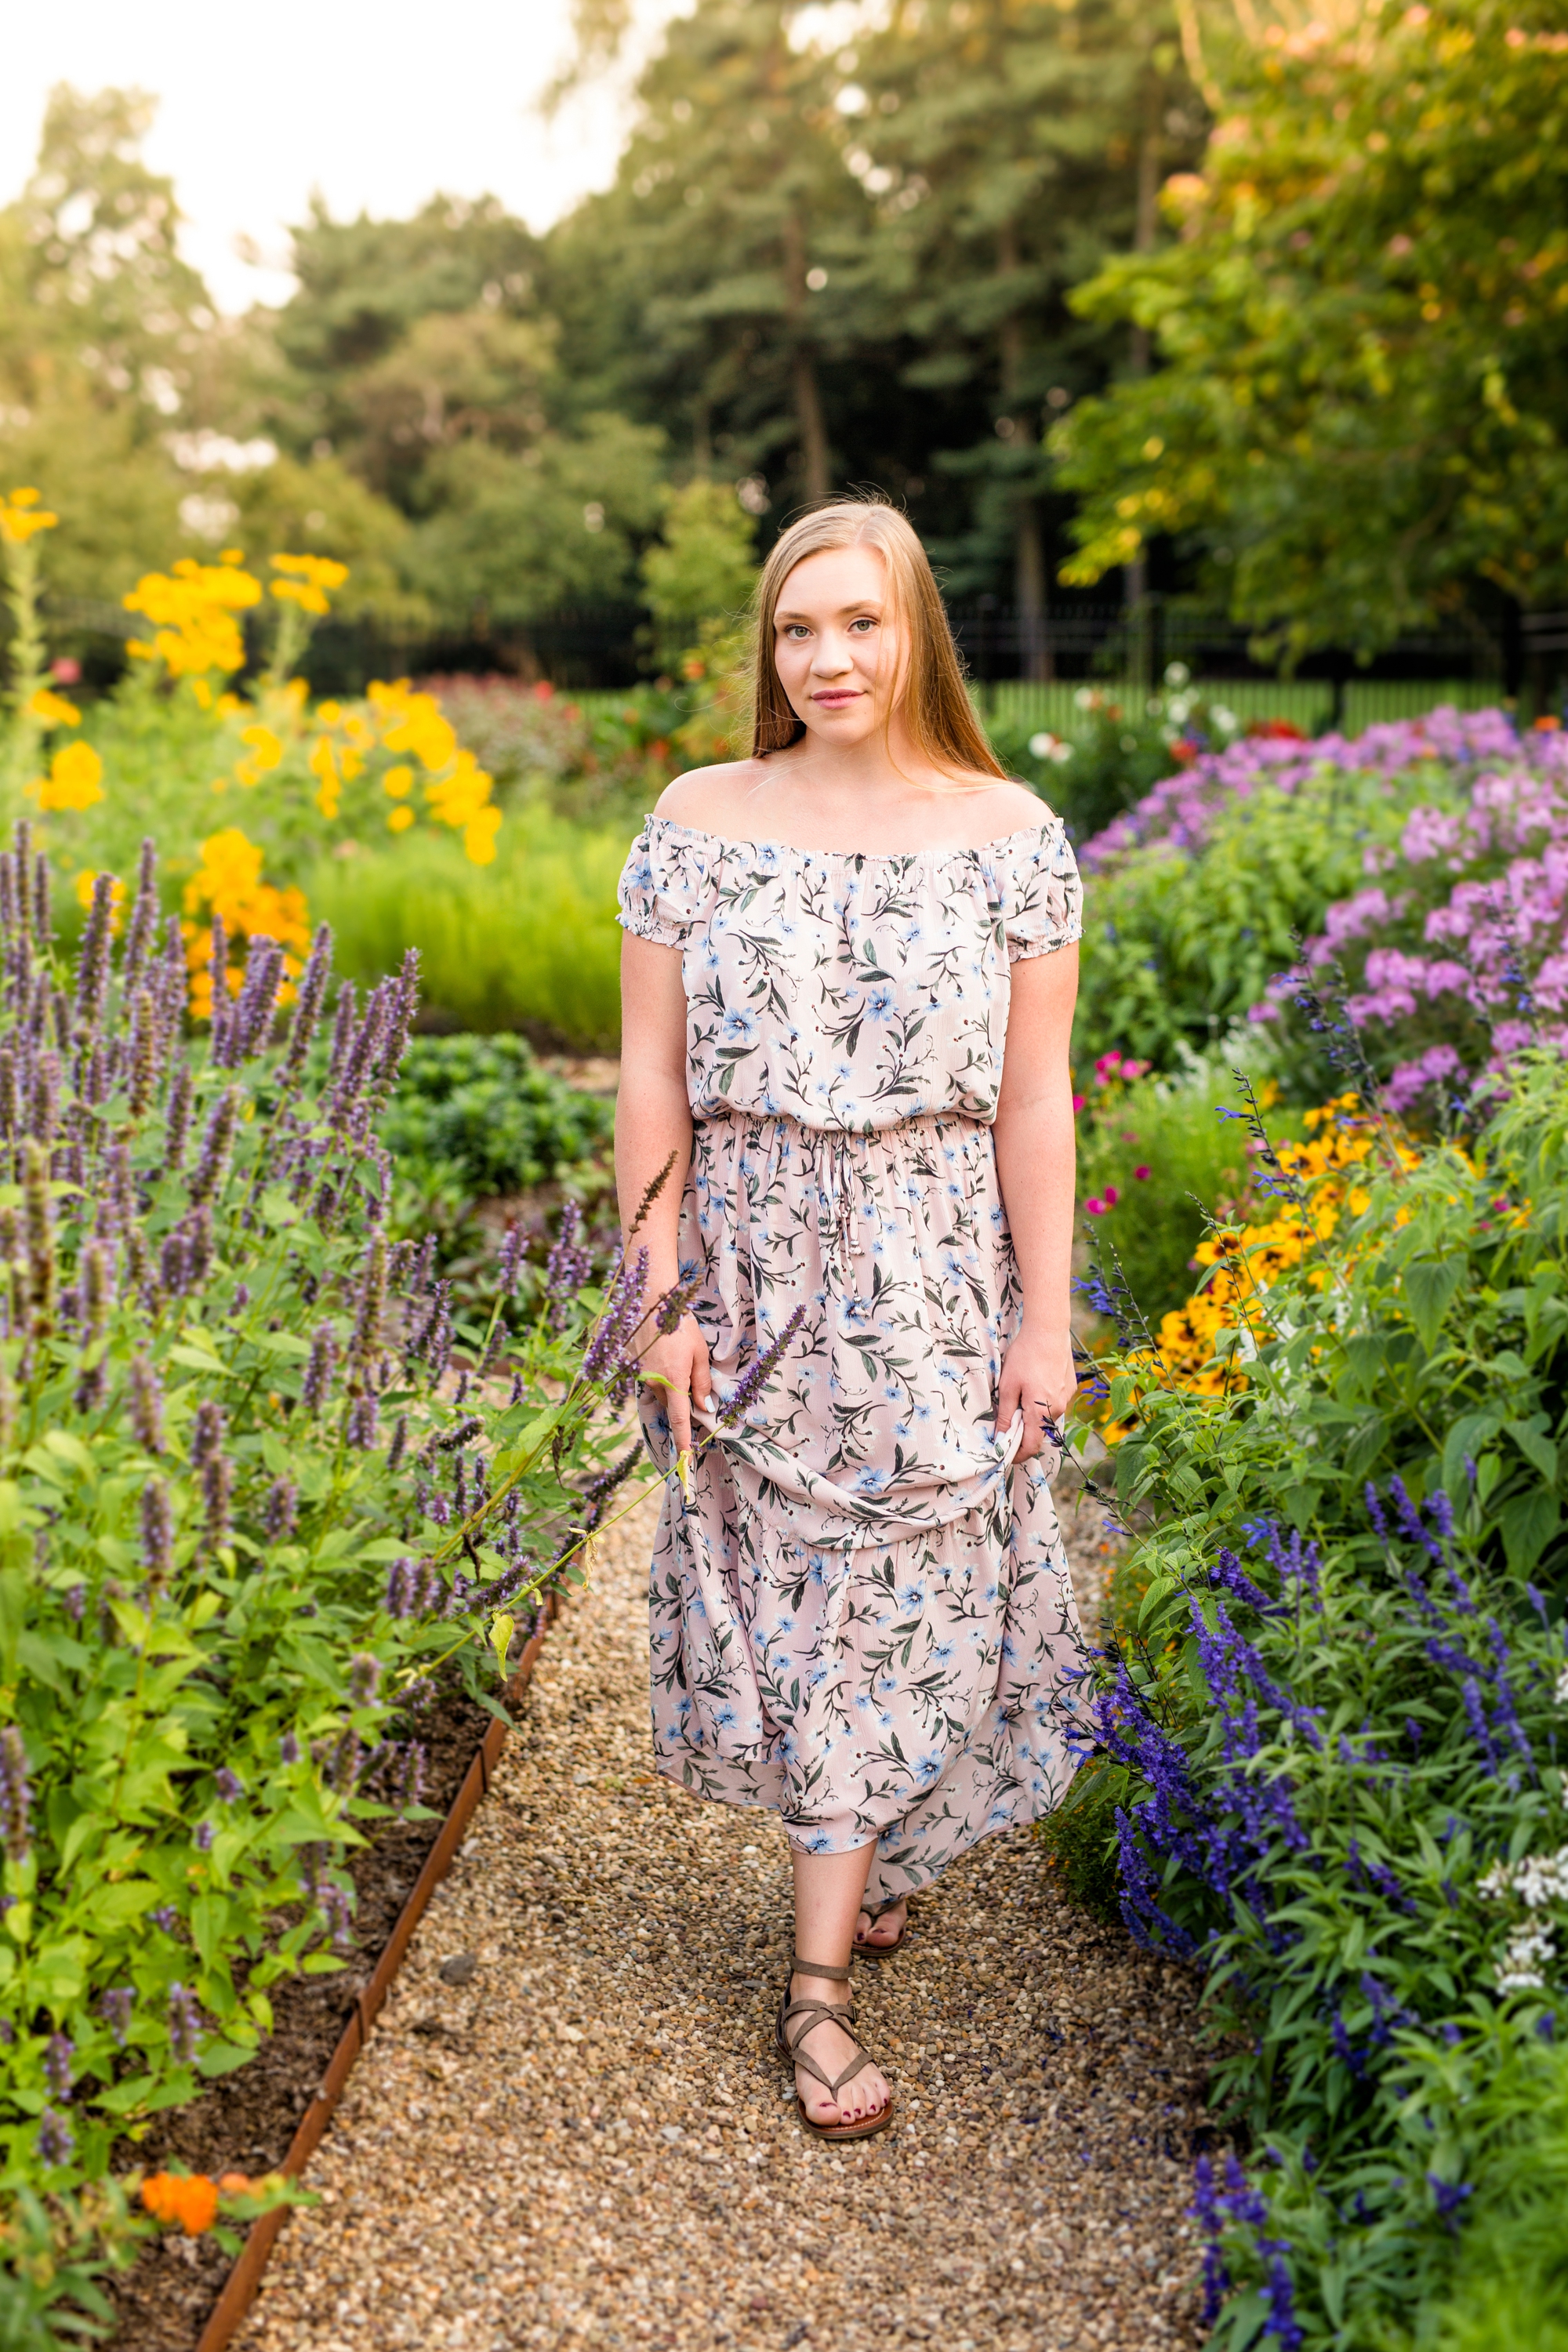
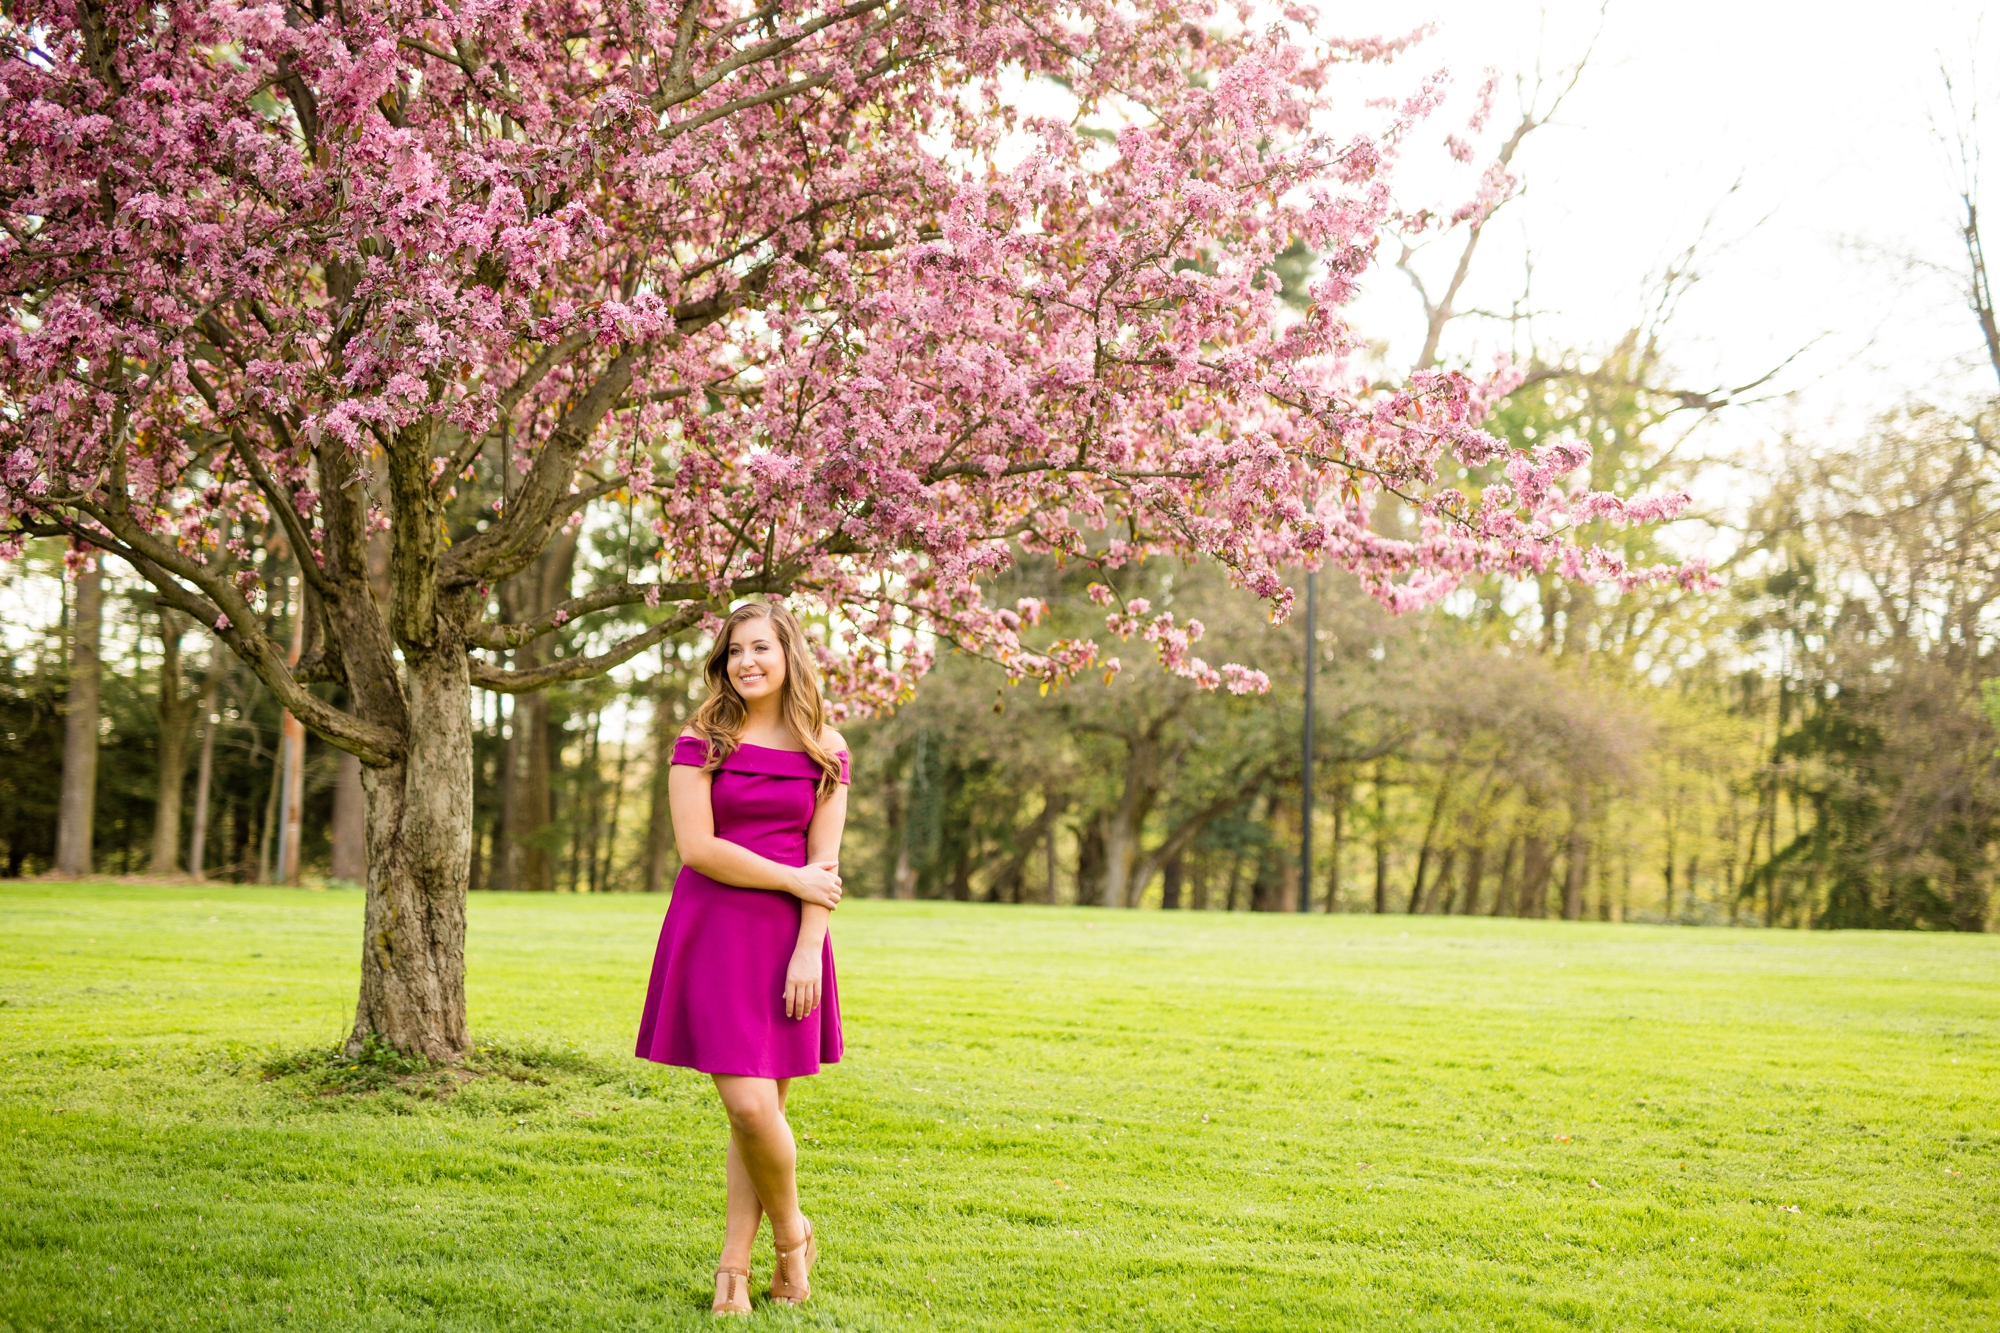
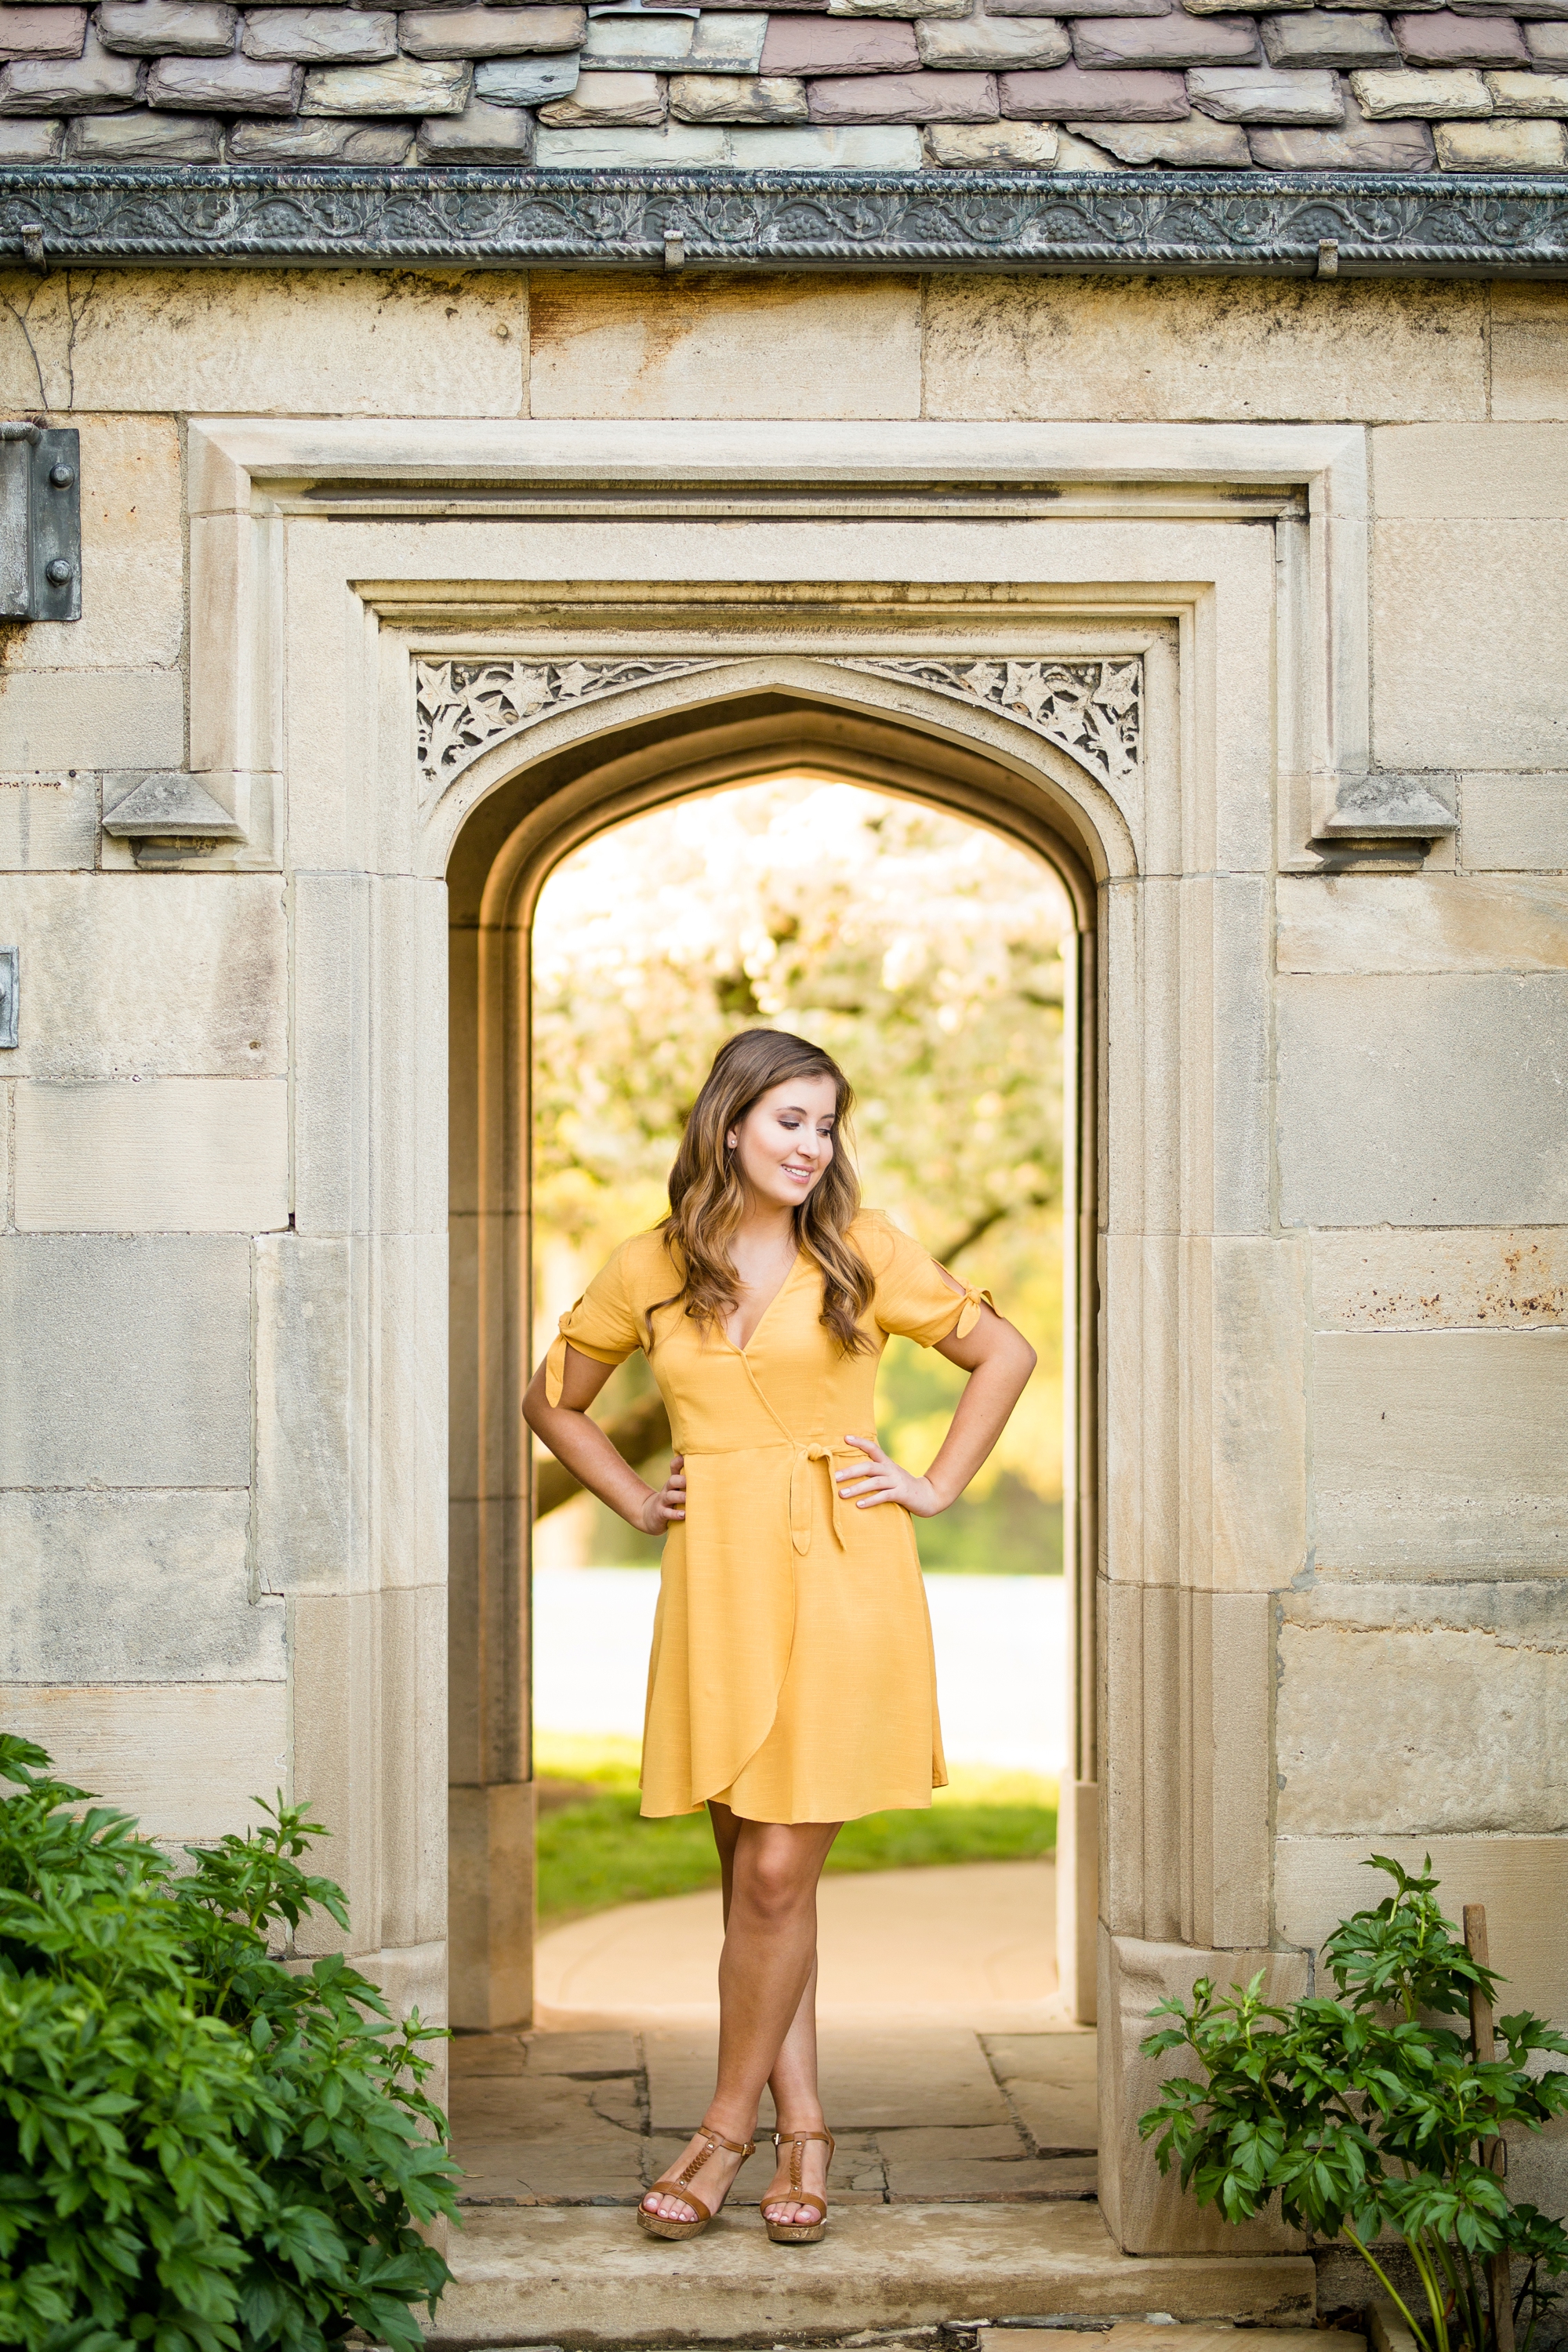
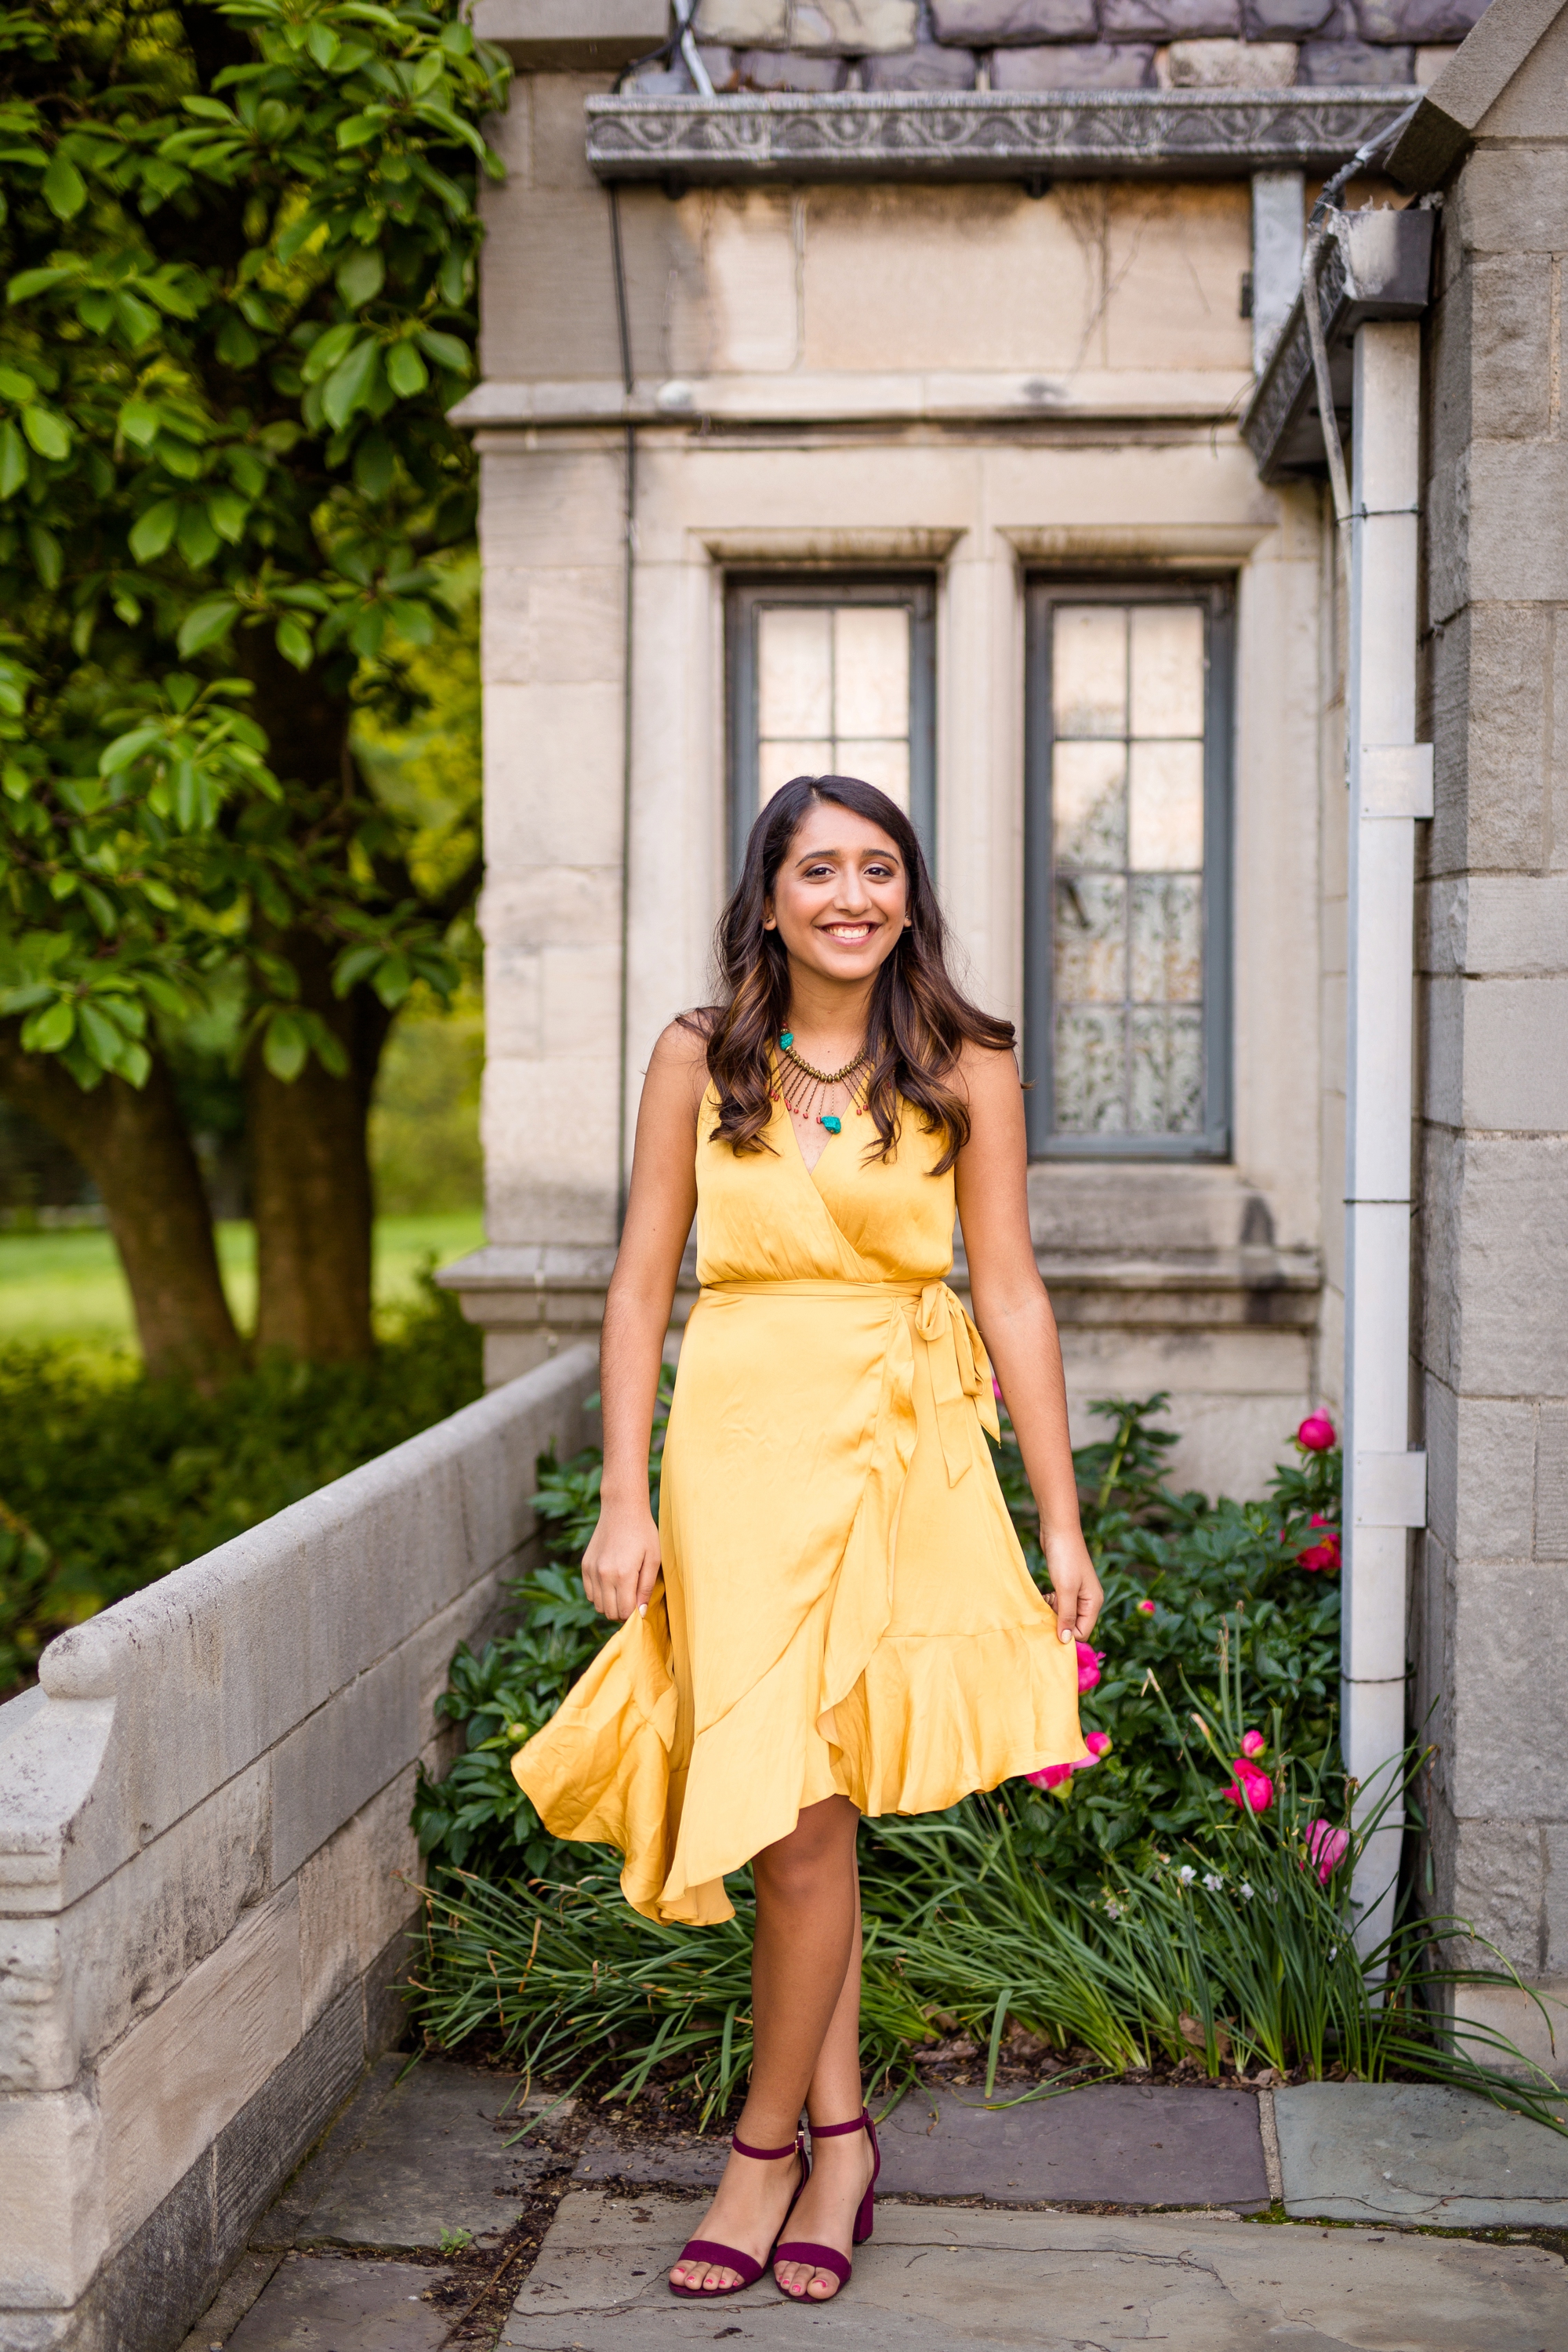
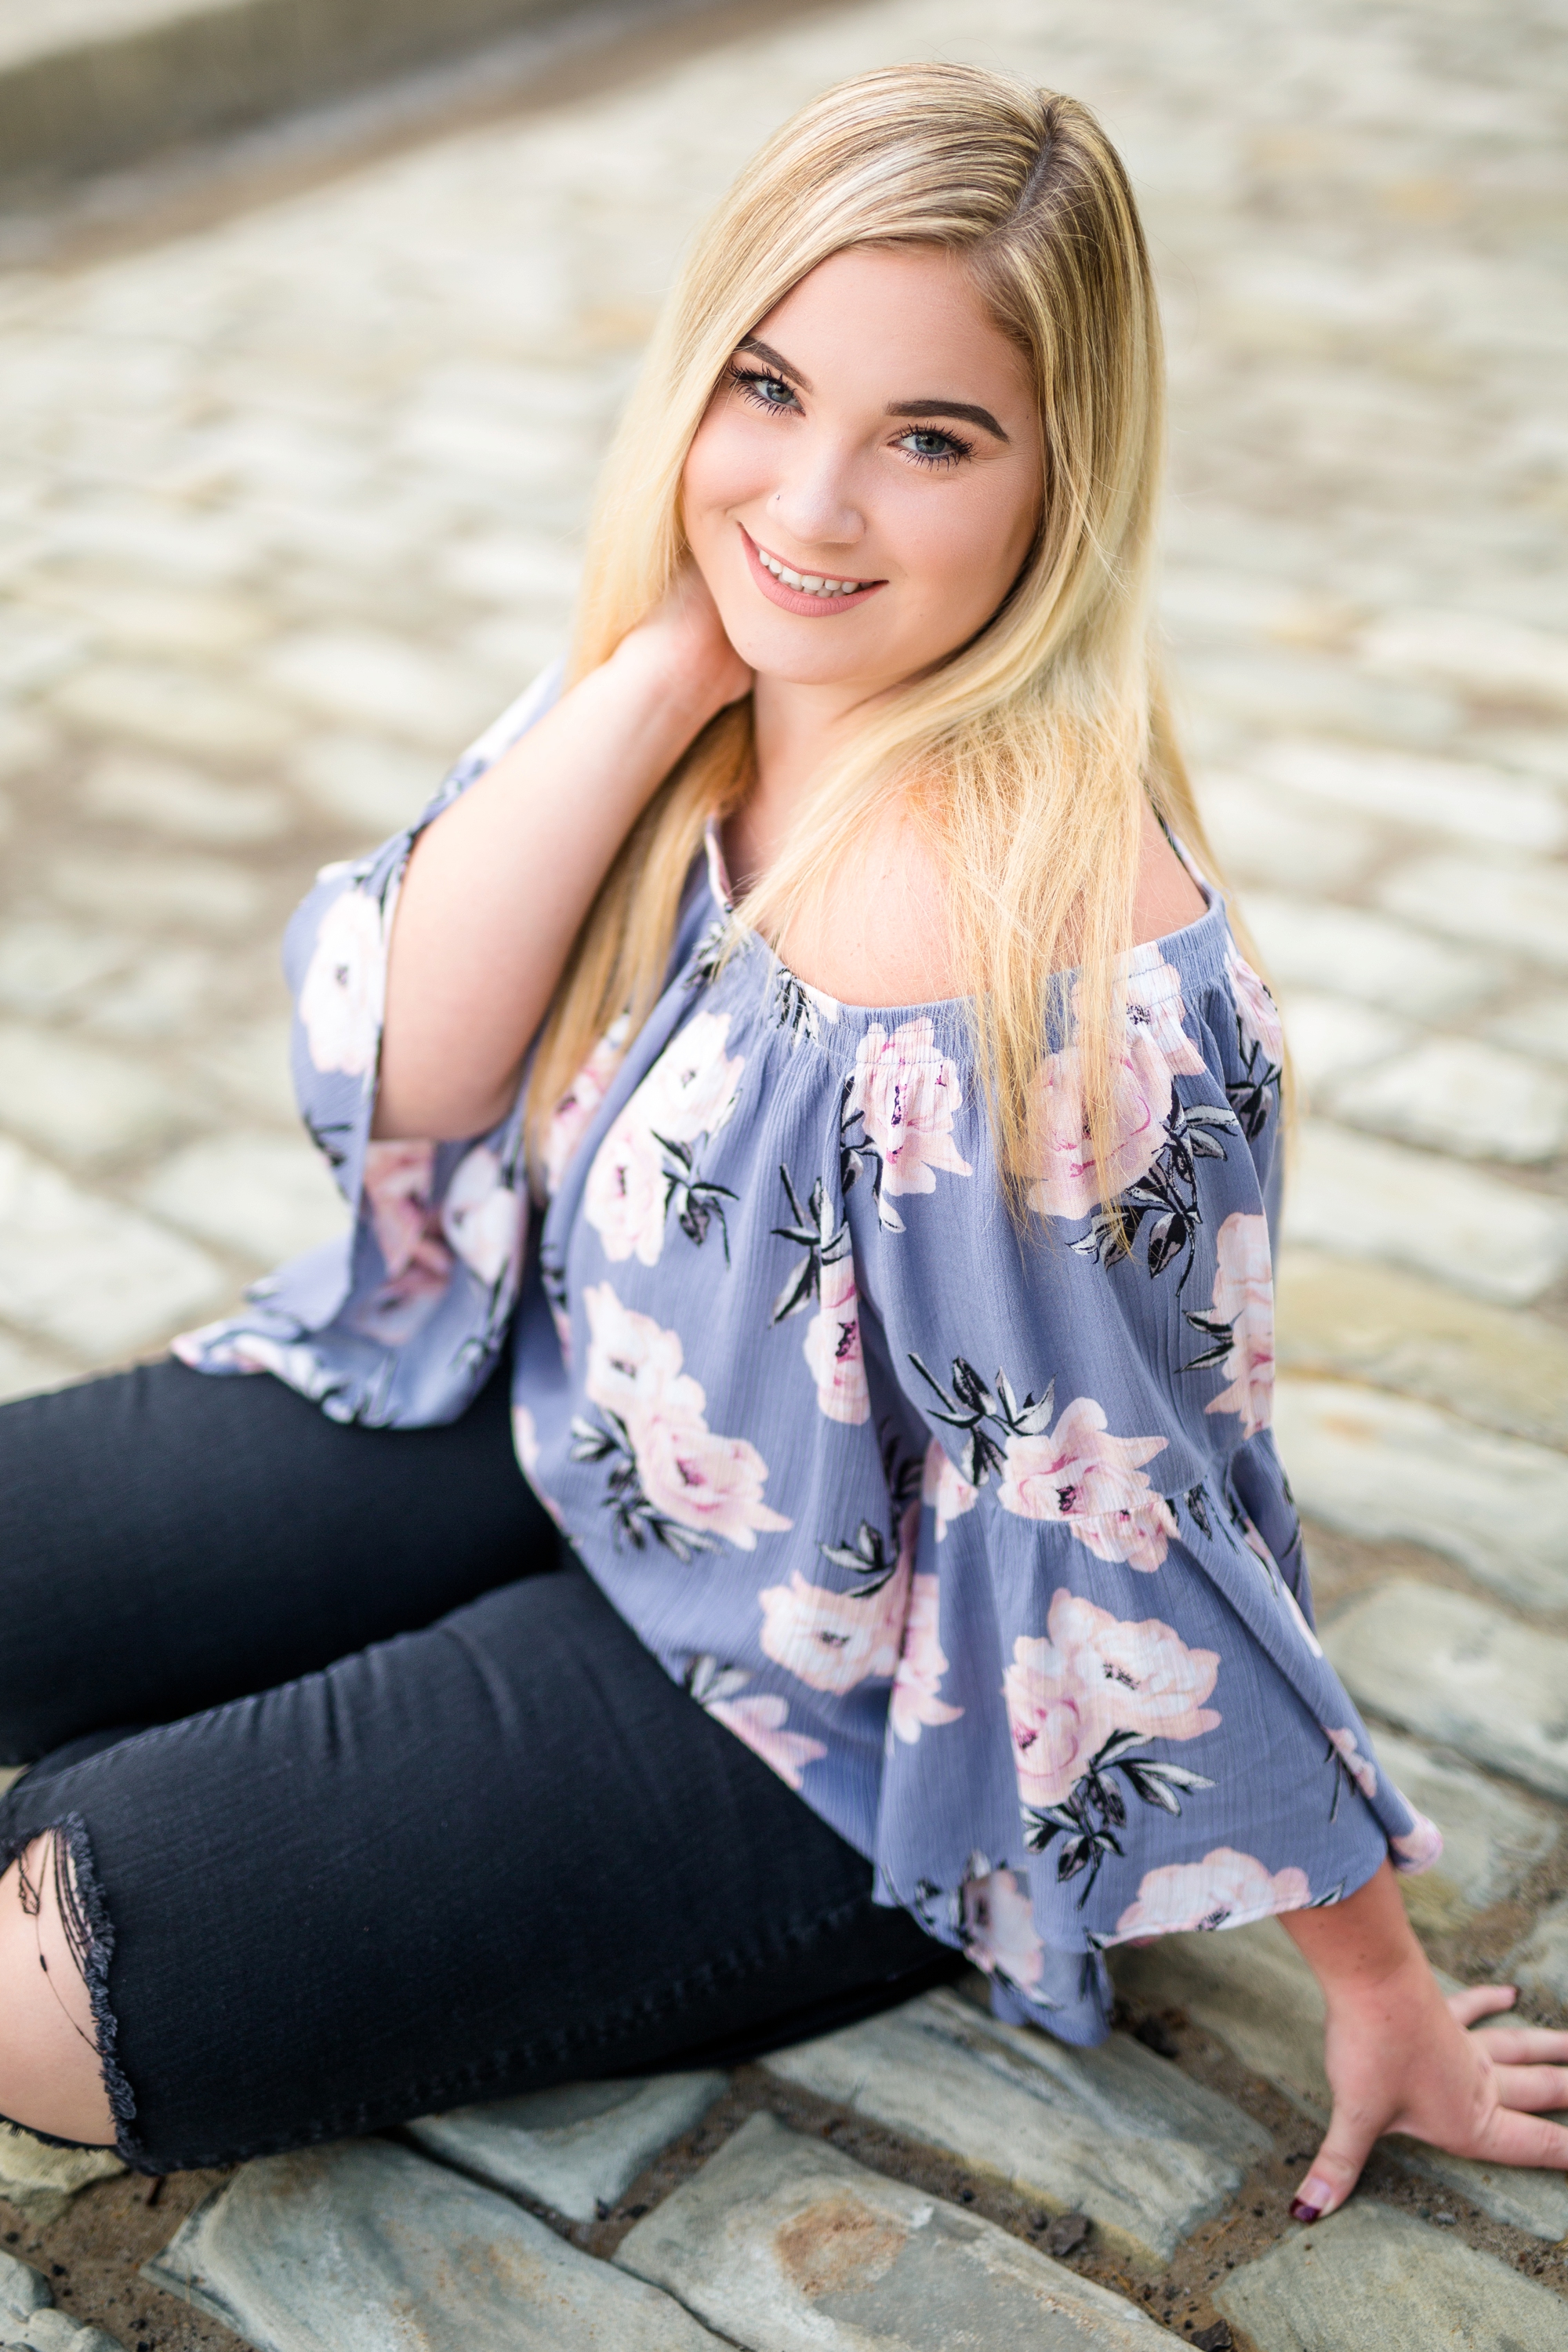
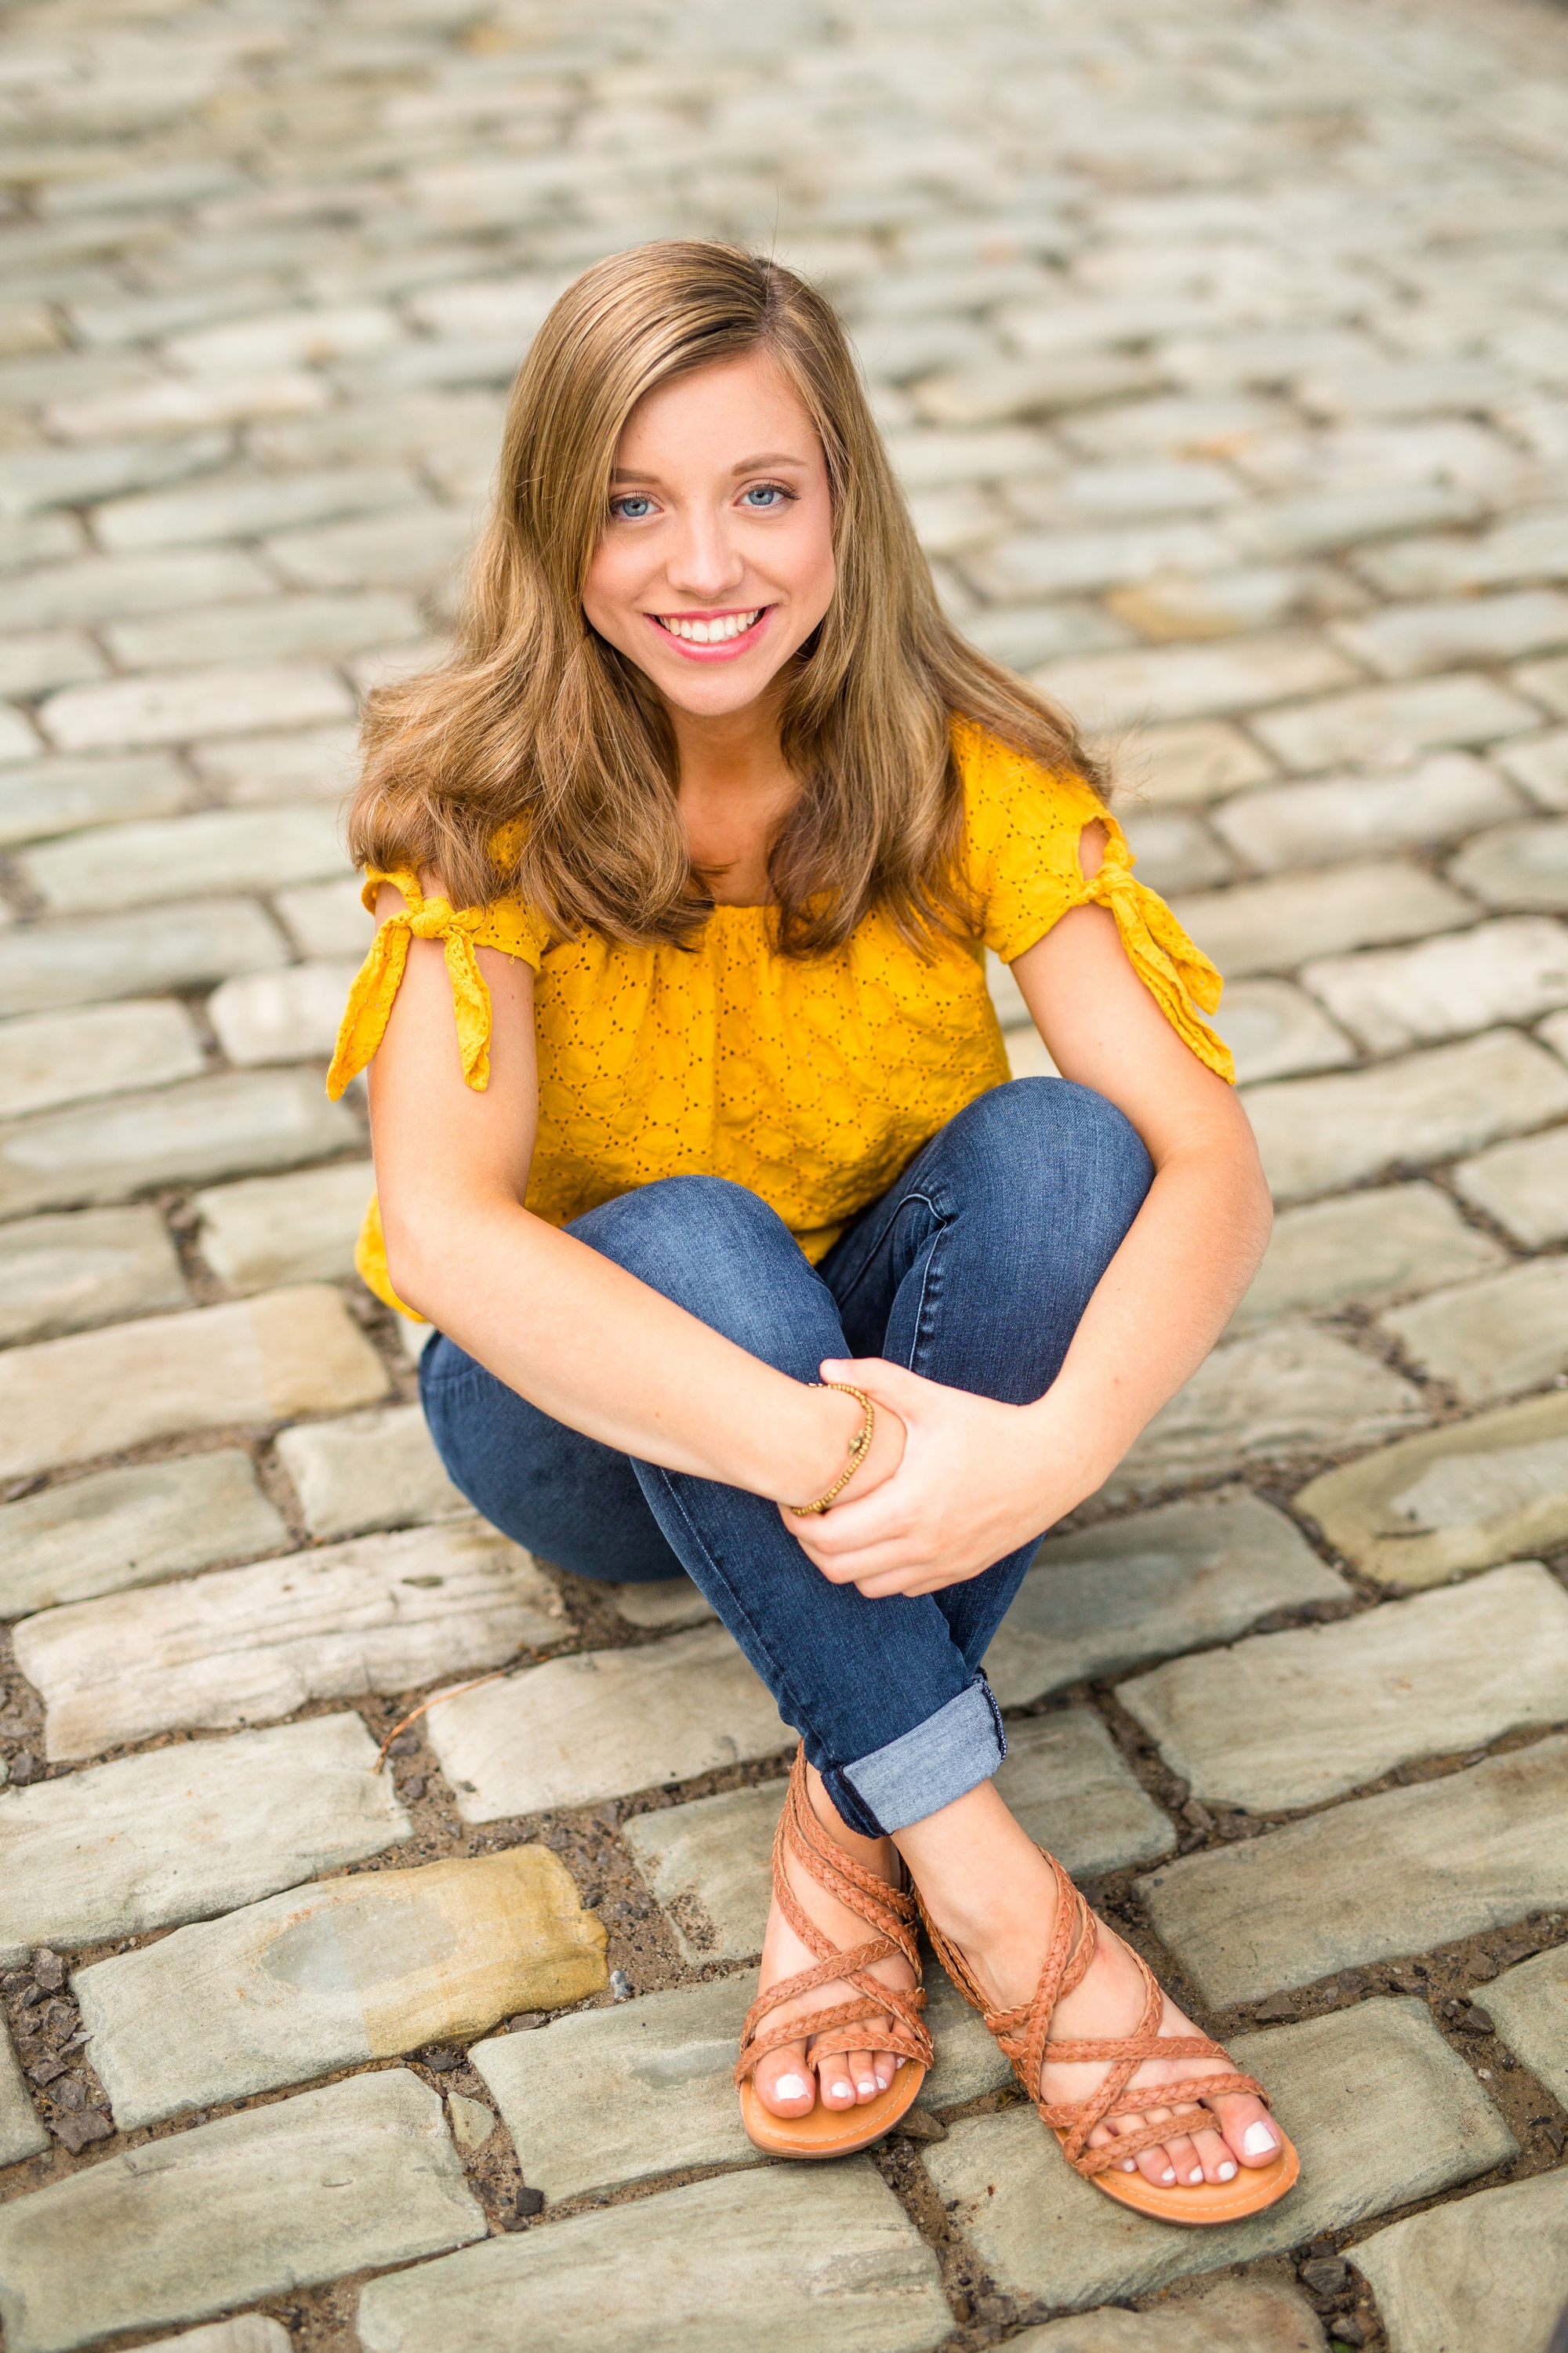
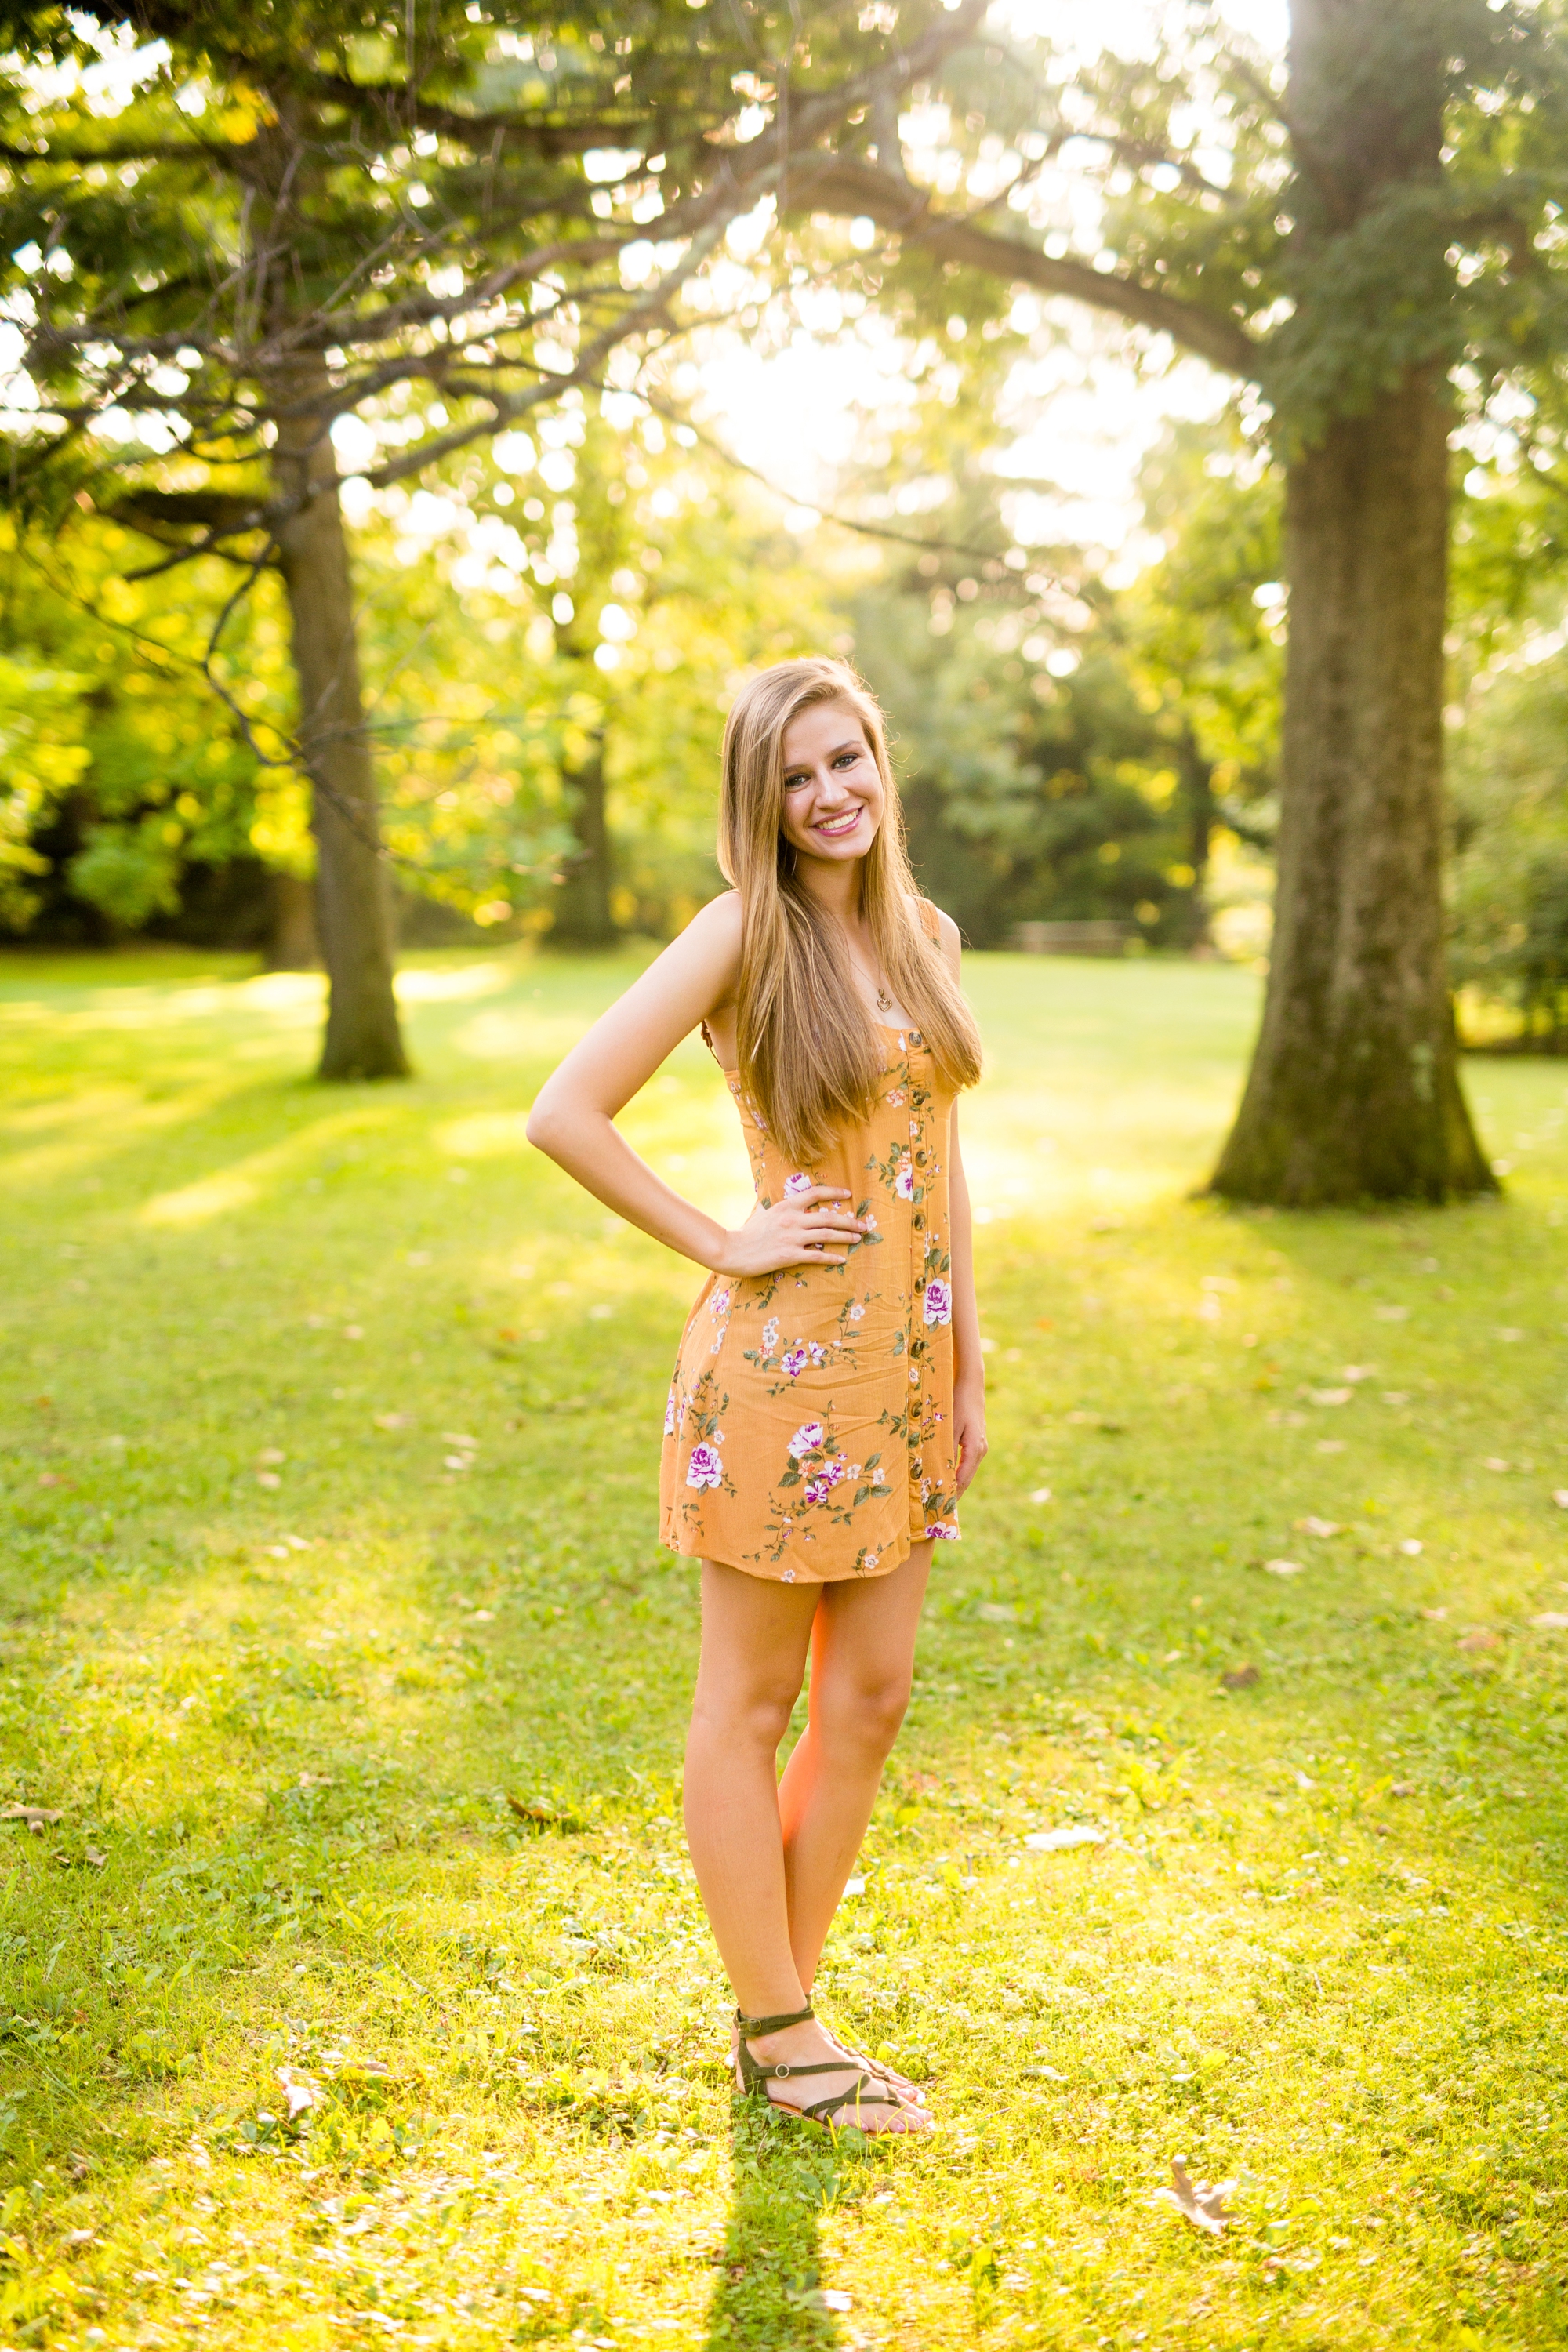
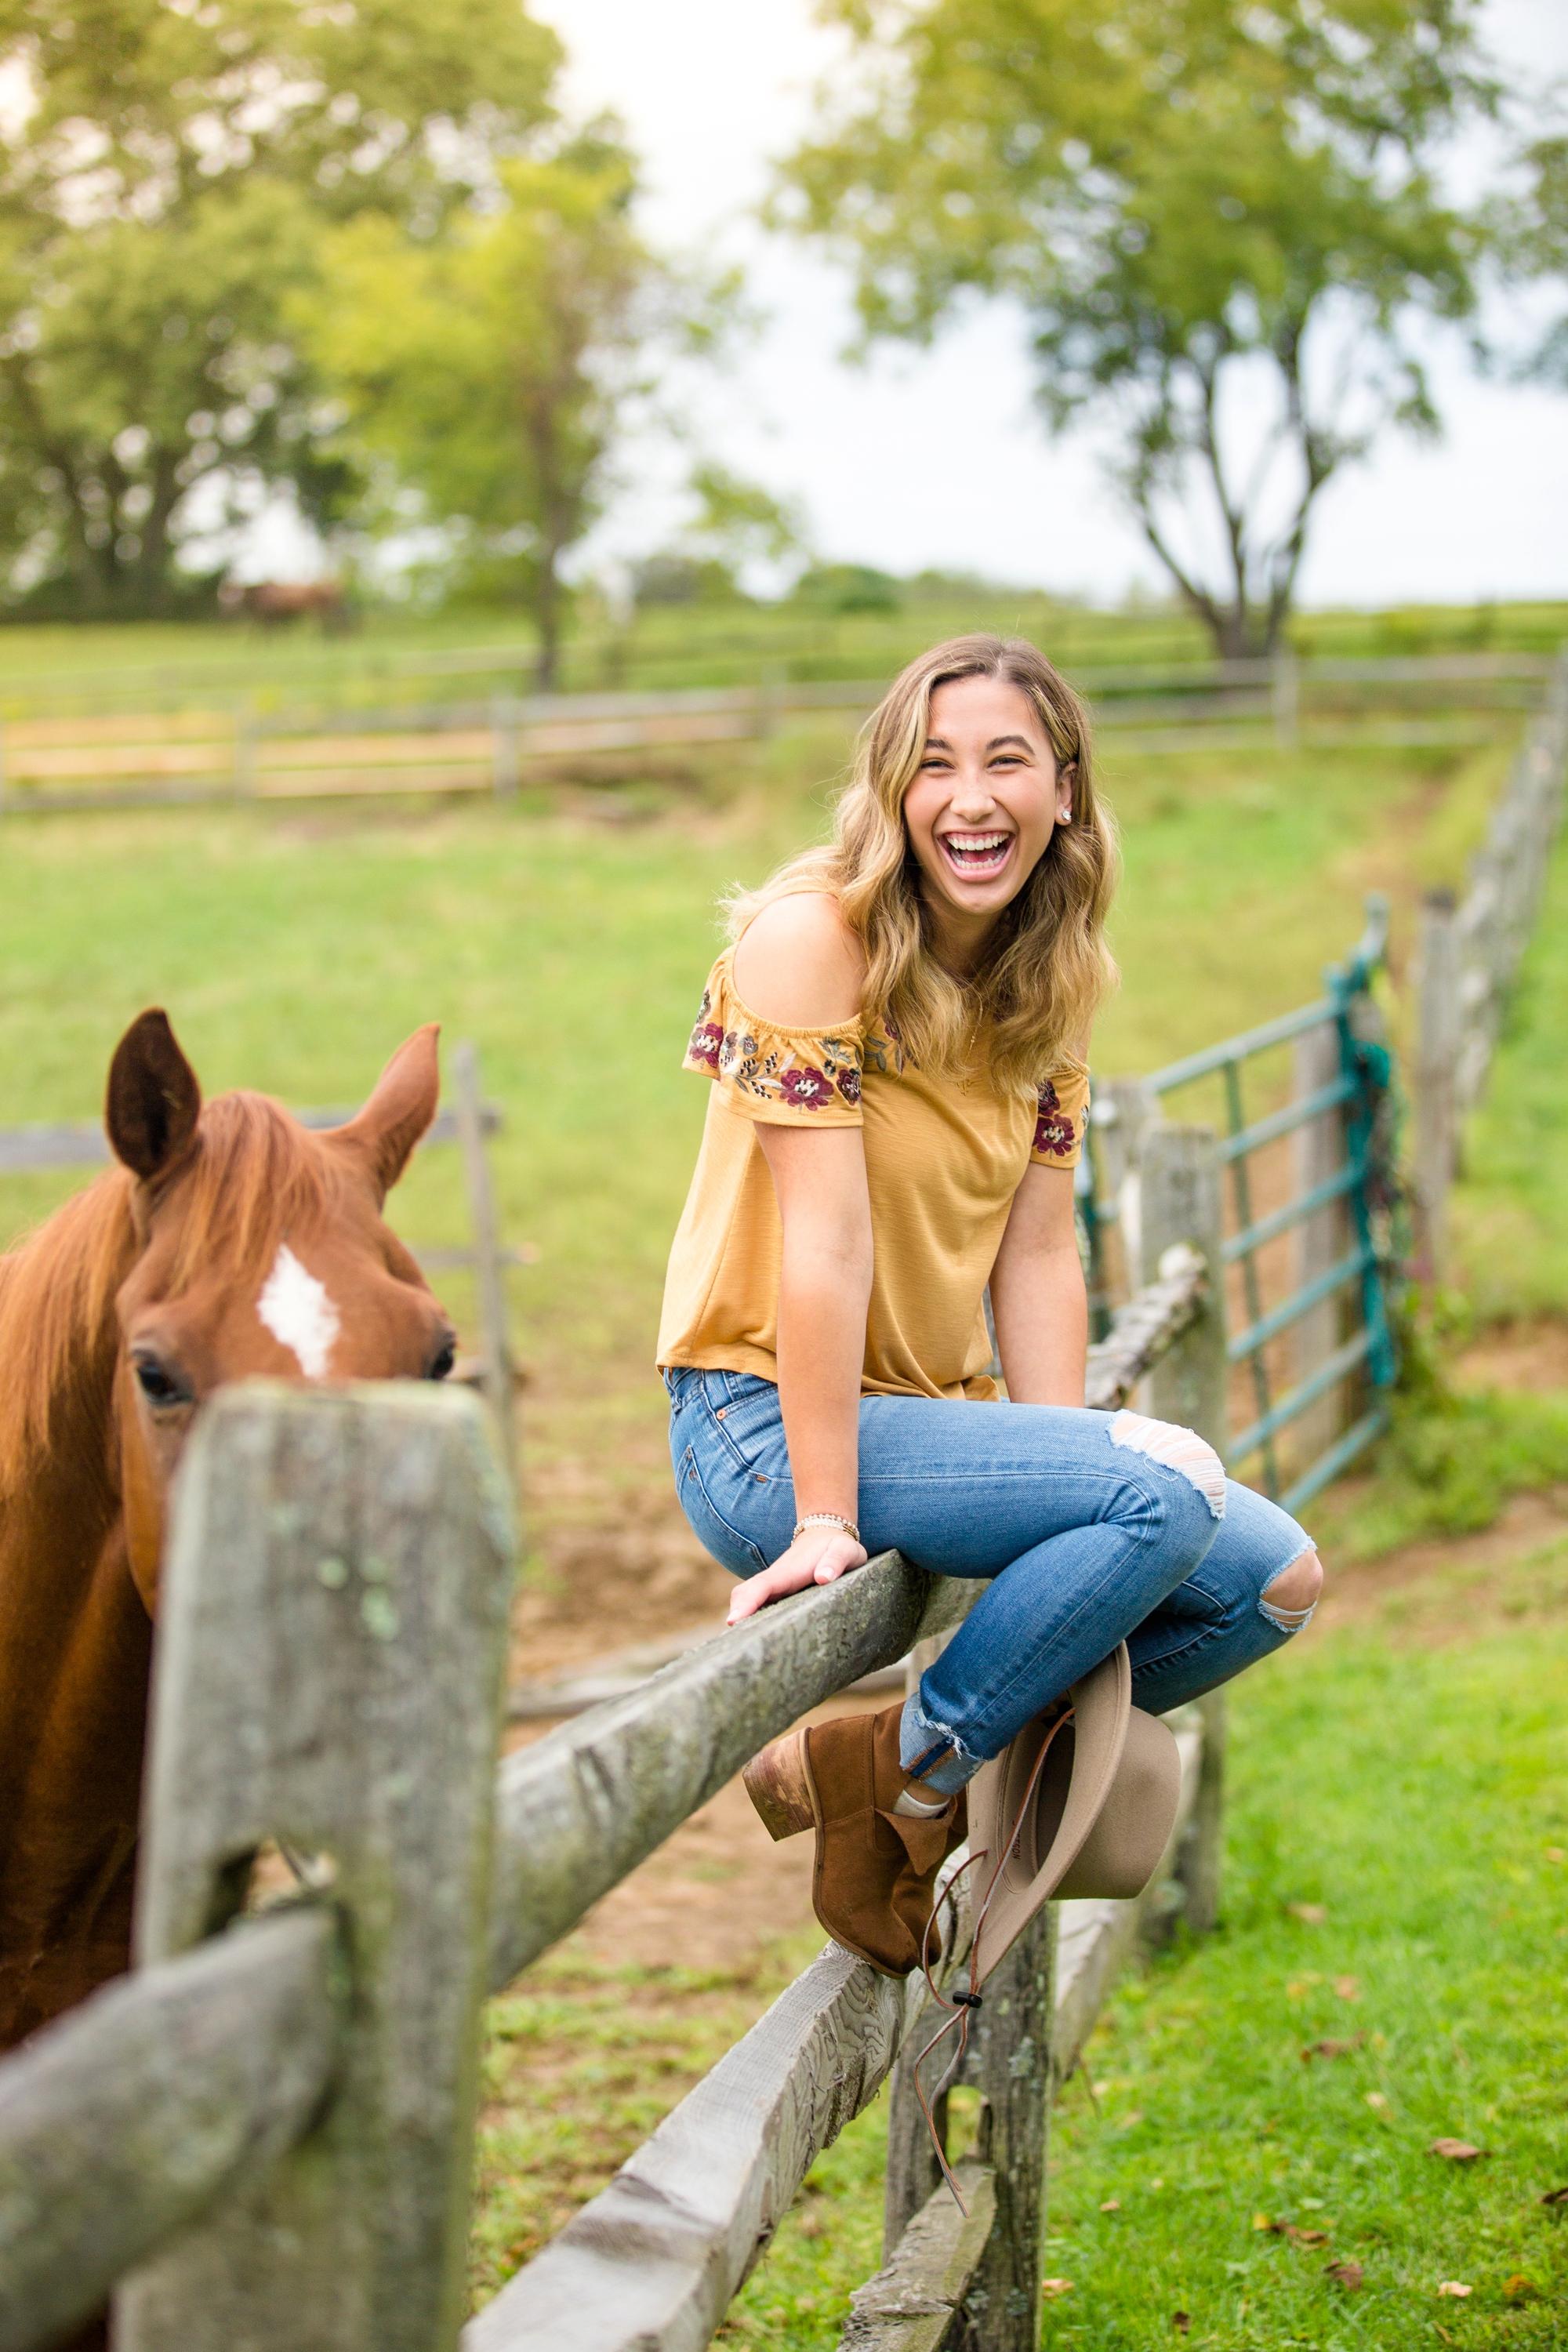
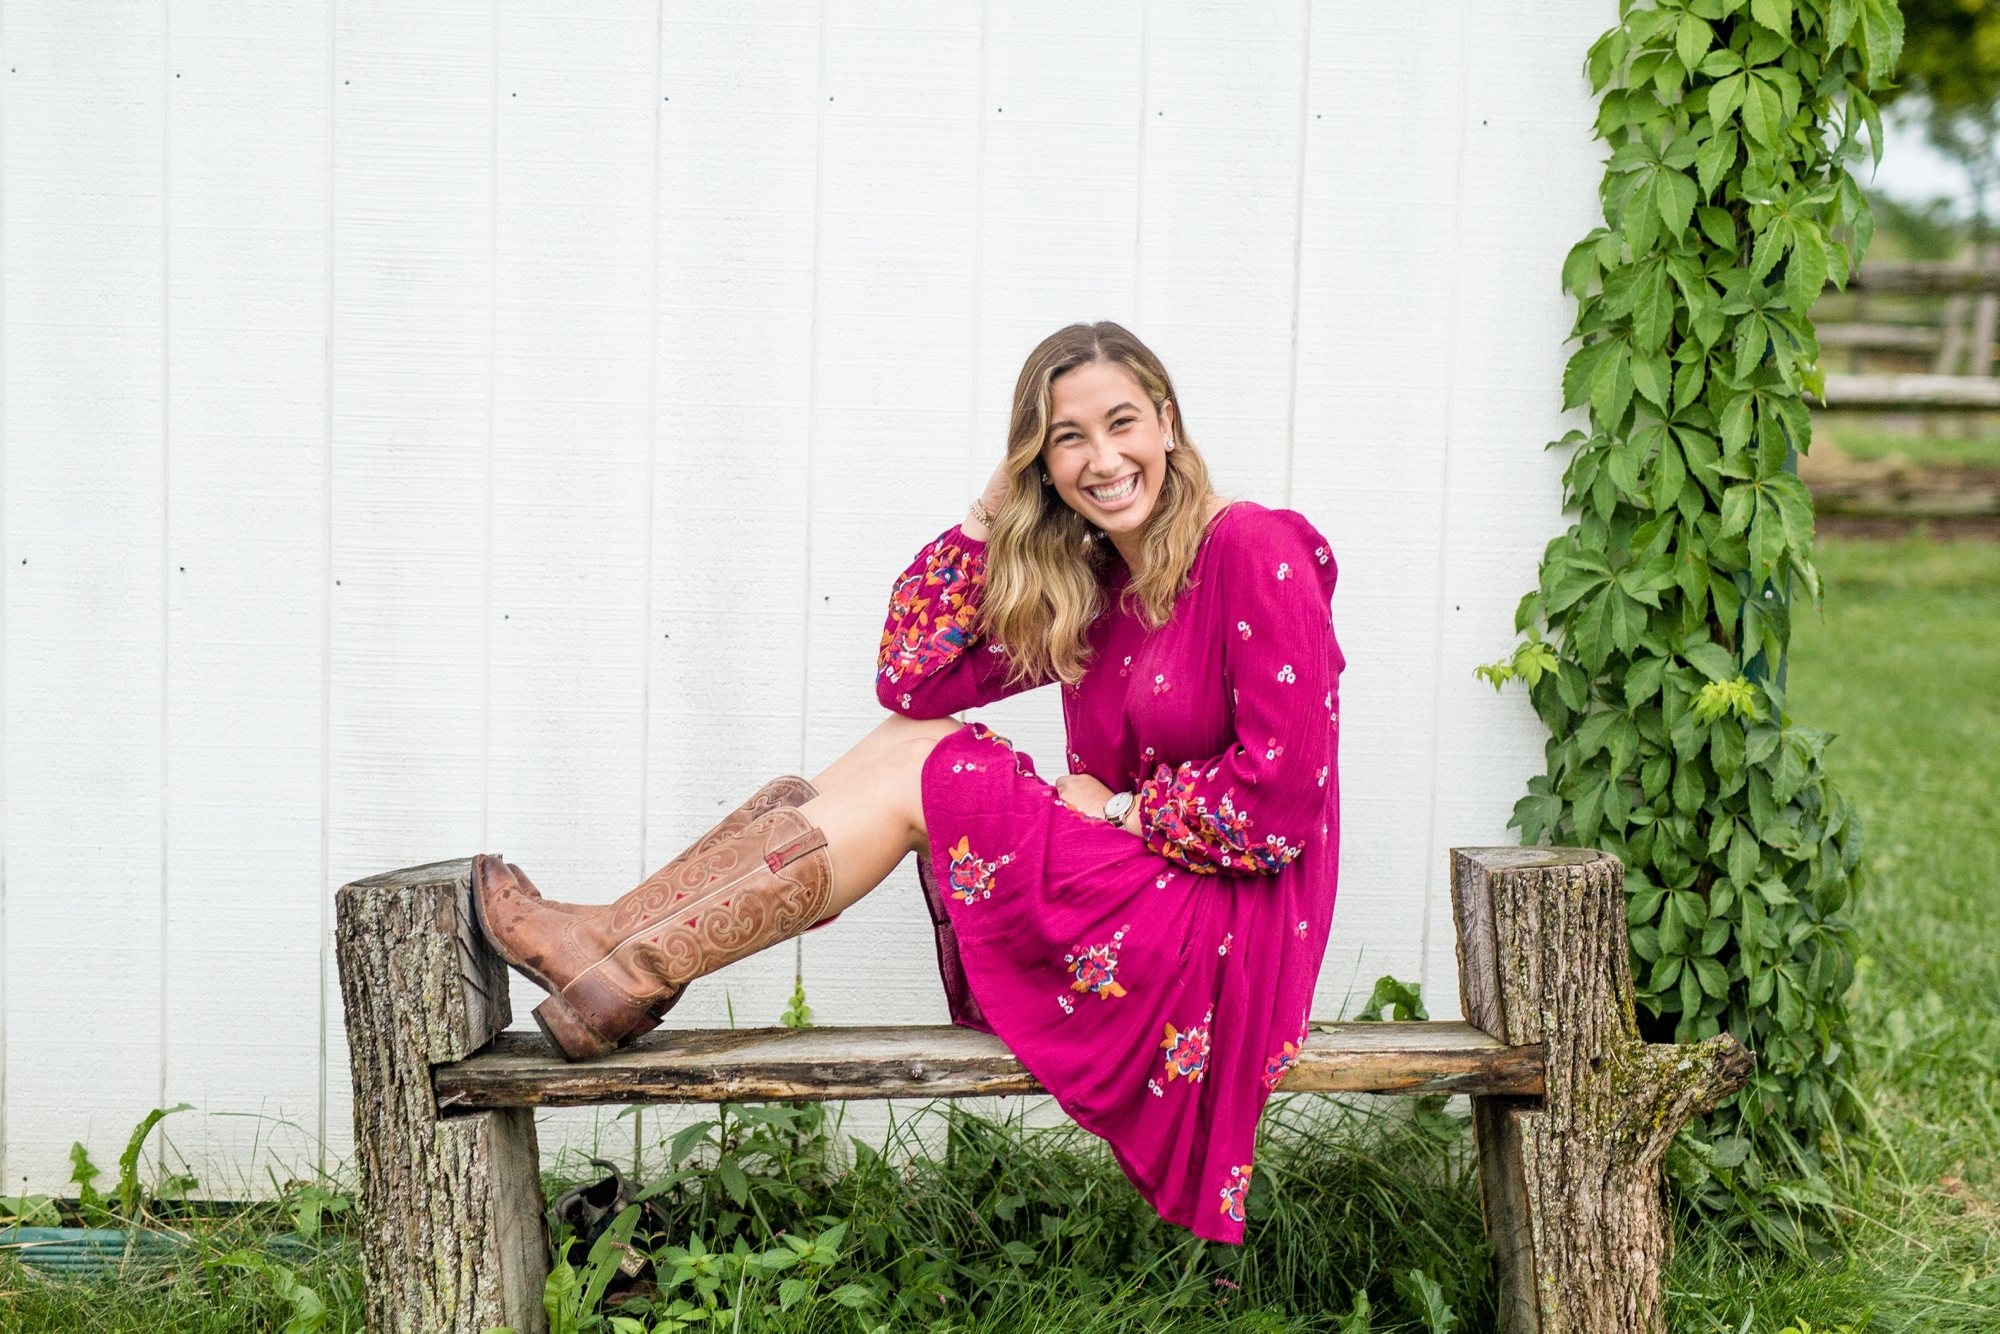
  • Bright colors - I LOVE bright colors for spring senior sessions! Whether you choose a bright top or colorful sundress, your brightly colored outfit will most likely compliment the new spring blooms beautifully! 🌷

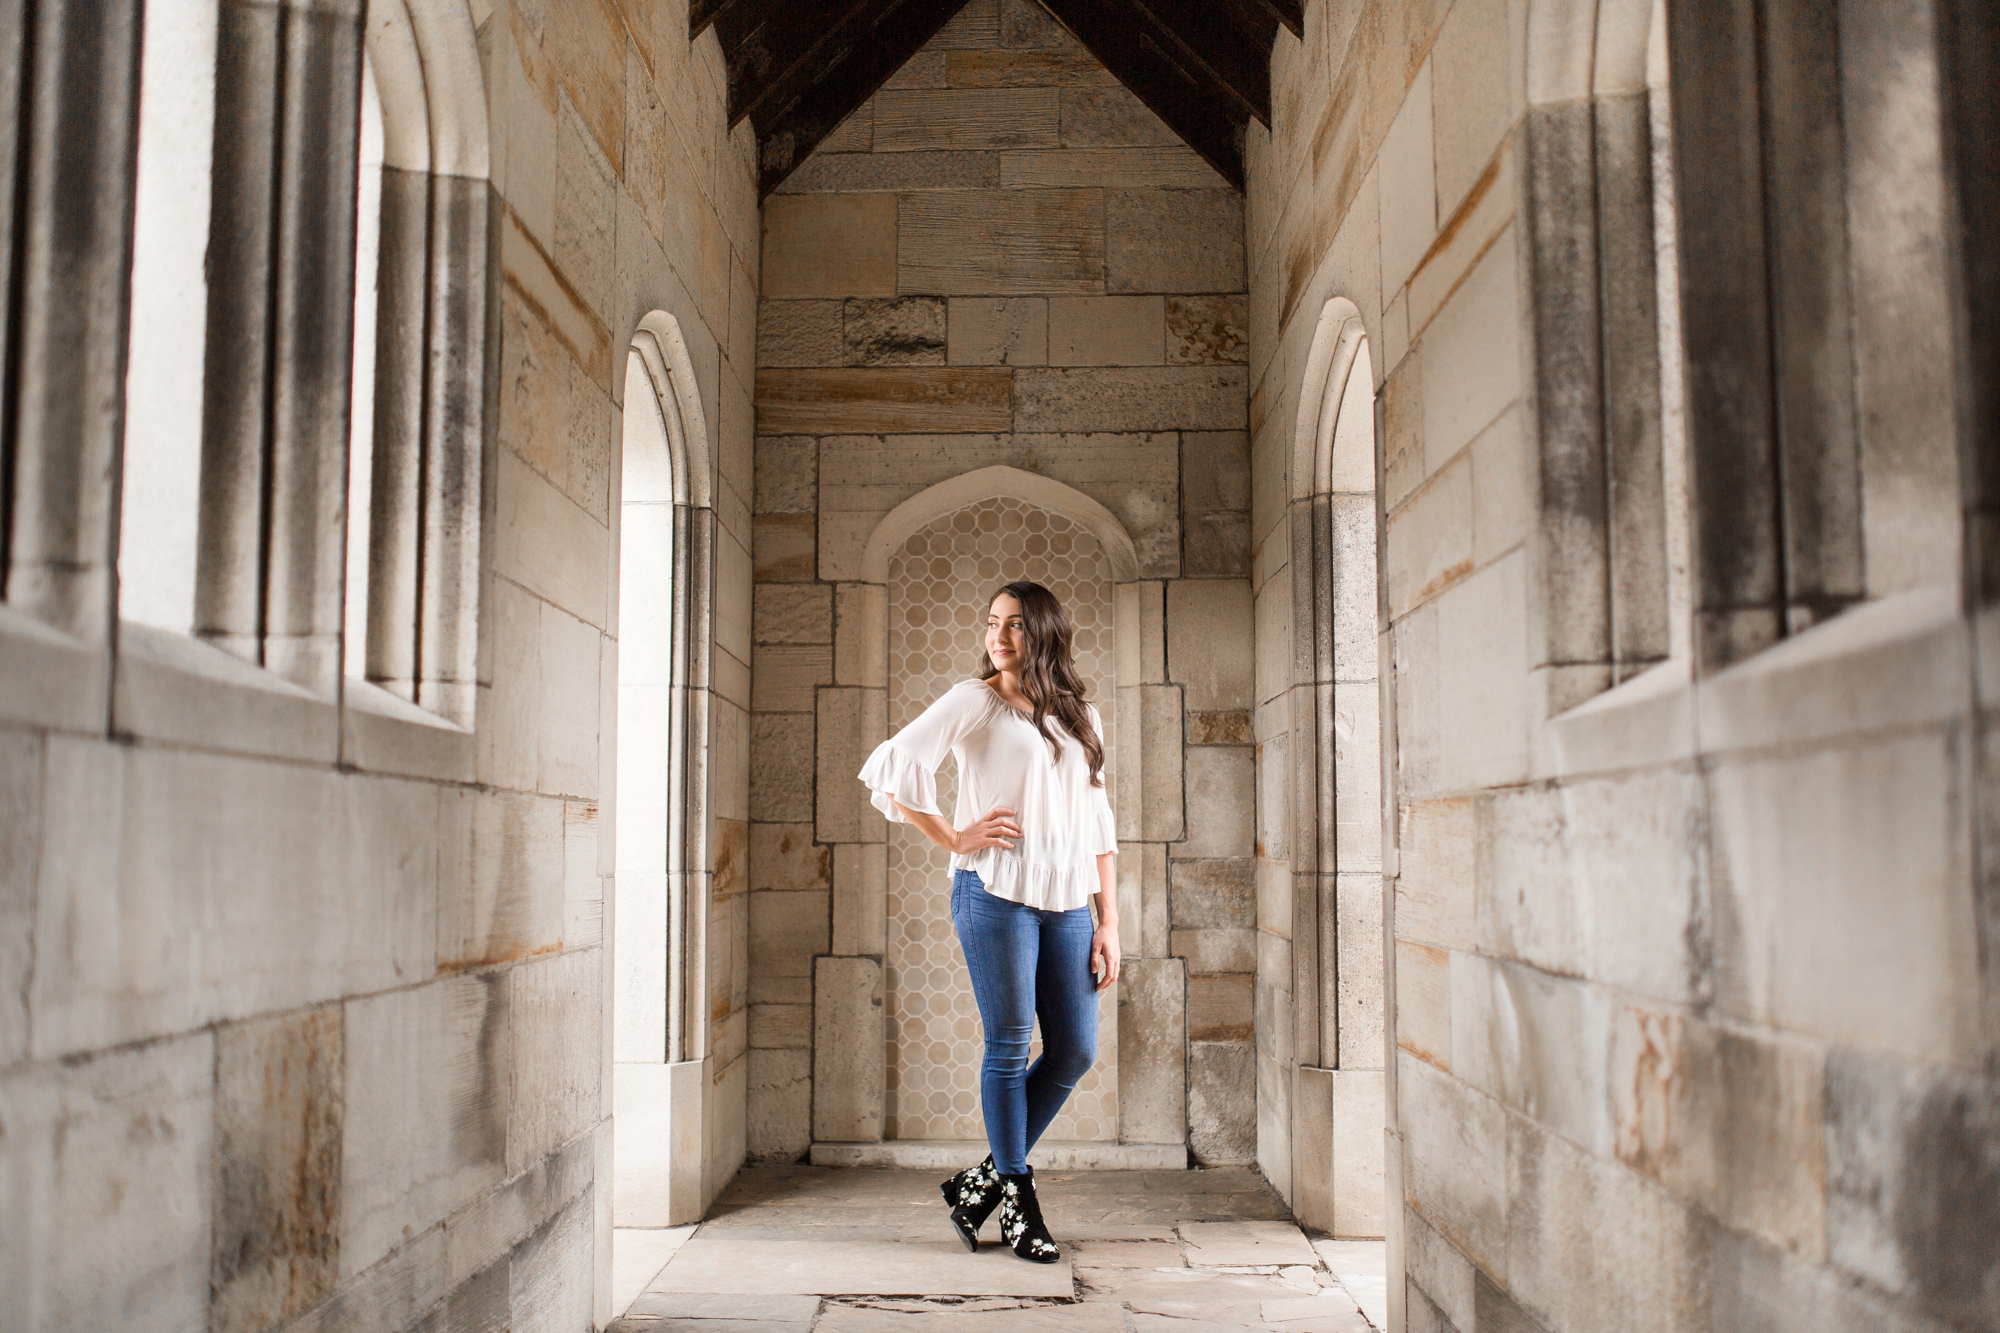
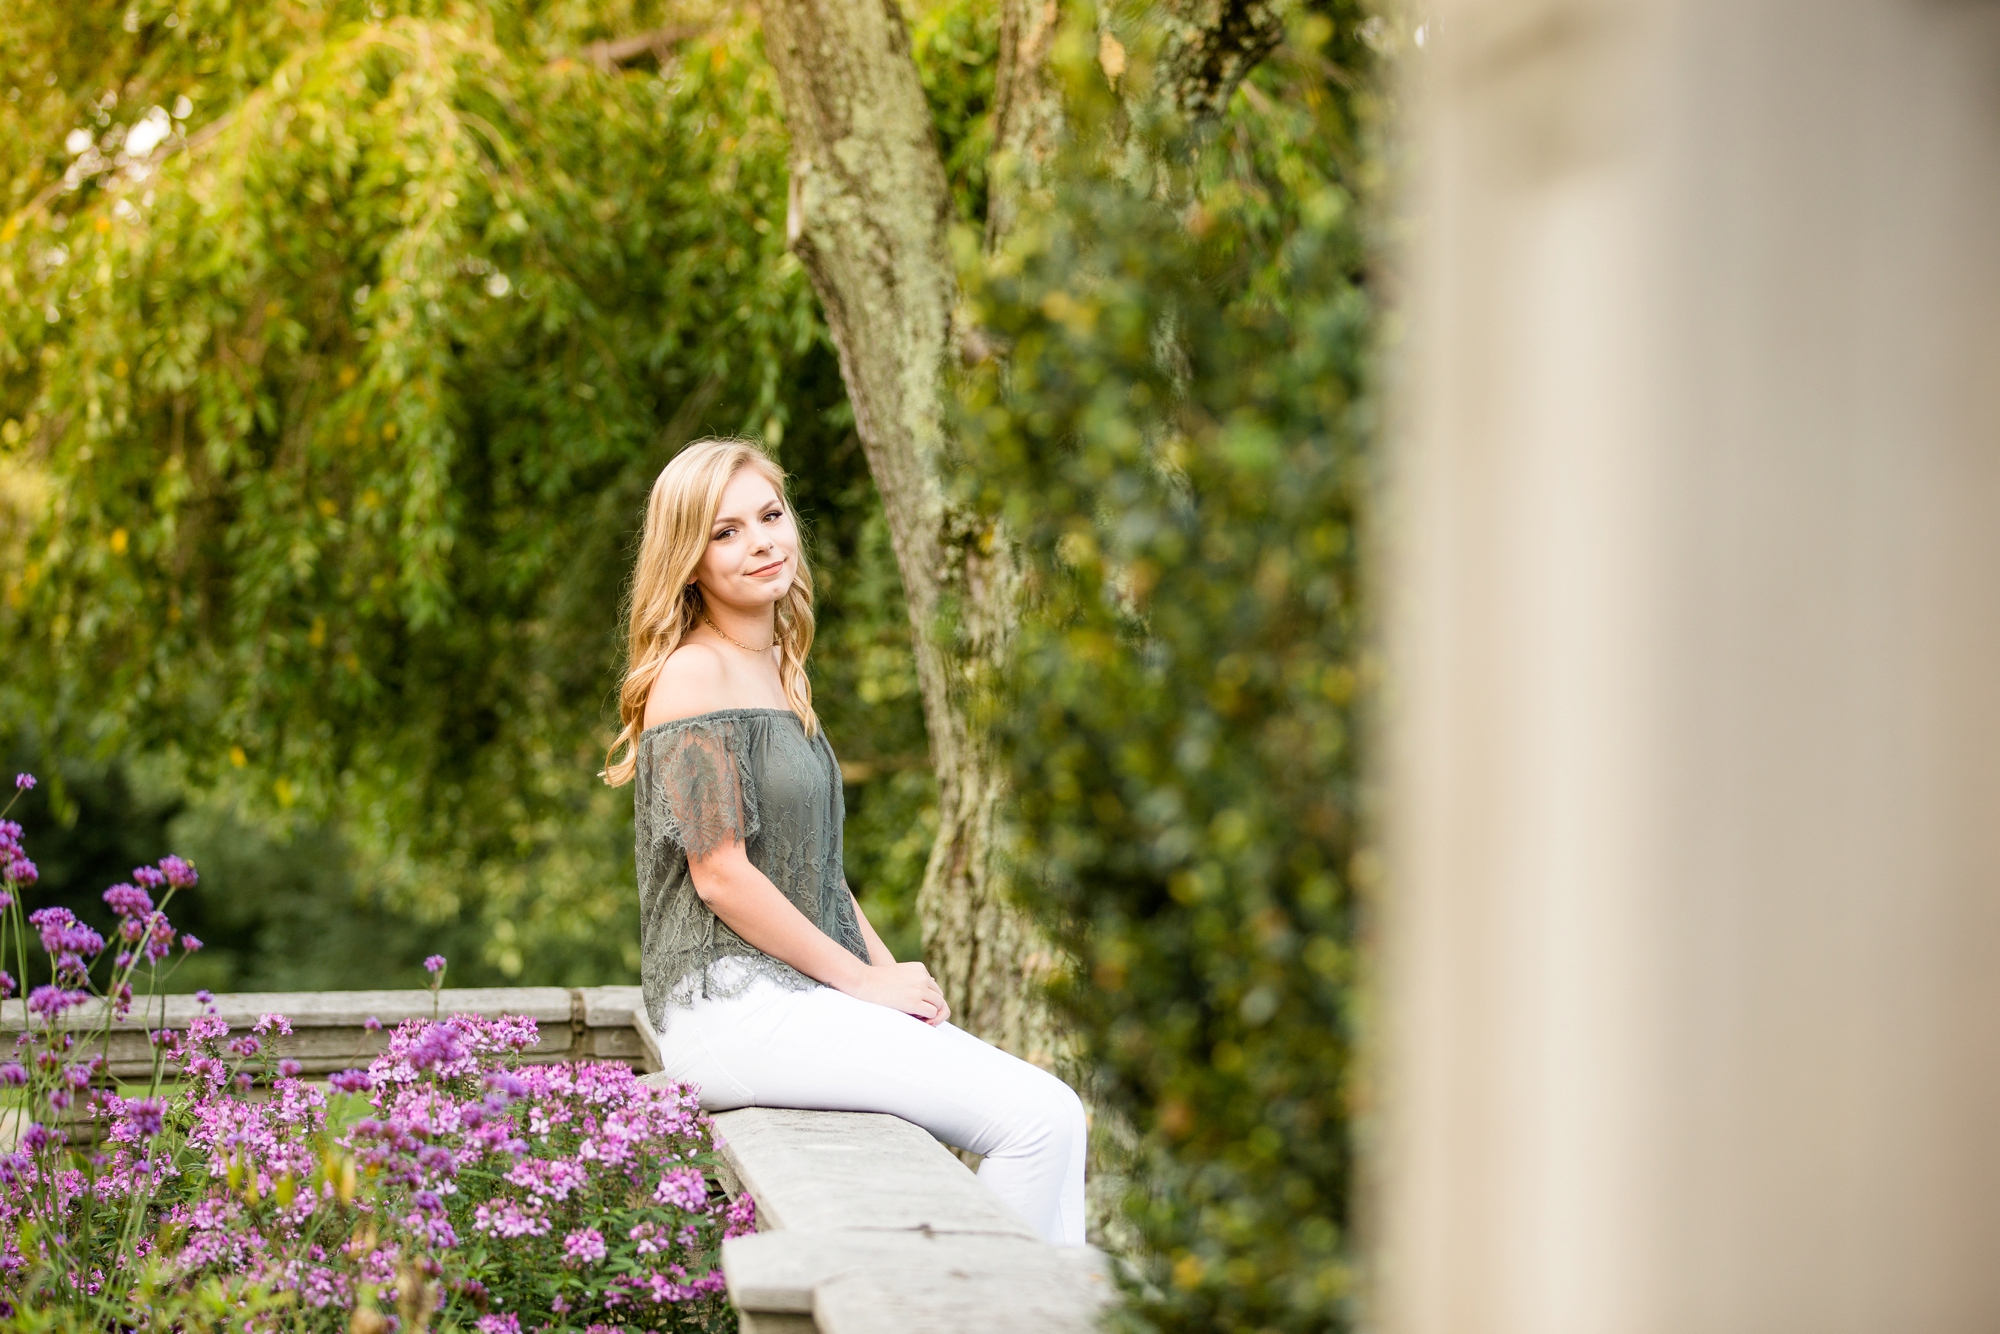
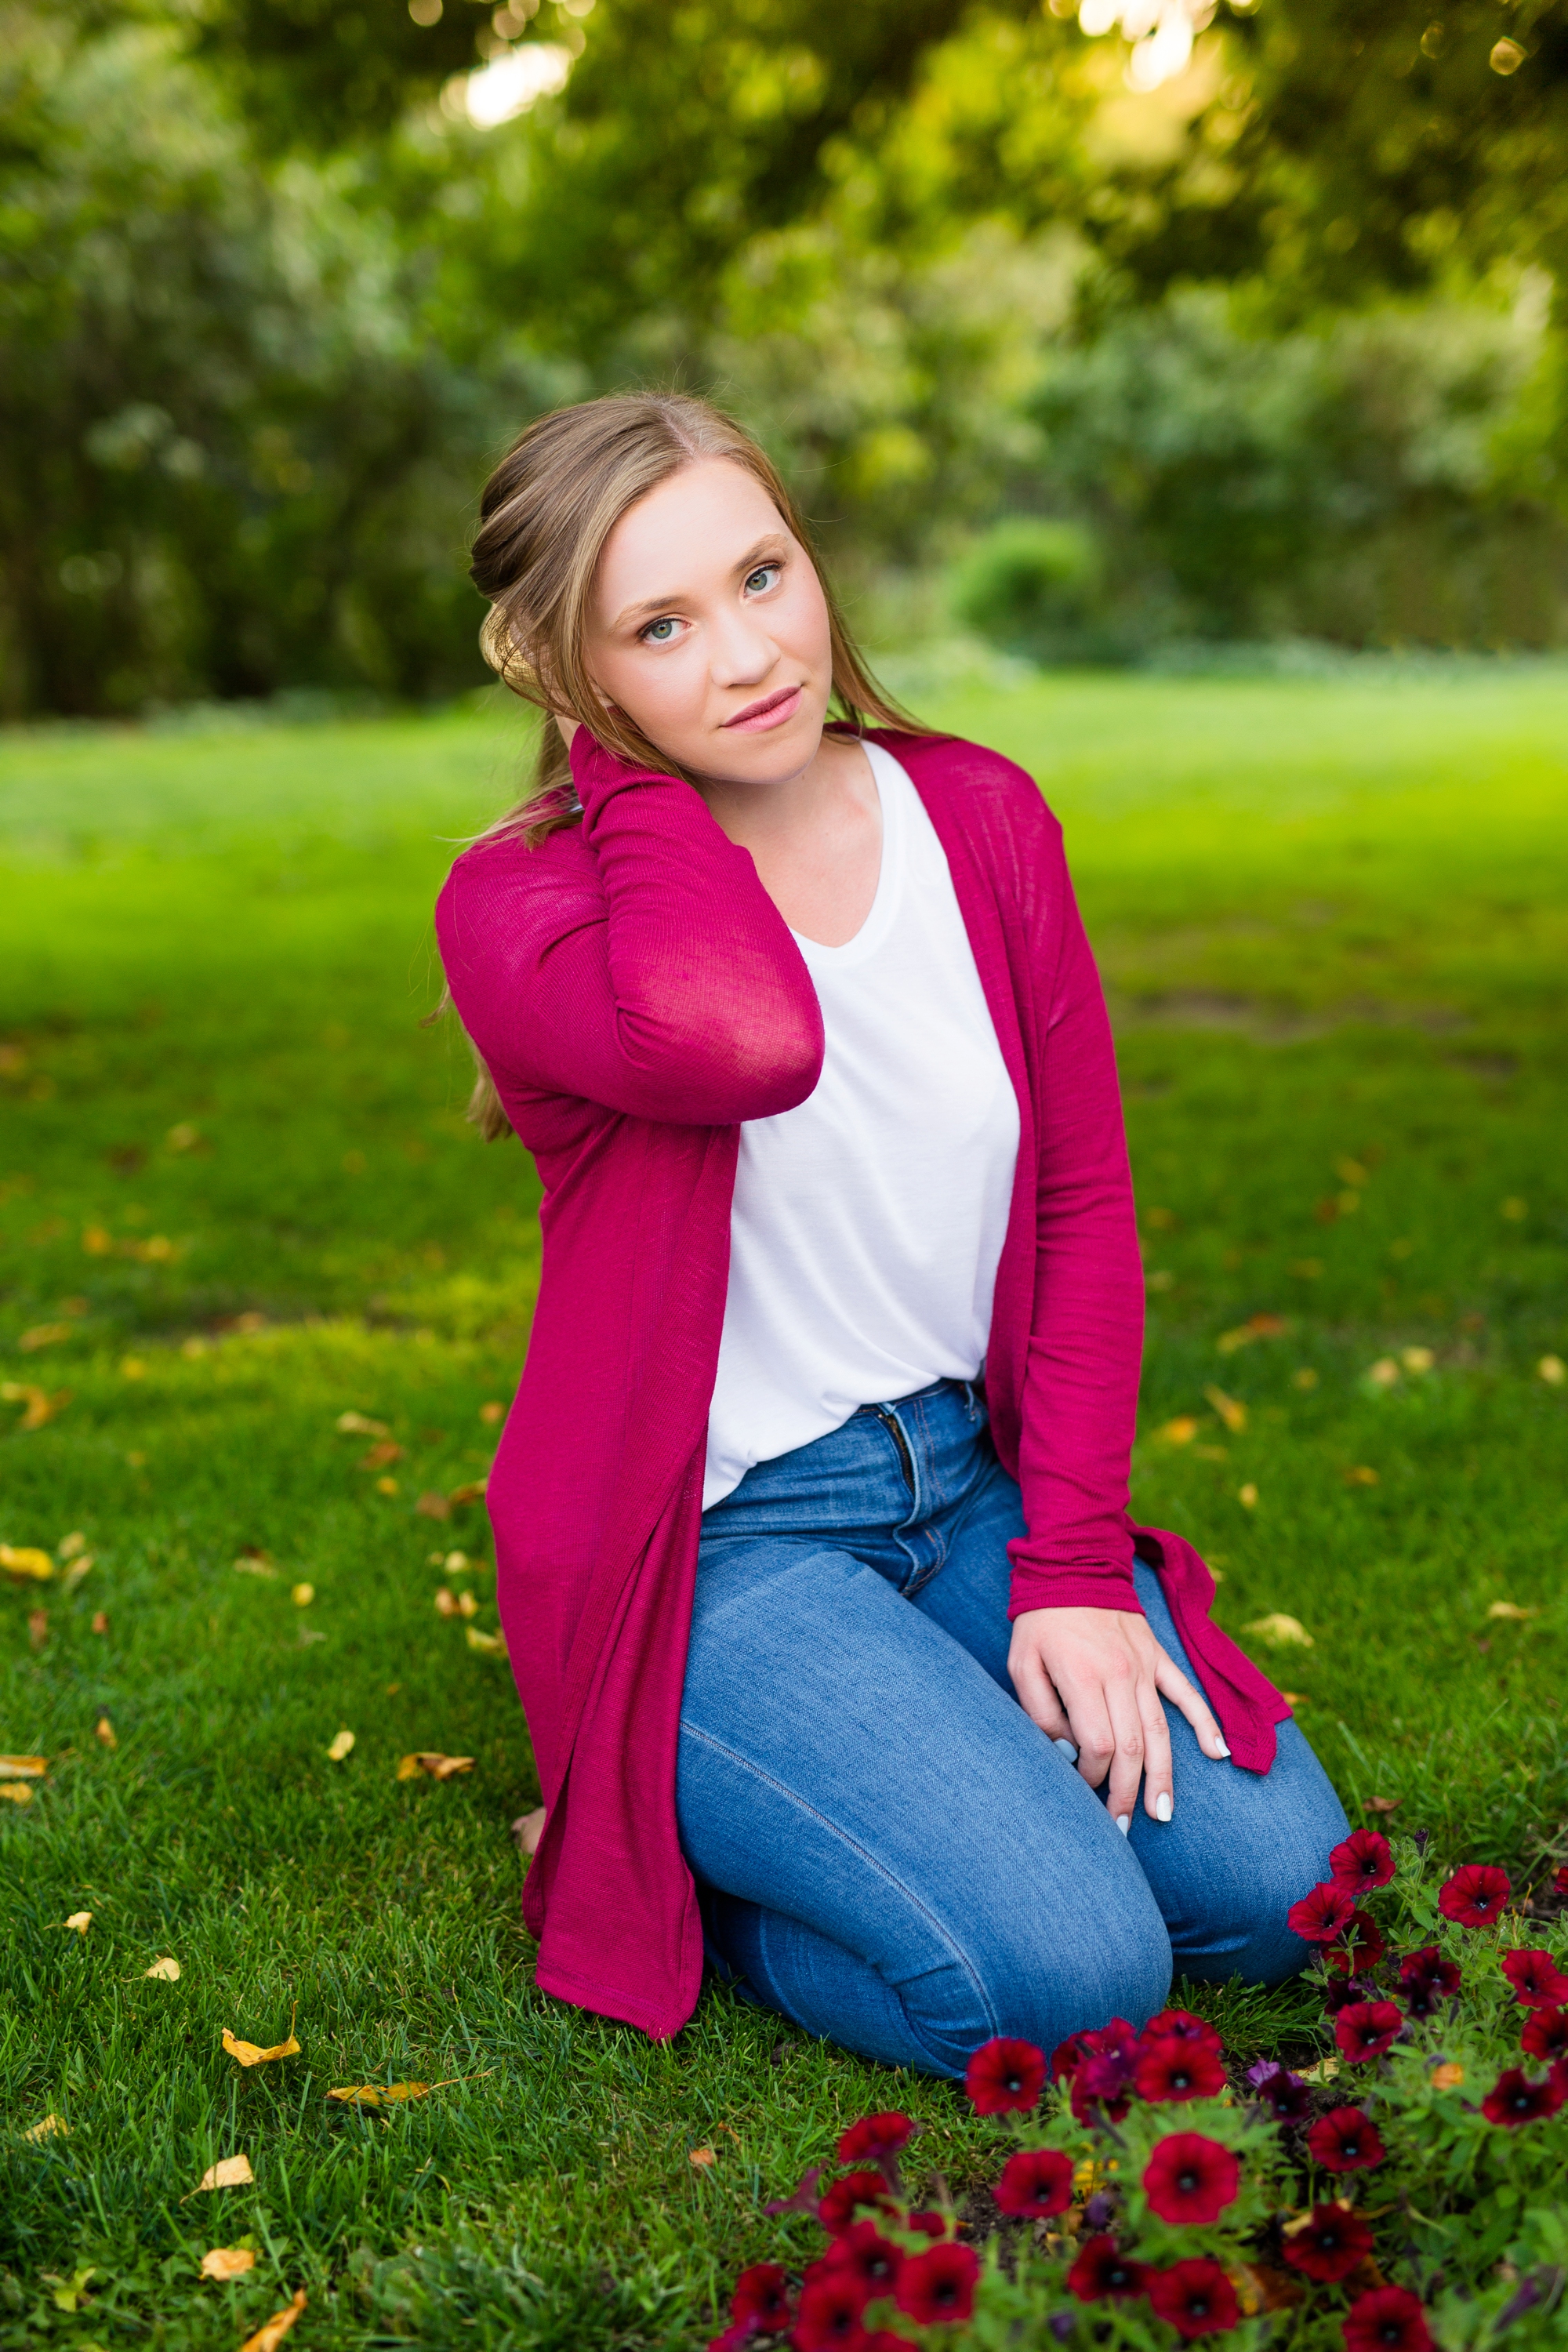
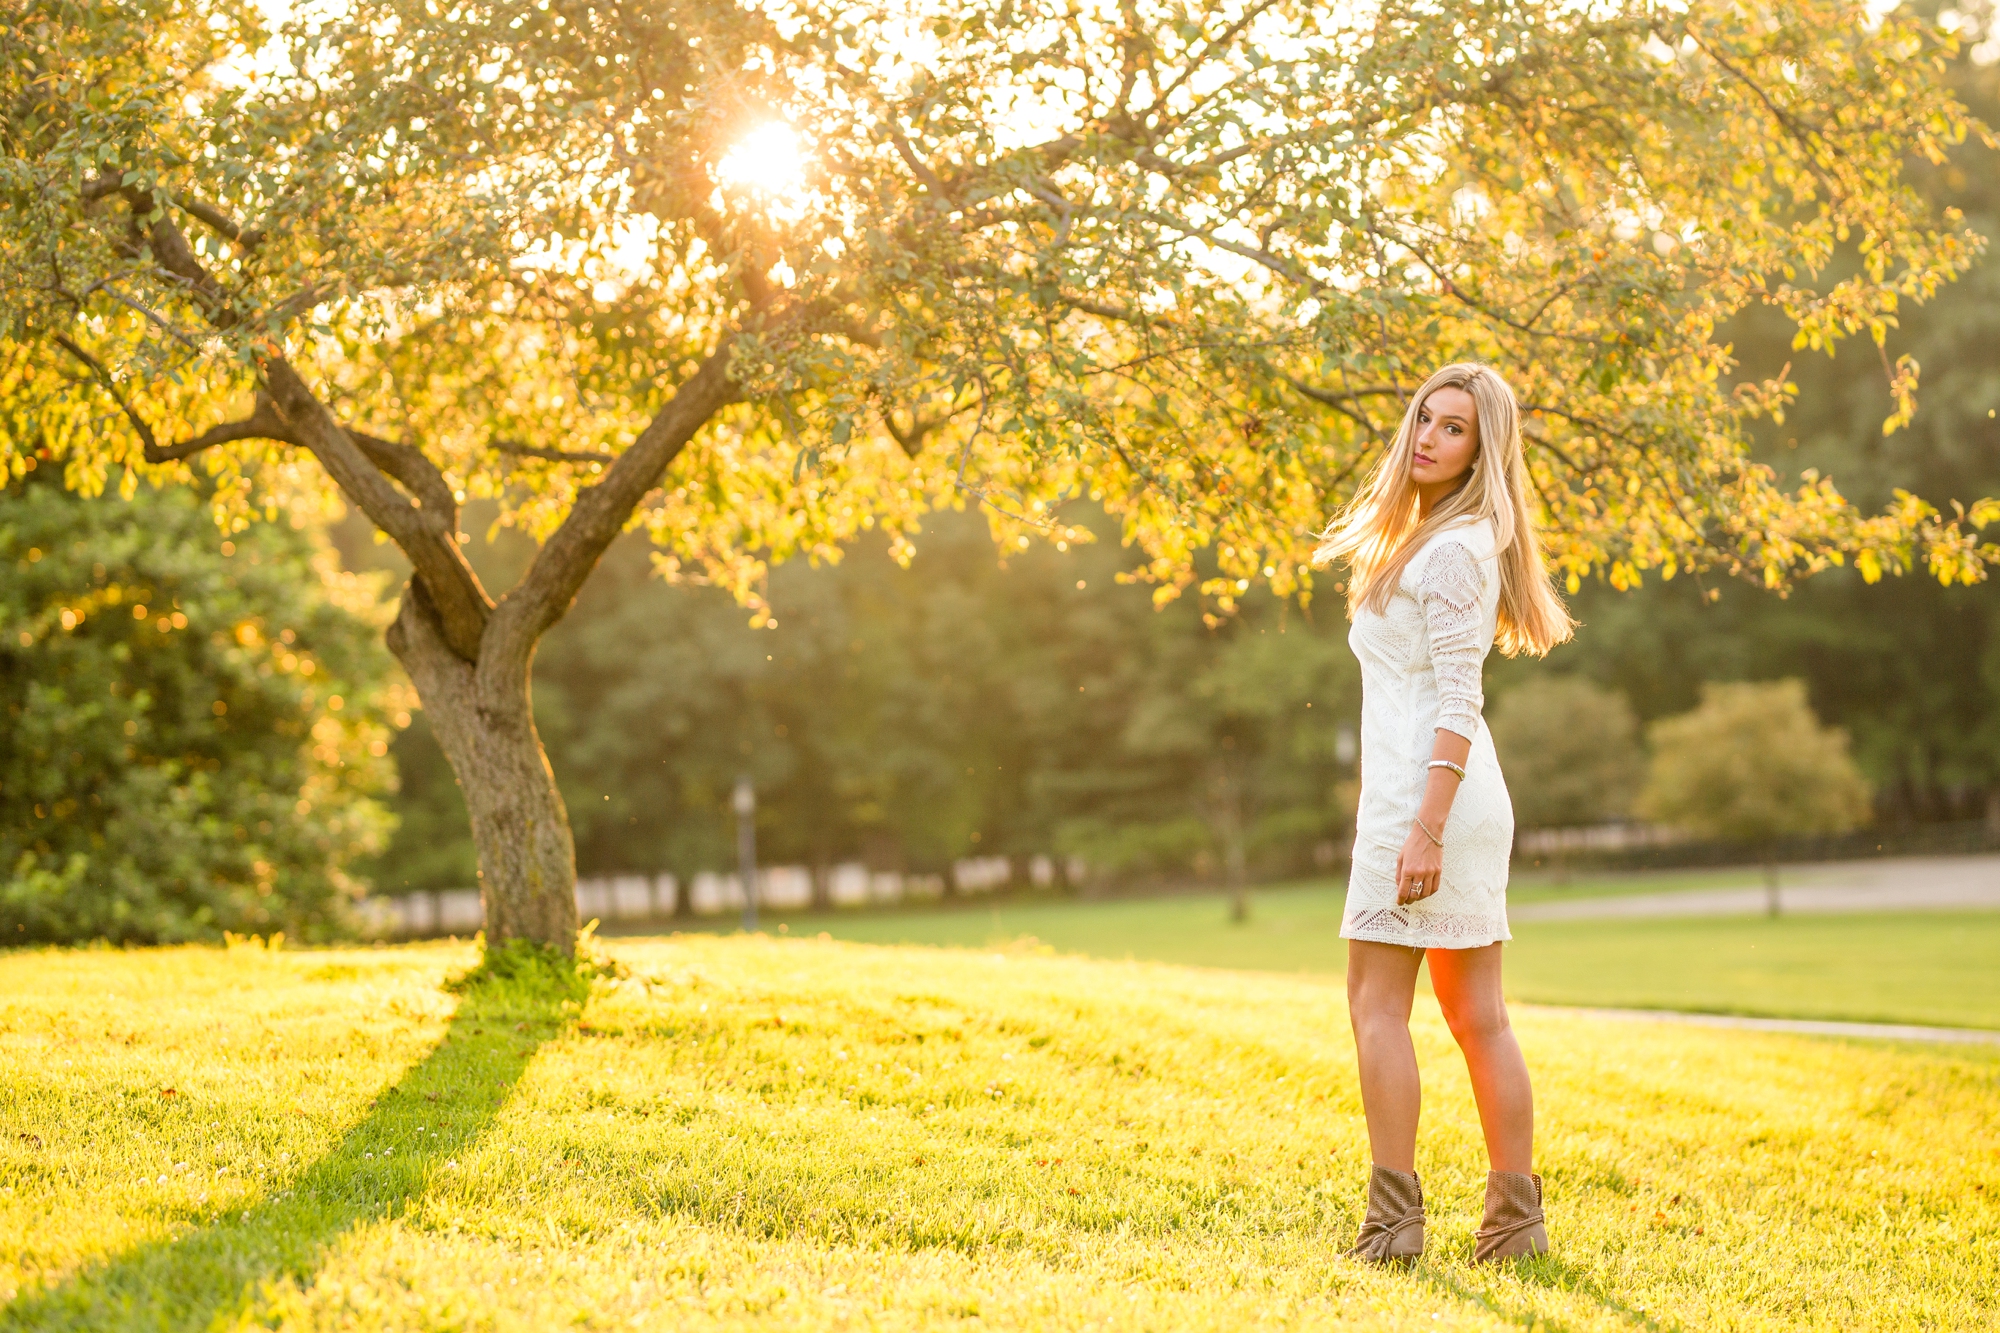
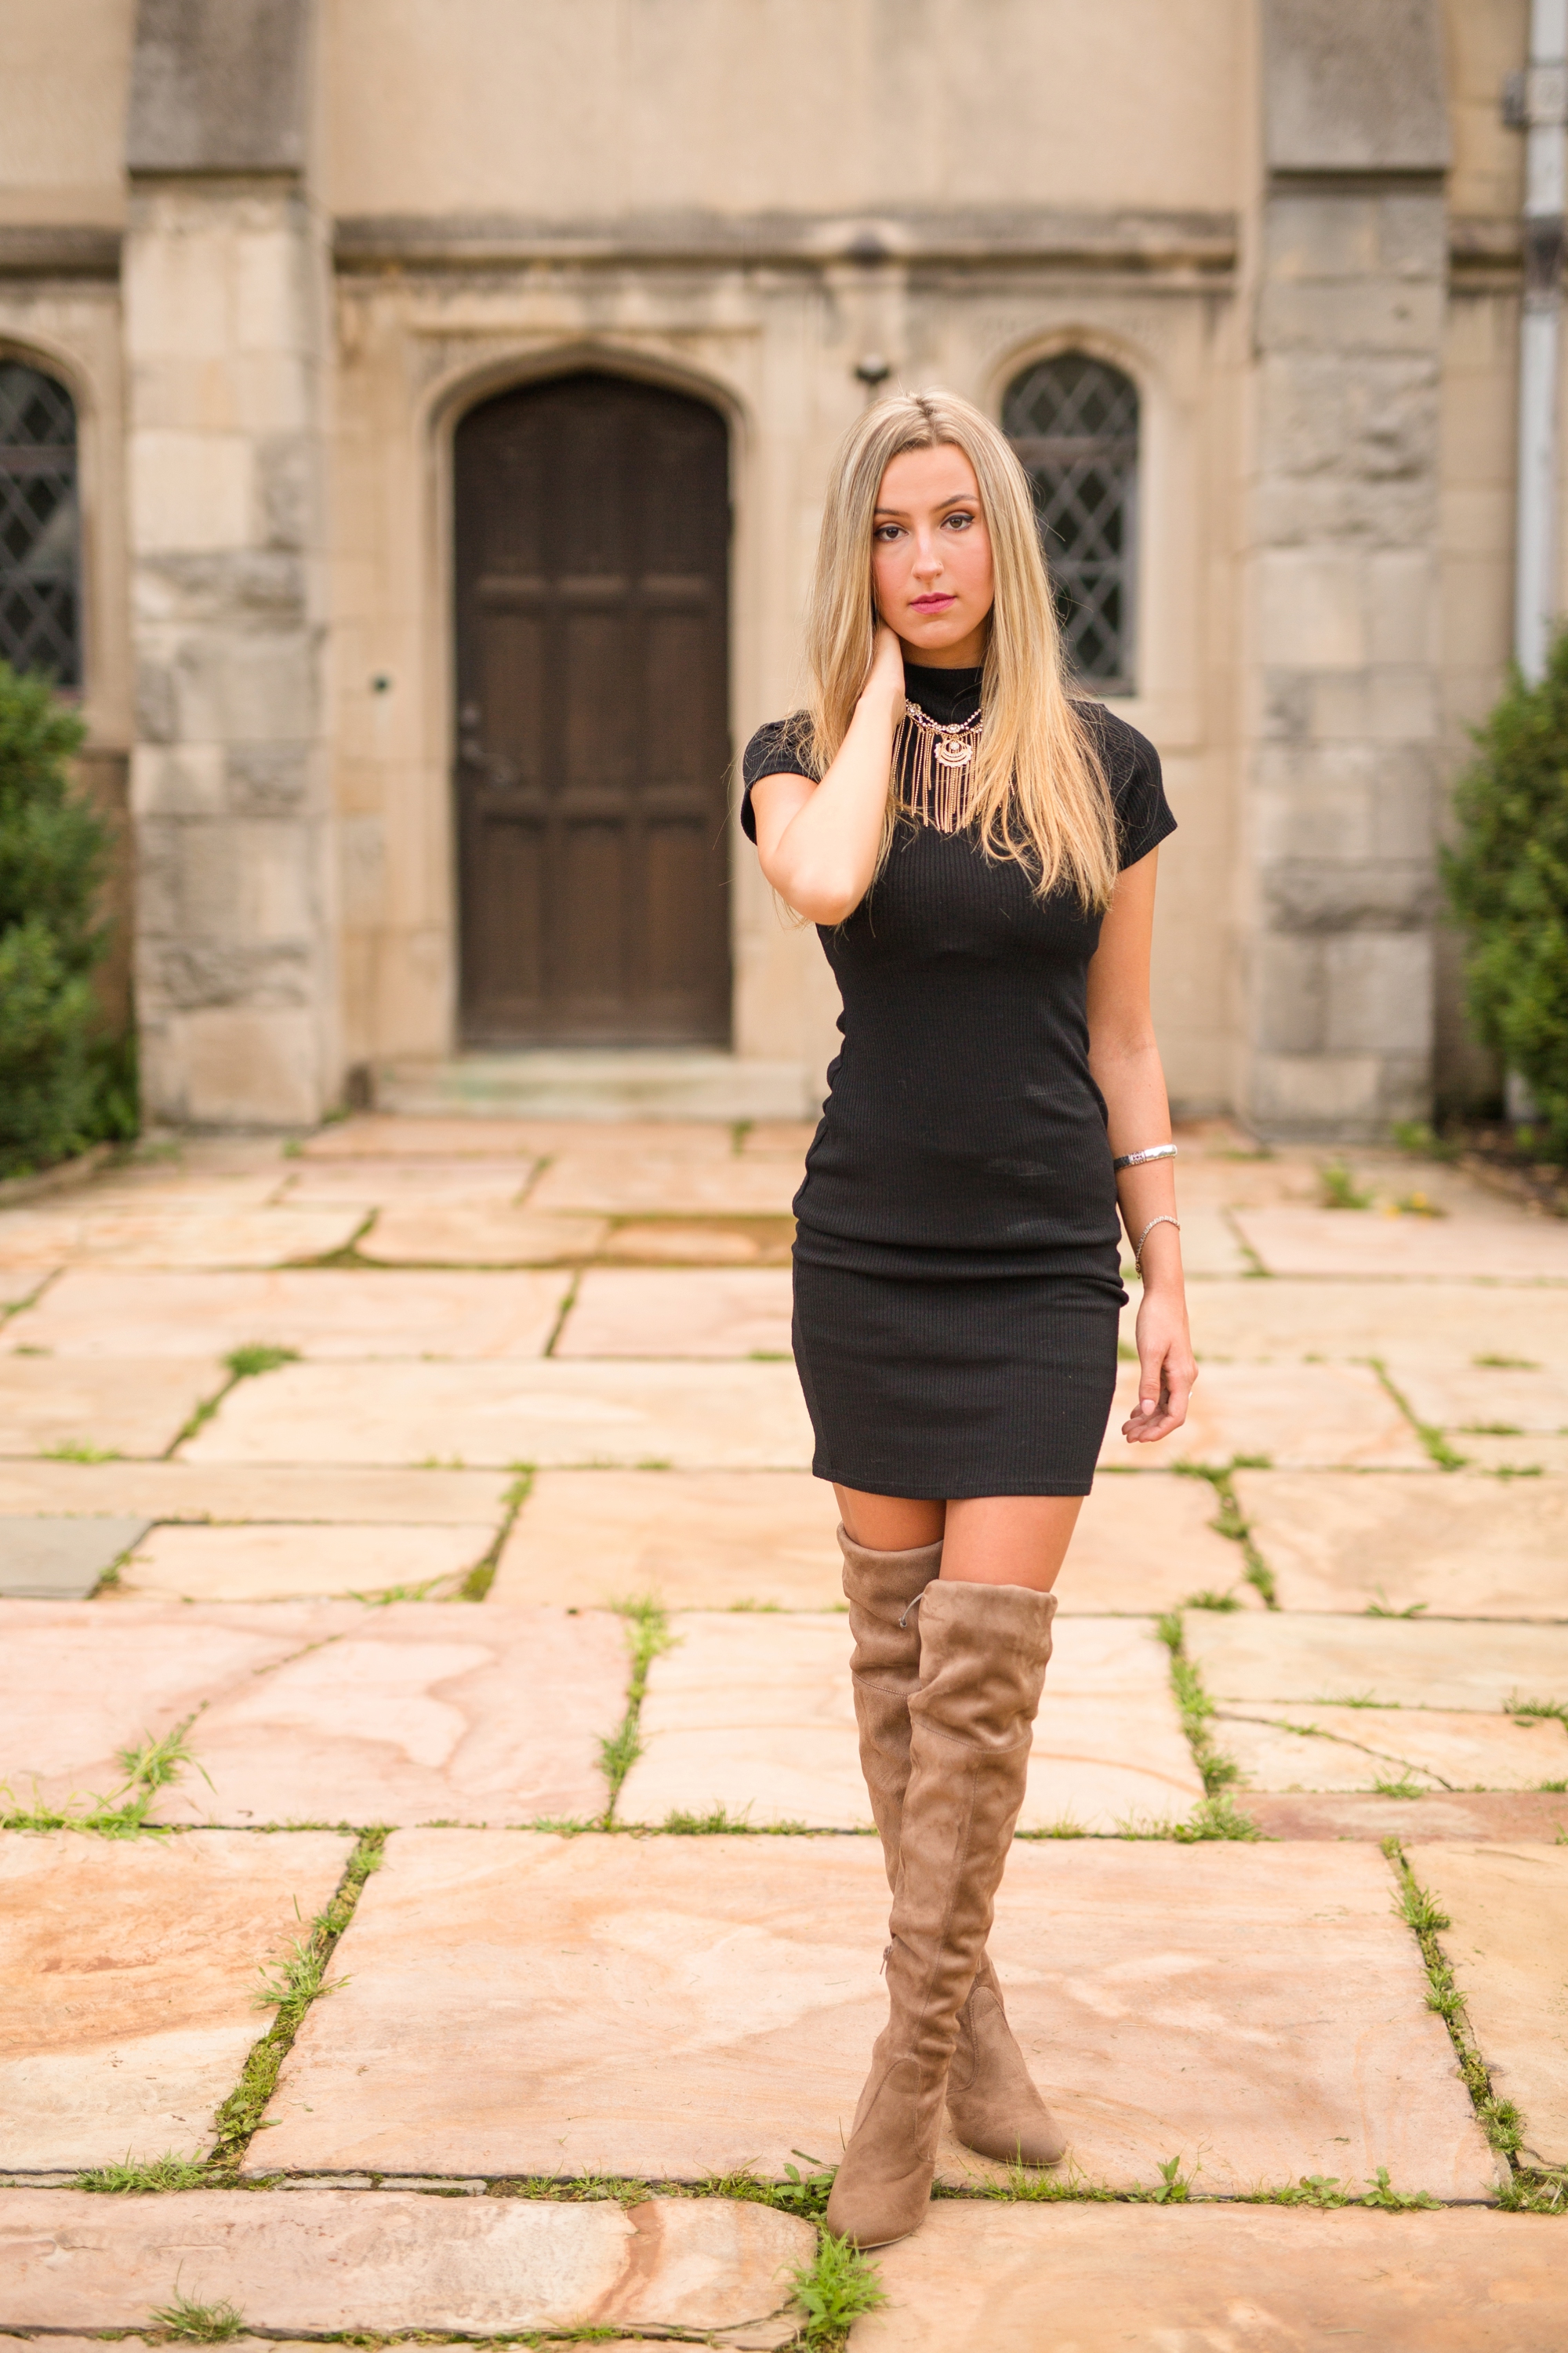
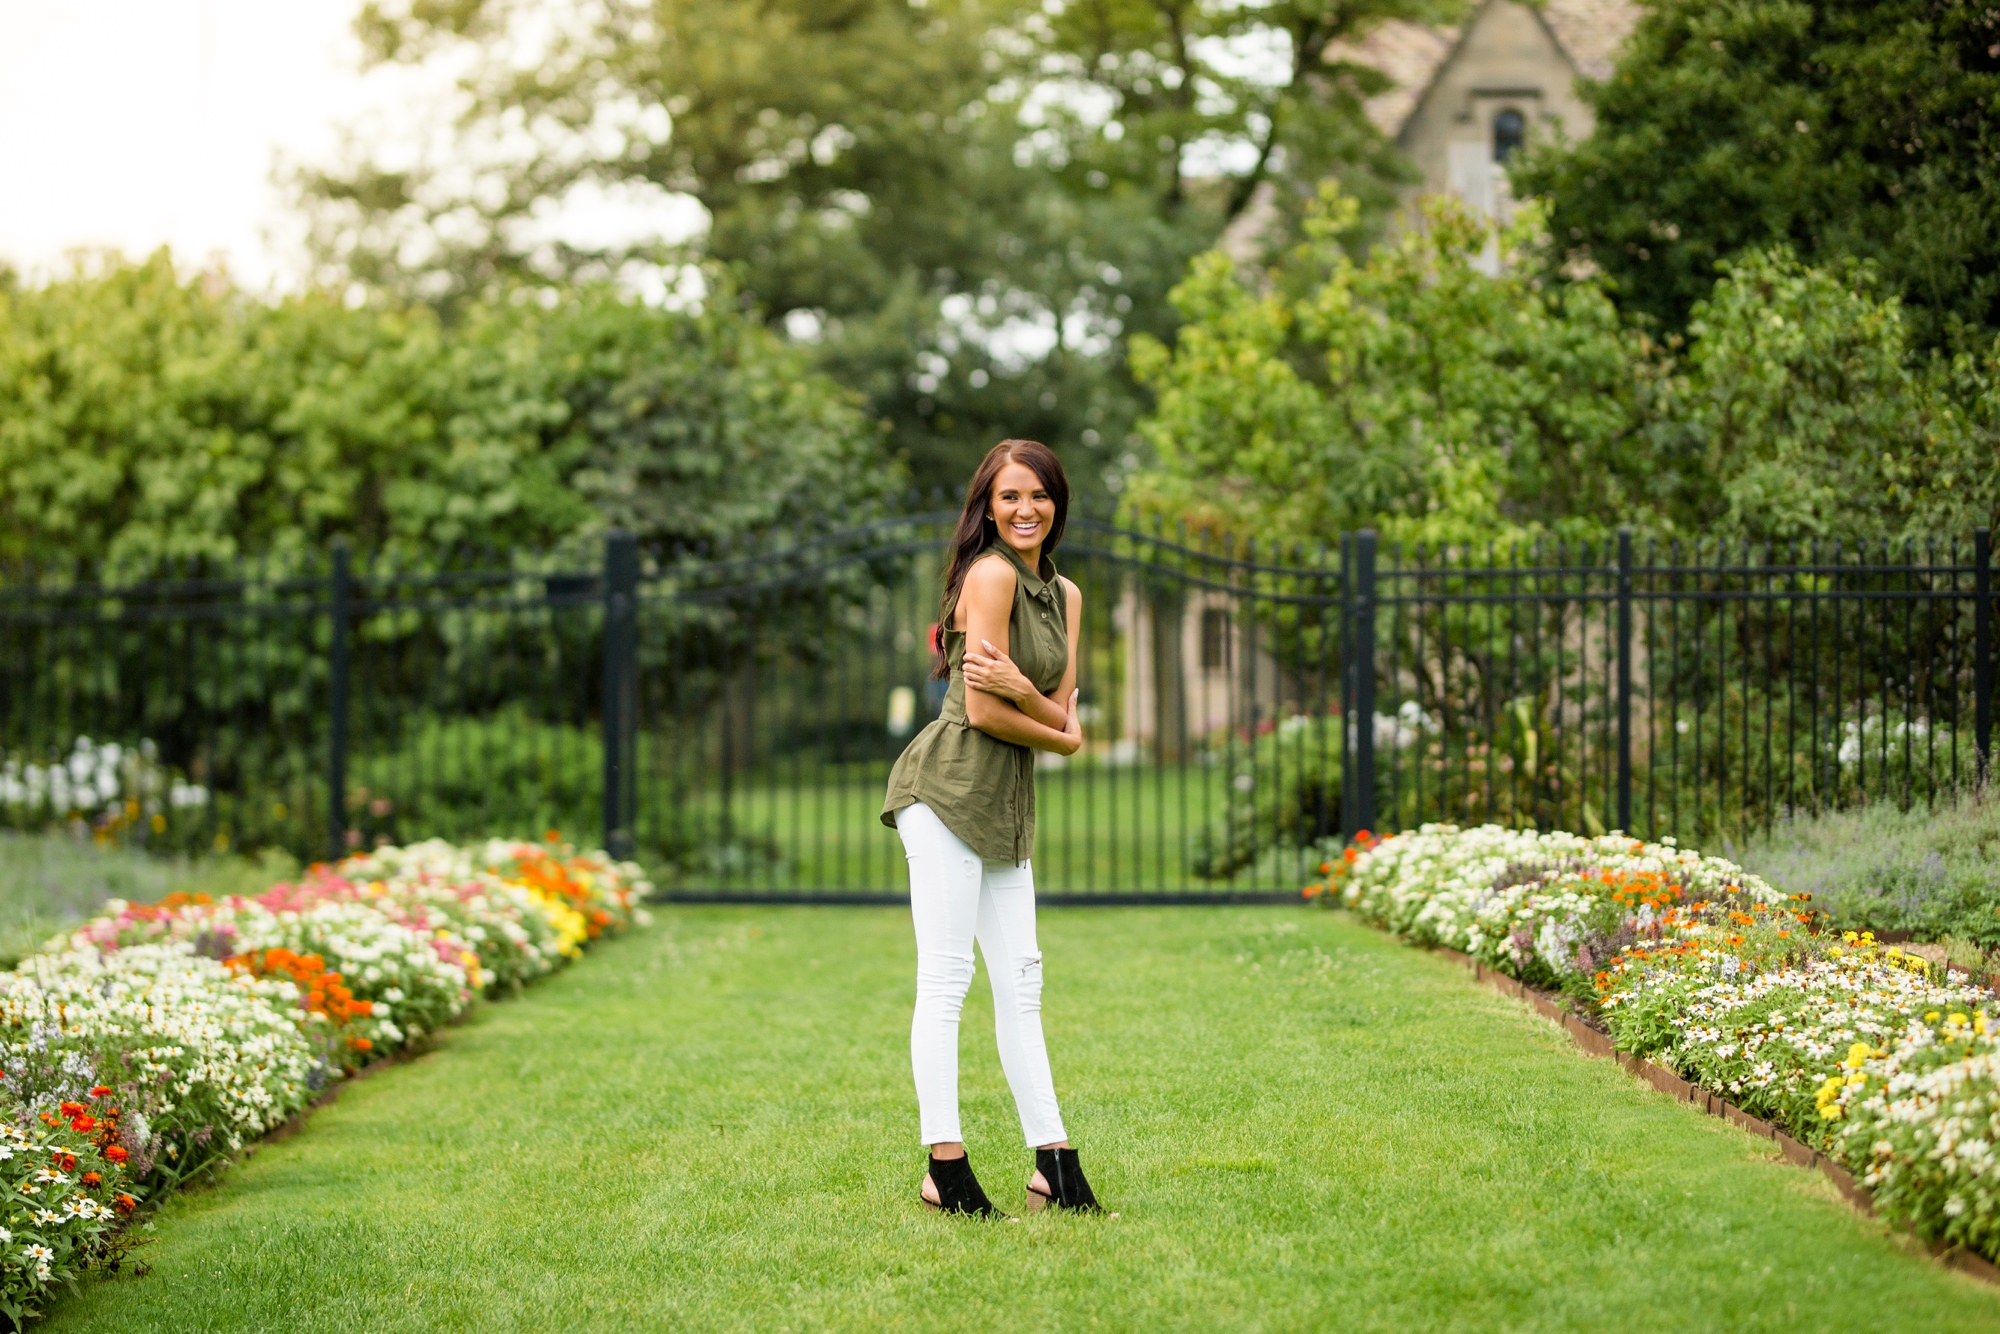
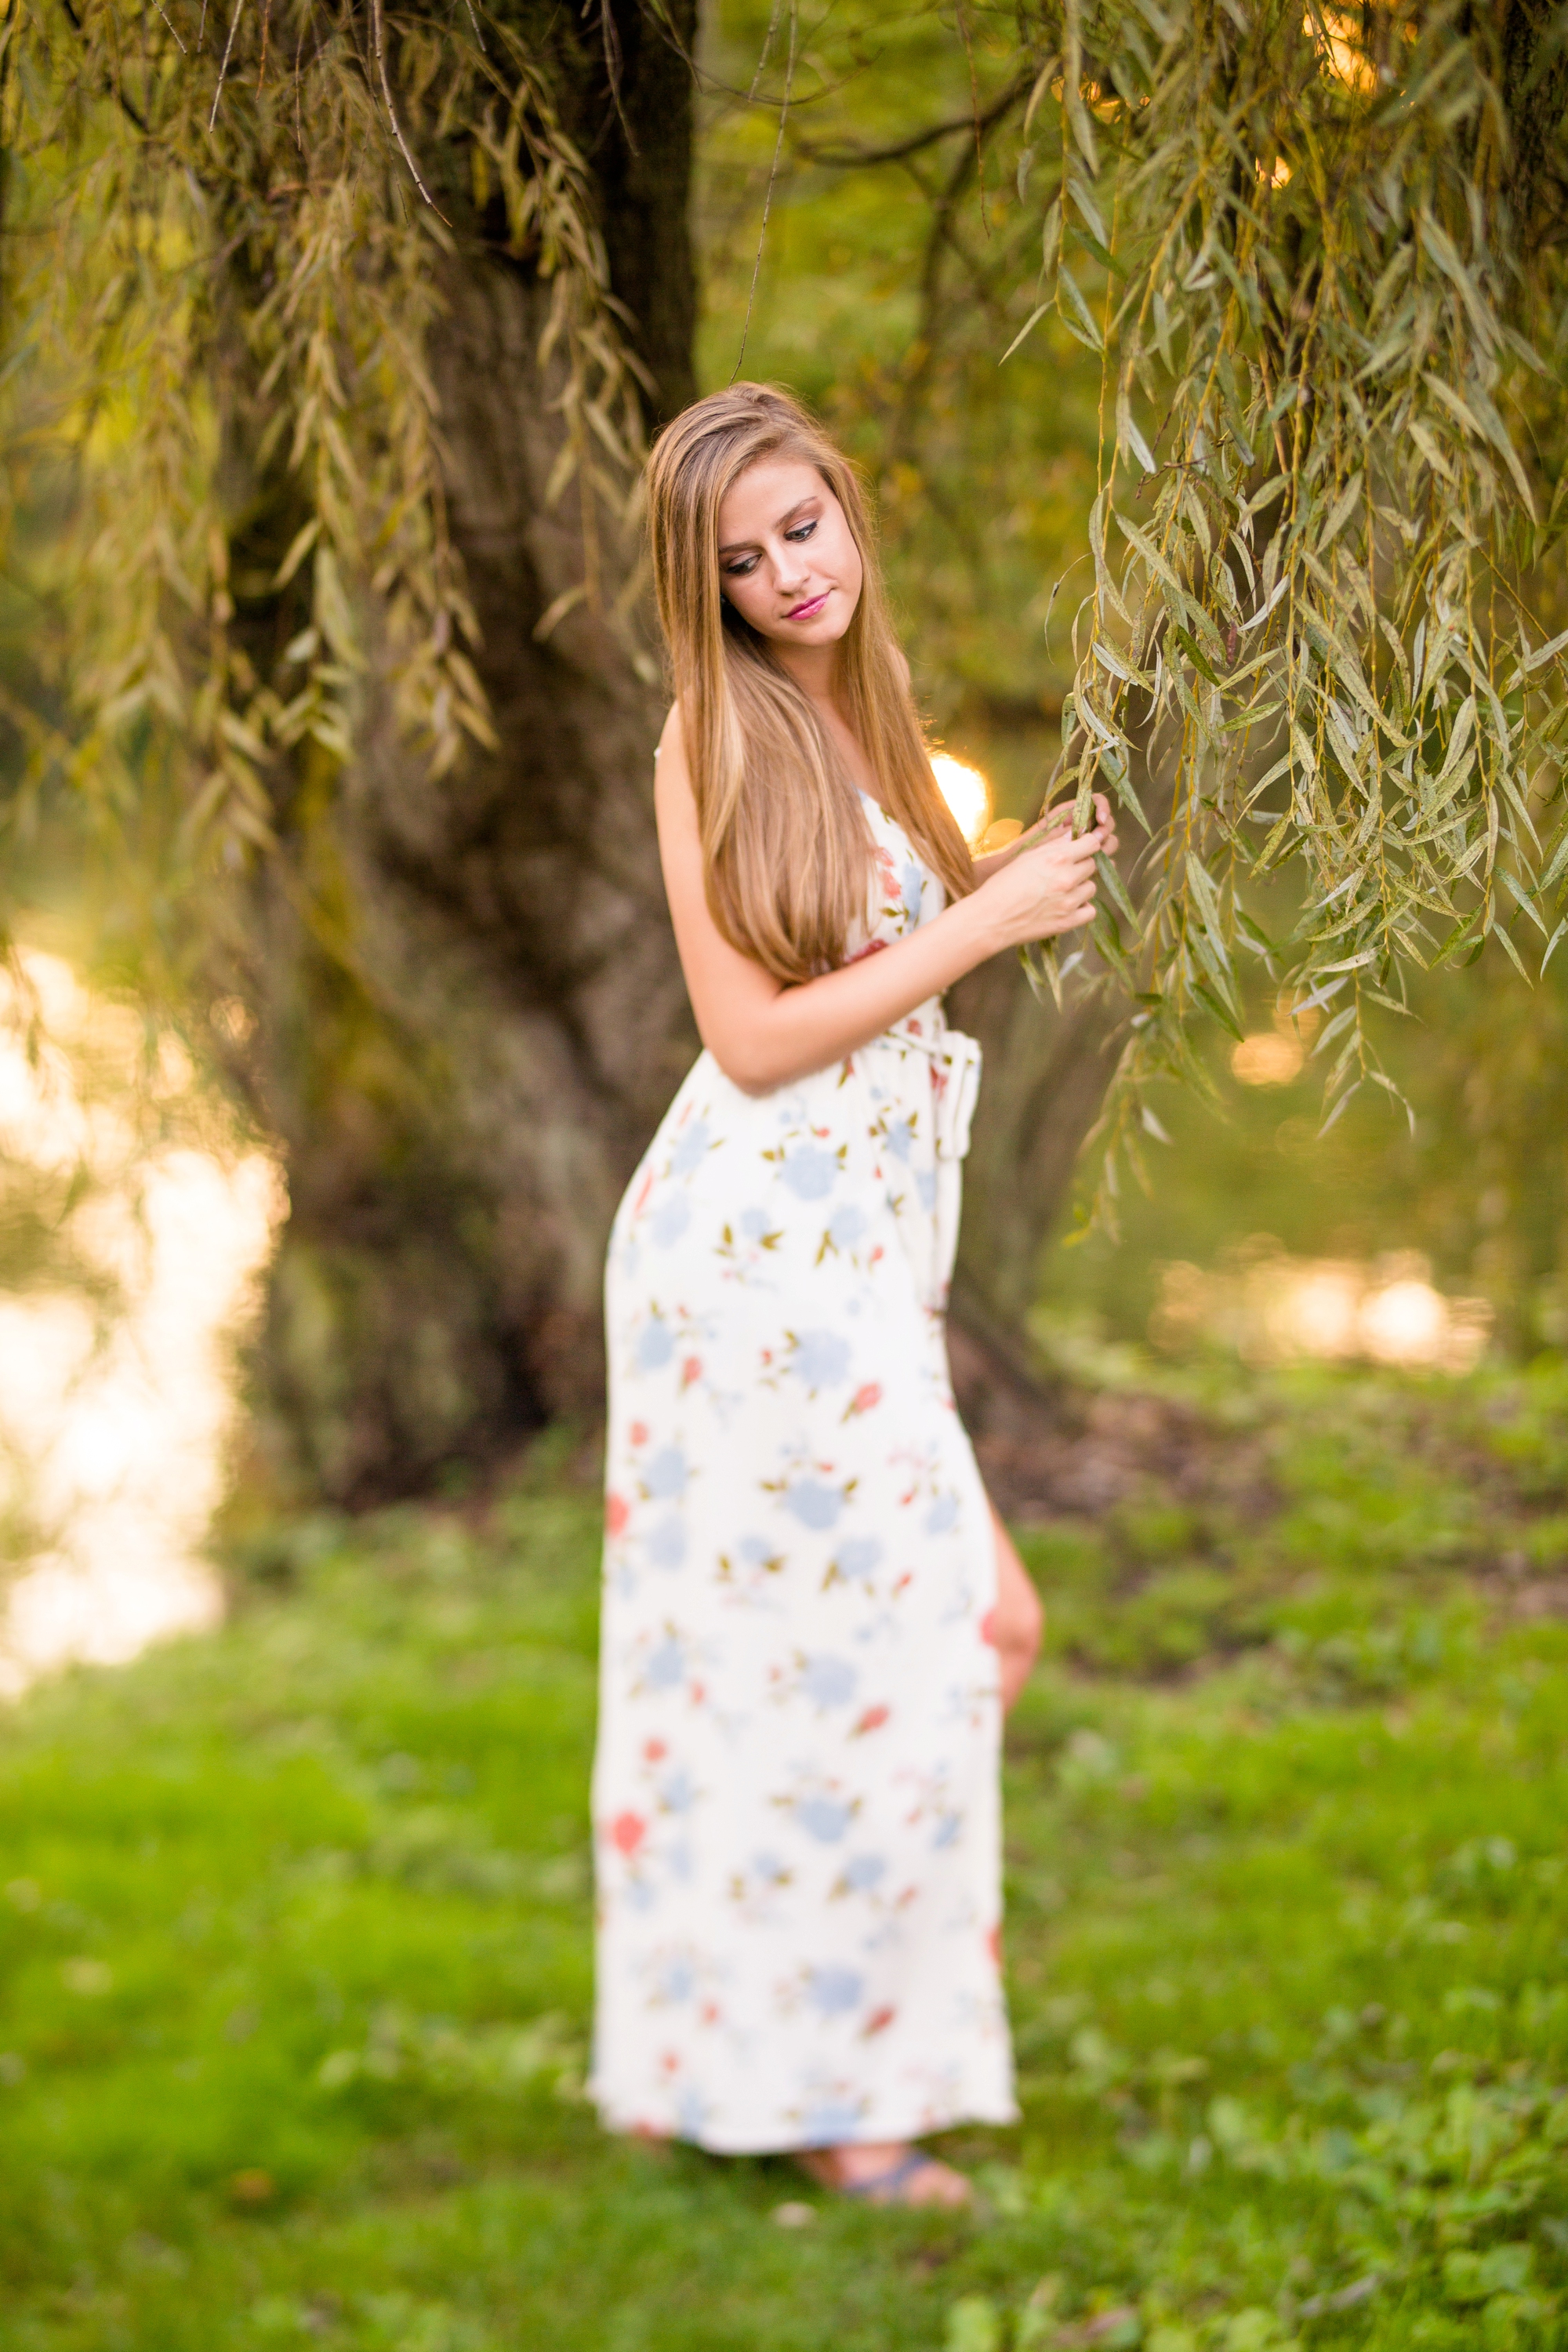
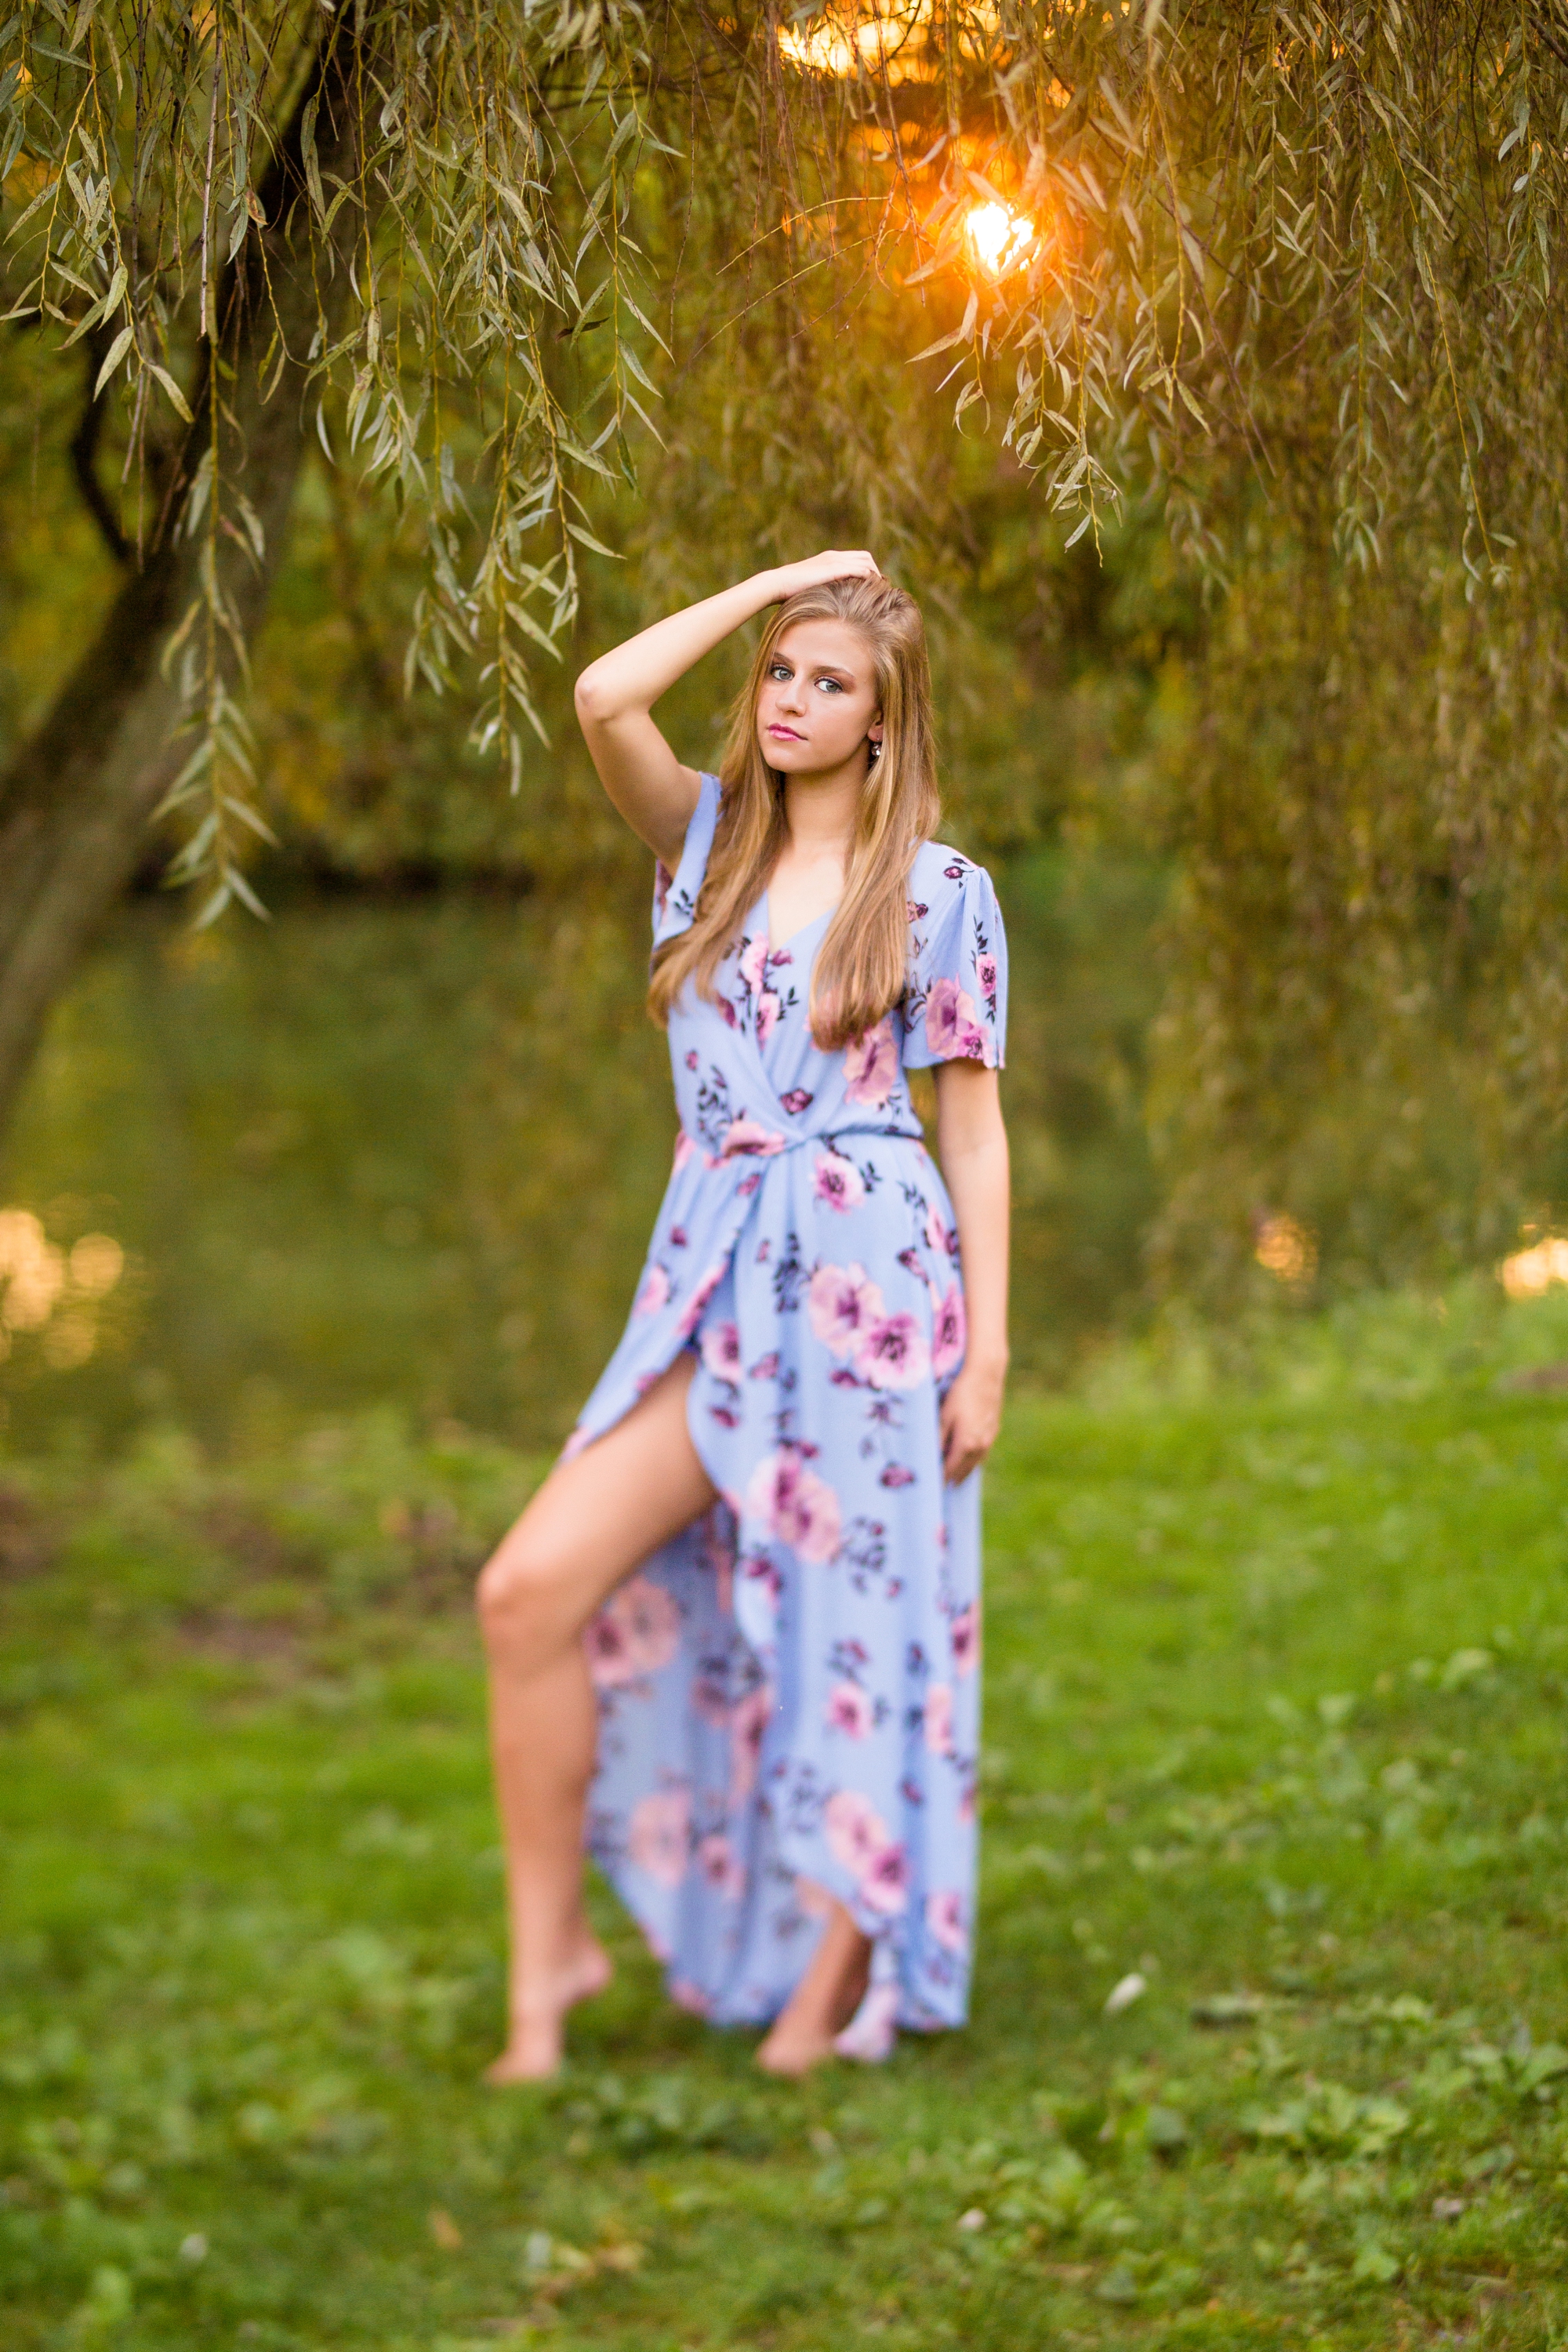
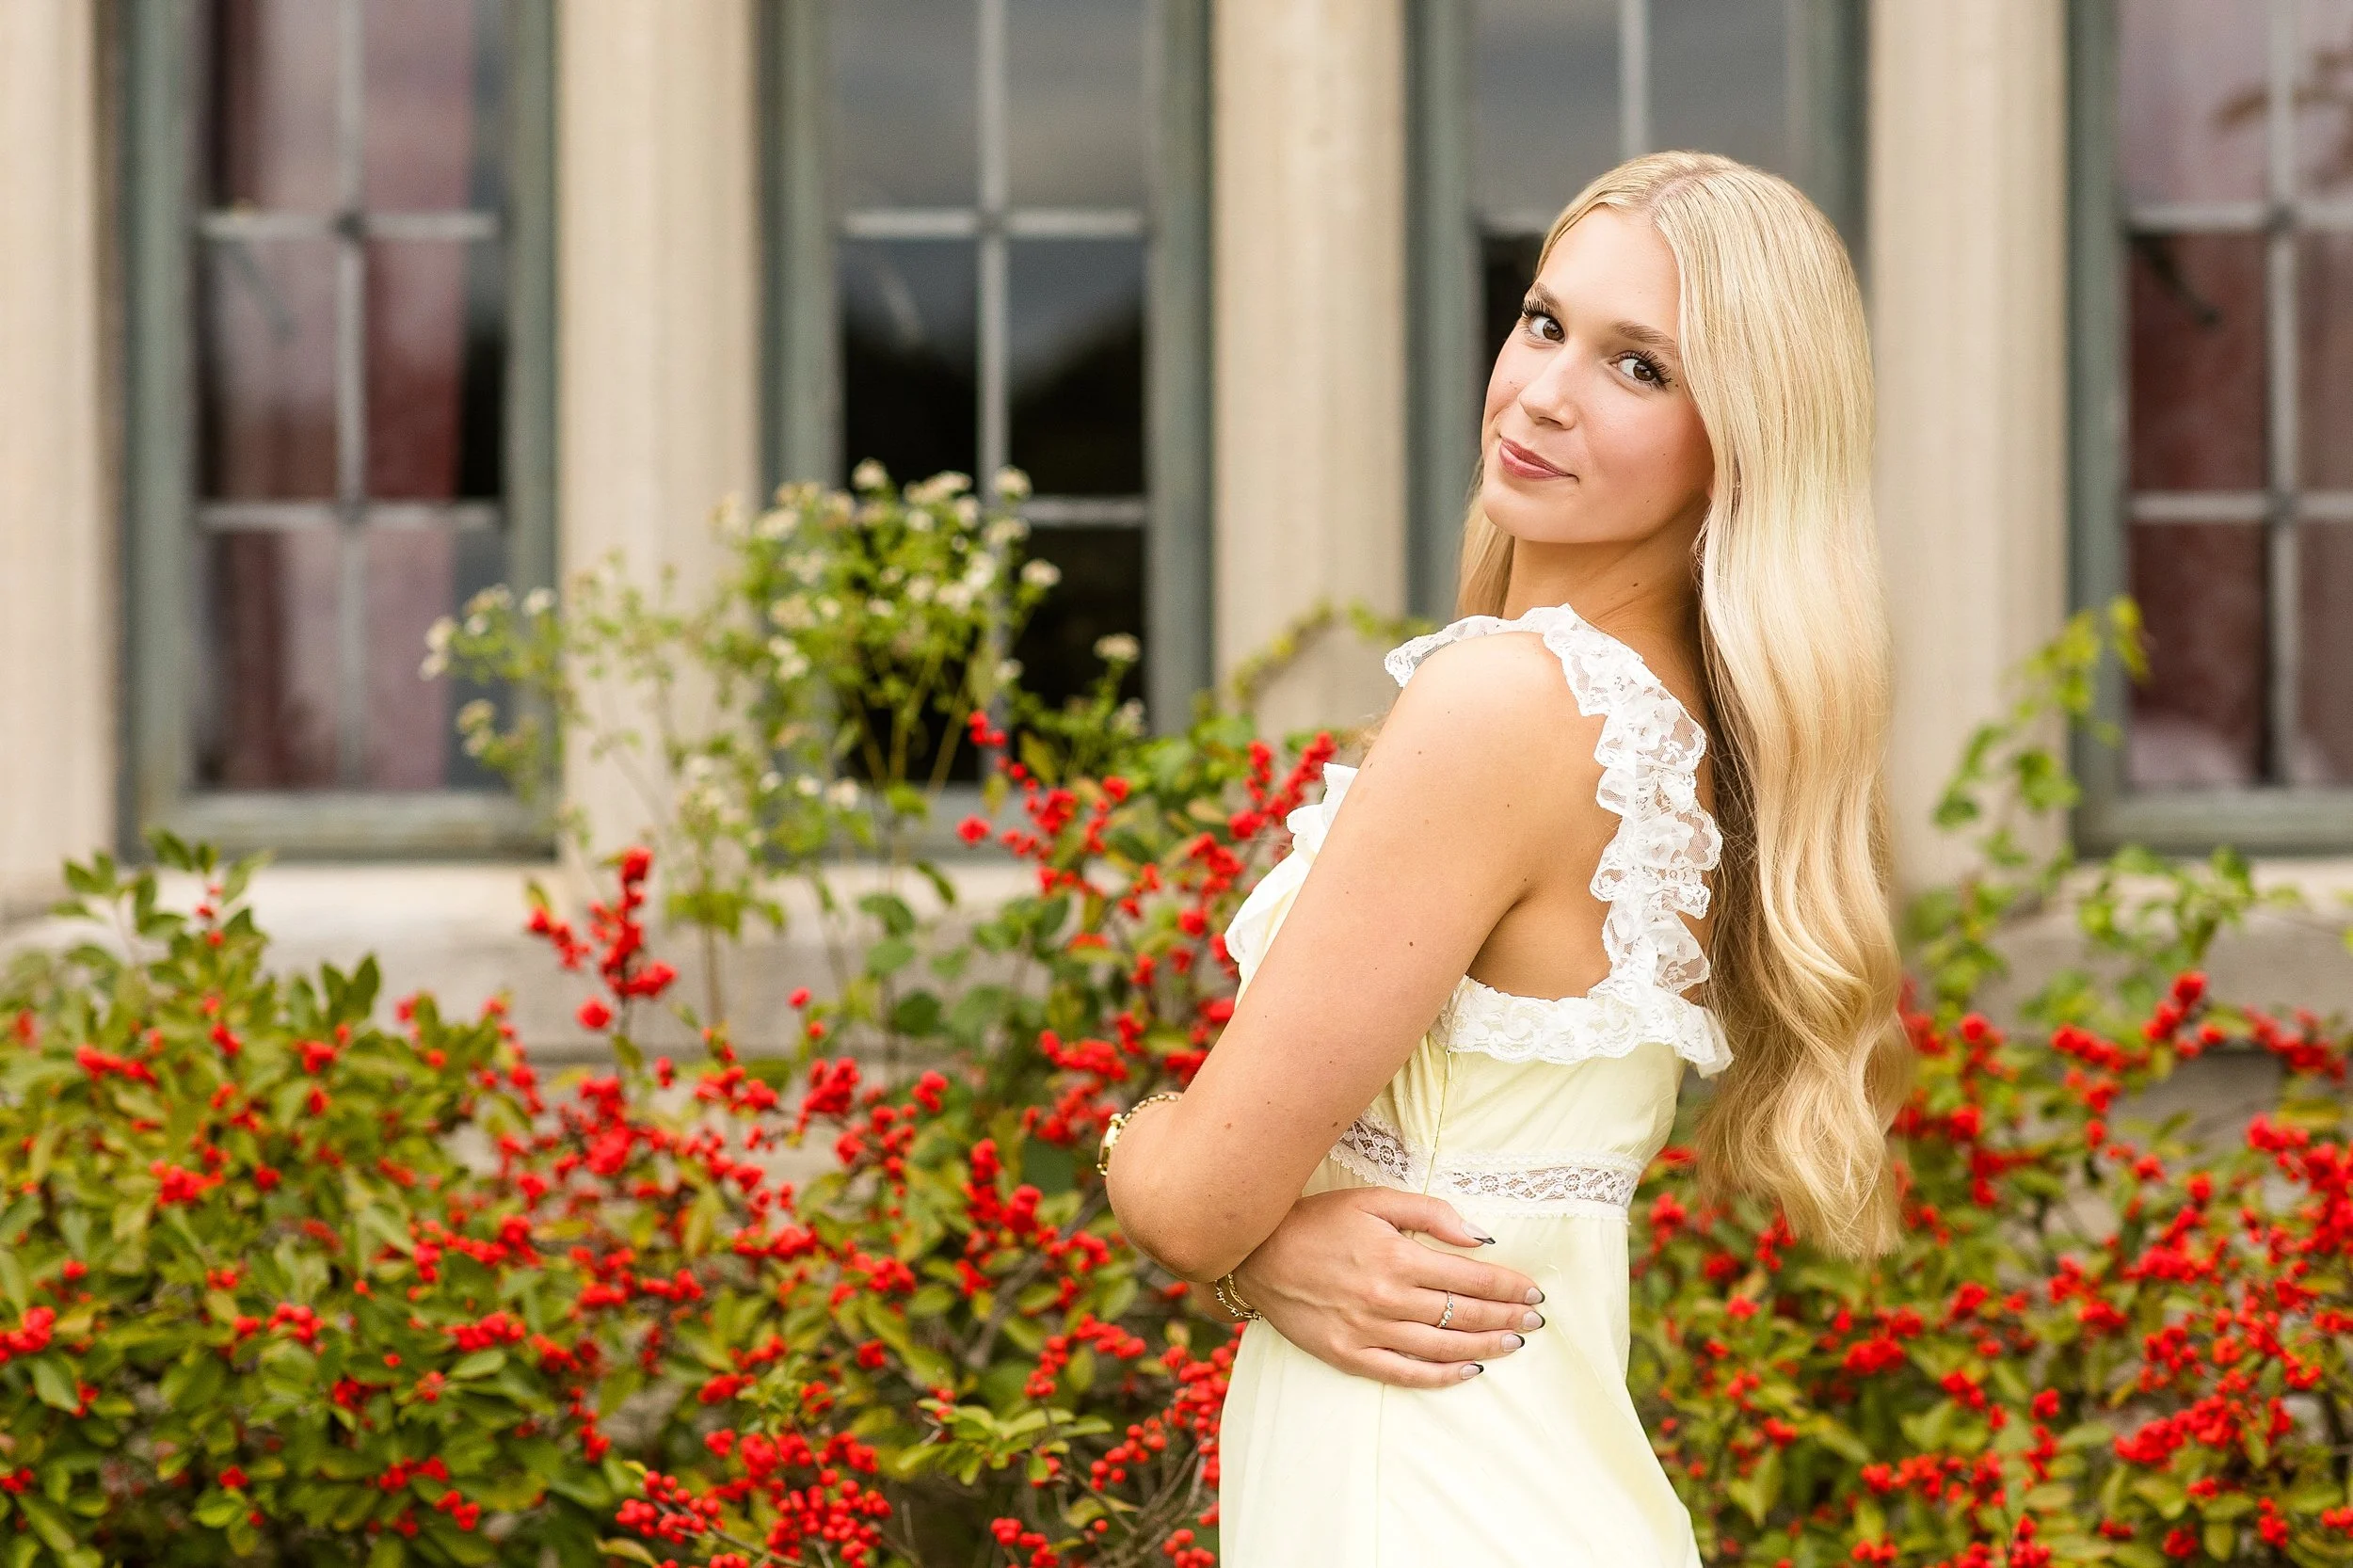
  • Neutrals - As much as I love bright colors, there’s something sophisticated about some well coordinated neutrals. For example - white dresses are classic and pretty much never go out of style!

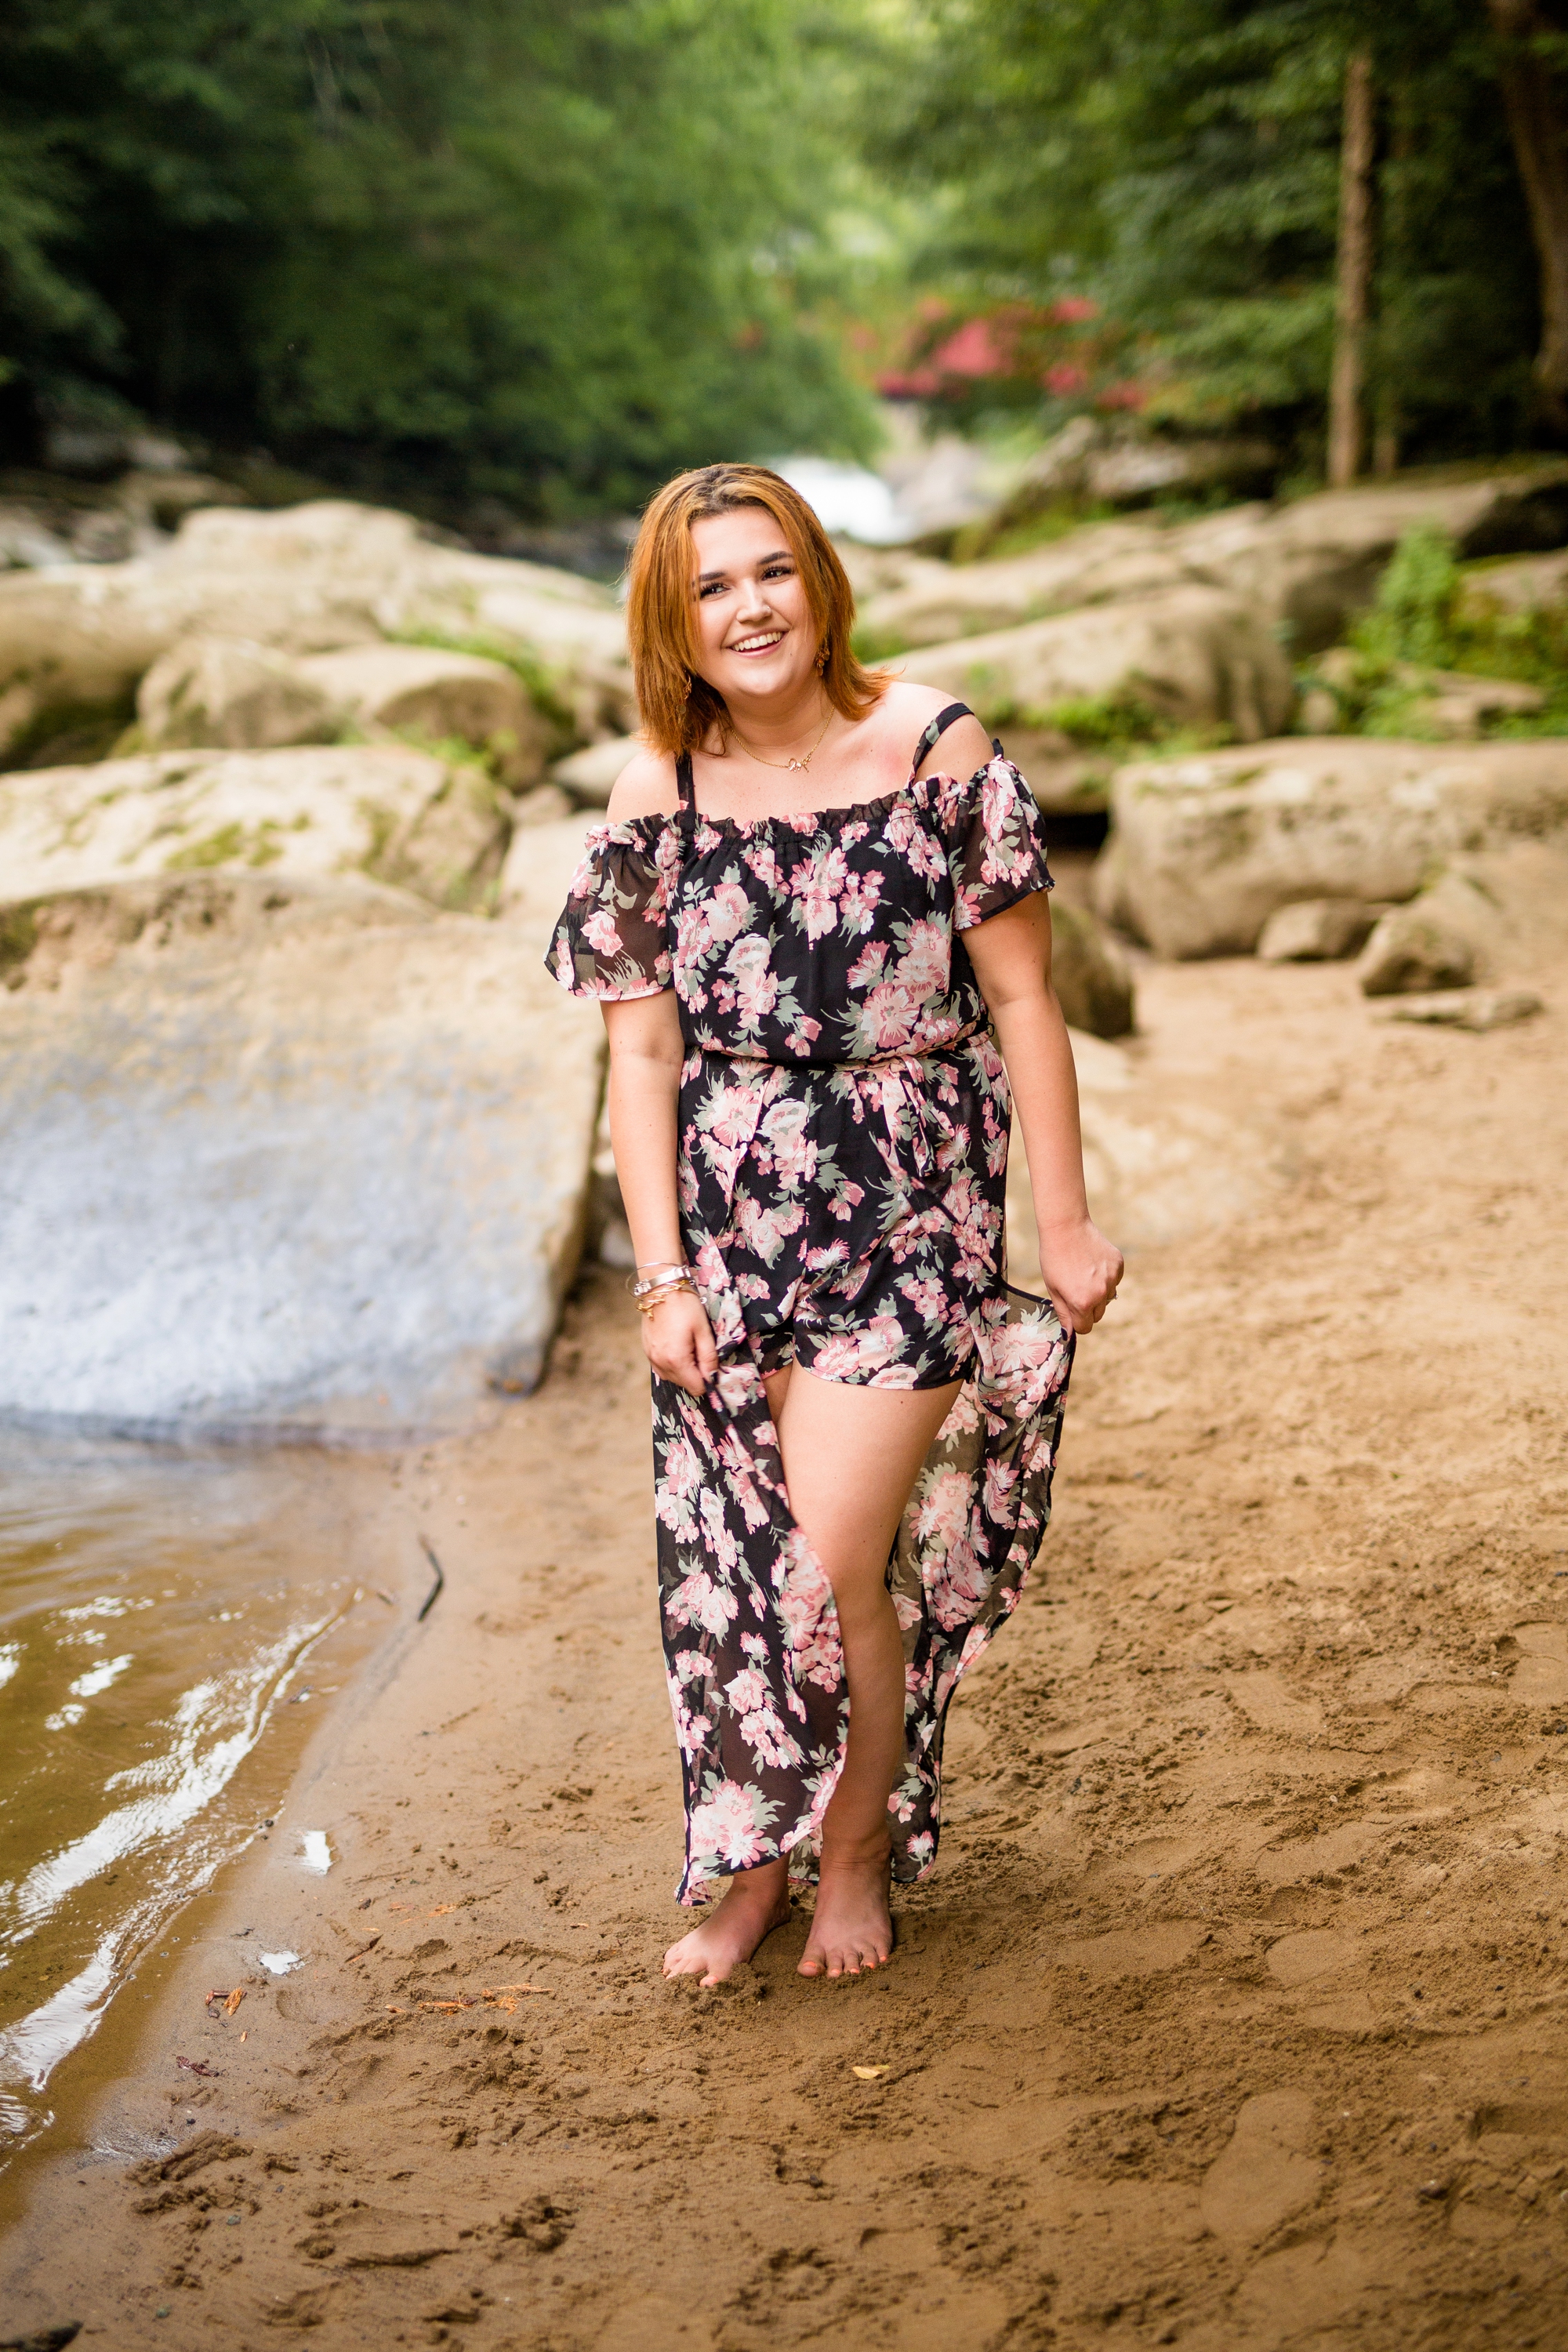
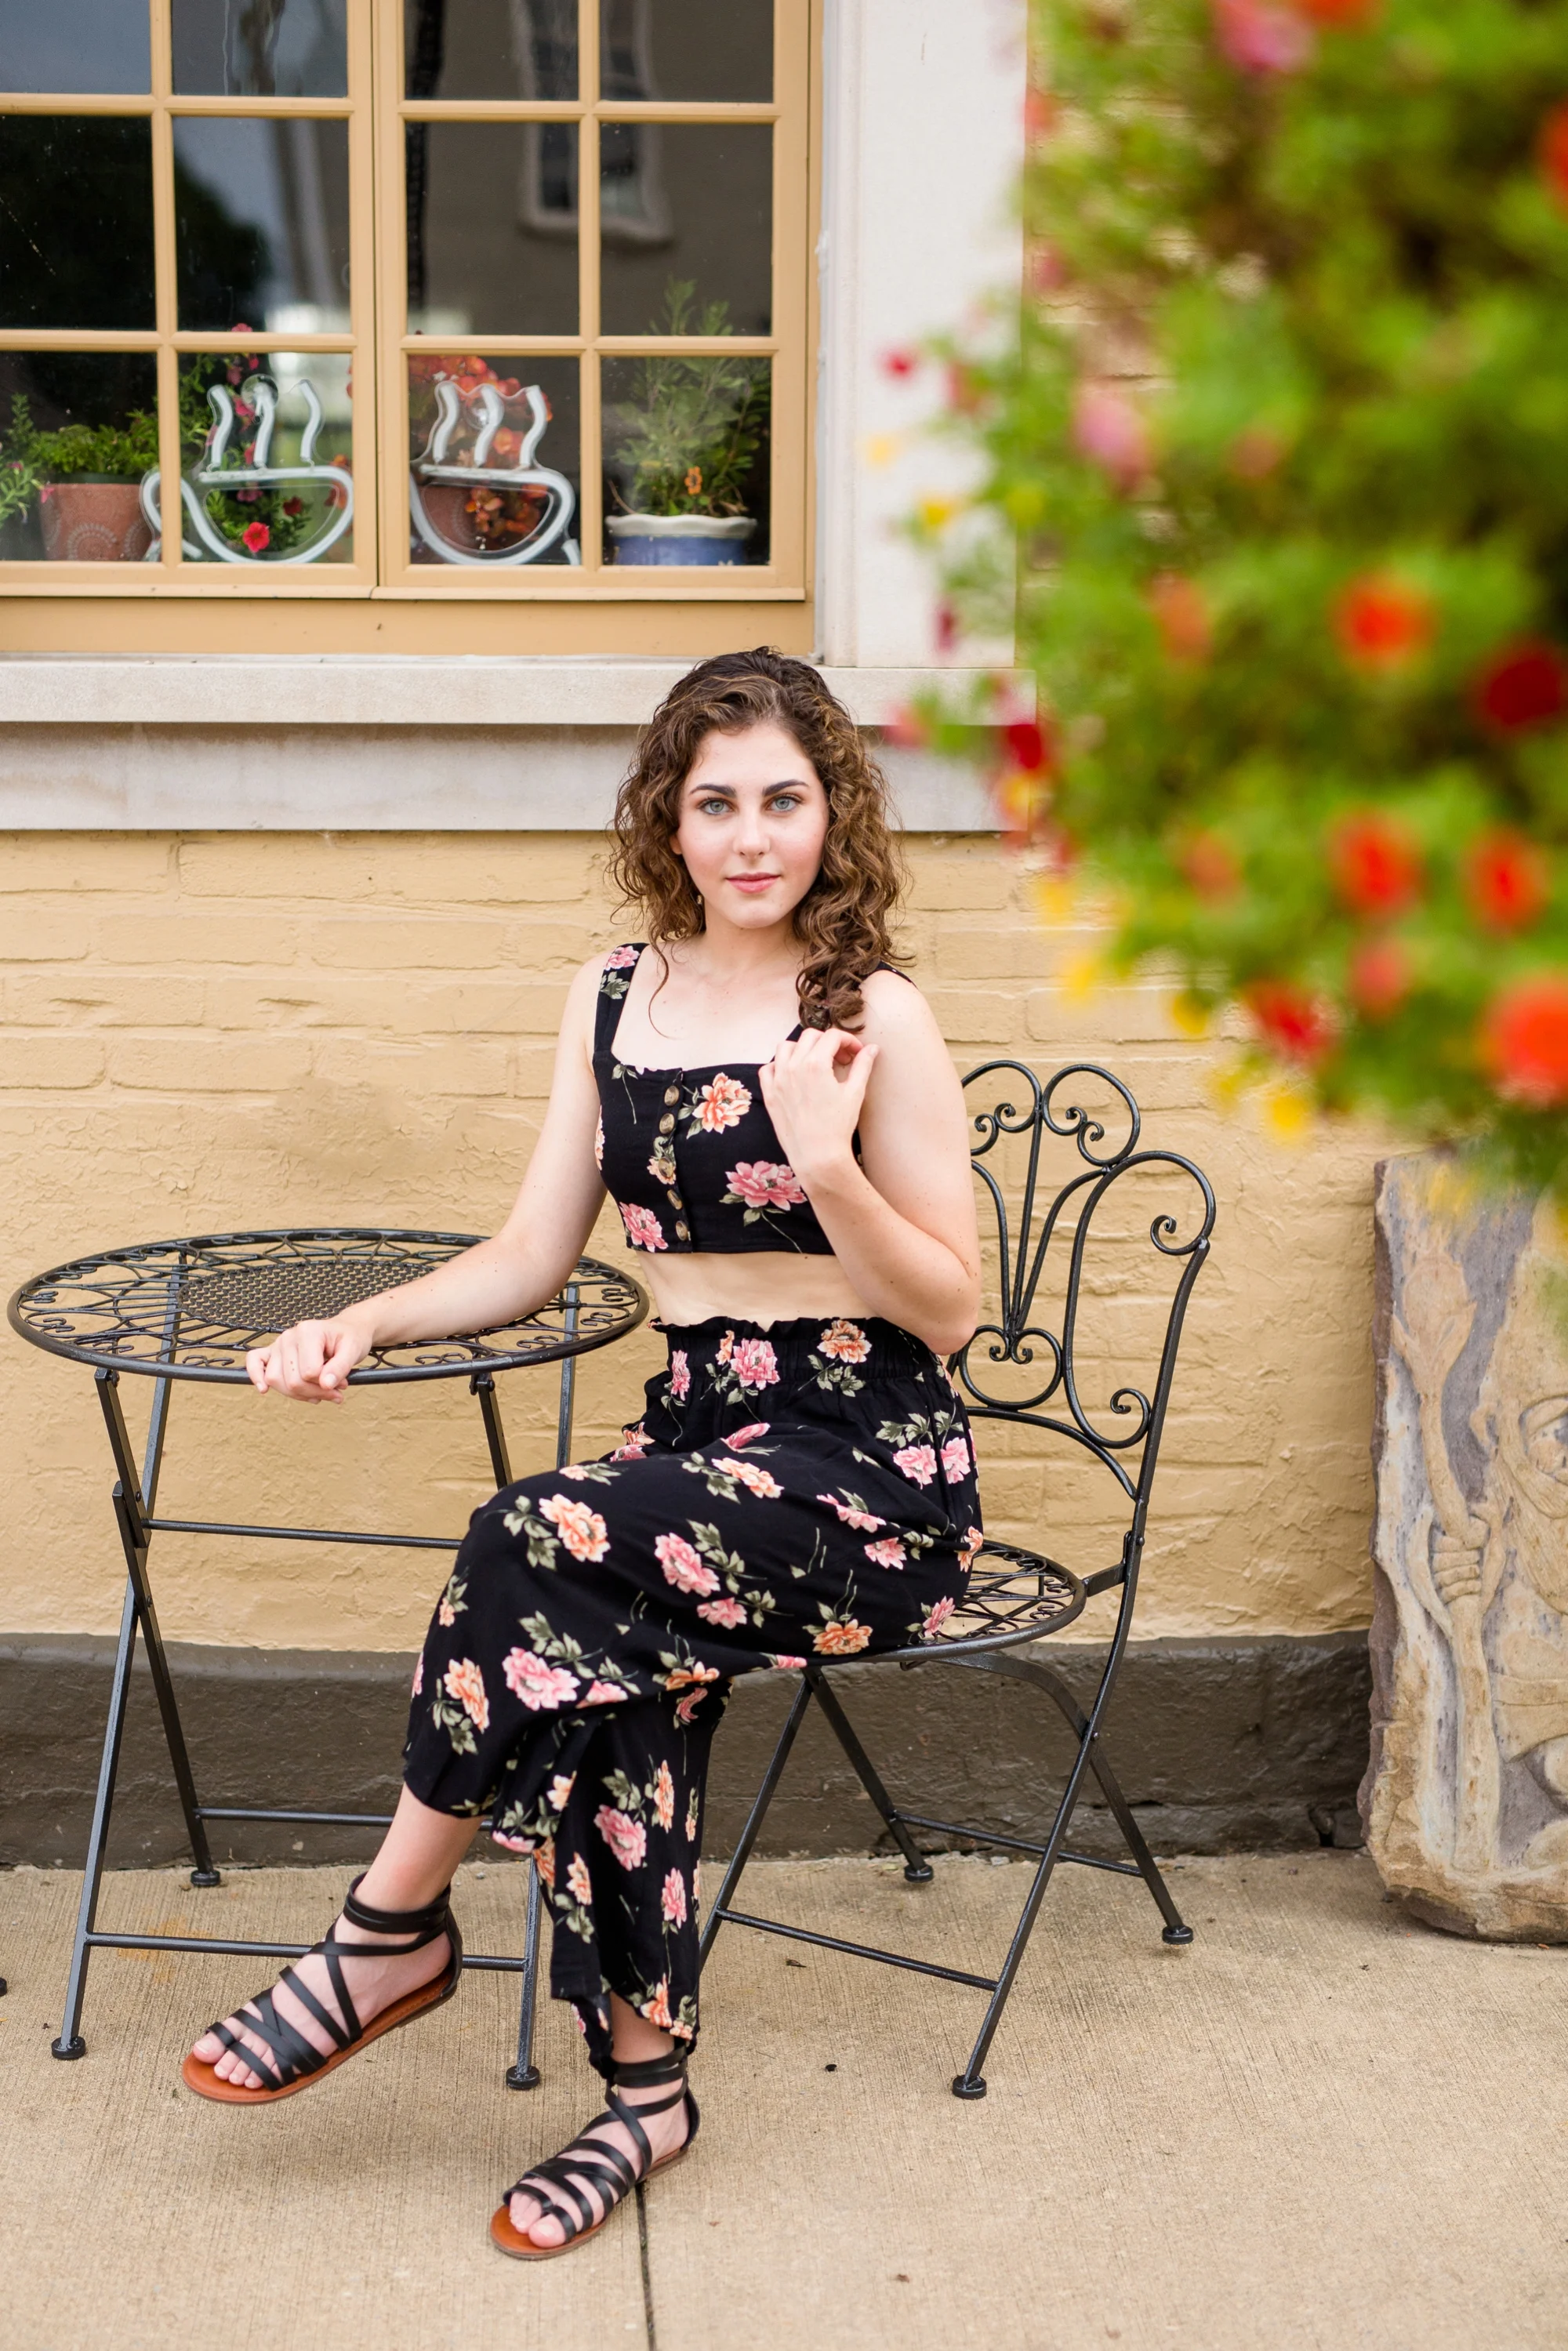
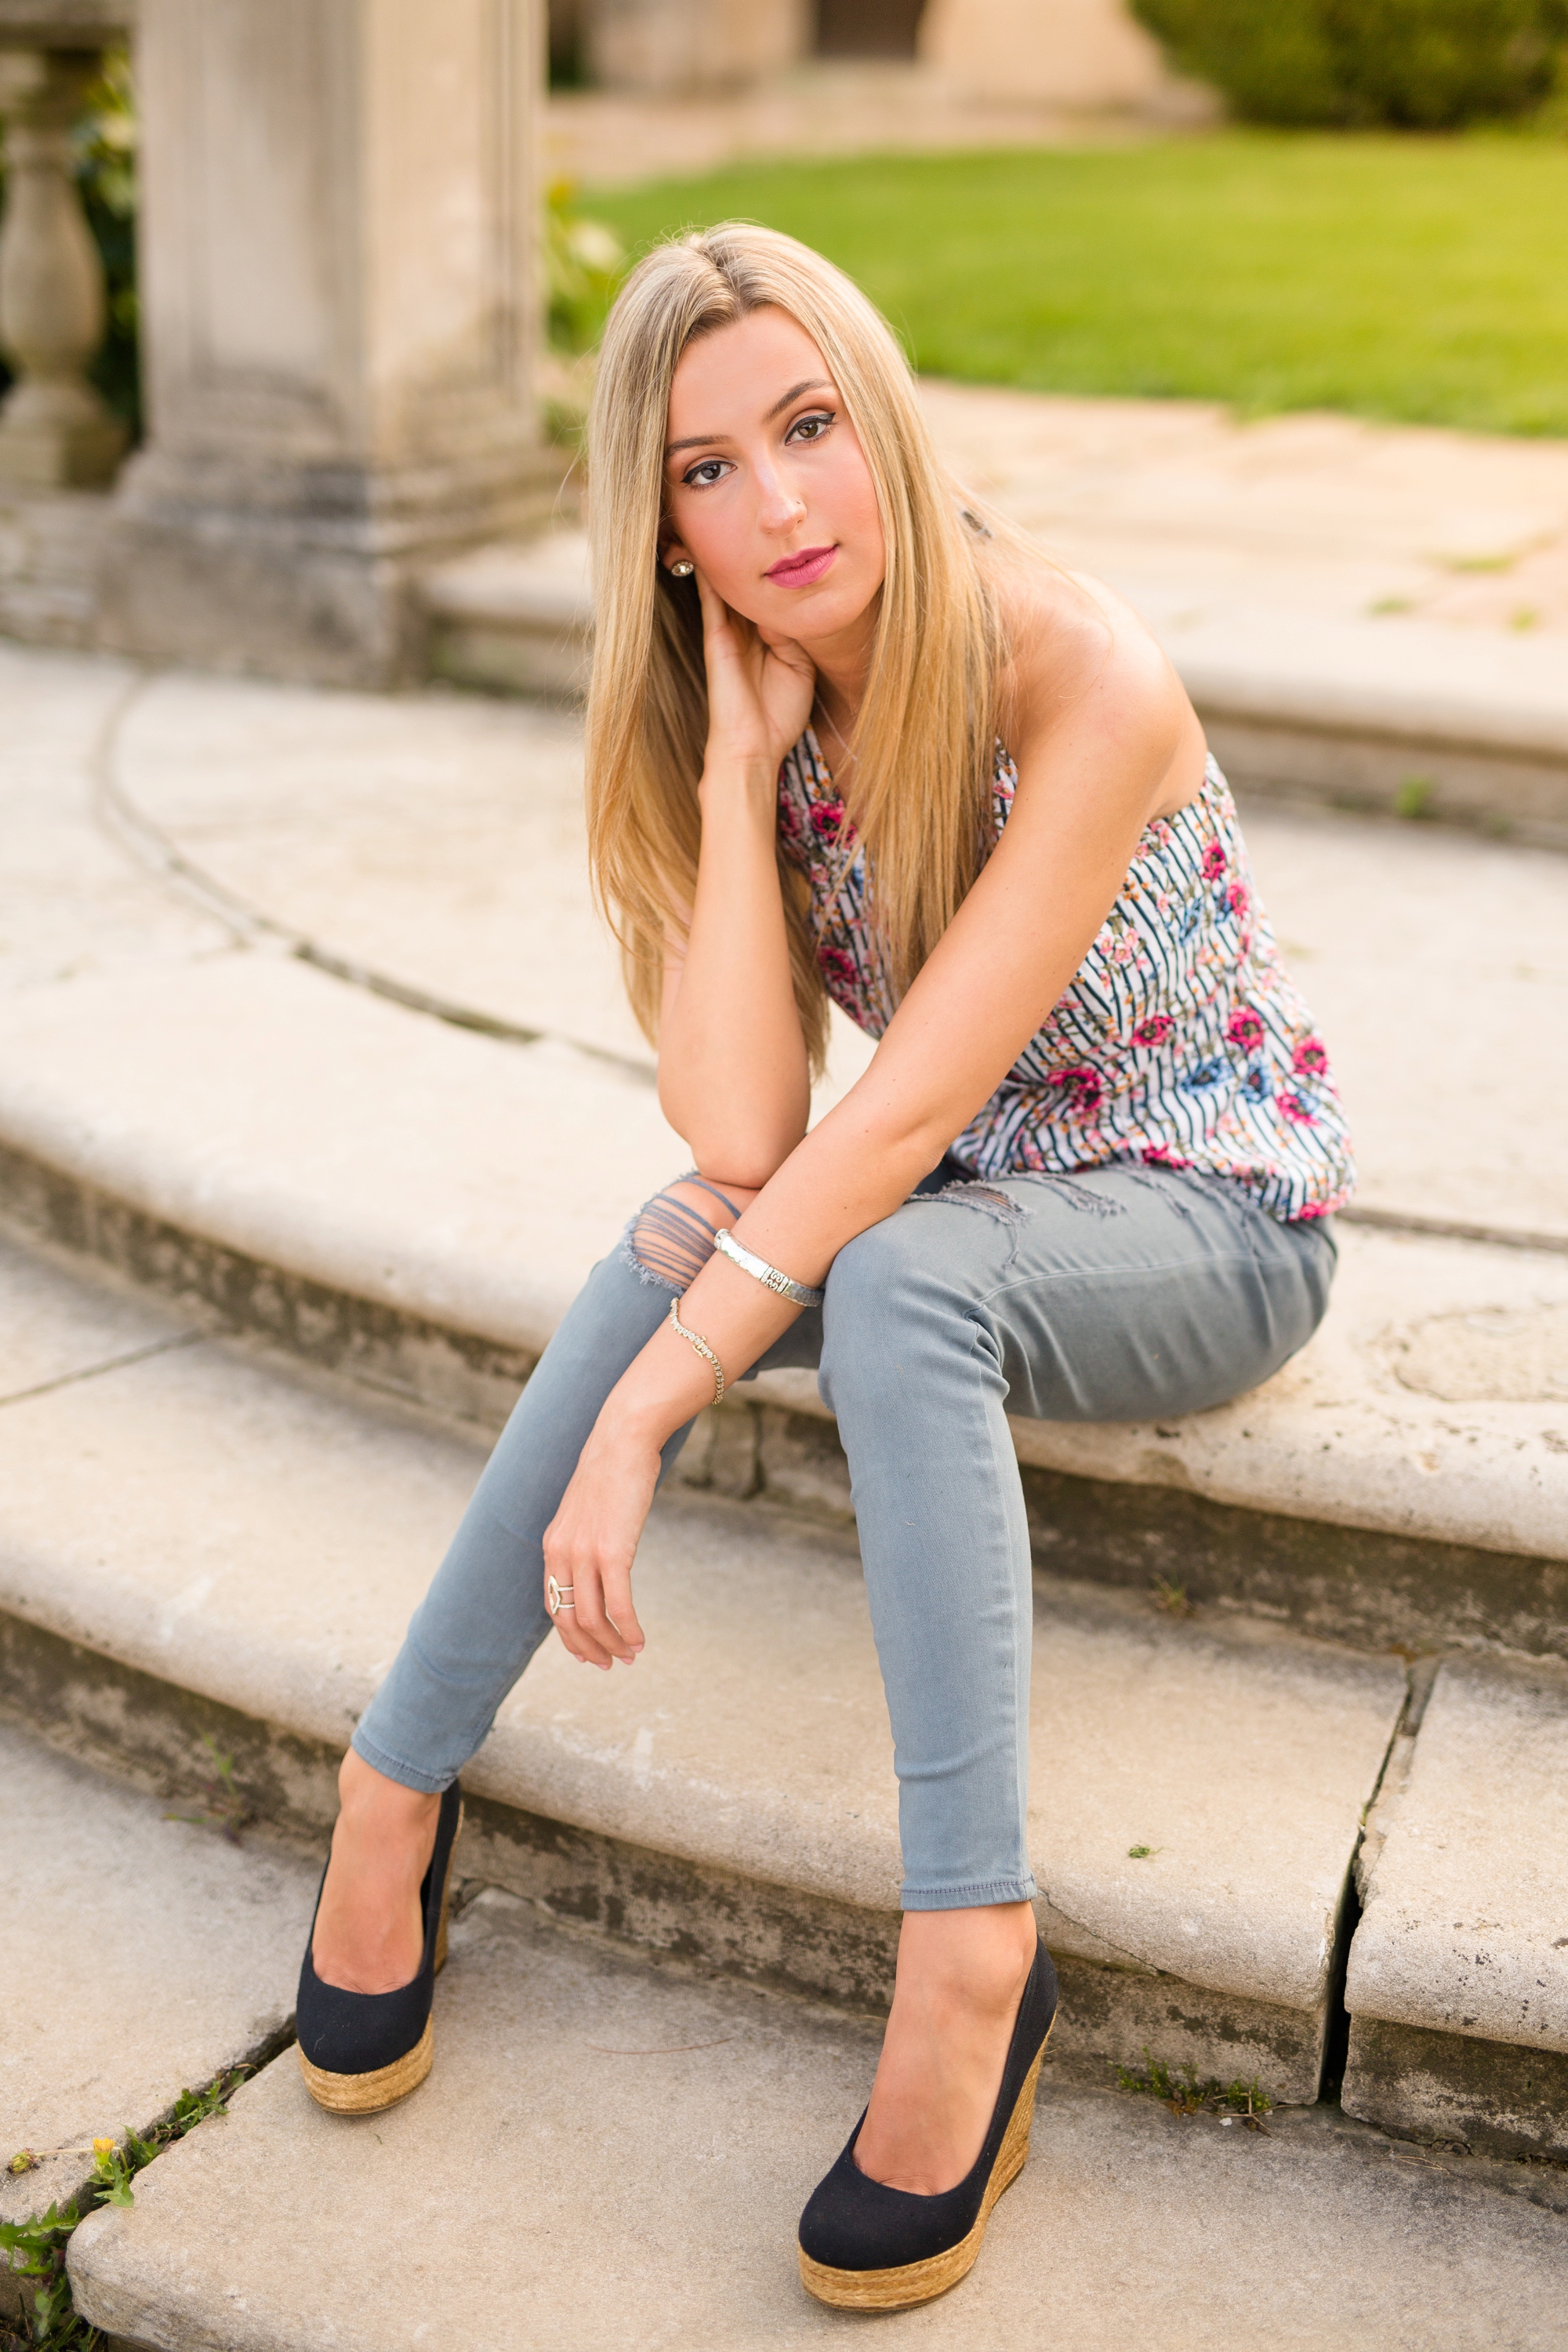
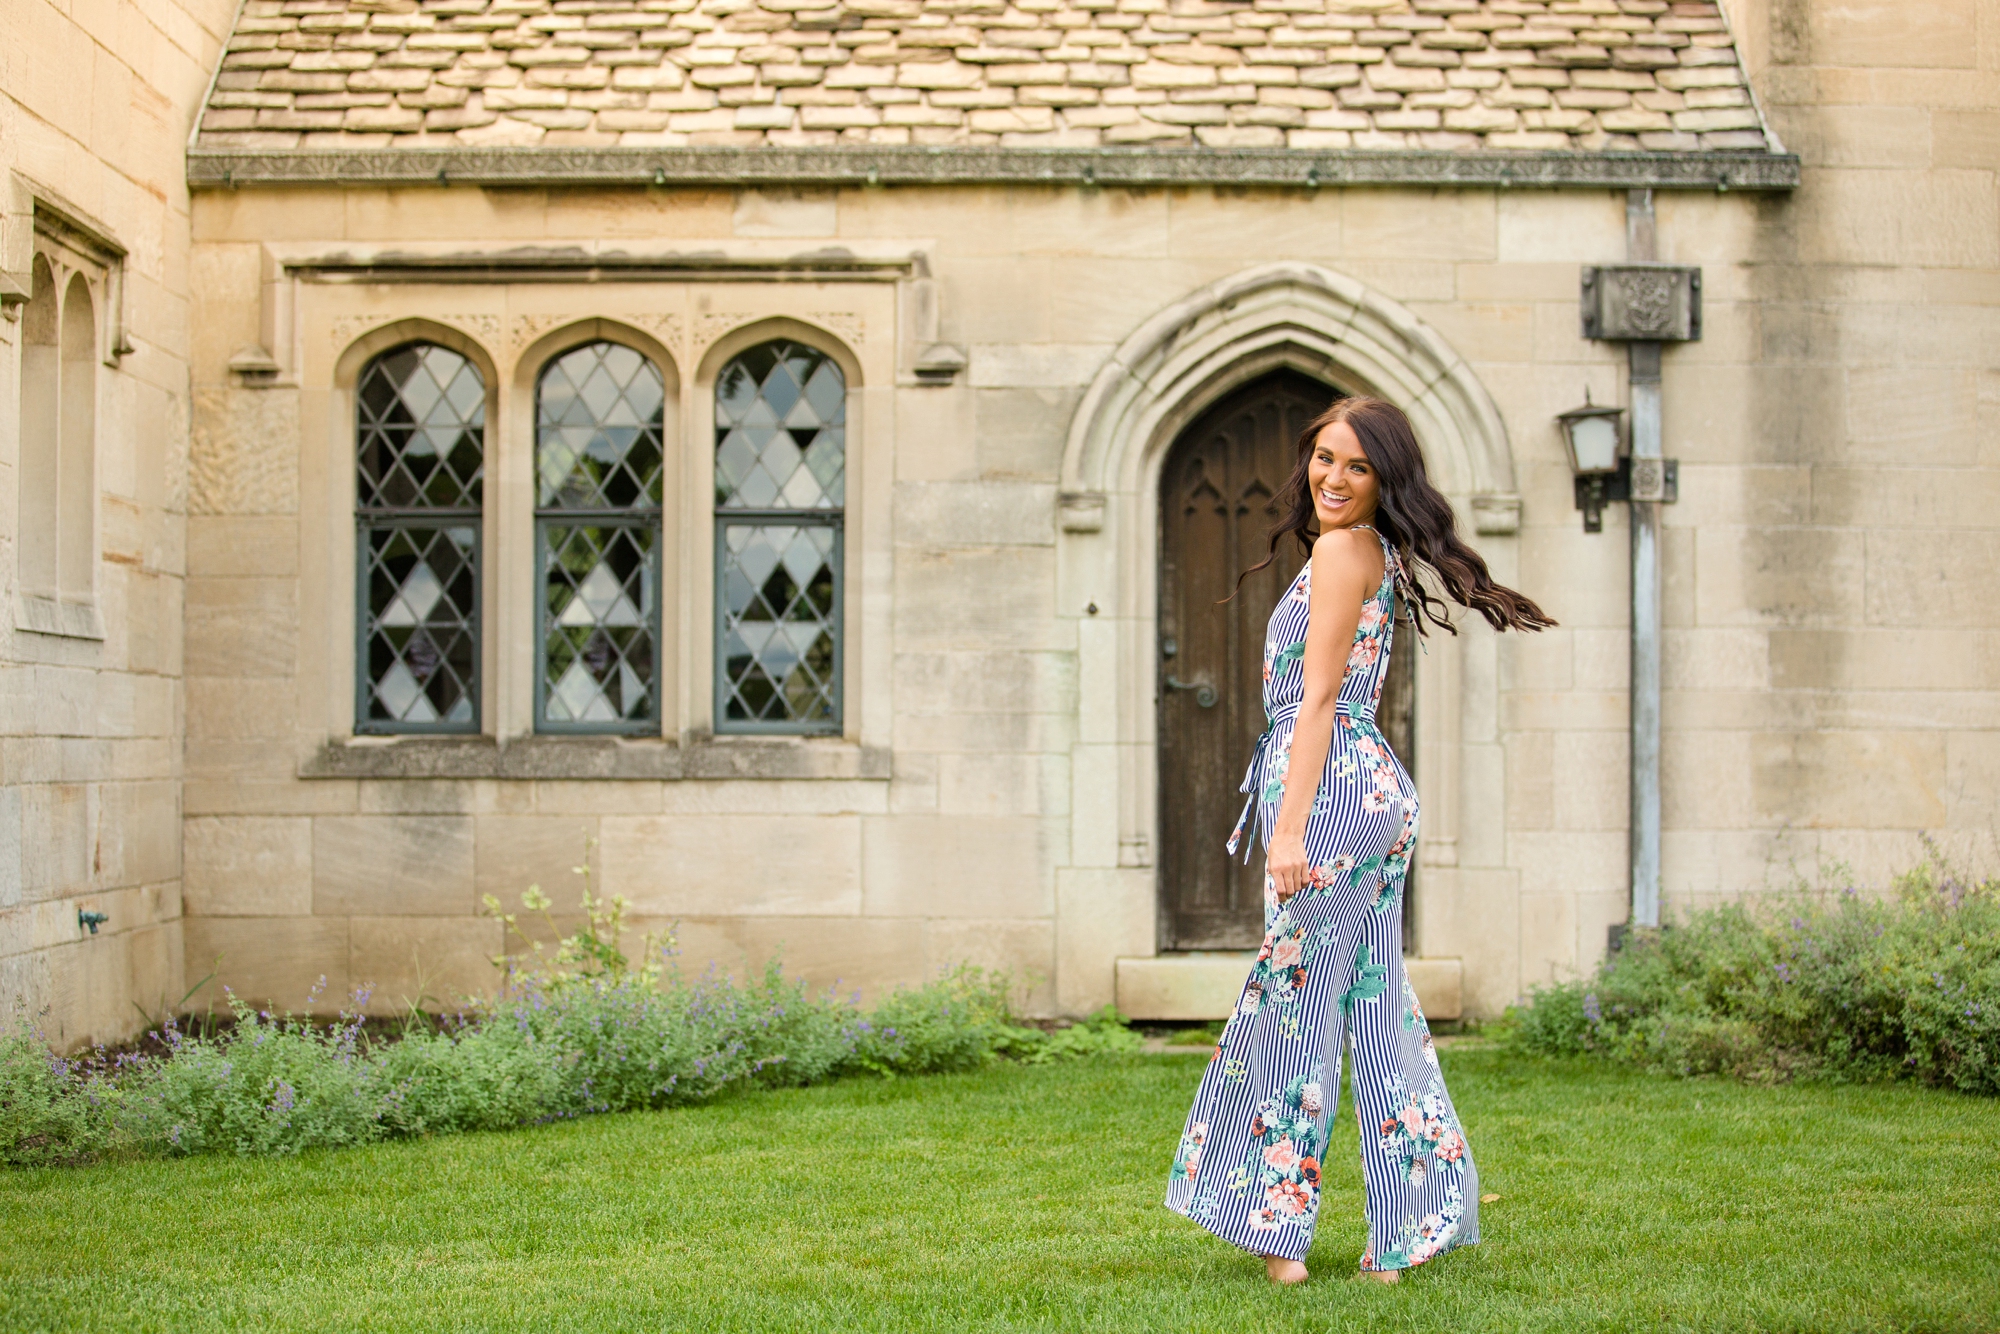
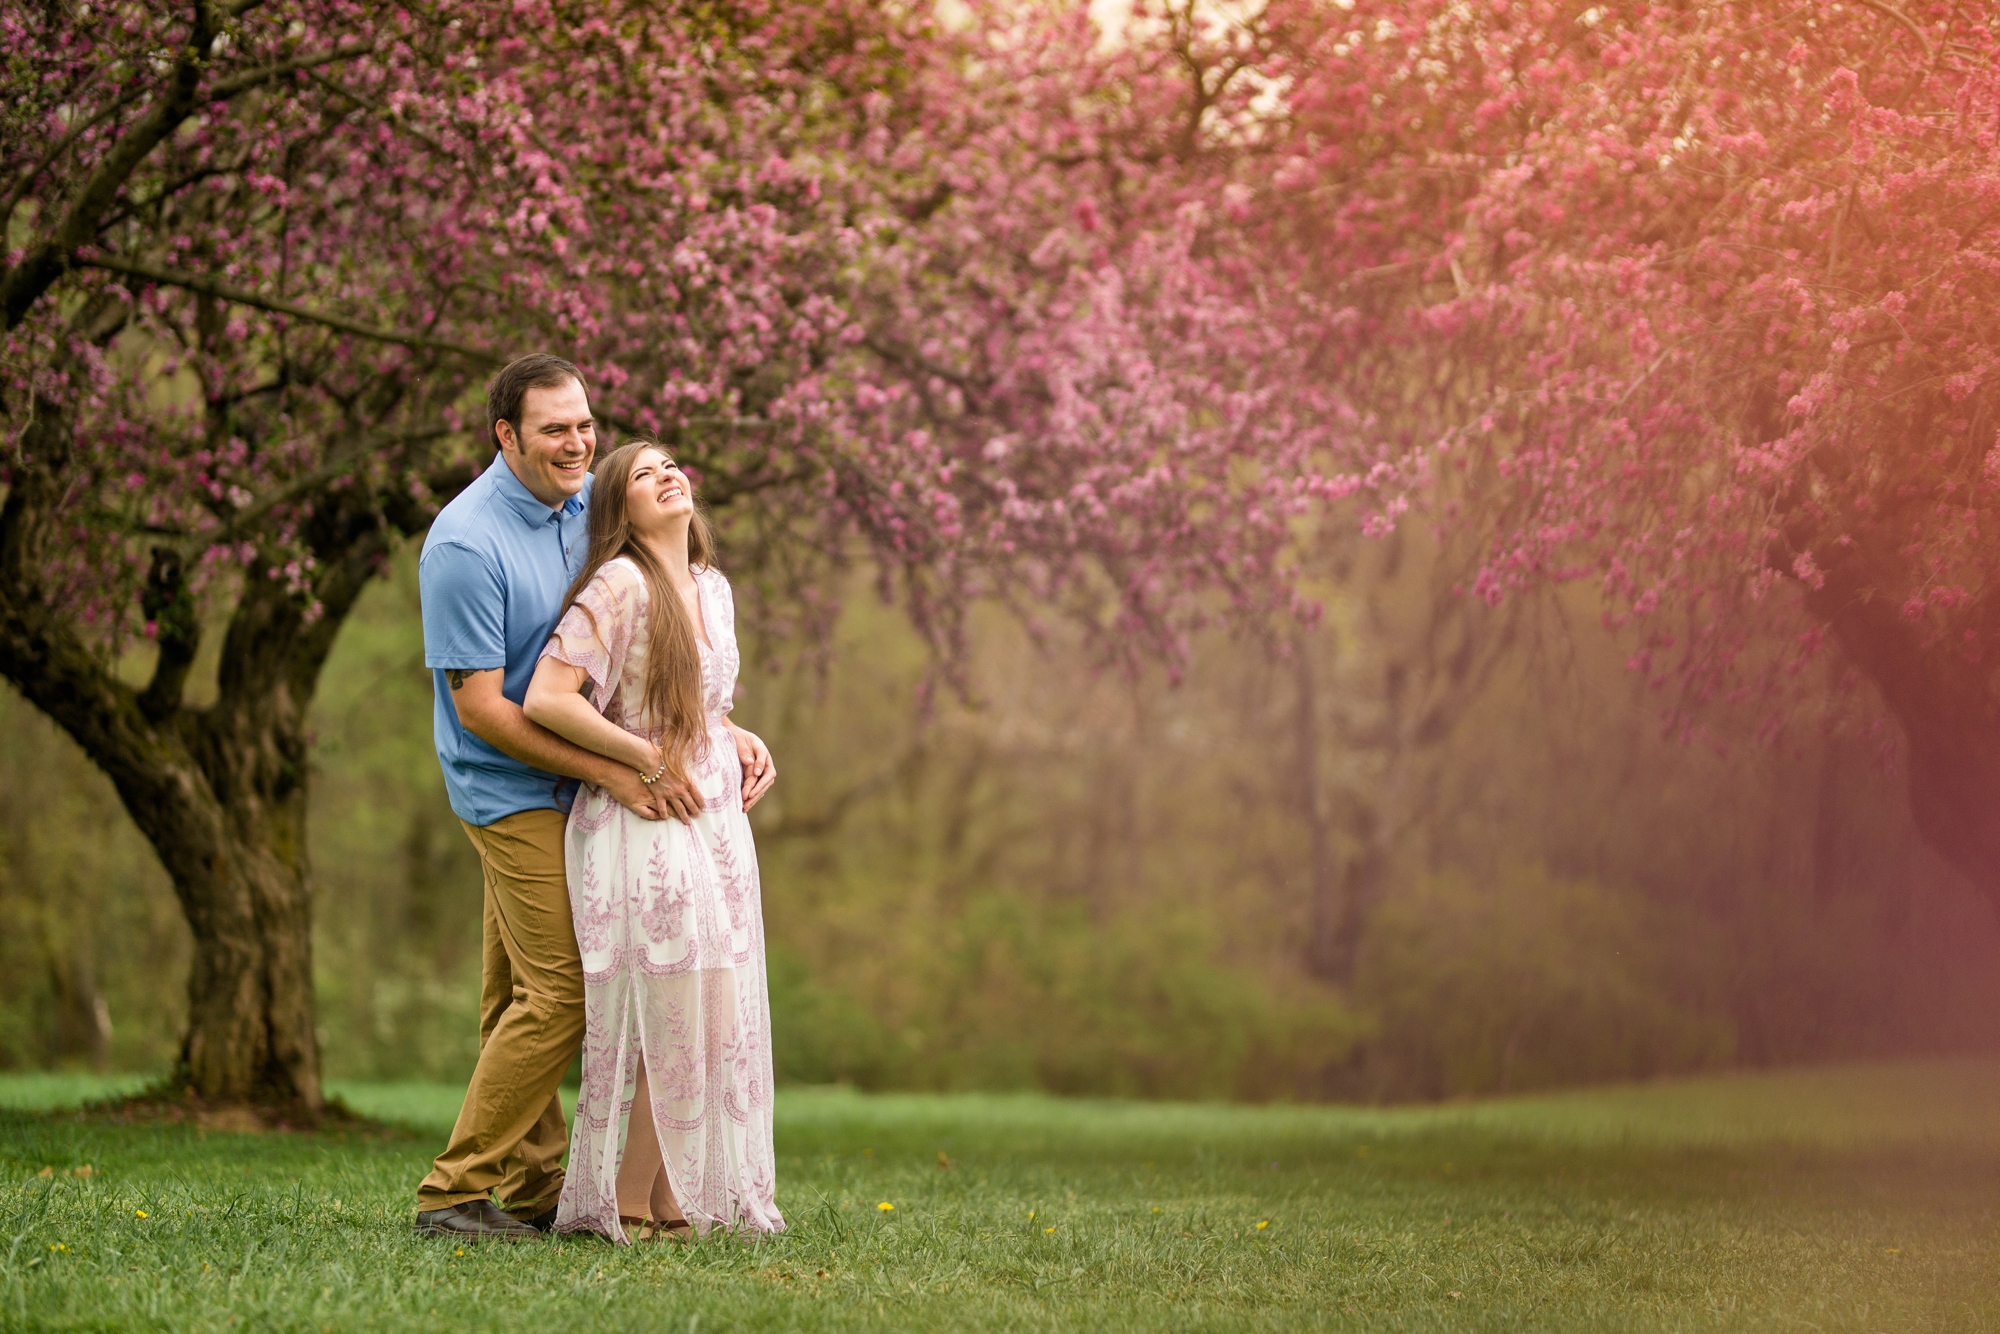
  • Floral or Other Patterns - Floral patterns for the spring are always a hit! Whether you go with a top, sundress, or maxi dress (my personal fave!), floral patterns (and even other patterns) work well to make someone “pop” off of the background of an image with a simple background.

  • Maxi Dresses/Skirts - Maxi dresses and skirts are oh-so beautiful in the spring and summer! They’re light and breezy and do a wonderful job of naturally elongating the body in photos! Plus… they’re fun to twirl! 💃

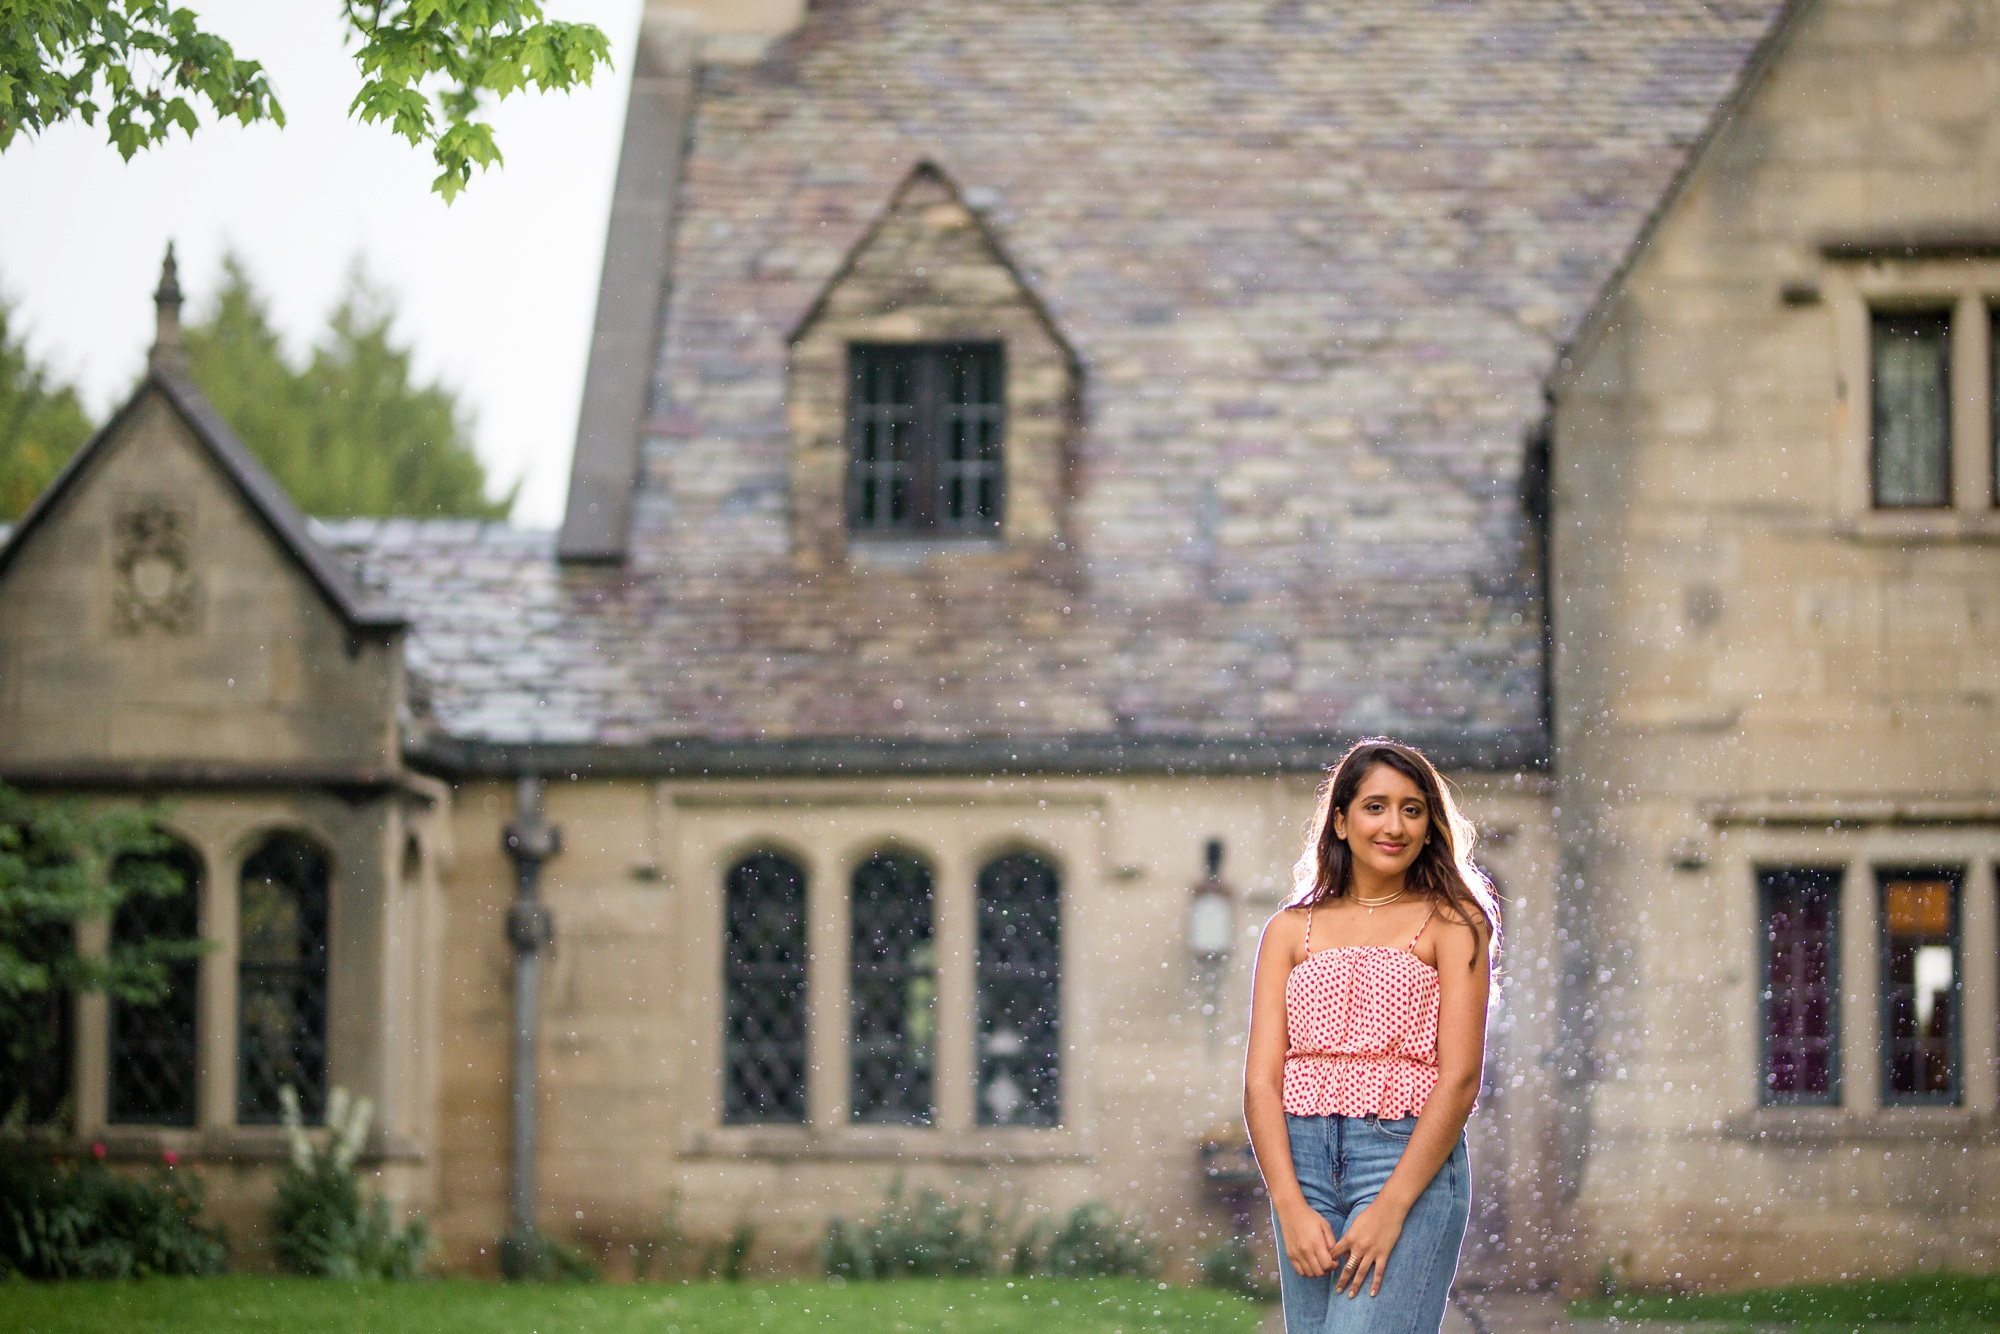
  • White Jeans - White jeans are a great compliment to a brightly colored or patterned top. They’re sleek and give a bit of an upscale look!

  • Summer Accessories - Sunglasses, kimonos, hats, oh my! Throwing in a weather-appropriate accessory or two for a few shots is always fun and adds some more variety!

  • Bare Feet - Not sure what kind of shoes to wear? Bare feet give an earthy, natural feel to your session - so if you’re feeling brave, skip the shoes!

CONSIDER PASSING ON…

  • Fluorescent Colors - Neon colors don’t tend to photograph quite so well, so pass on any colors that are a bit too fluorescent (not to be confused with the aforementioned bright colors - examples below!).

  • Super Short Shorts and Dresses - Shorts and dresses are totally fine (and encouraged!), but sometimes when they get way too short, they’re tough to move around in and aren’t super flattering in photos!

  • Too Many Heavy Layers - There are few things more uncomfortable then being bundled up in 90 degree weather for an hour and a half while getting your photo taken! Wearing too many layers in the summer particularly can result in lots of sweaty portraits - so be careful how many layers you add particularly for really hot days!

A FEW MORE RESOURCES:

If you’re looking for some more help preparing for your senior session, check out the posts below!

2 Comments

Introducing Spring Photo Mini Sessions 2019!

Comment

Introducing Spring Photo Mini Sessions 2019!

Spring is almost upon us - which means so are spring mini sessions! This year, JHP spring mini sessions will be held in one of my favorite colorful locations: Historic Harmony!

Historic Harmony is a revitalized German town that dates back to the early 1800’s. Over the course of history, this town has had many ups and downs, but now is the perfect spot to explore with multiple bakeries, a coffee & crepe shop, restaurants, a museum, antique stores, and more!

2018-01-31_0019.jpg

WHY HARMONY?

I chose this spot specifically for a couple of reasons. First - I live in the neighboring town, Zelienople, and can walk to Harmony (best thing ever!). I’m a big fan of historic, colorful buildings and have a strong affinity for small town life. It has a special place in my heart! Second - I’m slightly obsessed with the bright colors for photos! Blues, reds, whites, yellows, and greens all line the streets, making it a beautiful place for photos with tons of variety!

WHO IS THIS FOR?

These sessions are perfect for…

  • Families (Perfect for those with young ones who don’t have a long attention span, and for families who have a senior leaving for college in the fall!)

  • Seniors

  • Couples (Engagement, anniversary, or just for fun!)

  • Updated headshots (Read: Why you should have a killer LinkedIn headshot)

  • Just the siblings (Mother’s day is coming up!)

  • Just the grandkids (Again - mother’s day is coming up!)

  • And pretty much anything else you can think of!

*Mini sessions make the perfect gift, too! If you’re interested in gifting a mini session to someone, feel free to email me directly at jhidingerphotography@gmail.com

2018-10-01_0056.jpg

WHAT IS INCLUDED?

  • 20 minutes of on location photography around Harmony

  • 5 to 10 high resolution, digital files delivered via an online gallery

  • A print release, allowing you to print your photos wherever you would like!

HOW MUCH?

Each time slot is priced at $250, plus 6% sales tax. This includes the time of the session, the post-production work, your online gallery, and your high resolution files!

Spring mini sessions are only offered once or twice a year, so now is the time to take advantage of these smaller sessions! If you are interested in booking, follow the link below to claim your spot! 💛 OR, if you would be interested in a full family, senior or couple session, use the “Contact” tab above to reach out for more pricing and information!

Screen Shot 2019-03-22 at 2.49.51 PM.png


Comment

My Biggest Hang Up with First Looks

Comment

My Biggest Hang Up with First Looks

There are SO many reasons to love first looks. That intimate moment between just the bride and groom before the ceremony?! It’s almost always my favorite moment of a wedding day! My husband will sometimes photograph weddings with me, and every time we photograph a wedding with a first look, he inevitably will turn to me and say: “I wish we would’ve done one of these!”

THE DILEMA

Yes, first looks are amazing, intimate, and can be really helpful from a timeline perspective if there isn’t quite enough time for photos between the ceremony and reception, or if you want to attend your cocktail hour (click here to read an article I wrote about the pros of having a first look!) – but I do have one pretty big beef with first looks, and it’s something that I don’t see many people talking about.

The light.

Because first looks happen before a wedding ceremony, most of them take place around lunchtime, or when the sun is highest in the sky. And if you’re getting married on a farm in the middle of July with a first look at noon… the light (unless it’s an overcast day!) has the potential to be pretty harsh, and sometimes, quite unflattering. And if you opt to have all of your photos taken before the ceremony, all of those photos you’ve seen with glowy, soft light with a bride and groom frolicking through a field… they’re not really attainable. Because it’s just too bright. Those photos with glowing, golden sunlight are taken a few hours before the sun sets (or a few hours after the sun rises).

WHAT TO DO?

Well, first, I’m going to let you in on a little secret – just between you and me. A lot of wedding photographers love first looks because, the majority of the time, there is not enough time allotted between the ceremony and reception for us to get all of the photos we need to. So, when the photos of the bride & groom, bridal party, and sometimes even the immediate family happen before the ceremony, things are a bit more relaxed, because there is more time. And that’s what we want for you most – for you to be able to enjoy your day without being rushed!

Most couples don’t allot enough time for photos because A) they don’t want to make their guests wait too long, or B) the venue told them they have an hour between the ceremony and reception for photos. And, trust me - I believe those are completely understandable reasons to be cautious about the amount of time you allot for!

But let me tell you something, friends. This day happens once for you. And you are investing in these photos. And you know that saying about how “good things take time”? Well, the same goes for wedding photos, which also take time! (If you’re wondering how much time you should allot for photos, for a sample timeline, click here!) I like to suggest leaving at least a full hour and a half (not including travel time) just for bride and groom, bridal party, and family photos (or about a half hour for each… if not more!).

THE BOTTOM LINE

The key is: whatever you choose to do, make sure you leave enough time for your photos. That’s it! If you choose to have a first look, amazing! If you choose to forgo a first look and have the majority of photos taken between the ceremony and reception, that’s great! But don’t be afraid to plan for an extended cocktail hour (i.e., a cocktail hour longer than an hour) so that you can get the photos you’ve always dreamed of!

 Happy planning!

Comment

How I Blog the Majority of my Client Sessions

Comment

How I Blog the Majority of my Client Sessions

If you haven’t read the first blog posts in this two part series, I highly recommend going back to read Why I Blog the Majority of my Client Sessions first! A why powers a how more than anything else!

 But if you’ve already read the why, I’d love to share a little bit behind the process of how I keep up with blogging 50+ client sessions per year, as well as 20+ weddings!

If just reading that last sentence makes you sweat, I totally get it. Blogging used to feel super overwhelming to me until I made it a part of my workflow for each of my sessions/weddings. Now, it just feels like a part of the process that I can’t skip! Below are a few things that help me keep up with the process of blogging. I hope they help you, too!

 1.     Have a solid workflow that makes blogging a priority.

When I send my clients their final gallery of images, they almost always receive a link to a blog post as well – and that blog post link comes first in that email, before the gallery link! Why? I want my clients to see my favorite images from each part of their session first – leaving them with a positive impression from the start! I use a customizable template email when sending my clients their links, so it actually creates more work for me when I don’t blog, because I have to change my template email! When I know I really should be doing something in my business, I try to set up a process that makes it harder for me to opt-out (or, for example, not blog), so I have to do it!

2.     Make it easy on yourself, for Pete’s sake!

You will be much less likely to blog if it feels like a giant chore! Believe it or not, I actually feel excited when I finish a session and jump into creating the blog post, because I know I’ll be able to showcase the very best images from my client’s session to them first! But I digress: one of the best tips I could possibly give is to make the process easier on yourself by looking for ways to make your blogging process simpler and more streamlined. I love using Squarespace as my blog host, because it’s super user friendly and easy to use. I can easily upload my photos, tag my content to make it SEO friendly, and post my content without too much effort! I also love using BlogStomp, which allows me to quickly size images for my blog and make collages out of multiple images with the click of a button.

3.     Batch your blogging.

This is a big one I learned from a great educator and photographer named Jenna Kutcher! Batching your work basically means setting aside a large chunk of time to complete one task, or a repeating task (instead of going from one thing to the next, to another thing, and so on!). This past year (2018) was the first time I really buckled down on batching my blog content, and let me tell you, it made a world of difference!

This year, I worked on editing multiple sessions throughout the week, then created blog posts for all of my completed galleries at the very end of the week, usually on either Thursday or Friday. I felt like I was able to work on other content and tasks throughout the week without stressing about getting my blog posts done, because I knew that I would have time to really focus in on my blogging when the end of the week rolled around!

The best thing you could possibly do for yourself when it comes to blogging is to find a process that works for you. Your process might look different from another photographers, and your frequency of blogging might look different from someone else’s. But the key thing to remember: be consistent. Whatever you decide to do with your blogging, remember that consistency is key, and that you can always start small and build up! Don’t be discouraged by others around you who might be blogging more. We all had to start somewhere at some point. So just start!

I’m rooting for you!

Comment

Why I Blog the Majority of my Client Sessions

Comment

Why I Blog the Majority of my Client Sessions

One of the biggest questions I get from other photographers is: how do you make the time to blog so many of your sessions and weddings?

Even though the question might be asked as a “how?” I’ve found the ability to remain consistent with my blogging in my “why.” Keeping my why(s) at the forefront of my attention when it comes to blogging has allowed me to continue to blog my sessions consistently for almost four straight years.

 If you’re looking for a how, I challenge you to first redefine your why behind blogging. Below are four of the top reasons why I continue to blog almost every senior, family and wedding!

1.     Blogging makes clients feel important and loved.

How do I know this? Because I have been the person on the receiving end of photos (and blog posts!). When our engagement photos, wedding photos, and anniversary photos were blogged – I felt SO excited and honored that my photographer thought they were worthy of being shared! I know that quite a few JHP clients feel the same way, because they’ve literally gone out of their way to tell me so!

2.     It’s an easy way to share the “highlights” with their friends and family!

Scrolling through a dozen (or a few dozen) images in a blog post is quicker and easier than looking through a gallery of a few hundred images. Not to mention, friends and family members could be potential customers who might need their photo taken someday! I like to view each of my blog posts as a mini portfolio that has the potential to reach the friends and family of whoever is in the blog post in a more personal way.

3.     It allows clients to see the best (or my favorite!) images first, (hopefully) making them more excited!

A blog post should include the best of the best, telling the story of a wedding day or a session. Seeing the very best of their gallery first heightens their excitement to see the rest of the gallery and sets a positive tone from the get-go!

4.     It helps with SEO and with getting people to your website!

I’m no expert on SEO, but what I do know is this: Google likes new content, and a blog post is a great way to add new content to my website! Sharing client sessions is a great way to build SEO for your local area and (hopefully!) get more clients who are looking for a similar service/product!

If you are looking to start blogging more, my encouragement to you would be to start small. Don’t feel like you have to start blogging all of your sessions at once with multiple blog posts per week. Start with one every week, and then increase your consistency as you start to find a rhythm that feels right for you. Remember: “The best way to eat an elephant is one bite at a time.”

I’m rooting for you!

Comment

4 Reasons to Hire a Proposal Photographer

Comment

4 Reasons to Hire a Proposal Photographer

The day my now-husband proposed to me was a BLUR. From start to finish, I could hardly remember the whole ordeal (it was a lip-dub proposal, so it lasted a bit longer than a typical proposal!). Two of the things I am most thankful for from that day are this video, and the photos that were taken by our photographer. To look back on that video and on those photos and see the raw emotion makes me cry every. Single. Time. I couldn’t be more thankful for that gift and that Nick thought through not only hiring a photographer, but also a videographer!

 If you are planning on proposing – first, congratulations! And second: consider hiring a professional photographer. From the perspective of someone who was proposed to and from someone who talks to many engaged couples, here are a few reasons why you might want to consider hiring a professional proposal photographer:

1.  Your soon-to-be fiancé will thank you!

One of the BIGGEST comments I hear from my brides who don’t have photos of their proposal is “I wish we had photos of when it happened!” And the second biggest? “I wish we had GOOD photos of when he proposed!” Trust me: your fiancé will thank you! There’s nothing like being able to go back and revisit that raw, candid emotion!

2.  You’ll have photos from the moment to share with your friends and family!

If you’re planning on having the moment between just the two of you, you’ll be able to share the emotion and excitement with your friends and family who didn’t get to witness!

3.  A professional photographer can help you plan and give you tips!

A professional photographer will be able to help you find a great spot, give you tips on the best time of day to shoot, and are pros at remaining inconspicuous and maneuvering in crowded locations with unforeseen disruptions. These photos are SO important. Make sure you find someone who will do whatever they possibly can to get the shot!

4.  You can use the photos for your wedding!

What’s better than having the very beginning of this new adventure captured to use as Save the Dates, in a guest book, or as décor at the wedding itself?!


Looking for a proposal photographer for your engagement? Reach out using the contact tab above!

Comment

5 Crucial Questions to Discuss with Your Fiancé Before You Begin Wedding Planning

Comment

5 Crucial Questions to Discuss with Your Fiancé Before You Begin Wedding Planning

As the famous Benjamin Franklin said, “By failing to prepare, you are preparing to fail.” 

Have you ever thought about preparing to plan your wedding? (And no, I’m not talking about that wedding Pinterest board you’ve had for the last 5 years 😉). It might sound kind of strange, considering the fact that wedding planning itself has to do with preparing for a wedding day. But one of the very best pieces of advice I could give to couples is - before doing ANY type of planning - to prepare to plan.

The questions below were carefully collected and crafted over years of meeting with engaged couples. Many couples aren’t sure what to expect or how to proceed with planning because they’ve literally never done it before. It’s like, you get engaged, and all of a sudden you’re supposed to know exactly what to do, how to plan, what wedding vendors cost, etc.?! I don’t think so!

As a recent bride myself (August 2015), even with WORKING in the wedding industry while planning, I felt overwhelmed with where to start and what I should be focusing on. So today, I’m excited to share five crucial questions to discuss with your fiancé before you begin wedding planning, so that you can plan your wedding a bit more prepared!

1.     What makes us excited about marriage?

First things first: even though you have a wedding to plan (yay!), it’s so important to focus on the marriage you’re working towards, not just the wedding day. Consider this your invitation to close your Pinterest browser and pump the breaks on creating your wedding website.. It might sound silly or obvious, but knowing why you are excited about marriage and why you want to get married is so much more important than any sort of budget or priorities when it comes to your wedding day.

This first question is actually one of my favorites to ask couples when I meet with them at our initial consultation. In my mind, it sets a tone for talking about the wedding day: through the lens of marriage. I hope that, by starting with this question, we’re putting what really matters first and constantly pointing back towards the ultimate reason for the wedding: the marriage.

2.     What are our priorities when it comes to our wedding?

2017-07-13_0076.jpg

Let’s face it: weddings can be expensive, and sometimes a budget can force you to choose what’s most important. Knowing your priorities when it comes to vendors will help you decide where to allocate the majority of your budget.

When Nick and I were planning our wedding, we decided to name our top three priorities (it might be a different number for you): the venue, the photography, and our honeymoon. We decided to allocate the majority of our budget to those three categories, and then do the best we could with other expenses associated with our day. And to be honest? I’m SO glad we set those priorities from the get-go, because it helped drive our decisions for many of the other choices related to our wedding day. For example, we said “no” to floral centerpieces and created them ourselves. We said “no” to a big cake and got a small one for us to share, with sheet cakes for guests in the back. We said “no” to a lot more other things, too, but it allowed us to say “yes” to things like our dream venue, an amazing photographer, and an unforgettable honeymoon in Disney.

As a sort-of side note, something else that was a priority to us was marriage counseling, which was something we budgeted for and pursued in the months leading up to our wedding day (yes – before we were married). We knew that, while we could put tons and tons of effort into our wedding day, if we didn’t focus on building a solid foundation for our marriage from the start, all of our wedding planning would be in vain!

3.     What should we expect to spend on quality vendors?

It’s important to know what seasoned vendors in your area charge before deciding on a budget for your wedding day. If photography is one of the priorities for your wedding because you know it’s one of the few things you’ll have once your wedding day is over, know what a quality, seasoned photographer charges in your area, and make that a priority in your budget. In contrast, even if something is not a priority – for example, your cake – know what the going rate is for a seasoned baker anyways, so you can know what to expect to allocate in your budget for someone who might be newer to baking, or even to a friend who might be interested in helping!

4.     Are there any connections who can help us with the parts of the day we’re willing to compromise on?

Speaking of a friend baking your cake – if there are parts of the day you’re willing to compromise on that aren’t a part of your “big three” (or whatever number) priorities, consider your connections. We were blessed to have connections with a caterer who was willing to give us a friends and family discount, as well as a florist who pretty much did our wedding flowers at cost (just because she loves arranging flowers!). But here’s a BIG tip within this question: never expect someone to do something for you for free, or even discounted. Many people who want to “break in” to the wedding market (who may have another full time job) are willing to do things a bit cheaper than those whose full time income comes from bookings, which is totally fine! But it can be tough when someone asks you to give a discount for a service or product that literally puts food on their family’s table.

5.     What can we actually spend?

Or, as an article from popular wedding blog Junebug Weddings puts it: “How much money do we want to spend? Vs. How much money can we actually spend?”

It’s one thing knowing how much a service or product costs, but it’s a whole ‘nother ballgame knowing how much you can actually spend for that service or product! Knowing your priorities, knowing how much your “priority” services/products cost, and knowing how much you have left to spend on your “compromise” services and products will give you a rough idea of what you can actually spend on your wedding day. The keys here are to be realistic and to know what you feel comfortable spending.

And now that you’re prepared to begin planning - happy planning! If you’re in need of some additional resources to help with your wedding planning and preparation, feel free to scroll through the blog archives for more tips, tricks, and advice related to wedding photography and behind!

Comment

How We Did Disney on the Cheap

Comment

How We Did Disney on the Cheap

It’s no secret around here that we are huge Disney fans! Since we’ve got married in August of 2015, my husband (Nick) and I have been to Disney four times (at the time this blog post comes out!), and multiple times before then with Nick’s family. It’s also no secret that a trip to Disney can be dang expensive, but through our love for Disney and our frugal nature, we’ve accumulated some tips and tricks throughout the years that allow us to visit Disney for a fraction of the cost (but really, many of these tips can be applied and help you save money on any vacation). This past visit, we wanted to see how cheap we really could go – so, below are all of the tips and tricks we used to keep our trip cheap!

How to Plan a Budget Friendly Disney Vaca.jpg

 I’d also like to add that this blog post is not sponsored by any of the companies listed below. We just genuinely believe that they have an excellent product and experience to offer!

1.     We opted to stay off-campus at an Airbnb.

While we absolutely LOVE staying on campus and being close to all things Disney, for this trip, our goal was to keep things cheap, so we found a nice little Airbnb about 10 minutes from the Disney parks for $60 a night. It was totally a steal! Rooms at Disney typically begin at $120+ per night (depending on where you stay), but most cost a few hundred per night. Staying off campus is a great way to save a little (or a lot!) extra money!

Another great option for larger groups who want to stay together is FlipKey. Similar to Airbnb, FlipKey allows users to find and book vacation rentals at a reasonable price, especially if you’re splitting the rental amongst other couples, family members, or friends! We rented a FlipKey property for a trip to Orlando in February of 2018 and were so impressed with the customer service, cleanliness, ample space, and beautiful property! I would highly recommend checking it out.

2.     We used a credit card (wisely!) to earn free airfare.

We’re big Dave Ramsey fans around here, but the one point of contention we have with him? Credit cards. It’s easy to let spending get out of control with a credit card in tow, but if you’re the type of person who pays off a credit card on a monthly basis without accruing interest, this suggestion might be beneficial to you.

We signed up for a Capital One Venture card and ran everything we could through it, and by doing so, earned enough points to purchase tickets to Orlando at absolutely no additional cost to us!

3.     Instead of renting a car, we used Uber.

Nick is a vacation planning guru, but when he told me it would be cheaper for us to use Uber for the five days we were in Orlando (opposed to renting a car), I was a bit skeptical. But it turns out he was right!

To rent a car in Orlando, we would’ve paid a minimum of $180 for five days. With two park days, we would’ve had to pay $25 a day for parking ($50 total), not to mention parking for our day in Disney Springs (ranging from $13 to $24 – we’ll stick with $13 for the sake of this math!), not to mention tolls and gas, which we’ll estimate at around $50, modestly. Altogether, the cost of renting a car would’ve been about $293. During our time in Disney, we spent only $189.22 total on Uber, saving us a grand total of $103.78. For us, it was totally worth it!

4.     We utilized Disney’s free transportation via Disney’s busses and monorail system.

Did you know that Disney has a free bus system that, while mainly used by resort guests, is free for park visitors to use, too? Since we opted to use Uber instead of renting a car, we needed all the help finding free transportation that we could get! So, our plan was simple: get onto Disney property, and use the busses to get to places like: Magic Kingdom, Epcot, and Disney Springs. We saved money by first Ubering to the nearest Disney resort with free transportation available (which, for us, happened to be Disney’s Boardwalk), then from there, we utilized their busses to get to our final destination. It took a little extra time and planning, but in the long run, it definitely saved us a chunk of change!

5.     We brought our own store-bought snacks and drinks in the parks.

Have you ever tried to eat or drink on Disney property? A cup of coffee costs nearly FOUR DOLLARS, and a hot dog costs around NINE. Full disclosure: we did eat in the parks more than I would’ve liked, but we did majorly cut down the cost by bringing our own snacks and drinks with us to eat for breakfast, lunch, and in between meals. We even brought our own coffee to our Airbnb with to-go cups so we could take our coffee with us in the morning!

6.     We visited the parks and bought tickets on “non-peak” days.

Did you know that Disney instituted a new system of buying tickets with a rising and falling price point? Essentially, this means that it’s more or less expensive to visit the parks at certain times of the year when Disney is busier, or less busy. Disney actually makes it quite easy for you, with a full calendar for the entire year listed on their website with a specific price point for each individual day.

We purchased our tickets for non-peak days (i.e., the week before Christmas instead of the week of Christmas) to help out a little bit with the cost. If you’re planning a Disney vacation, I would highly recommend looking on their calendar to choose a non-peak time of year, to take advantage of lower ticket prices!

Shortly after Nick and I got married, we decided that instead of giving gifts to each other, we wanted to have experiences with each other. One of the biggest decisions that’s helped make Disney possible for us? Forgoing Christmas, anniversary, and birthday gifts, and putting that money towards our Disney trip instead. That may or may not be a feasible option for you (and your family!), but for us, our memories and experiences together have far outweighed any physical gift we could’ve bought each other. Those memories together – they’re priceless. I hope with these tips you are able to go make some memories of your own together with those you love most!

Comment

Stop Staring at Your Neighbor's Lights

Comment

Stop Staring at Your Neighbor's Lights

One of my favorite Christmas traditions is driving around with my husband, looking at Christmas lights around our area. One year, we found a house that was completely decked out - music playing, lights flashing EVERYWHERE - all over the house, all over their massive yard. We slowly crept by and could barely peel our eyes away! We look over to the house next door, where there was a dog standing, looking at the house - unflinching. He couldn't peel his eyes away either! We sat there for another five minutes or so as he slowly started inching towards the house, almost entranced 😂 Fast forward to about a week later, we were driving home from dinner with my mother-in-law and decided to take a detour to show her this crazy house. As we were driving by, we saw the SAME DOG starting intently at the lights - totally frozen by the epicness before him! Finally, his owner came out and pretty much had to drag him inside the house. It was the craziest thing!! What makes this story even crazier is that there was only one other house on that whole street that had Christmas lights up. It’s like everyone had decided that what their neighbor was doing was more than enough for the entire neighborhood!

It got me thinking of how often I’ve found myself staring at someone else’s “epicness,” distracted by someone else’s perceived success or awesomeness, totally neglecting the unique call that’s been placed on my life... wondering if it’s even worth trying at all. I can’t even begin to tell you how many hours I’ve wasted stalking through Instagram accounts, Facebook profiles, and blog posts, believing the lie: “If only I could be like them. Then I’d be successful.” I spent so much time looking at their “lit up house” that I forgot to put up my own lights.

I think it’s safe to say that we've all gone through seasons of distraction, just like that dog, too. We can't peel our eyes off of what someone else is doing, and we become so entranced by their lives that we forget to live our own. We forget that our version of success might not look anything like that person’s… because we are literally a different person! We have different skills, different abilities, different goals and desires for our lives. When we take a closer look and think about what we would have to do (or give up) to get the life that that person has… we might not even want it.

The question I found myself pondering through all of this is this: what's keeping me distracted from living MY life and the call that’s been put on it? And what have I been afraid to do simply because I see someone else doing it “better” or “bigger?” If you’ve ever felt that way, my heart goes out to you, friend. Because it STINKS - big time.

We have been prepared for what we are called to

But the beauty within the unknown is this: in Christ, there’s hope. There’s promise. There’s the reassurance that we have been prepared for what we have been called to. “For we are God’s handiwork, created in Christ Jesus to do good works, which God prepared in advance for us to do.” - Ephesians 2:10

What if the point wasn’t to do something bigger or better, but just to do it because we have been called and equipped? So, stop staring at your neighbor’s lights. Even better… go put up your own.

Comment