Viewing entries in
Education

Nervous About Having Your Photo Professionally Taken? Read This.

Comment

Nervous About Having Your Photo Professionally Taken? Read This.

It’s no secret that many, MANY people feel nervous when they think about having their photo professionally taken. There are so many decisions to make and questions that don’t have a definitive answer: what will I wear? Will I look stiff? What happens if it rains? What if I see something that I don’t like about myself when I look back at the photos?!

A few months ago, I took a poll of my followers on Instagram, asking what made them most nervous when it came to having their photo professionally taken. There were so many amazing (and hilarious!) responses, but today I wanted to share the top eight concerns that came up again and again, and address how each of those could potentially be solved!

The point of this article is most definitely not to diminish any of the concerns anyone might have while having their photo taken – my hope is to provide an alternative perspective (as someone who’s been behind and in front of the camera), as well as some potential solutions to these common nerves!

Things you might be nervous about:

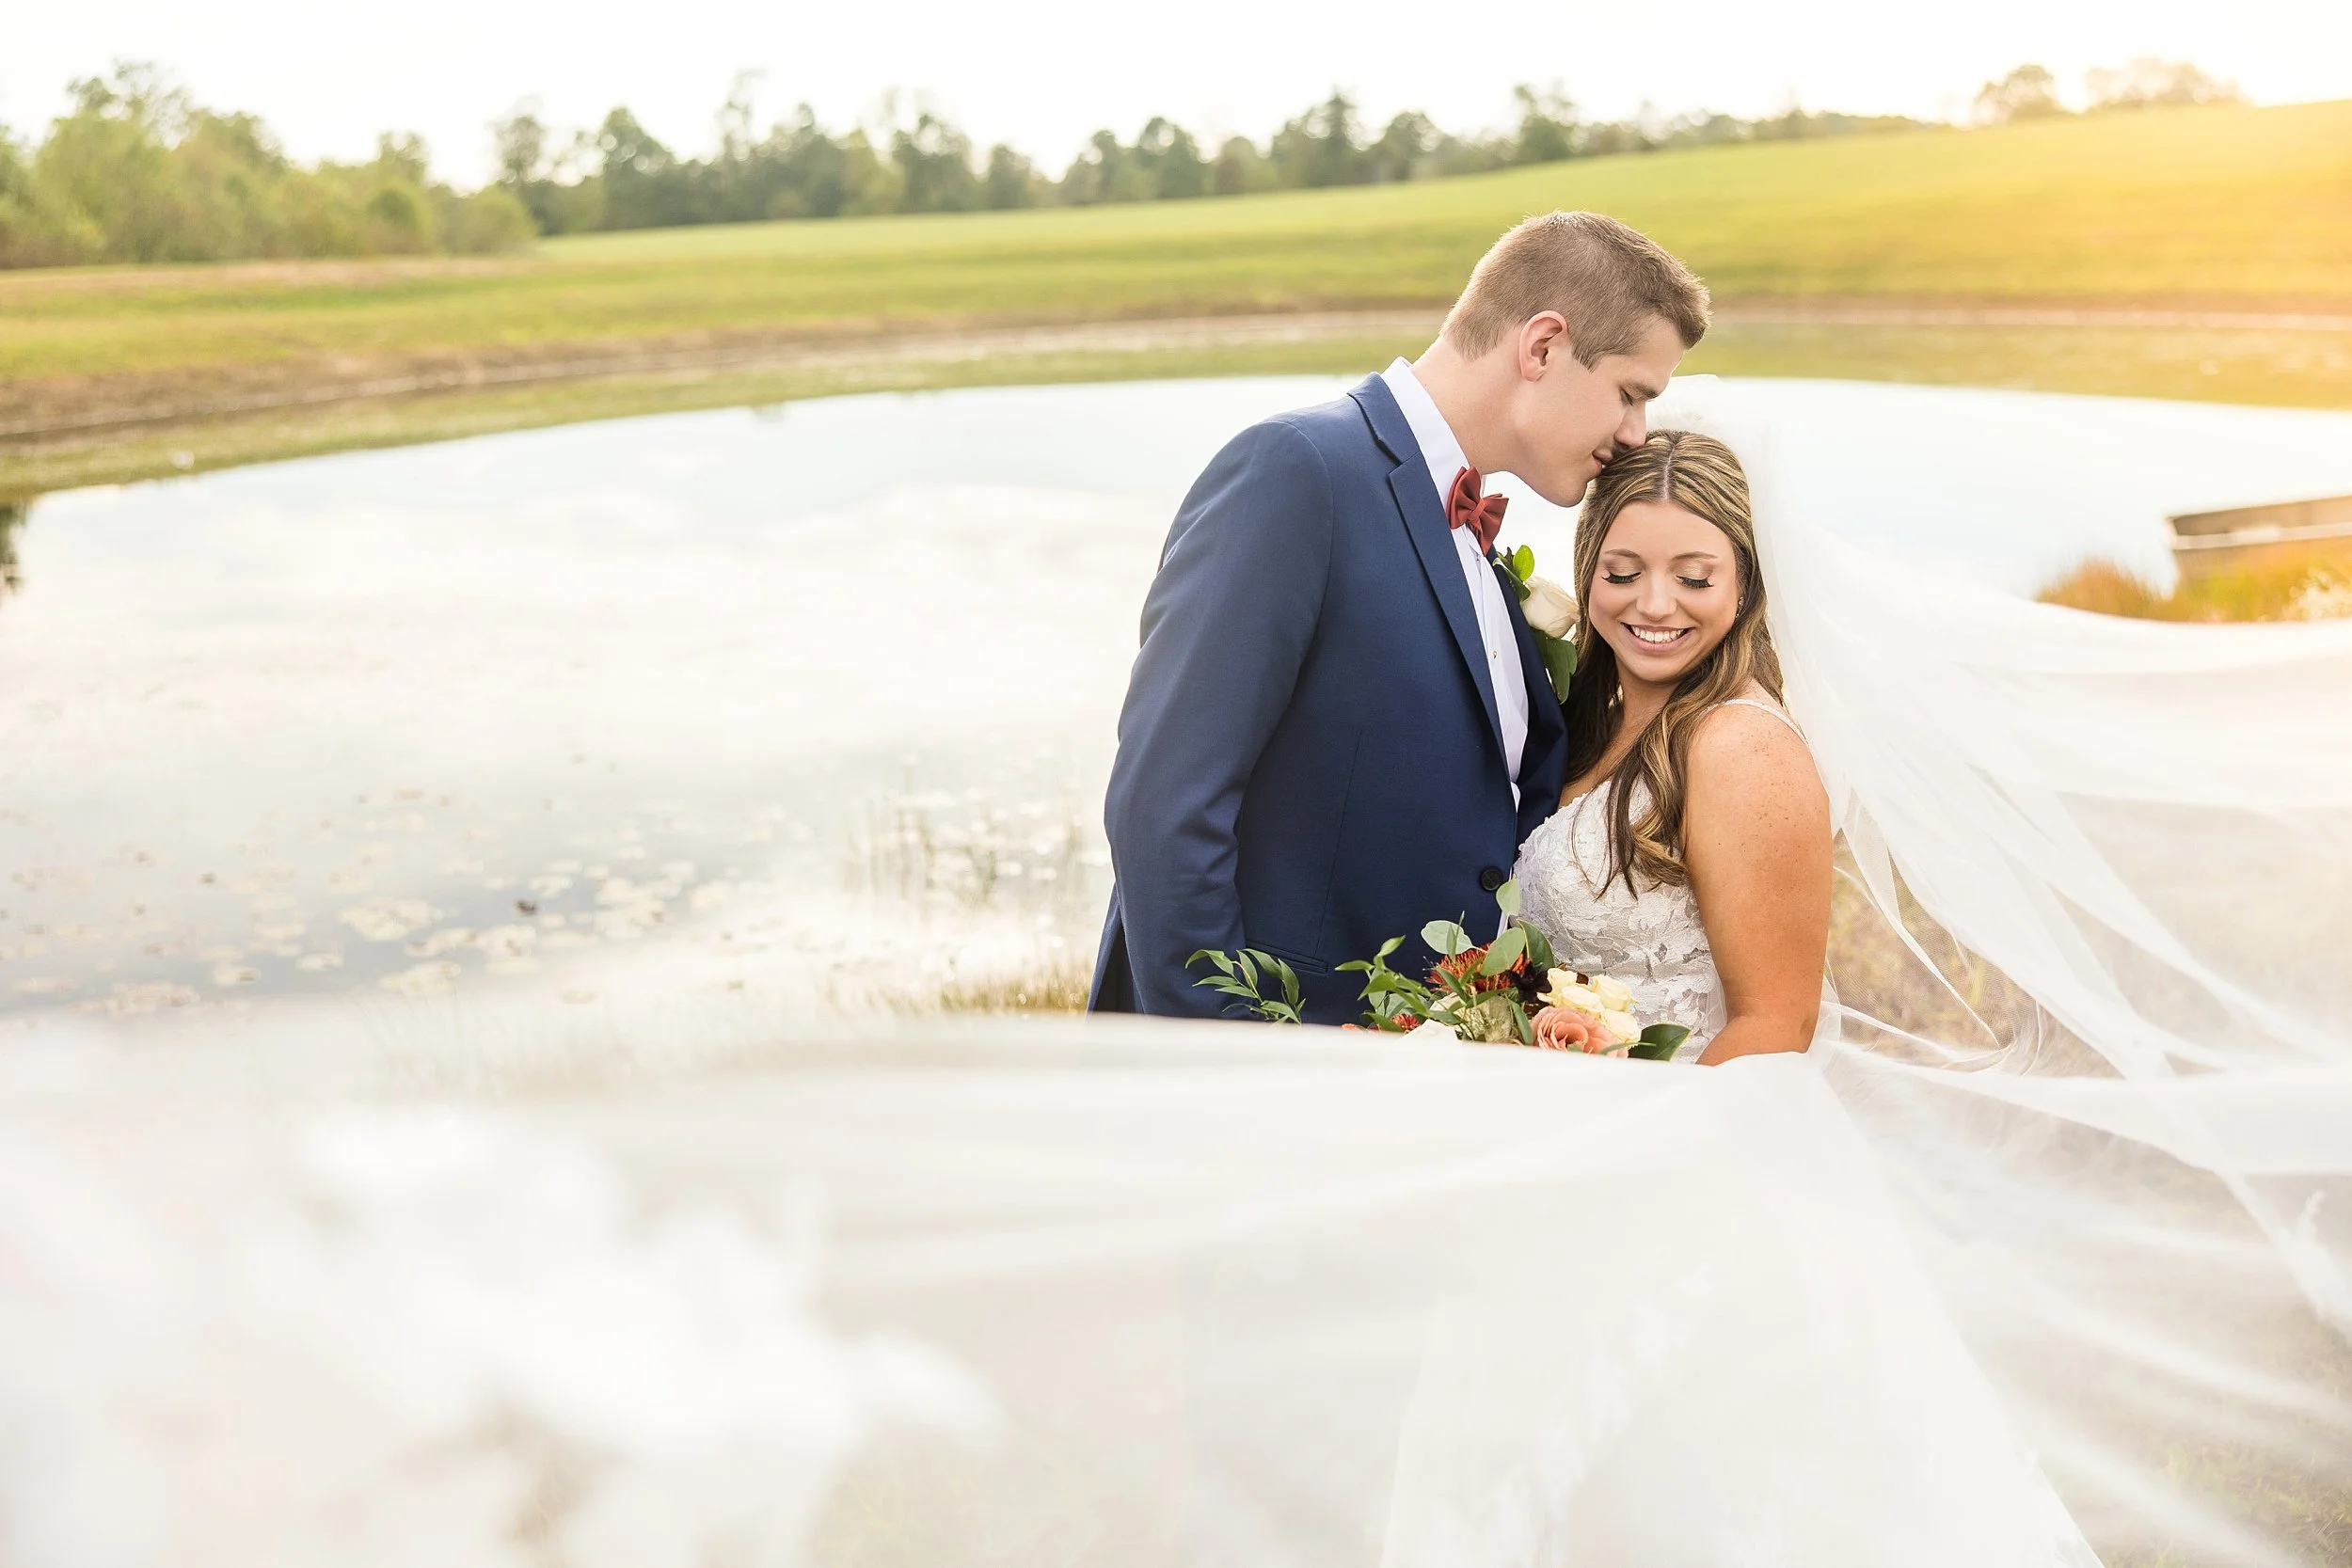
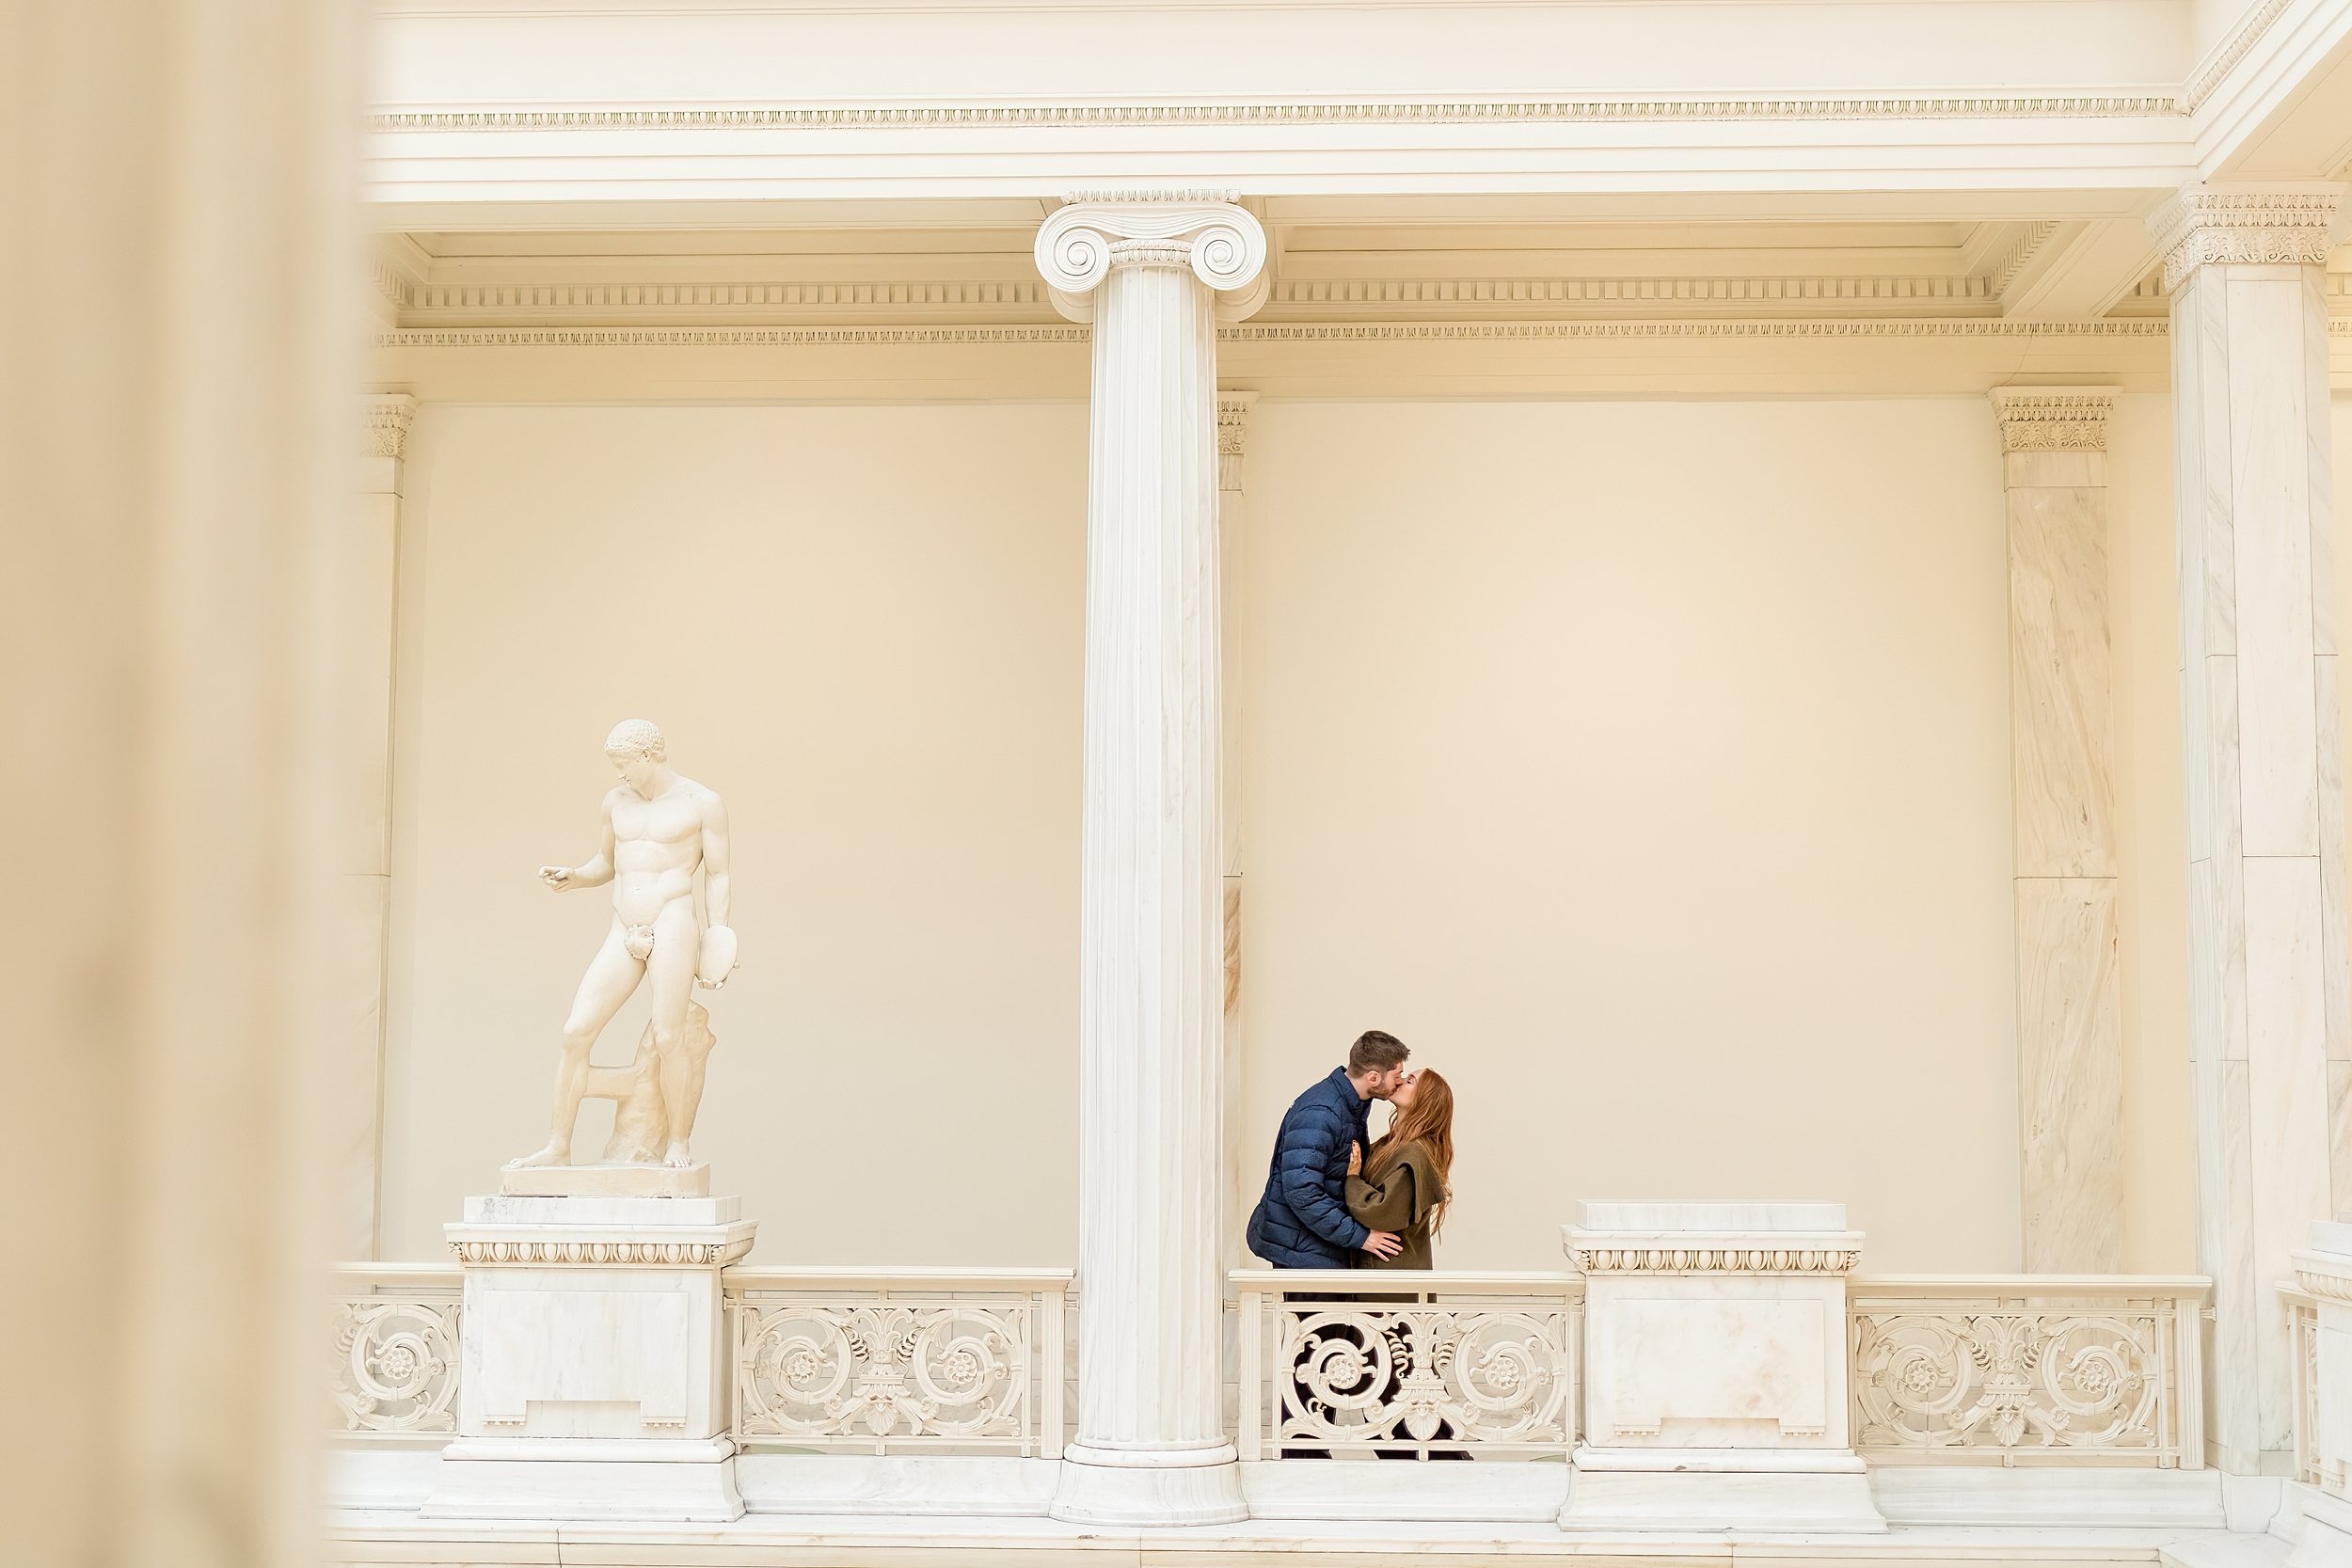
Pittsburgh-Wedding-Photographer-Pittsburgh-Senior-Photographer_3536.jpg

1.     Worried about having onlookers or too many people around?

Choose a location with less people around! If you’re having your photos taken in a city, there will naturally be a lot more people around – but choosing a small park or more secluded area will mean less people, and less on lookers!

If you’re having your photo taken in a city, don’t forget to at least check to see if there are any sports games, festivals, or concerts happening in the area your session will be taking place at! Here in Pittsburgh, we have three major sports teams, and when any one of them has a home game, it’s a must to stay away from that general area!

Opt for a morning timeslot instead of an evening one. Most photographers who shoot in “natural light” will schedule appointments either within the two hours after the sun rises, or in the two hours before the sun sets (when the daylight is easiest to manage and at its prettiest!). I’ve found that more people are out and about leisurely in cities and parks in the evenings, opposed to the mornings. One thing to consider, however, is that some locations are better (or more photogenic) in evening light versus morning light, so make sure you talk with your photographer about if a morning or evening slot would be better for your chosen location!

2.     Worried about not knowing what to expect, or having to come prepared with ideas?

The great news is: your photographer is your BEST source for figuring out what to expect! If you have any questions, just ask! Many photographers will have information about their approach to sessions on their website or their social media platforms, so don’t be afraid to do a little research yourself!

If your photographer doesn’t provide any specific ideas for what to expect beforehand, make sure you take some time to look at the work on their website, blog, and social media channels. You’ll start to get a feel for what poses they like to use, and what expressions they coax from their subjects. Having an idea of what the final product could/might be can make a huge difference!

You can also ask your photographer beforehand if you should come prepared with any ideas. Most photographers will guide and direct you throughout your session, but I’ve heard of some who say “just go be yourselves!” and then let the client do the work. That would be quite intimidating for people who aren’t used to being in front of the camera!

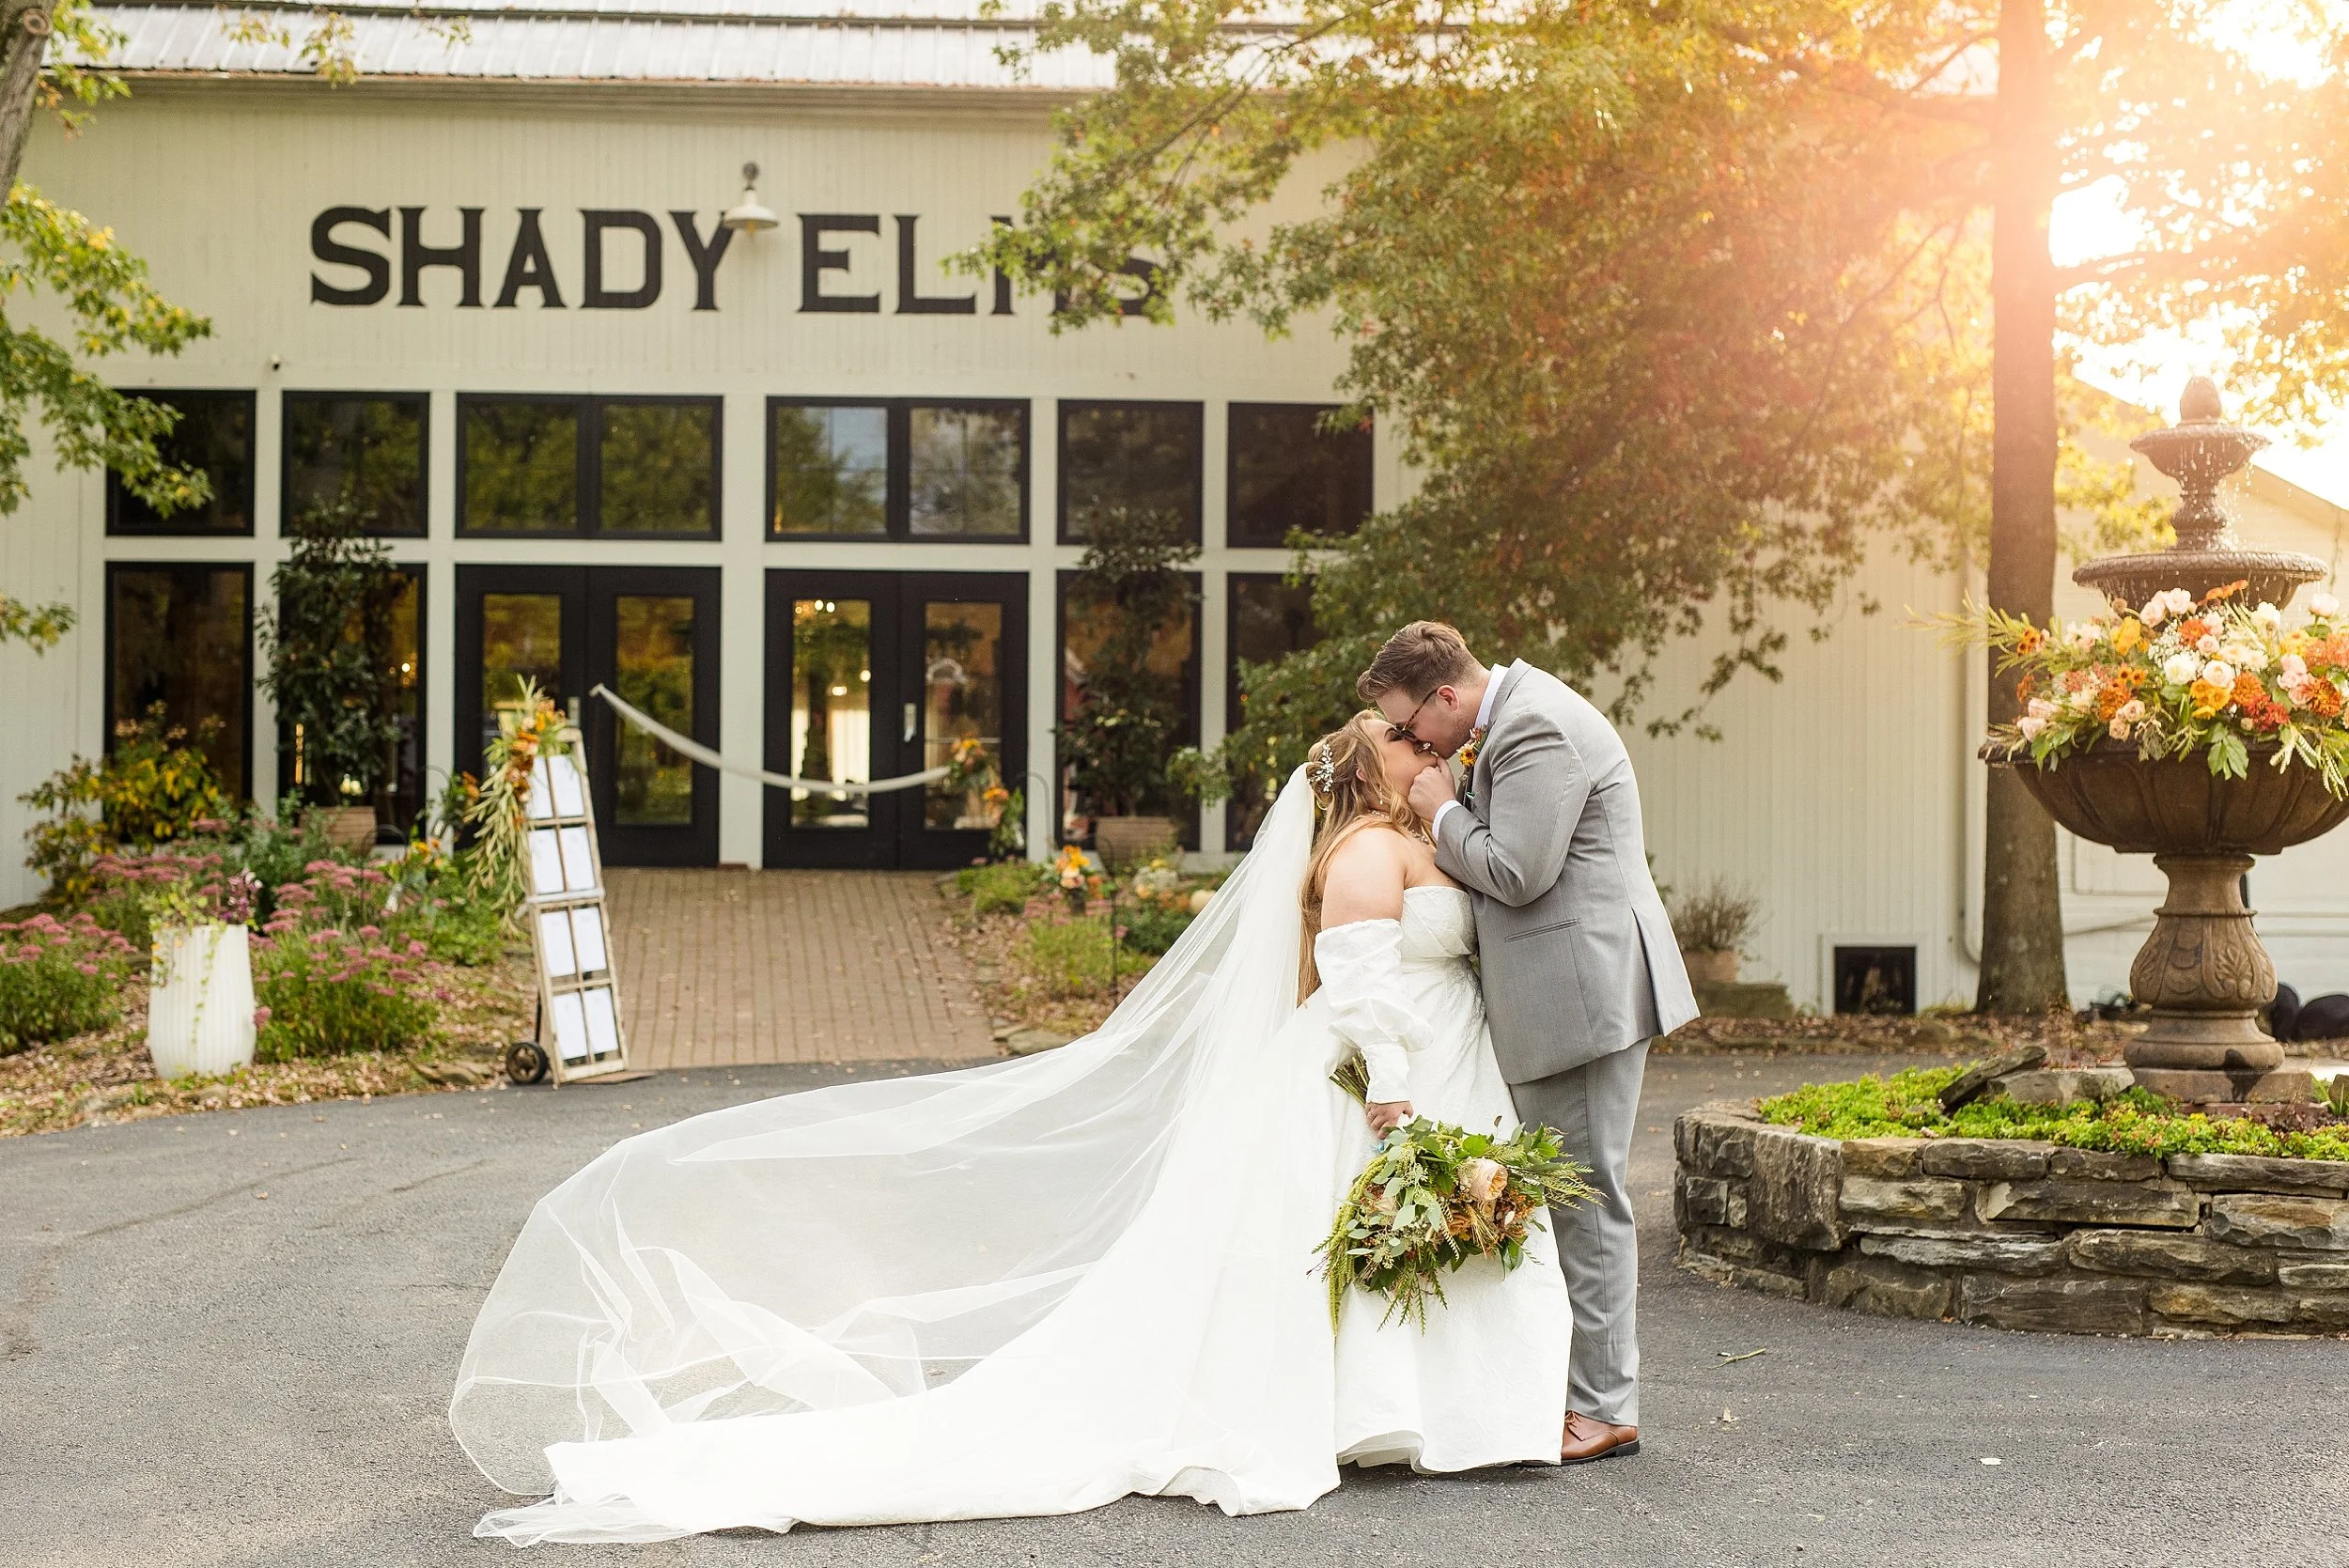
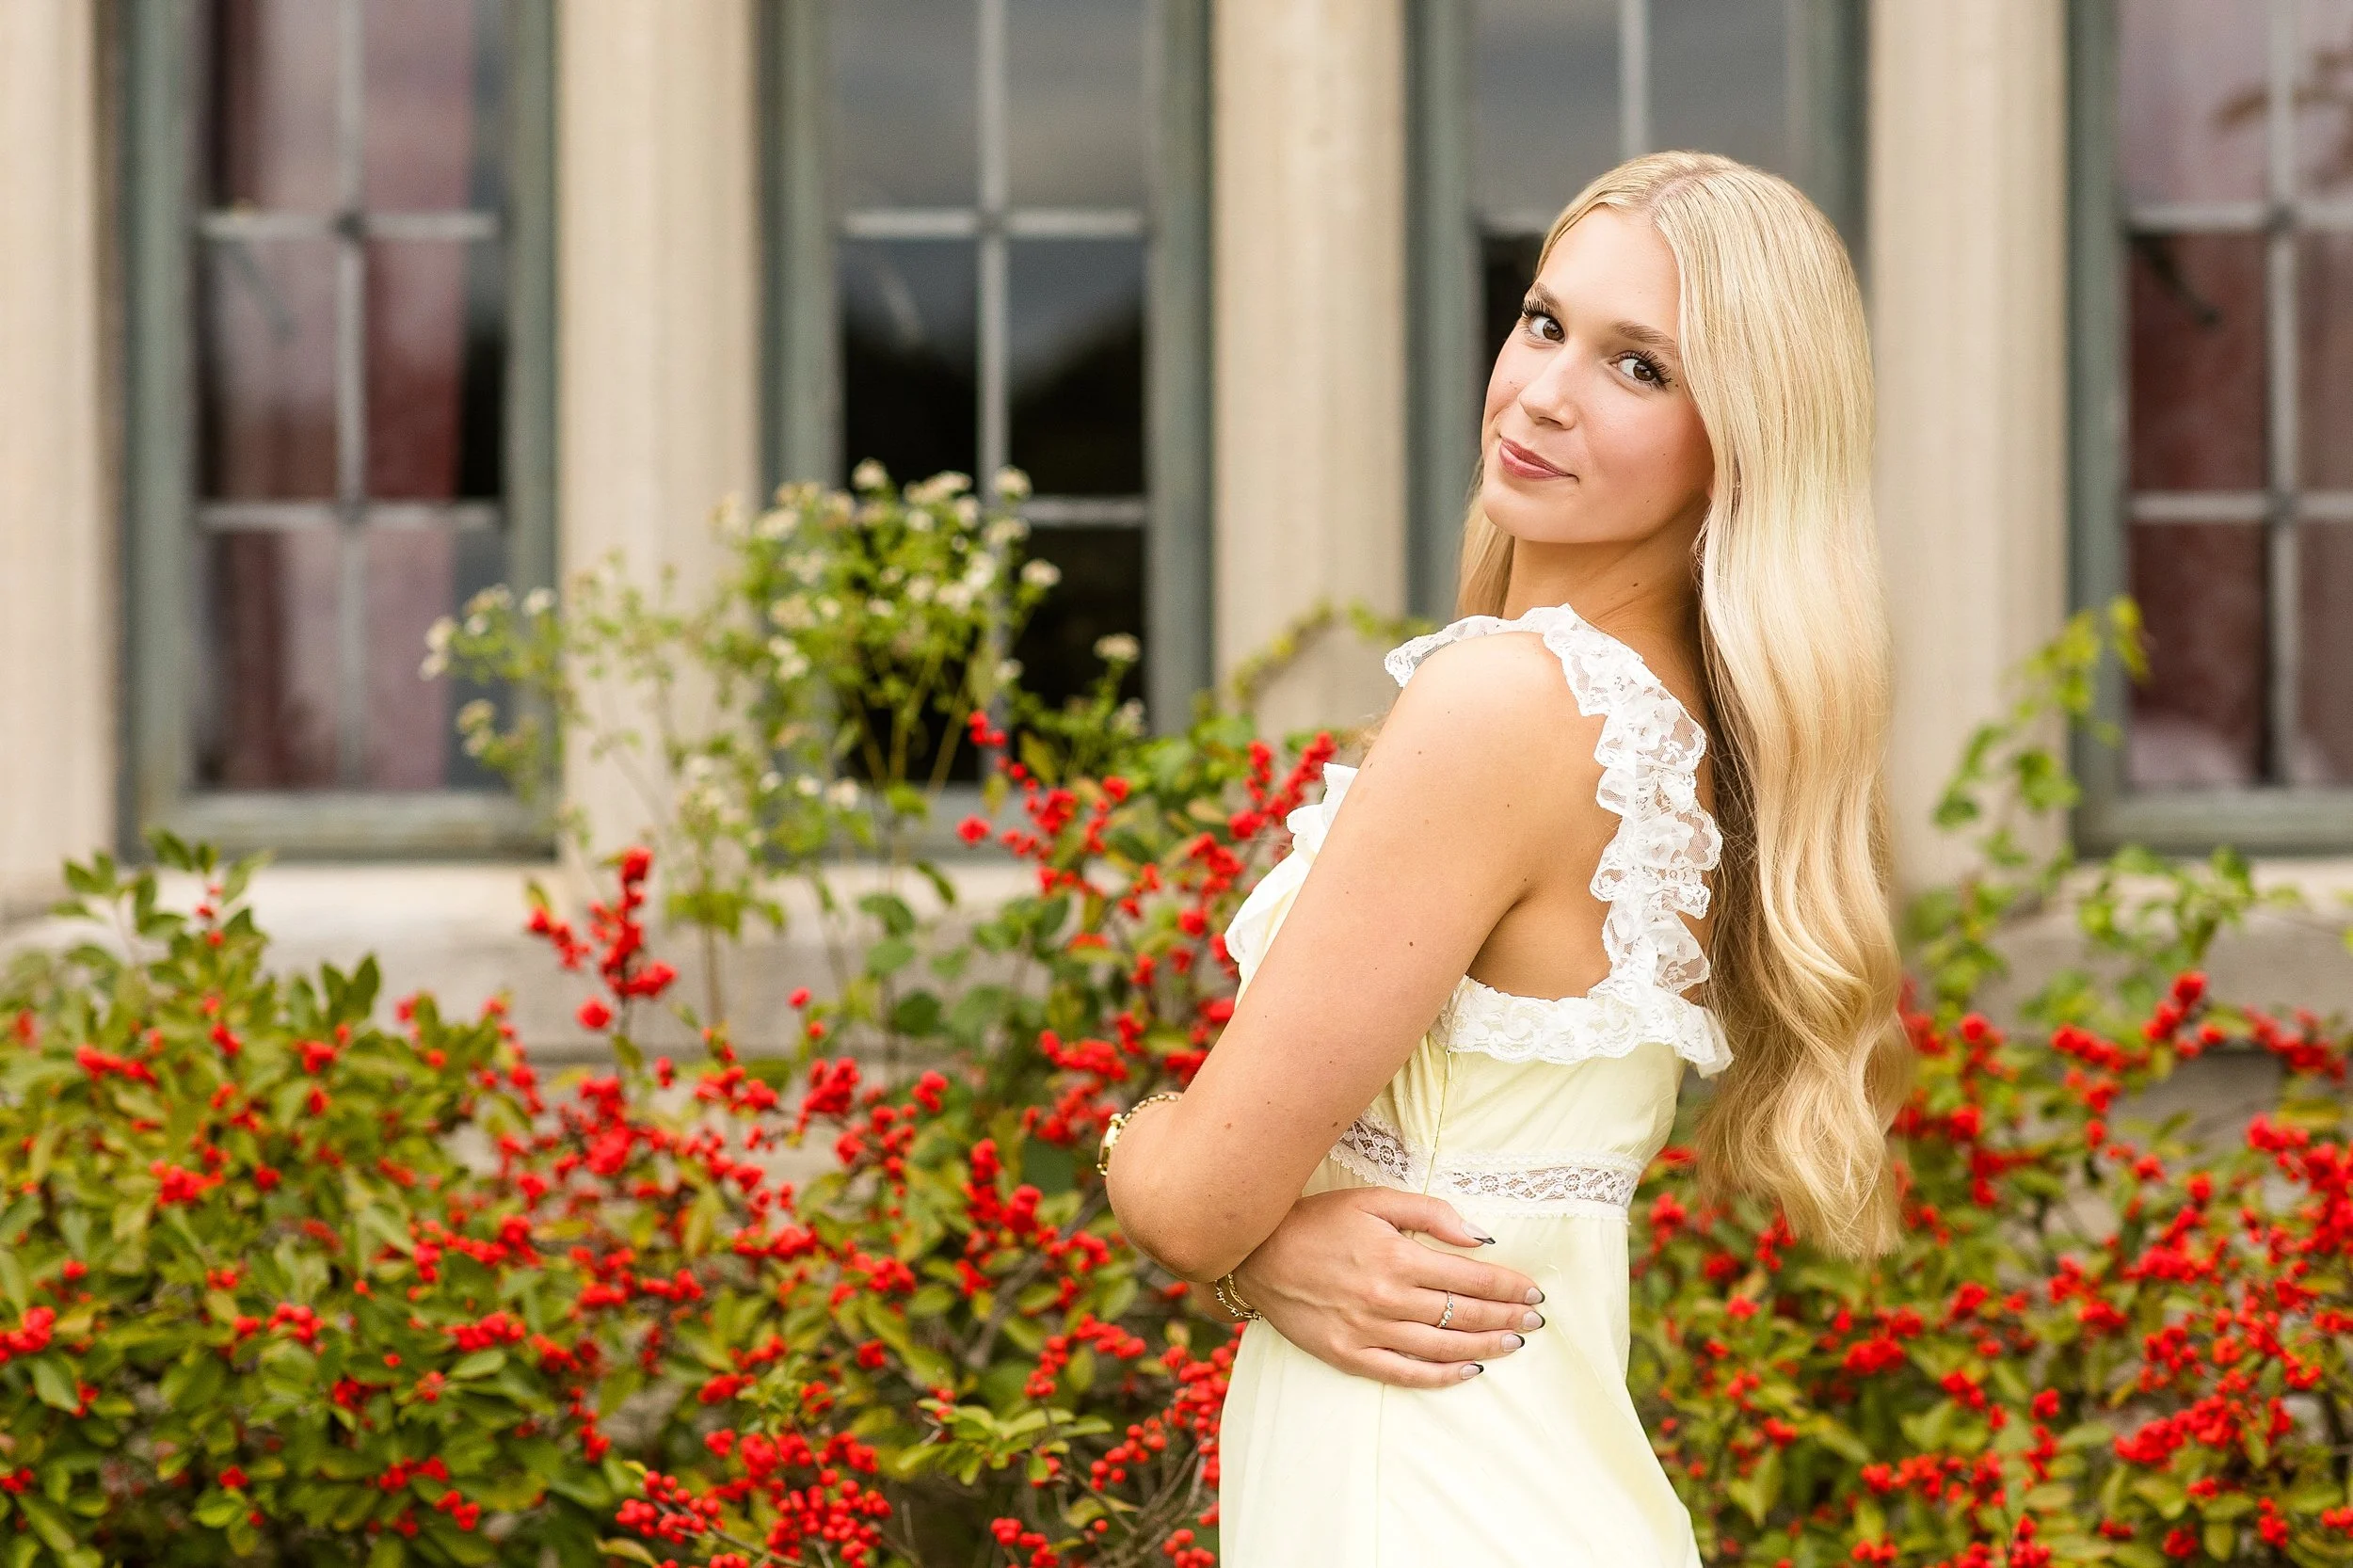
Pittsburgh-Wedding-Photographer-Pittsburgh-Senior-Photographer_3923.jpg

3.     Worried about choosing the wrong outfits and regretting it later?

I have a couple of blog posts (Click here, and here!) that give some additional information for how to choose outfits for your session, but if you’re nervous about choosing outfits that you will regret later, here are some of my best tips:

  • Go for classic looks. Classic looks never go out of style and stand the test of time! For women, an A-line dress paired with some sort of heel is almost always in style. For men, a close-toed shoe with fitted pants and a blazer is always a great choice!

  • Make sure it “feels” like you. Whatever that means for you… make sure the outfits “feel” like something you would actually wear! Now, that doesn’t mean that you should wear your old t-shirt and 10 year old jeans (sorry!), but it does mean that if you are the type of person who never gets “super” dressed up, don’t feel like you have to get super dressed up for your photos! You can certainly kick it up a notch, but you don’t have to look like a completely different person or sacrifice your personal style in the process.

  • Make sure whatever you choose is flattering to your shape! Sometimes, oversized sweaters, shirts, and/or dresses (particularly those that don’t accentuate the waist or any part of your figure) can actually add weight on camera.

When it comes down to it, there’s no way you’ll know for sure whether you will love or hate the outfits you chose for your photo session ten, twenty, or even thirty years later. Make the best choice you can in the moment, and trust that, no matter what you choose, the outfits you DO choose represent you at this time in your life!

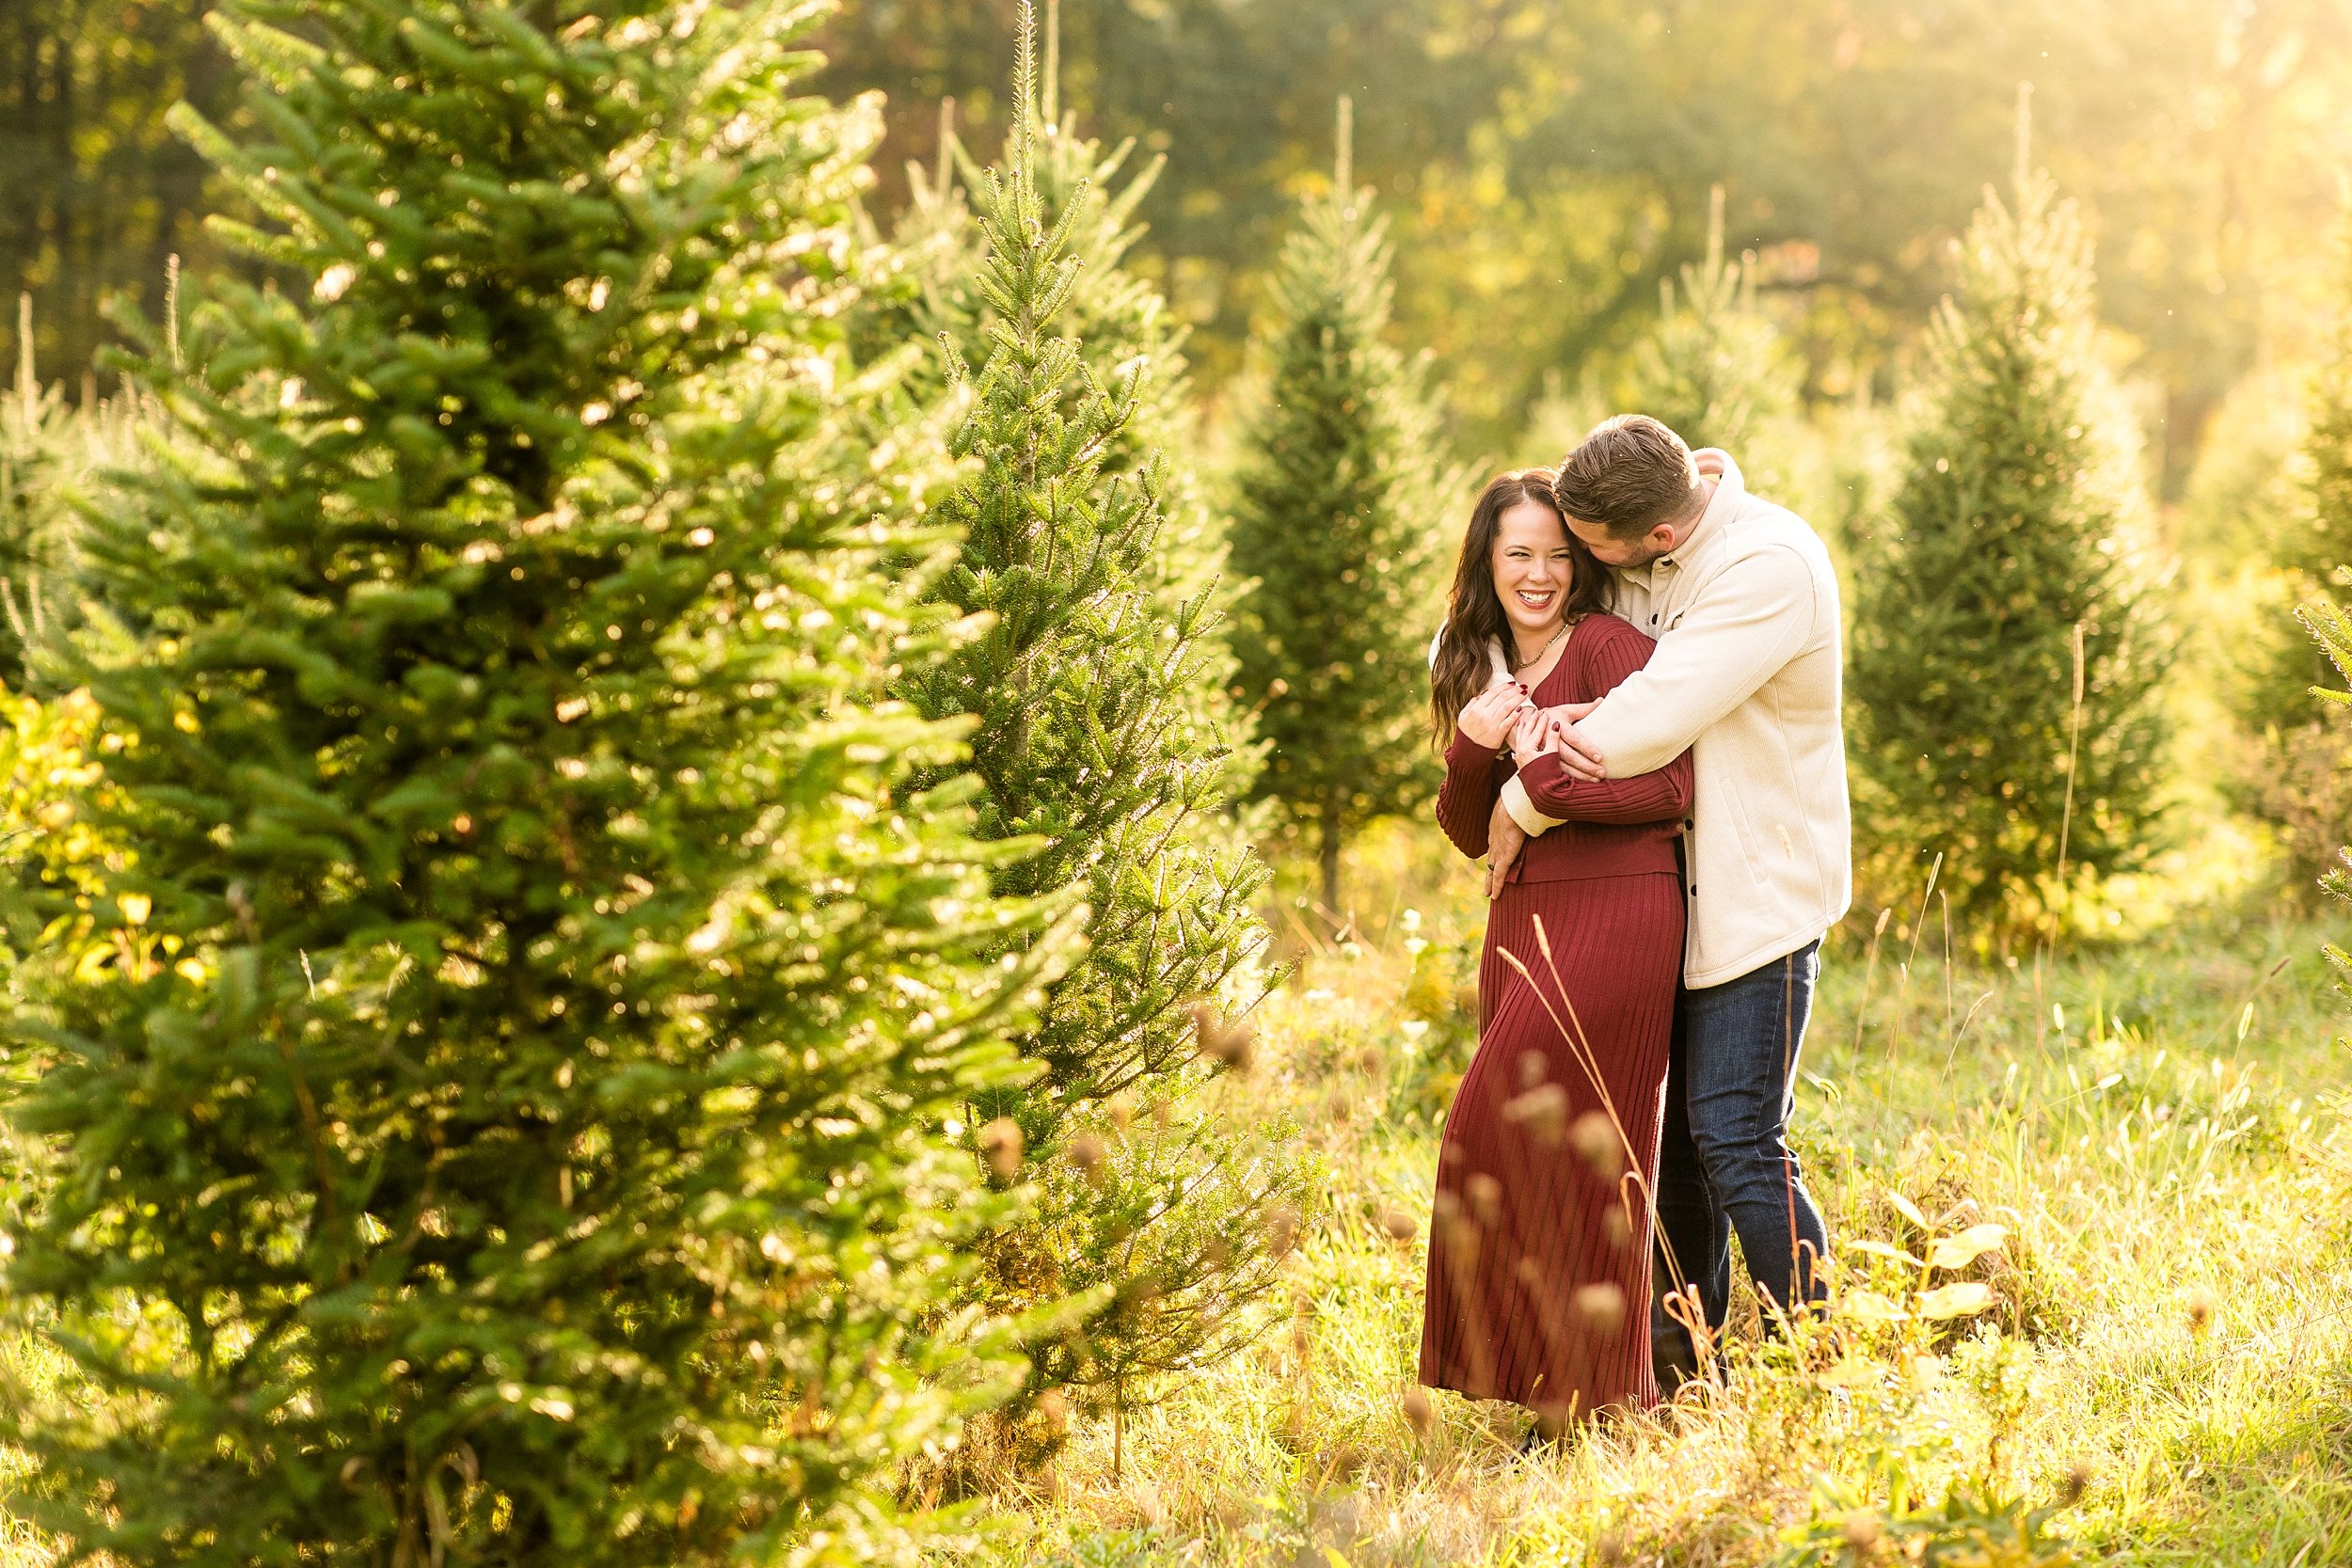
2018-05-23_0016.jpg

4.     Worried about the rain?

Living in Pittsburgh means that rain can be a real threat when it comes to taking photos outside! So, how oh how do you handle things when it looks like it might rain the day of your session?!

There are basically two options: work with the rain, or reschedule! If you decide to work with the rain, you’ll most likely want at least some photos where you aren’t directly in the rain or holding an umbrella. The key: look for locations with natural light that are out of the rain. This could be as simple as finding a large (or small) covered outdoor area (Mellon Institute columns and the David Lawrence Convention Center are popular rain spots in the Pittsburgh area because they have large amounts of natural light AND are covered!). Or, you could use a clear umbrella (clear umbrellas work best cause they let in the most natural light!) to get some shots in areas that do not have an overhang!

5.     Worried about seeing things about yourself that make you feel self-conscious?

We all have things we’re self-conscious about when it comes to how we look. The biggest piece of advice I could give when it comes to this worry is to communicate your insecurity with your photographer. It might feel weird, embarrassing, or awkward – but, while some insecurities might be more obvious, others might be more in the beholders eye. I personally always appreciate when a client communicates an insecurity so that I can be EXTRA mindful to pose them or move them in a way that minimizes what they’re worried about.

6.     Worried about looking heavy, or being seen from unflattering angles?

So much of this comes down to how a person is posed and the angle from which they are photographed. Certain angles are less flattering, while others are more flattering. For example, shooting from below someone’s eye line or face (with the camera pointed up towards the subject) usually exaggerates features from a negative point of view – the jaw line, hips, thighs, etc. Shooting from a slightly higher angle creates a more flattering silhouette, slimming the face, jaw, hips, and other body parts. Whatever is closer to the camera will appear larger; whatever is further away will appear smaller. Photographers aren’t trying to distort truth by doing this, they’re just trying to find the very best way to flatter their subjects!

Posing is another huge piece of the puzzle. Naturally, there are some poses that are more slimming, and some that are not. Part of the reason why I’m not solely a candid photographer (or, someone who constantly gives movement prompts without any posing at all) is because good posing is VERY flattering – and people want to look good in photos! It’s as simple as that. The key, for me, is to strike a balance between helping people look good, but feel natural. Because of this, my approach is not purely candid nor purely posed – it’s a combination of both!

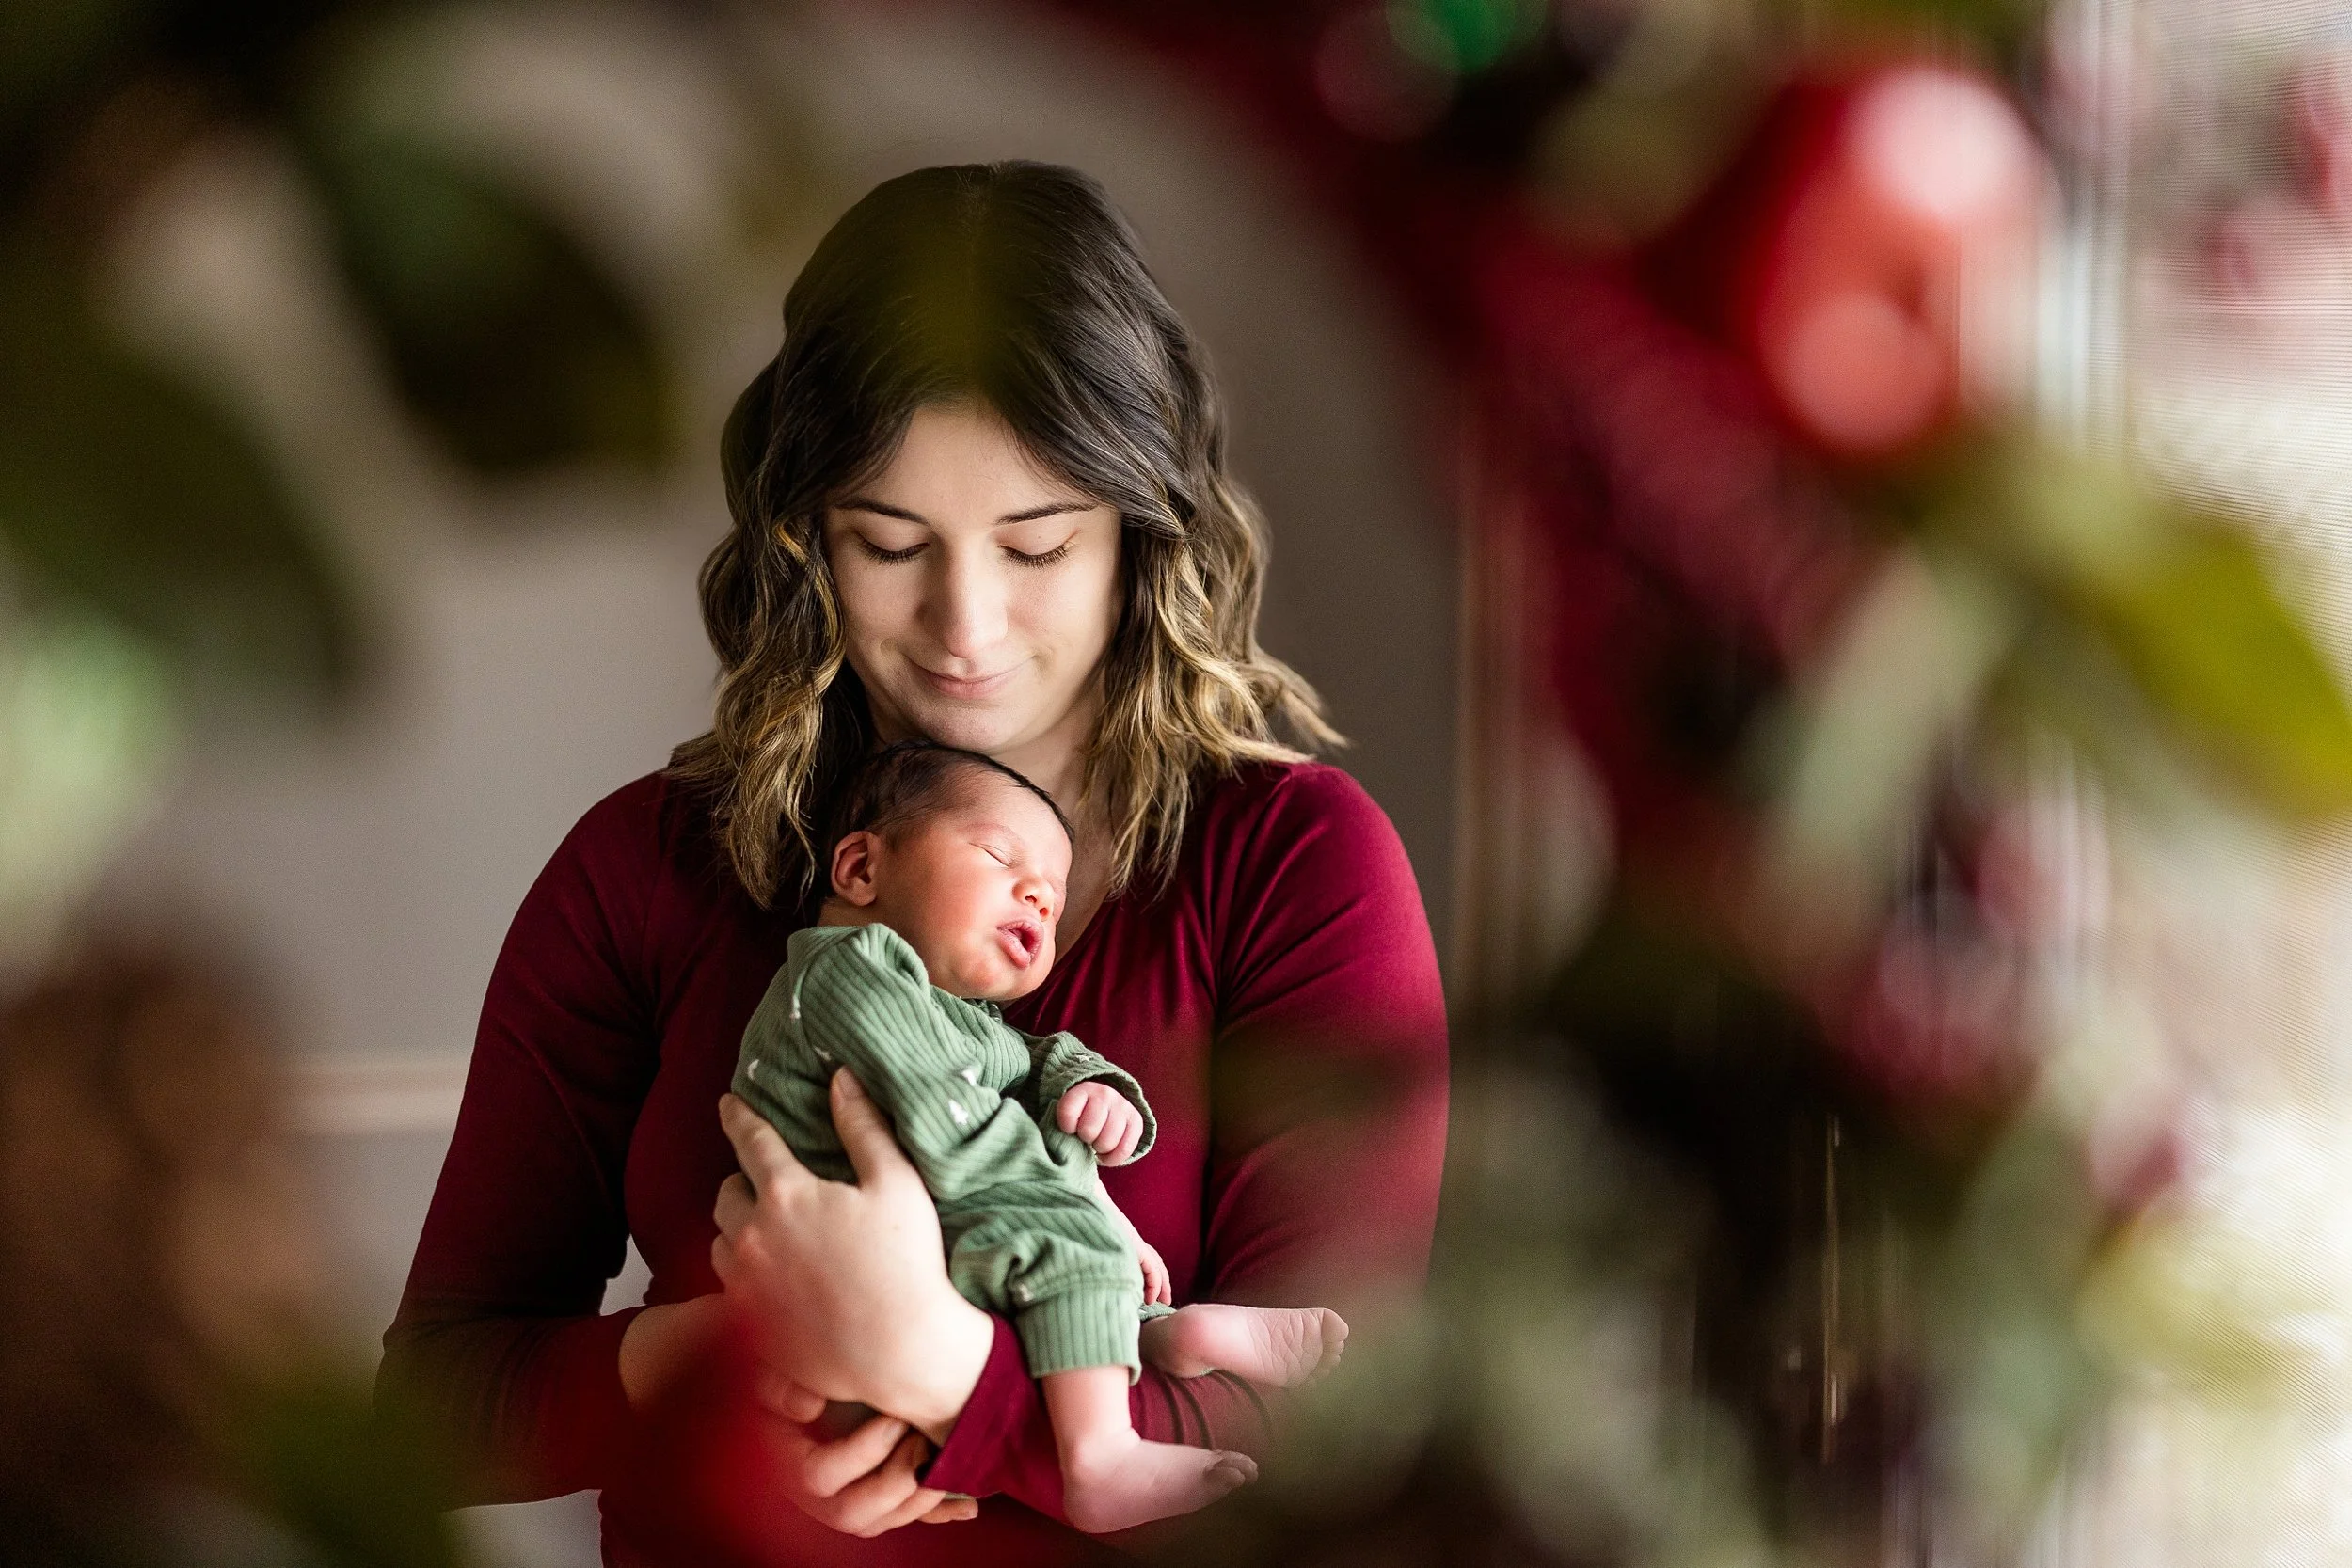
Pittsburgh-Wedding-Photographer-Pittsburgh-Senior-Photographer_3261.jpg

7.     Worried about looking too posed, or not natural?

And this next question perfectly flows from the last! The two biggest worries I’ve heard when it comes to people having their photo taken is the fear of looking too “posed” or “unnatural.” The great thing about living in the era we currently live in is that you can go online and see TONS of samples from (almost) any given photographer. So before you decide on who you want to photograph you, make sure you are familiar with the photographer’s style so you can determine who might be too posey for you – I think the answer is truly different for everyone!

8.     Worried about your significant other hating the experience and/or being mad the whole time?

I know for a fact that this is a big one for couples who are looking to have engagement, anniversary, or wedding photos taken! Even if you can avoid engagement photos or anniversary photos, chances are you’re going to have one heck of a hard time getting out of wedding photos, since it’s one of the biggest decisions in your life and one of the most important days you’ll have! And who wants to be mad on their wedding day?!

You HAVE to do your research for this one to know how the photographer you’re hiring will pose, move, and interact with your during your shoot. Liking the photographer’s work is so important, but it’s almost equally as important to read reviews about other people’s experience or see the photographer in action for yourself. Is the photographer awkward or enthusiastic? (I guess you could be both! ;) ). Do they pose their subject meticulously, or fluidly? Do they want to get you two interacting and having fun together? All of these questions are important to ask, because they’ll give you an indication of how much fun you could have during your session and how comfortable you will be!

Are there any other nervous photo concerns you would add to this list? I’d love to hear them below!

Comment

How I Got the Shot

Comment

How I Got the Shot

I’m a sucker for anything labeled “behind the scenes.” It’s so much fun to see what goes into making things, and personally, I love hearing the thought process and intention that goes into a product or service!

Today, I’m excited to share the behind the scenes making of a few select photos. This post might be a bit more geared towards photographers with some of the technical detail - but regardless of if you’re a photographer or just someone who likes looking at photos, I hope you enjoy!

This shot was taken jus after sunset on the Roberto Clemente bridge in Pittsburgh! Camera left (allll the way on the sidewalk of the bridge), my assistant was holding a portable speedlight (without a modifier, like an umbrella or softbox) pointed to…

This shot was taken jus after sunset on the Roberto Clemente bridge in Pittsburgh! Camera left (allll the way on the sidewalk of the bridge), my assistant was holding a portable speedlight (without a modifier, like an umbrella or softbox) pointed towards my subject. To be honest, I wasn’t sure if this would work without a modifier, but I was pleasantly surprised with my results! I later figured out that because the speedlight was far enough away from my subject, the light appears a little bit softer. If my speedlight had been closer without a modifer, the light would’ve appeared harsher. I used a 70 to 200 mm lens for this shot, so I stood quite a distance away from my subject because of the longer focal length!

This was a favorite ring shot of mine from last year! It required a little extra planning, but it ended up being worth it! While my couple was changing into their second outfit (at their engagement session), I borrowed their ring to take a few shots…

This was a favorite ring shot of mine from last year! It required a little extra planning, but it ended up being worth it! While my couple was changing into their second outfit (at their engagement session), I borrowed their ring to take a few shots. I noticed a bench near me with a slightly glossy/reflective surface, which is where the slight ring reflection came from. I placed a small, battery-powered portable string of lights behind the ring, which reflected nicely onto the bench! I used my Canon 100mm f/2.8 L macro lens at 2.8 to make sure I’d be able to get the creamiest bokeh possible! Click here to see/purchase the twinkle lights I use for less than $7 on Amazon Prime!

This photo was taken a few hours after sunset outside of the Morning Glory Inn on the South Side of Pittsburgh and is one of my favorite “night time” shots to date! I had been a little worried that this wedding was going to be a rain out - but it tu…

This photo was taken a few hours after sunset outside of the Morning Glory Inn on the South Side of Pittsburgh and is one of my favorite “night time” shots to date! I had been a little worried that this wedding was going to be a rain out - but it turned out that the rain came JUST at the right time, just for this photo!! To achieve this look, I placed a portable speedlight in a clear plastic bag (to protect it from the rain!) on a light stand behind my couple to light them from behind, and to “light up” some of the rain. To light them from the front, I used an off-camera speedlight with a small softbox (to soften the light on their faces) held by my second shooter camera left. I used a 50mm lens for this shot.

I knew when I took these two to the sunflower field that I wanted to REALLY make them look like they were lost in the sunflowers. To achieve the “look” of the sunflower close up in the left side of the frame, I used my Canon 70-200 f/2.8 (at 200mm) …

I knew when I took these two to the sunflower field that I wanted to REALLY make them look like they were lost in the sunflowers. To achieve the “look” of the sunflower close up in the left side of the frame, I used my Canon 70-200 f/2.8 (at 200mm) and used the high compression to my advantage, making the sunflower appear larger than life in the frame. (To learn more about lens compression, read this great article by SLR Lounge!).

This was one of my favorite invitation/bridal detail shots from all of 2019! While this may look like a simple set up, getting to the final product took a little bit of time. A good flatlay shot requires good light - and for me and my style, I like …

This was one of my favorite invitation/bridal detail shots from all of 2019! While this may look like a simple set up, getting to the final product took a little bit of time. A good flatlay shot requires good light - and for me and my style, I like to have even, soft light across the bridal details I photograph. When I came into the bridal suite, there was a small room with couches in the back that had TONS of window light - I knew it would be the perfect spot for bridal details! Window light was coming stronger from camera left and the top of the image, so after I set up this shot, I added a silver reflector (click here to see/purchase the one I use!) camera right to soften some of the darker shadows cast by the invitation suite (which is a few inches elevated from the invitation tray by the back of a ring box). Believe it or not, the background (tan with blue dots) of this image is actually the couch that was in the getting ready space! I used a 50mm lens for this shot. I didn’t want to use too wide of a lens because I didn’t want any lens distortion, and I wanted to make sure you wouldn’t be able to see the edges of the couch here.

This may be one of my favorite senior photos from this past year! I love love LOVE clean, soft light, and on this particular day in the fall, we had the most beeeeautiful light for Lydia’s senior portraits! But there a few tricks that made this imag…

This may be one of my favorite senior photos from this past year! I love love LOVE clean, soft light, and on this particular day in the fall, we had the most beeeeautiful light for Lydia’s senior portraits! But there a few tricks that made this image really pop. Notice where the sun is - you can see it’s a little hazy in the background and hitting her hair, but it’s just out of the camera frame - which makes Lydia’s face clear (free of haze), with a nice pop! I used a higher compression lens (an 85mm) and a lower aperture (f/2) to achieve a dreamy-like look, with Lydia in focus and with the background completely knocked out. I also had my assistant holding a white reflector camera right, just out of the frame, which lit her eyes up a bit more and removed some shadows from her eye sockets!

Comment

4 Important Things to Note About Photo Sessions in the City

Comment

4 Important Things to Note About Photo Sessions in the City

I’ve always felt #blessed living just a half hour from a major city like Pittsburgh. It has so much to offer in terms of photography backdrops, and provides the perfect personal space for couples, seniors, and families who call Pittsburgh home!

I’ve realized, however, that taking photos in the city is a bit different than somewhere like Hartwood Acres, Historic Harmony, or McConnell’s Mill. There’s a bit of extra planning and preparation that goes into a photo session in the city - things like sporting events, parking, and walking distance to and from locations all have the ability to impact your session. Below, I’ve compiled a list of four important things to note about photo sessions in the city!

1.     Planning to arrive early (leaving time for traffic, parking, and walking to our starting point) is key.

It usually takes a little longer to get to where you need to be when having a photo session in the city. Unexpected traffic, hard-to-find parking, and having to park a few blocks from your intended destination can all add extra time onto the beginning of a session. If you’re having your photos taken in the city, it’s important to leave ample extra time prior to your session start time for unexpected surprises! Once I had to park so far from a session starting point that I walked for fifteen minutes straight before actually arriving, due to lack of parking. Give yourself extra time!

2.     Choosing a date and time when there isn’t some other major event going on is oh-so vital.

In Pittsburgh, we love our sports, and when there’s a sporting event going on (especially a Pirates game!), certain parts of the city (i.e., the North Shore!) are SO hard to get to. Often times bridges and streets are closed down, too, which means lots more traffic! Not to mention, all of the extra people walking around make clean backdrops a bit more difficult.

Some other events to consider checking on specifically for Pittsburgh: Steeler games, Pens games, Pirate games, music concerts, the Arts Festival, parades, etc.

3.     You might be walking… a lot!

A lot of times, locations I use in the city for photos require a bit of extra walking! It’s often easier to walk from place to place rather than going back to the parking garage to get your car, to try to find parking again. Walking from place to place is usually much quicker!

I often suggest seniors, couples, and families bring an extra pair of “comfortable shoes” for walking longer distances – especially if you’re a female who’s planning to wear heels!

4.     You might garner a bit of an audience.

Cities are generally busier than other popular photo locations (like parks!), and sometimes people like to stop and stare. If you’re uncomfortable with the thought of having your photo taken in front of people, consider choosing a more private location (or at least starting at a more private location, like a park inside the city, then moving to the busier parts!) Or, consider a less busy season (like winter!) where people aren’t hanging around the city leisurely!

Finally, know this: you can’t go wrong with a session in the city, and with a photo session in Pittsburgh, your photos will, without a doubt, be so epic!

Do you have any questions about photo sessions in the city? Comment your q’s below!

Comment

Pixifi: Business Management Software Review

Comment

Pixifi: Business Management Software Review

Creative business owners, you’ve probably seen a ton of different types of studio management systems, all with different features and capabilities. Today, I’d like to throw another name into the ring that you may or may not have heard of: Pixifi.

Screen Shot 2019-03-15 at 10.27.17 AM.png

A little over two years ago, when I was looking for all-inclusive studio management software, I just wasn’t finding any that made the cut. And to be honest, I was feeling SO overwhelmed trying to figure out which management software would suit my business’ needs best. Again and again, I kept trying out a piece of software, only to realize halfway through getting it set up that it didn’t have a key feature that I felt like I needed. And I kept getting more and more frustrated!

After maybe five or six attempts at setting up different management systems, I decided to make a list of EVERYTHING I could ever want in a studio management software… even if it seemed like what I wanted was out of reach. So, I sat down, typed out a list, and, on a whim, posted that list in a few Facebook groups to see if anyone had any suggestions, not really believing that anything existed that could do exactly what I needed.

Low and behold, I was wrong! Someone commented on one of my posts: “Have you heard of Pixifi?” No, I had not – but as soon as I started researching Pixifi, I knew it was the management software for me! With robust features including automation, scheduling calendars, workflows, contracts, and invoicing capabilities, I decided right then and there to sign up for Pixifi – and I’ve never once looked back!

If you’re looking for a studio management system, I couldn’t recommend Pixifi more. And I’d love to share a little bit about exactly why I chose Pixifi with you, along with some of the pros and cons I’ve experienced with the system along the way!

WHY I CHOSE PIXIFI

There were a few specific features I was looking for when I was testing out different types of studio management software. I needed my studio management software to:

  • Have distinct, customizable workflows for each specific type of my business (weddings, seniors, families)

  • Have automation (emails, questionnaires, invoice reminders, contracts) that could be attached to specific workflows (i.e., press one button and a twenty step automatic workflow was put in place)

  • Give my clients the ability to book their session from my pre-set calendar

  • Give my clients the ability to sign their contract and view their invoice upon booking without me having to do anything (going back to automation!)

  • Have an online portal so each of my clients could view their contracts, invoices, scheduled sessions, and questionnaires all in one place

And Pixifi has ALL of these things (and more!)

PROS:

  • Pixifi is an incredibly powerful software with basically any and every feature you could think of!

  • It is constantly being updated and worked on by the Pixifi team, which means new features are never very far away!

  • There is a super strong online support system via a Facebook group where you can get your questions answered in no time flat – which is really helpful for those times when technology makes me feel like my head is going to explode!

  • The automation feature, with integrates automatically with each different type of service I offer, has been a GAME CHANGER. Clients can automatically choose their dates, sign their contract, view their invoice, get access to their questionnaire, and receive valuable educational information about their session, all with the click of a button. The automation feature alone has saved me SO MUCH precious time, which has allowed me to work on other projects and take more sessions!

CONS:

  • There is a pretty decent sized learning curve, but mainly because Pixifi is just so dang powerful and has so many different features. Full disclosure: it took me a lot of tears, phone calls, webinars, and mistakes to set up Pixifi correctly. I didn’t feel confident using it until after a few months of set up and trial and error. (A HUGE thanks to my extremely gracious and patient clients who were kind enough to bear with me during those first few months!

  • It takes a decent amount of time to set up. But for me, this was fine – being in the wedding industry in Pittsburgh means that things slow down significantly for a couple of months during the winter season. But if you are looking for a “quick fix” studio management software, this might not be the right fit for you.

Pros and cons are great and all, but when I was trying to choose a management software for my business, what I wanted to hear about from users were their results. How did their lives change or improve since implementing Pixifi? So, the very last piece of my review I’d like to share with you are some of my results!

MY RESULTS WITH PIXIFI

  • 25% Increase in Profit: Okay okay, I know that there is more that goes into this statistic than just Pixif, but I couldn’t help but put in in here. The year I started using Pixifi, my business grew in revenue by 25%. I truly believe that Pixifi gave me back a HUGE portion of time, decreasing the amount of time I allocated to invoicing, scheduling, contracts, and general workflow management. Because I had more time, I was able to take more sessions and work on parts of my business that I had been neglecting, simply because I hadn’t had time to work on them!

  • More Free Time: When I was looking for a studio management system, I wanted to implement a software that would give me my life back. Instead of spending hours every day behind my computer, I wanted to be able to occasionally go on walks with my husband and get lunch with friends and family. And to be honest? Before I implemented Pixifi in my business, I felt like I just didn’t have enough time (or balance) to pursue relationships the way I wanted to in my life. Now, I feel like I have so much more balance, and for that, I am forever grateful!

All in all, I could not be more thankful for how Pixifi has changed my business and how it has given me back SO much of my time! Curious to see if Pixifi could change your business? Visit their site using my referral link below!

Comment

8 Tips for Aspiring Photographers

Comment

8 Tips for Aspiring Photographers

I have something embarrassing to share: when I first started out in photography, I spammed the HECK out of people. Without a doubt, I would almost always ask the same question to as many photographers as I could, over and over: what advice do you have for someone starting out in photography?

 The answers very widely from “get the best gear you can!” to “gear is a waste of time and money if you don’t know how to use it!” to “don’t compare yourself” to no answer at all (that was the most popular ;) )  -  and now, this is one of the most frequently asked questions I receive from other aspiring photographers. So today I wanted to share a few of my favorite answers!

1.     If you’re just starting out - try it ALL!

One of the toughest things about starting out as a photographer? You won’t necessarily know what kind of photography you love most until you actually try different types!

When I first started getting into photography, I photographed anyone who would let me! Seniors, couples, families, newborns, young kids, professionals, products, weddings, and really, it took a couple of years for me to figure out where my “sweet spot” was, and where it wasn’t. Which is why I do not photograph newborns or products, but love seniors, couples, and families!

2.     STOP COMPARING YOURSELF.

You’ve probably heard it before, but it’s worth mentioning over and over again: don’t compare your beginning to someone else’s middle! You never know the story behind how someone’s gotten to where they are, or how much work they’ve put in to get there. The only person you should be comparing yourself to is yourself!

3.     Practice, practice, practice – and break that practice down into manageable goals and steps!

This might be the most obvious piece of advice, but you HAVE to put in the work to learn! Don’t be afraid to put yourself into situations where you have to learn a new skill, and don’t be hard on yourself for the time it takes to master each new skill.

For example, a few years ago, I decided that I wanted to really step up my wedding photography game – but I felt overwhelmed by the sheer amount of things that needed to improve. So, I wrote a list of my top 10 things I wanted to focus on and improve, and each wedding, I tried to focus on one of those improvements – not on all ten things, just on one. By the end of the year, I had ten new skills to incorporate into all of my weddings, each building on the last. And by taking it one skill at a time, one wedding at a time, I was able to improve in a way that wasn’t overwhelming!

4.     Take intentional social media breaks.

Ahhh, social media: where creativity goes to die. Social media can be inspiring, encouraging, and community-driven, but if we’re honest, many times it can leave us feeling lackluster and isolated. Social media seems to breed comparison faster than almost anything else, so taking intentional breaks can be a great way to reset and let your own creativity come to the surface.

5.     Find inspiration from other creative (or non-creative!) mediums.

Other creative endeavors can be a great way to gain inspiration and a different point of view! You never know what can spill over from one medium into another.

6.     Find community with other photographers – beginners and pros.

This has been one of the most life-changing tips for me over the last year! It’s amazing what a simple connection can do – finding other like-minded people who are in the same boat as you, or even further along, make a huge difference in attitude and in success as a whole! We need others in order to succeed. If you don’t believe me, go read The Power of the Other by Henry Cloud!

7.     Find inspiration from other types of photography.

If you’re a portrait photographer, follow a wedding photographer. If you’re a wedding photographer, follow a landscape photographer. If you’re a landscape photographer, follow a sports photographer. You might find something interesting that you can incorporate in a unique way into your work! For example, as a wedding photographer, following food photographers has helped me learn how to better style wedding day details. Many food photographers will use stylists or incorporate their own special tricks into making their food photography stand out – some of which I’ve been able to incorporate into my wedding day detail styling! You never know where you might pick up a bit of inspiration!

8.     If you struggle with comparison but still want to follow the work of other photographers, follow photographers who teach, not just photographers who simply post their work.

A few years ago, I was so in the thick of social media comparison that I knew I either needed to totally delete my accounts or find a way to manage what I was feeling. I remember sitting down with my husband and going through the Instagram accounts I was following, one-by-one saying “yes, I compare myself to that person” or “no, I don’t compare myself to that person.” It might sound silly, but I learned something from it: the people I was following, or specifically the photographers I was following that I tended to not compare myself to were educators. Maybe it’s selfish – but the fact that those photographers posed their accounts as wanting to help me, not simply just show their work, helped me not feel the need to compare myself. And I’ve been using that “line” to judge who I should and shouldn’t follow ever since!

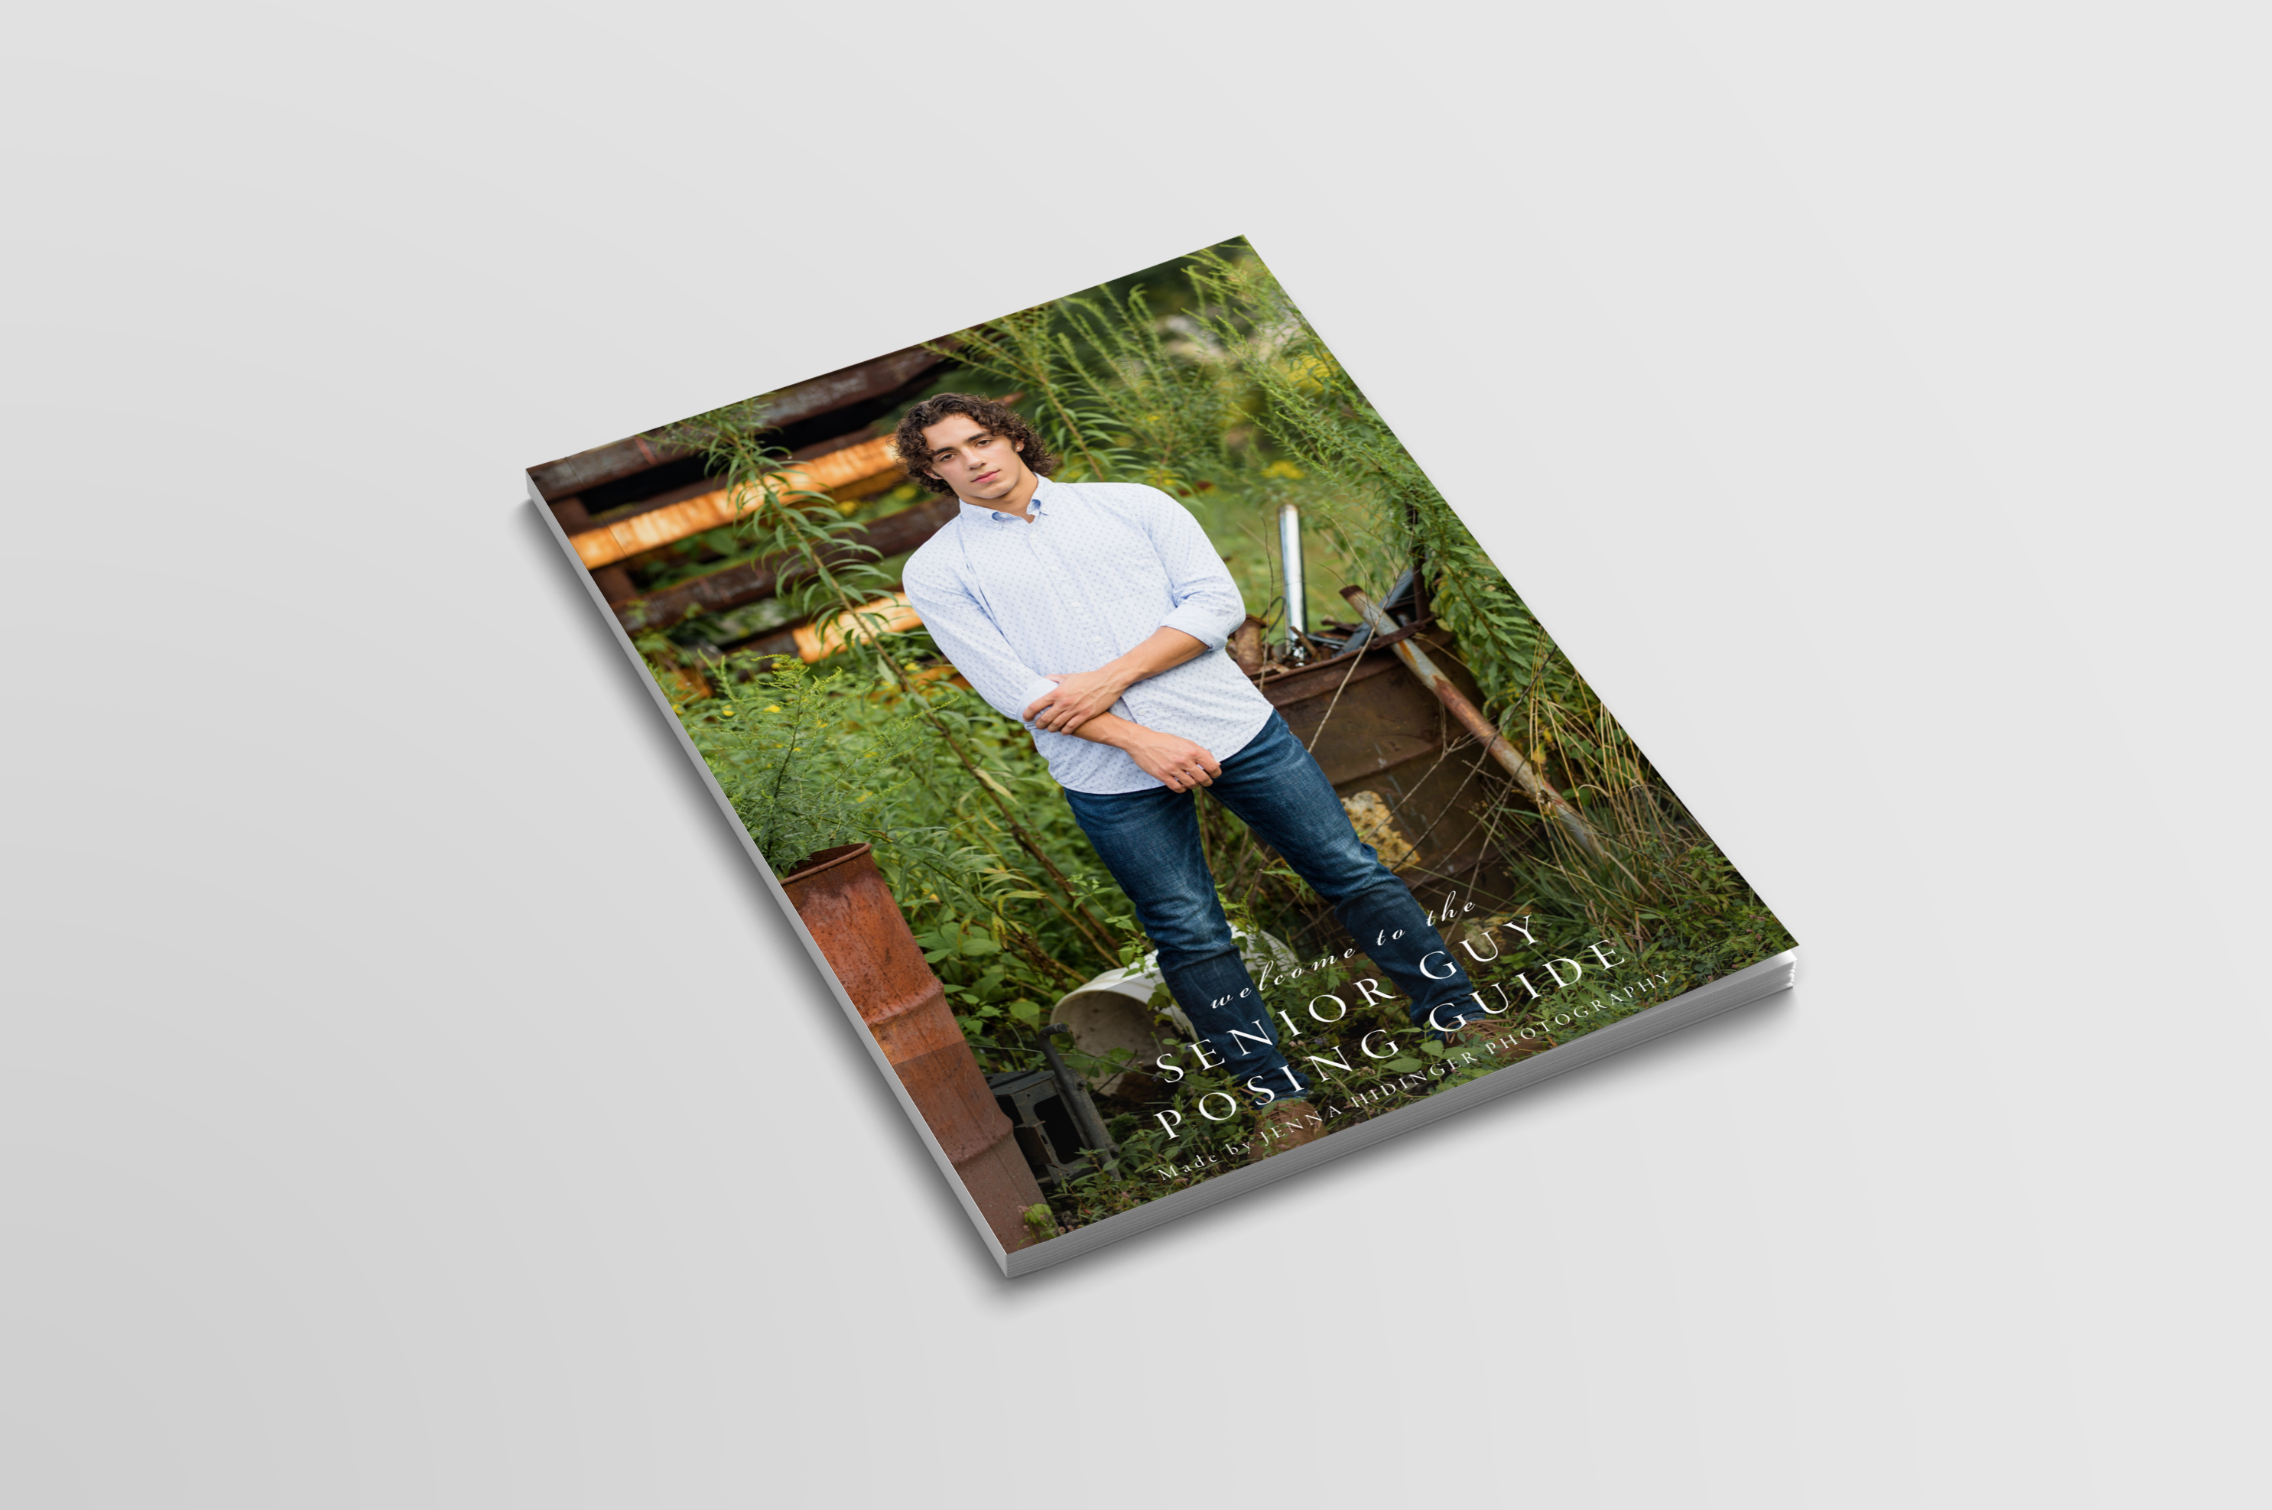
Looking for additional help and resources to feel more confident and comfortable behind your camera? I now offer a limited number of mentoring sessions per year, along with a few digital resources to aid other photographers on their journey! Check out my Senior Guy Posing Guide below, or to inquire about a mentoring session, use the Contact tab above!

Comment

The One Piece of Gear I Can't Live Without

2 Comments

The One Piece of Gear I Can't Live Without

Well… besides a camera and a few lenses, that is. 😉

My personality lends itself to becoming bit “obsessed” with things – typically, I’ll become obsessed with a certain type of food. For example, my most recent obsession is fried eggs. I literally eat them ALL of the time. For breakfast. For lunch, when I work from home. For dinner, if I can sneak one into the meal somehow (try sneaking a fried egg into an Italian dish – not easy!). But every once in a while, I get obsessed with something that sticks... and the obsession never goes away.

ARTIFICIAL REFLECTORS

When I first started taking portraits of people as a senior in high school (class of 2011, if you can believe it!), I kept looking at my photos, compared them to others, and wondered why mine were falling flat. The skin tone wasn’t creamy – it was flat. The eyes weren’t lit up – they were dark, without light – but no matter what I did with my camera and my subject, I couldn’t create consistency within my portrait work.

 Then, one day, someone told me about a reflector. And it blew. My. Mind. And completely the changed my portrait work for the better! If you’ve never used a reflector, I’d personally equate it to a little slice of heaven, and most definitely one of my longest standing obsessions. You see, a reflector bounces light onto your subject to do things like:

1.     Pop the eyes.

2.     Create creamy, dreamy skin tones.

3.     Fill in unwanted shadows.

4.     And lighten deep set eyes.

MY FAVORITE REFLECTOR

Here’s the reflector that I use. It’s a 5-in-one collapsible piece of amazingness that I kind of have a hard time living without! This lovely piece of equipment has 5 sides and 5 uses:

1.     The White Side softly pops light into the eyes. This side is great to use on a bright day when you want to give your subject’s eyes a little more light!

2.     The Silver Side: in contrast to the white side, the silver side of the reflector has a bit more “pop.” It’s best to use the silver side on a rainy or overcast day for some extra light!

3.     The Gold Side was created to reflect gold light. For example, if you’re shooting portraits during golden hour or sunset, the gold side of the reflector will match the gold light in the sky.

4.     The Black Side of the reflector, in contrast to the rest of the sides, creates shadow and detracts light, or limits any stray and unwanted light.

5.     The Diffuser is what the other sides “zip” over. The diffuser is great for, you guessed it, diffusing light. For example, if I want to put someone outside in an area with harsh, direct light, but want soft light, I just take out my handy dandy diffuser and hold it over them, effectively casting a shadow over my subject, resulting in even light.

DIY REFLECTORS

If you don’t want to wait for your reflector to come in the mail, or if you’re curious to see the affect before you invest, I’d suggest buying a simple piece of white poster-board. In fact, when I first started out… I didn’t even have a real reflector. I just carried around two pieces of poster-board: one white, and one covered in foil (if I needed a stronger reflector!).

NATURAL REFLECTORS

If you don’t have a reflector, or if you find yourself in a situation without one, you can also utilize natural reflectors. But you might be wondering… what exactly is a natural reflector? Didn’t I just tell you to consider buying this other “artificial” reflector from Amazon?

While an artificial reflector can be folded down and carried around with me anywhere, ready to for me to use whenever I need it, natural reflectors are reflective surfaces found on location (and not at every location!). For example, one of my favorite examples of a natural reflector is a cement sidewalk. But why does this make such a great natural reflector? A cement sidewalk is usually a creamy ivory color, which reflects onto the skin, making it luminescent, and making the eyes pop - much like the white side of an artificial reflector. Snow is also an excellent natural reflector (but, of course, is every seasonal...), and pavement can be used as a natural reflector as well, because it is a neutral color.

Using a neutral colored natural reflector is of the utmost importance. If you have your subject standing on, for example, grass, in the mid-day sunlight, that green grass will reflect a green color cast onto your subject… which typically isn’t very flattering. In fact, it usually looks a bit sickly!

Don’t be afraid to get creative about your natural reflectors, too. I once used a whole building painted white as a natural reflector. I used to have a white car that I would use from time to time. And sometimes, in a bridal suite on wedding days when I’m in a pinch, I’ll use a white pillow! It doesn’t matter what you use or how ridiculous you look - as long as the color is neutral and it reflects, it’s fair game!

So if you’re looking for a way to flatter the appearance of your subject and enhance the quality of your work – I would highly suggest either buying a reflector, making your own reflector, or simply scouting out a location in advance to find some natural reflectors that you can utilize! Even if you have to use a car, pillow, or building - it’s worth it!

Happy reflecting!

2 Comments

How I Blog the Majority of my Client Sessions

Comment

How I Blog the Majority of my Client Sessions

If you haven’t read the first blog posts in this two part series, I highly recommend going back to read Why I Blog the Majority of my Client Sessions first! A why powers a how more than anything else!

 But if you’ve already read the why, I’d love to share a little bit behind the process of how I keep up with blogging 50+ client sessions per year, as well as 20+ weddings!

If just reading that last sentence makes you sweat, I totally get it. Blogging used to feel super overwhelming to me until I made it a part of my workflow for each of my sessions/weddings. Now, it just feels like a part of the process that I can’t skip! Below are a few things that help me keep up with the process of blogging. I hope they help you, too!

 1.     Have a solid workflow that makes blogging a priority.

When I send my clients their final gallery of images, they almost always receive a link to a blog post as well – and that blog post link comes first in that email, before the gallery link! Why? I want my clients to see my favorite images from each part of their session first – leaving them with a positive impression from the start! I use a customizable template email when sending my clients their links, so it actually creates more work for me when I don’t blog, because I have to change my template email! When I know I really should be doing something in my business, I try to set up a process that makes it harder for me to opt-out (or, for example, not blog), so I have to do it!

2.     Make it easy on yourself, for Pete’s sake!

You will be much less likely to blog if it feels like a giant chore! Believe it or not, I actually feel excited when I finish a session and jump into creating the blog post, because I know I’ll be able to showcase the very best images from my client’s session to them first! But I digress: one of the best tips I could possibly give is to make the process easier on yourself by looking for ways to make your blogging process simpler and more streamlined. I love using Squarespace as my blog host, because it’s super user friendly and easy to use. I can easily upload my photos, tag my content to make it SEO friendly, and post my content without too much effort! I also love using BlogStomp, which allows me to quickly size images for my blog and make collages out of multiple images with the click of a button.

3.     Batch your blogging.

This is a big one I learned from a great educator and photographer named Jenna Kutcher! Batching your work basically means setting aside a large chunk of time to complete one task, or a repeating task (instead of going from one thing to the next, to another thing, and so on!). This past year (2018) was the first time I really buckled down on batching my blog content, and let me tell you, it made a world of difference!

This year, I worked on editing multiple sessions throughout the week, then created blog posts for all of my completed galleries at the very end of the week, usually on either Thursday or Friday. I felt like I was able to work on other content and tasks throughout the week without stressing about getting my blog posts done, because I knew that I would have time to really focus in on my blogging when the end of the week rolled around!

The best thing you could possibly do for yourself when it comes to blogging is to find a process that works for you. Your process might look different from another photographers, and your frequency of blogging might look different from someone else’s. But the key thing to remember: be consistent. Whatever you decide to do with your blogging, remember that consistency is key, and that you can always start small and build up! Don’t be discouraged by others around you who might be blogging more. We all had to start somewhere at some point. So just start!

I’m rooting for you!

Comment

Why I Blog the Majority of my Client Sessions

Comment

Why I Blog the Majority of my Client Sessions

One of the biggest questions I get from other photographers is: how do you make the time to blog so many of your sessions and weddings?

Even though the question might be asked as a “how?” I’ve found the ability to remain consistent with my blogging in my “why.” Keeping my why(s) at the forefront of my attention when it comes to blogging has allowed me to continue to blog my sessions consistently for almost four straight years.

 If you’re looking for a how, I challenge you to first redefine your why behind blogging. Below are four of the top reasons why I continue to blog almost every senior, family and wedding!

1.     Blogging makes clients feel important and loved.

How do I know this? Because I have been the person on the receiving end of photos (and blog posts!). When our engagement photos, wedding photos, and anniversary photos were blogged – I felt SO excited and honored that my photographer thought they were worthy of being shared! I know that quite a few JHP clients feel the same way, because they’ve literally gone out of their way to tell me so!

2.     It’s an easy way to share the “highlights” with their friends and family!

Scrolling through a dozen (or a few dozen) images in a blog post is quicker and easier than looking through a gallery of a few hundred images. Not to mention, friends and family members could be potential customers who might need their photo taken someday! I like to view each of my blog posts as a mini portfolio that has the potential to reach the friends and family of whoever is in the blog post in a more personal way.

3.     It allows clients to see the best (or my favorite!) images first, (hopefully) making them more excited!

A blog post should include the best of the best, telling the story of a wedding day or a session. Seeing the very best of their gallery first heightens their excitement to see the rest of the gallery and sets a positive tone from the get-go!

4.     It helps with SEO and with getting people to your website!

I’m no expert on SEO, but what I do know is this: Google likes new content, and a blog post is a great way to add new content to my website! Sharing client sessions is a great way to build SEO for your local area and (hopefully!) get more clients who are looking for a similar service/product!

If you are looking to start blogging more, my encouragement to you would be to start small. Don’t feel like you have to start blogging all of your sessions at once with multiple blog posts per week. Start with one every week, and then increase your consistency as you start to find a rhythm that feels right for you. Remember: “The best way to eat an elephant is one bite at a time.”

I’m rooting for you!

Comment

3 Ways to Support Local Businesses Without Spending a Dime

Comment

3 Ways to Support Local Businesses Without Spending a Dime

Nearly 4 in 10 Americans has a side hustle (source), which means that about half of everyone you know is working on growing a service or product that can support them in addition to their current job – not to mention the immense amount of Americans who are self-employed, or working for small businesses! But with so many small business owners and side-hustlers, it can sometimes feel overwhelming to support them all from a financial standpoint. But did you know that there are ways you can support side-hustlers and local businesses without spending a dime?

 Below are three ways you can start supporting local businesses – without spending a dime – today!  

1.  Like and share their social media content.

SupportLocalBusinesses.jpg

This may be the easiest way to support a local business owner, considering that 77% of Americans are on some form of social media (source). Sharing a small business owner’s content helps them get in front of a different audience than they might normally be able to reach on their own!

2.  Refer them to your friends and family! (If you like them! ;) )

Most small business owners offer a product or service that can solve a problem. Need the best haircut of your life? Let me tell you about the salon I love! Looking for someone to groom your dog? I know the best groomer out there! We naturally talk about and share what we love, and if you know someone who you love who owns a small business, don’t be afraid to talk about them to those who they might be able to help!

3.  Leave positive online reviews.

The very first thing I do when I am recommended a new product or service is head straight to Google to find some reviews! If I’m looking at two similar products, and one has some mixed reviews? I’m a bit more hesitant. But if there’s a similar product with loads of amazingly awesome, 5 star reviews?  You’ve got my attention, and you better believe I’ll be buying from them! Even if you’ve never used a business’s product or service, if you have a personal relationship with the business owner and can speak into things like their character, work ethic, or integrity, that is a HUGE piece of the pie for potential buyers to consider and is (dare I say) just as valuable as an excellent, quality product or service!


Use these three ideas to show a little love to the local business owners in your life - I know they’ll love ya for it!

Comment

How to Pursue a Healthier Work Life Balance

4 Comments

How to Pursue a Healthier Work Life Balance

“When does Jenna feel like the healthiest version of herself?” As the question  filled the room, my first reaction was to push back - to dub this appointment a mistake and walk out the door. The reason why: I hadn’t thought for a second in the last five years how and when I feel healthiest. I simply saw a goal and pushed through, whatever it took, to achieve it.

If you’re familiar with the Enneagram test, I’m a type 3. And if you’re unfamiliar, a type 3 is the classic achiever: the type of person who sees what it takes to achieve what they want and goes for it, sometimes neglecting other important areas of life to get there. They hustle hard, often to the detriment of themselves and others if they aren’t careful.

This is where I found myself at the end of last year. Hustling hard in my business, and burning out as a result. I’m a people-pleaser and a “yes” girl at heart, simply desiring to make others happy, with a desire for affirmation. So somehow, throughout the years, I allowed my schedule and my life to be dictated by everyone but me: I found myself bitter towards others for decisions I alone had the power to make, and that’s when I knew I was in a dangerous place. I knew it was really dangerous when I “suddenly” wanted to quit. But really, it wasn’t so sudden. I had been doing this to myself for years, and it had finally caught up with me.

So, I asked myself the same question my therapist asked me: when do I feel like the healthiest version of myself? And what will it take to get there?

The biggest word that stood out to me - the constant theme that kept popping up as I began to seek answers and healing was this word: boundaries.

If you’re anything like me before I actually set up some good, solid boundaries, you’re probably thinking: I’ve heard this all before! I know I need to set up boundaries. But then you just… don’t. You know you need to, but you keep moving at the pace you’re currently moving at, because, well – something about it feels good. It feels validating, even. That’s what busyness does – it falsely validates achievement and success until busyness becomes our idol. For example, in the wedding photography industry, we love to talk about how many weddings we have booked. It feels good to hear that number and for it to be the highest in the room or in the Facebook group – until you’re actually grinding through all of those weddings, and they aren’t fun anymore. They’re just work.

The biggest thing that has the power to destroy my passion is my pursuit of busy.

And really, that’s the LAST thing I ever want my work to become: just work. I started photographing weddings, seniors, and families because it’s my passion. I feel alive and like I was doing what I was created to do when I’m loving and encouraging people with a camera in my hand. But the biggest thing that has the power to destroy my passion is my pursuit of busy.

When I realized that, I knew immediately that something needed to be done. But what? Lucky for me, I had a few months of an “off” season from weddings with light work (January through March) to really think things through. What boundaries would I need to set up to make sure I stayed passionate? Or, as a friend of mine likes to say: what was my “long game” going to be? If I focused on the short term – booking the maximum amount of weddings and shoots I could for the year – I would inevitably burn out. But if I focused on my long game – what would allow me to do what I love (and keep loving it!) for the longest amount of time I possibly could – I could continue to love and serve my clients in the way I desired to, without growing any bitterness in my heart.

I decided to set up the boundaries listed below. But before you read through these, let me preface this list by saying that I know that everyone is different. What works for me might not work for you, and what works for you might not work for me. You might be able to do more and still remain passionate – but for me, these changes helped me avoid burnout and while remaining passionate:

  • I took at least one FULL day off per week – mandatory! For me, that meant no shoots, no email, no meetings or phone calls, and no editing. Typically, my day off fell on Sunday.

  • No answering emails on the weekend (and I put up an away message to make sure I stuck to it and had NO excuses!).

  • No answering emails past 5PM, unless I designated the evening a “work” evening (i.e., if I started my work day a little later).

  • I took only one wedding per weekend. Period.

  • No sessions the evening before or morning after a wedding.

  • I limited the number of sessions I took, especially during wedding weeks. My goal was one to two shoots on the weeks where I had a wedding scheduled (this one was harder to stick to during my busiest months, but was much better than last year!).

  • I set up a calendar for people to schedule their sessions from dates I picked out in advance, rather than having a free-for-all when it came to booking.

  • In addition to a booking calendar, I invested in a management software called Pixifi, where I can manage clients, invoices, contracts, proposals, workflows, automation and questionnaires – all in one place! I really believe that this is the best piece of software I’ve ever invested in - it’s been like having a virtual online assistant for super cheap! If you’re interested in checking it out, click here!

  • I limited my social media usage. Because, let’s be honest – social media is a breeding ground for comparison! I started using apps like Hootsuite and Grum to schedule my content so that it would automatically post, instead of me having to log into the app every time I needed to post!


And here is how these specific boundaries impacted my year:

  • I was able to enjoy my job SO MUCH MORE! There were still periods of time where I felt overwhelmed, but overall, I feel like my workload was much more manageable!

  • I was able to give each client my full attention at their session, instead of worrying about how much work (or editing) I still had to do.

  • I was able to pour more into my relationship with my husband. Instead of constantly working, day and night, we were able to enjoy more time together and continue to build our relationship!

  • I picked up a couple of hobbies and made time for them! I know it sounds crazy, but for one of the first times in my LIFE I felt like I could take the time to enjoy things that I wanted to do for myself, and not just things I needed to do to get the job done. A few mentionable include: writing, knitting, baking, and reading! (Just call me Grandma Jenna!) And I’m hoping that list keeps expanding!

  • I was able to invest into other areas of my business. I found something else that’s fun for me – photographing stock imagery! It’s something that I can do on the side of my full time business, but without any pressure!

  • I ended 2018 in a MUCH better place mentally, emotionally, physically, and spiritually than I ended 2017. I feel like I have more clarity, stability, and grit than ever before! (But still with a long way to go and lots to improve!)

  • And the real kicker: I set up these boundaries thinking that it would mean taking a pay cut – and I was truly okay with that. But, surprisingly, the opposite happened – I actually made 25% MORE this year than last year!

When do you feel like the healthiest version of yourself?

My question for you is the same one that was asked of me at the end of 2017: When do you feel like the healthiest version of yourself? And what boundaries do you need to put in place to make sure you get there? Are you playing the short game, or the long game?

If you’re in the same boat that I was (and that I sometimes still have one foot in! ;) ), know that you aren’t alone. Don’t allow yourself to go through another year – or, heck, another week without sitting down and putting even one small boundary in place to work towards the healthiest version of yourself. Make 2019 your year. I’m rooting for you!

4 Comments