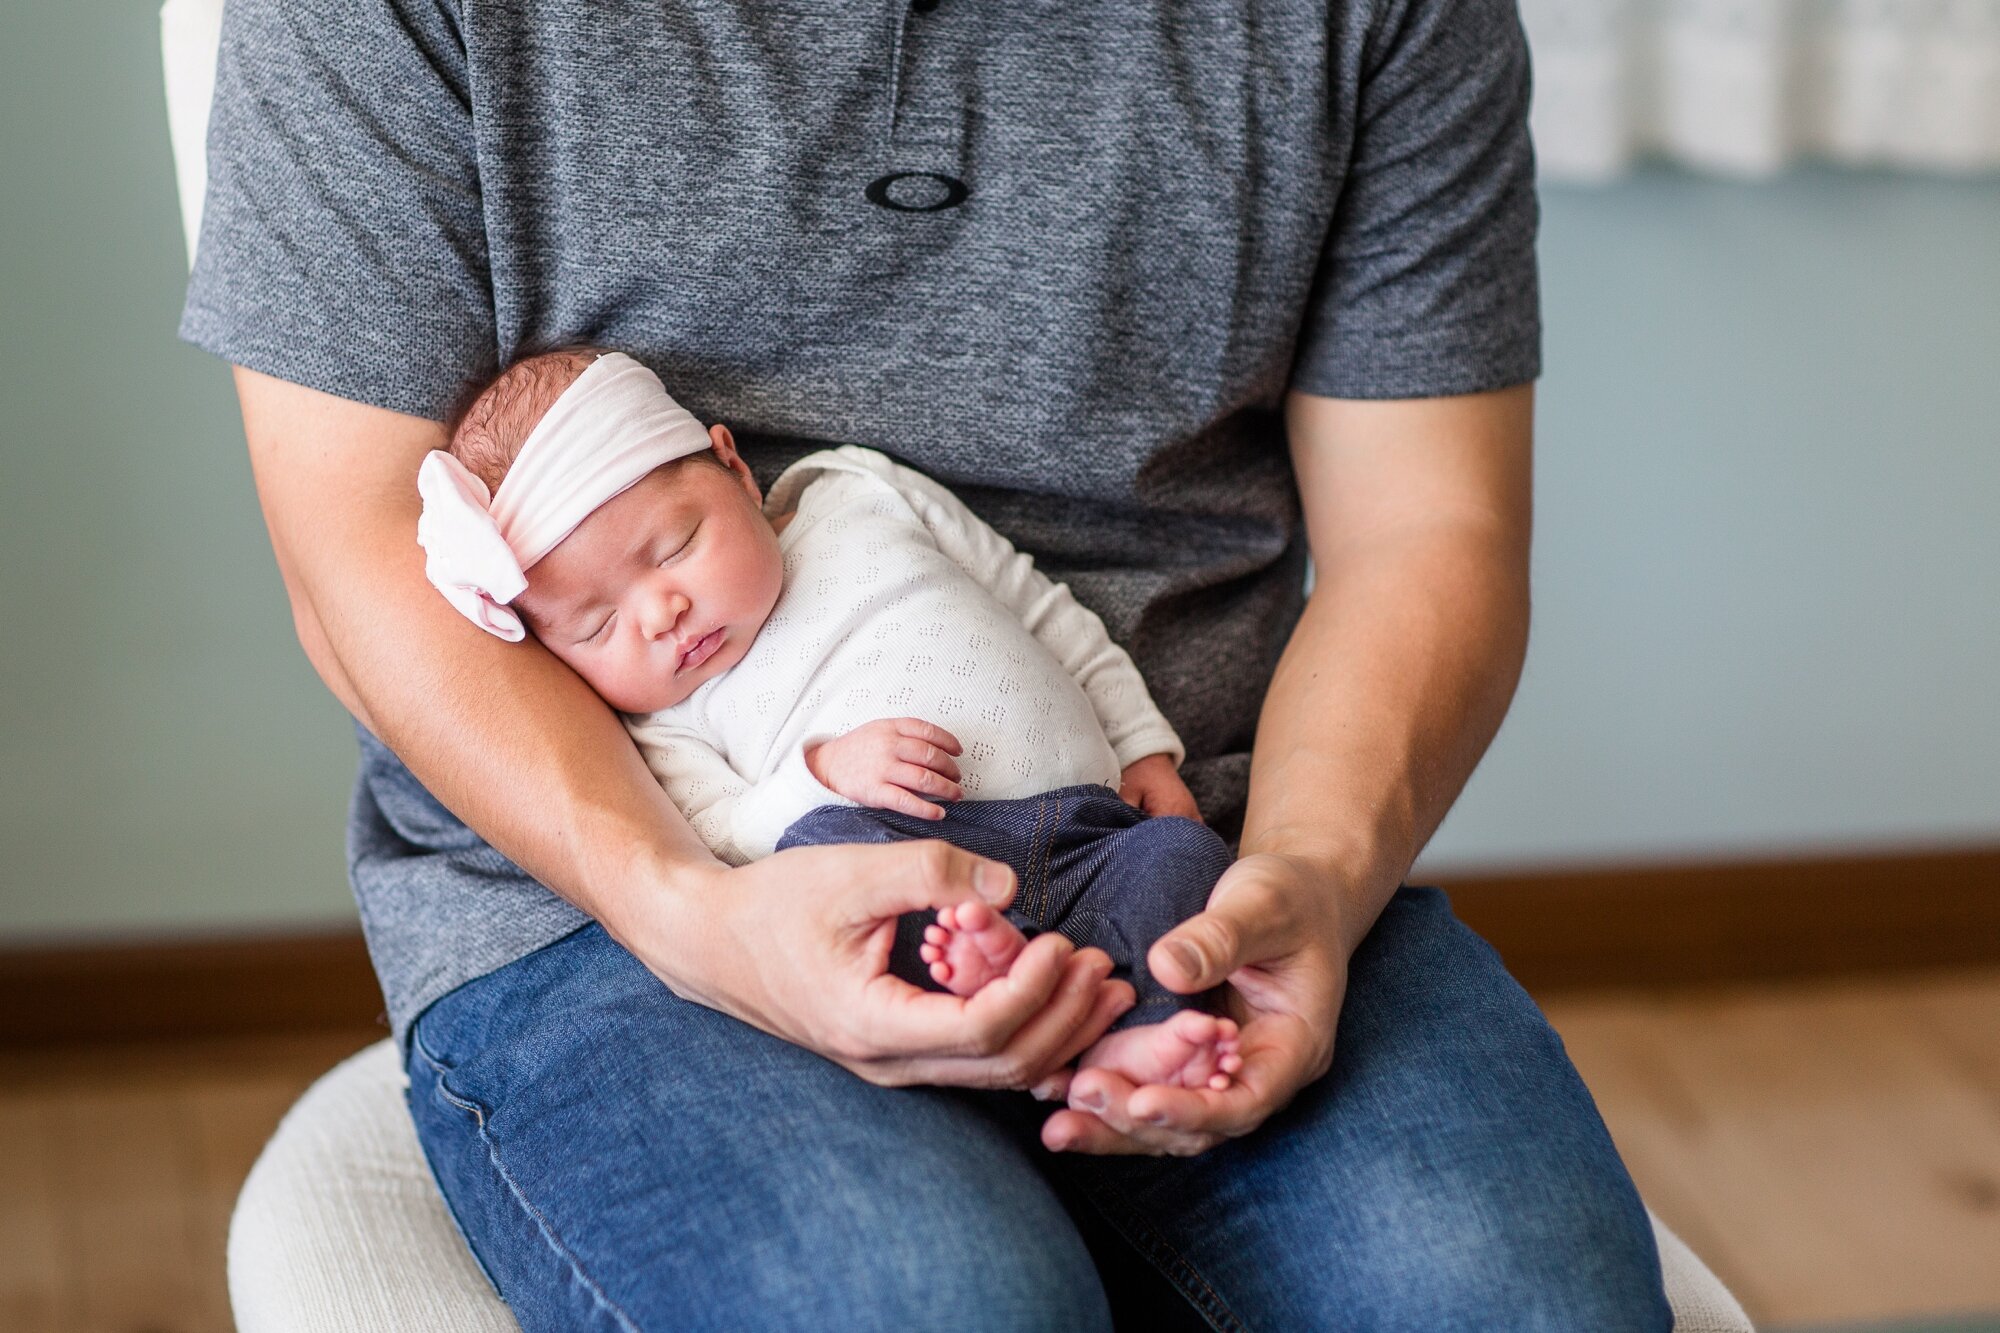
I’m a sucker for anything labeled “behind the scenes.” It’s so much fun to see what goes into making things, and personally, I love hearing the thought process and intention that goes into a product or service!
Today, I’m excited to share the behind the scenes making of a few select photos. This post might be a bit more geared towards photographers with some of the technical detail - but regardless of if you’re a photographer or just someone who likes looking at photos, I hope you enjoy!

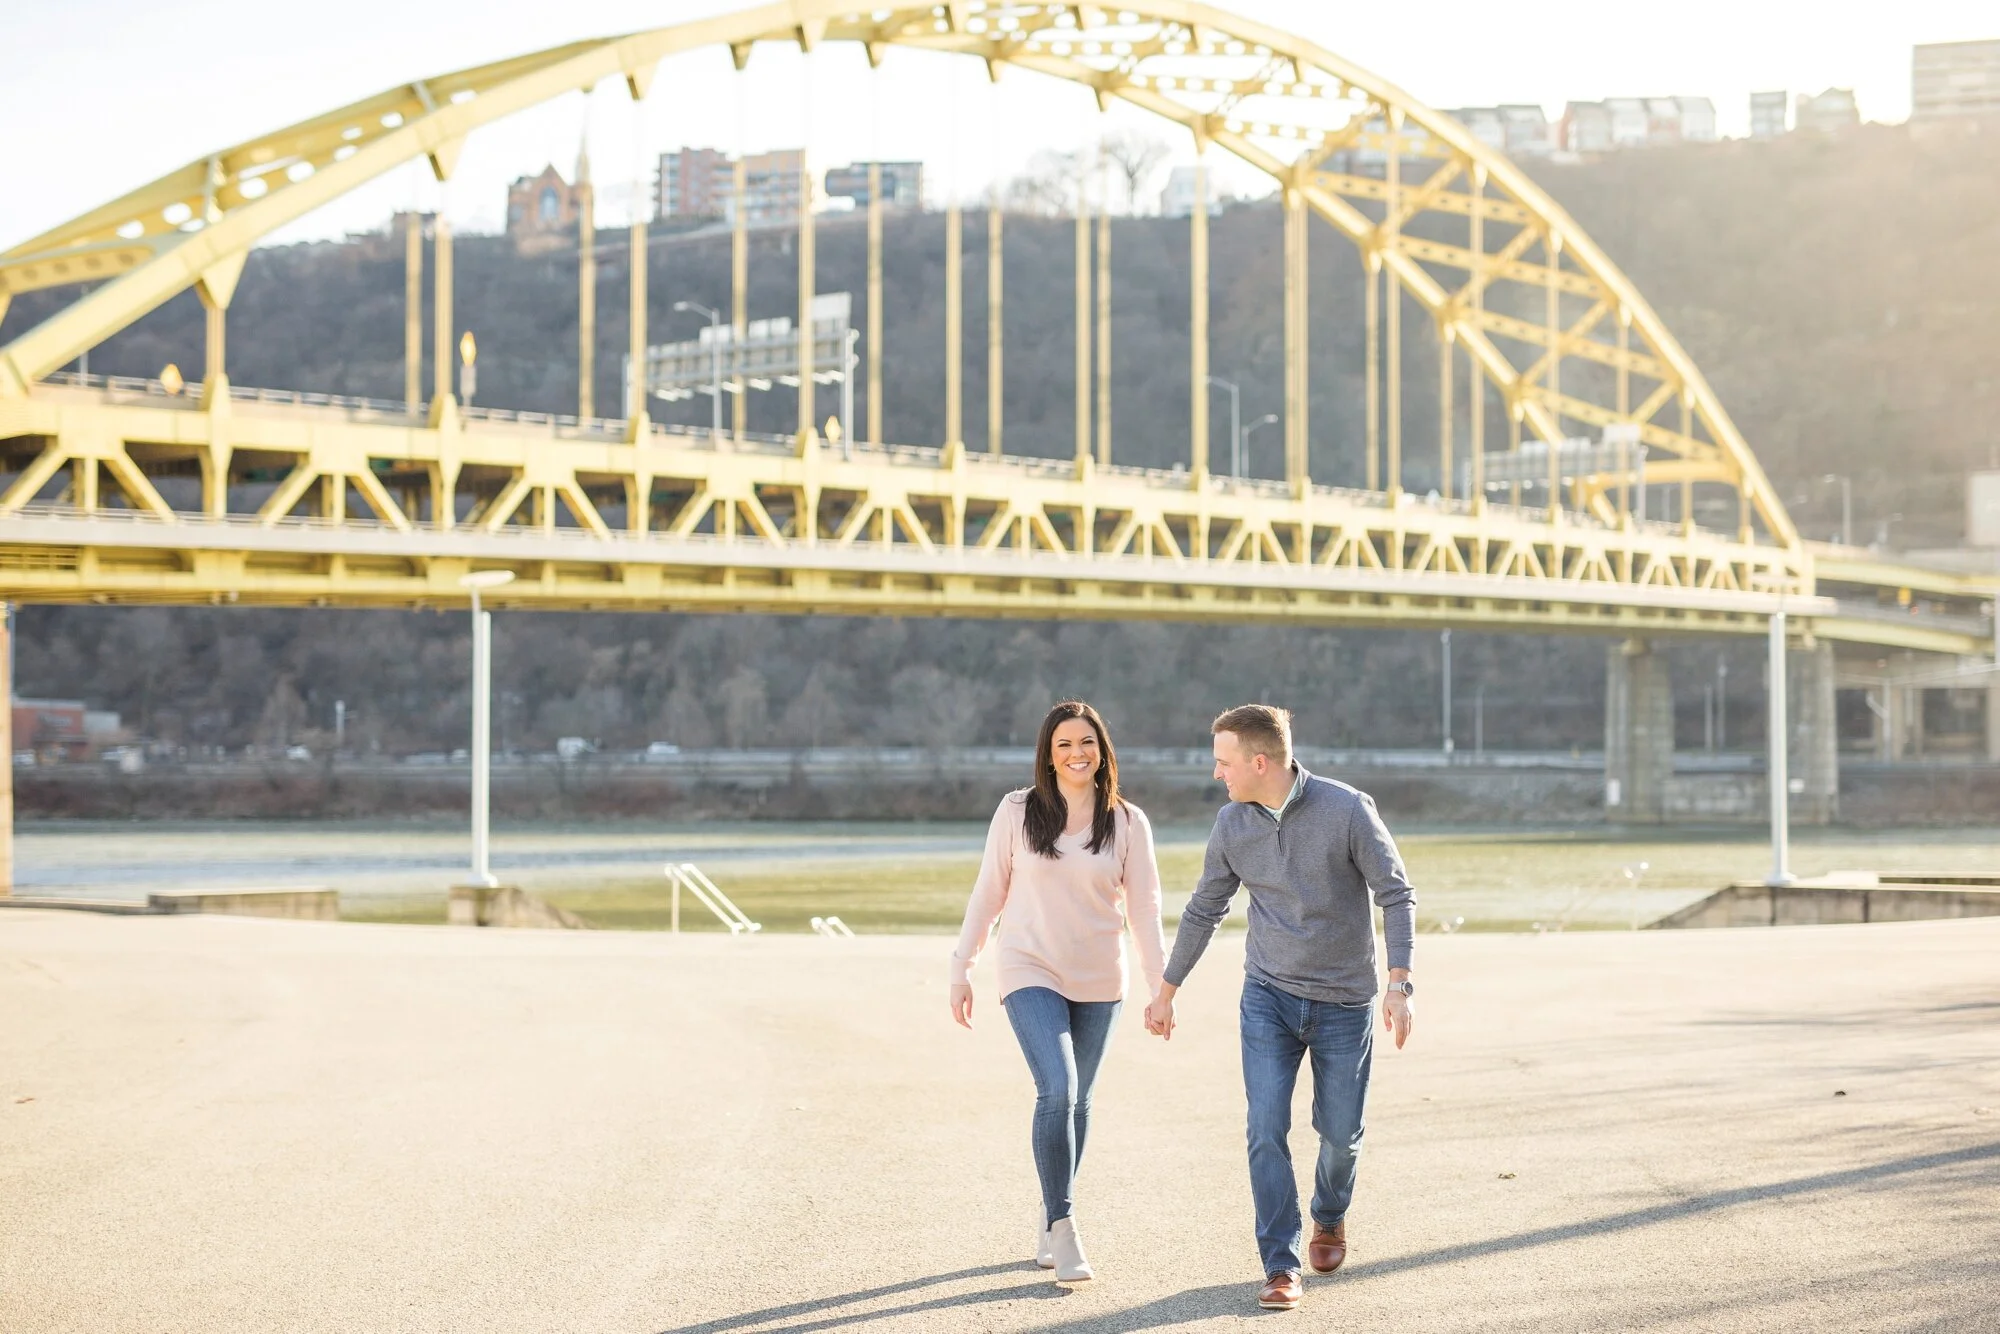
This shot was taken jus after sunset on the Roberto Clemente bridge in Pittsburgh! Camera left (allll the way on the sidewalk of the bridge), my assistant was holding a portable speedlight (without a modifier, like an umbrella or softbox) pointed towards my subject. To be honest, I wasn’t sure if this would work without a modifier, but I was pleasantly surprised with my results! I later figured out that because the speedlight was far enough away from my subject, the light appears a little bit softer. If my speedlight had been closer without a modifer, the light would’ve appeared harsher. I used a 70 to 200 mm lens for this shot, so I stood quite a distance away from my subject because of the longer focal length!

This was a favorite ring shot of mine from last year! It required a little extra planning, but it ended up being worth it! While my couple was changing into their second outfit (at their engagement session), I borrowed their ring to take a few shots. I noticed a bench near me with a slightly glossy/reflective surface, which is where the slight ring reflection came from. I placed a small, battery-powered portable string of lights behind the ring, which reflected nicely onto the bench! I used my Canon 100mm f/2.8 L macro lens at 2.8 to make sure I’d be able to get the creamiest bokeh possible! Click here to see/purchase the twinkle lights I use for less than $7 on Amazon Prime!

This photo was taken a few hours after sunset outside of the Morning Glory Inn on the South Side of Pittsburgh and is one of my favorite “night time” shots to date! I had been a little worried that this wedding was going to be a rain out - but it turned out that the rain came JUST at the right time, just for this photo!! To achieve this look, I placed a portable speedlight in a clear plastic bag (to protect it from the rain!) on a light stand behind my couple to light them from behind, and to “light up” some of the rain. To light them from the front, I used an off-camera speedlight with a small softbox (to soften the light on their faces) held by my second shooter camera left. I used a 50mm lens for this shot.

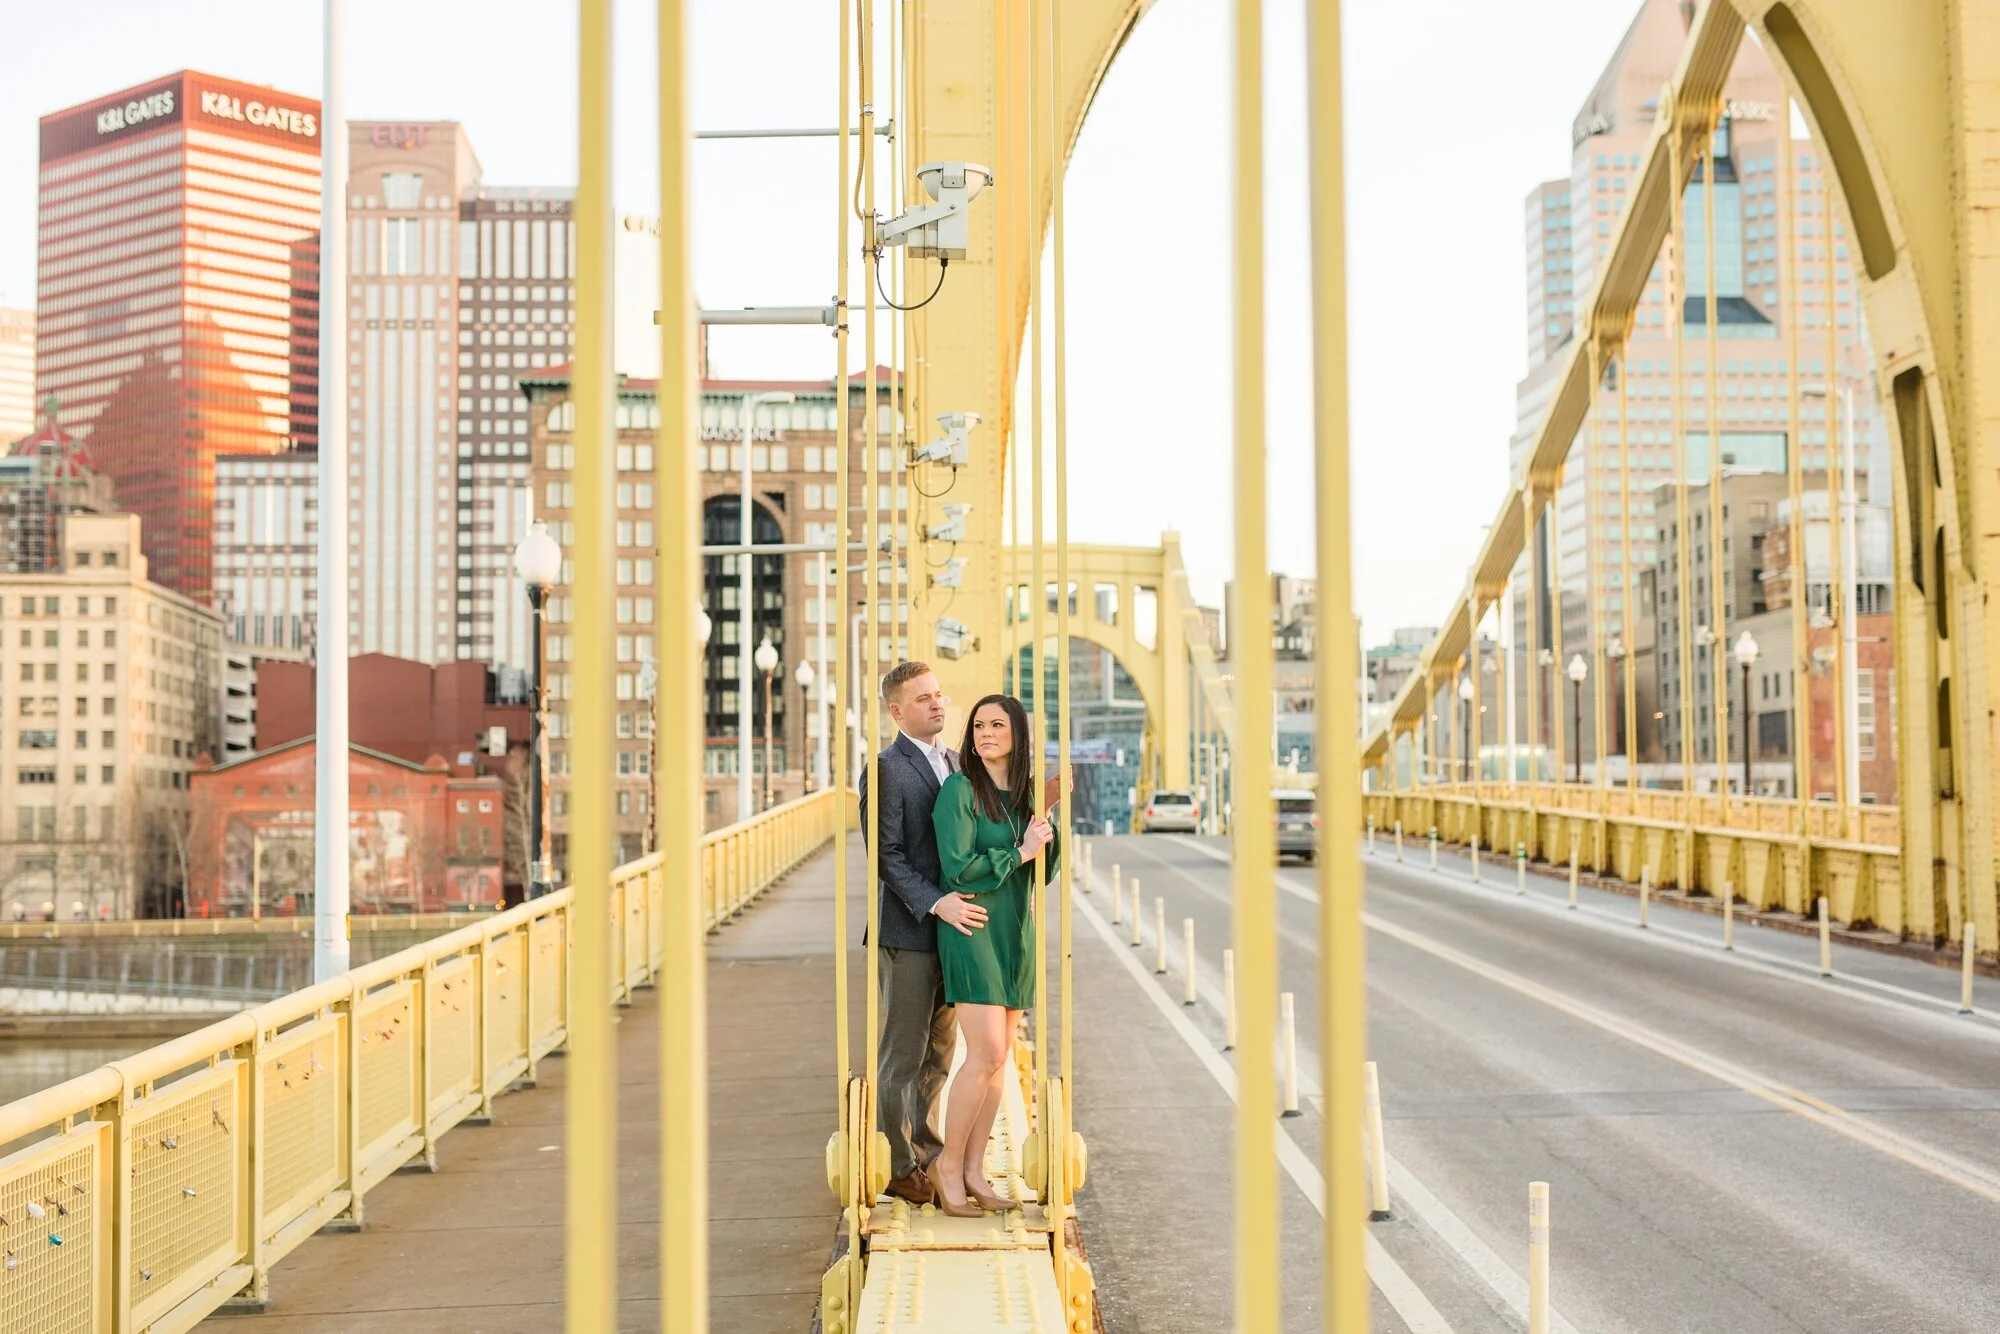
I knew when I took these two to the sunflower field that I wanted to REALLY make them look like they were lost in the sunflowers. To achieve the “look” of the sunflower close up in the left side of the frame, I used my Canon 70-200 f/2.8 (at 200mm) and used the high compression to my advantage, making the sunflower appear larger than life in the frame. (To learn more about lens compression, read this great article by SLR Lounge!).

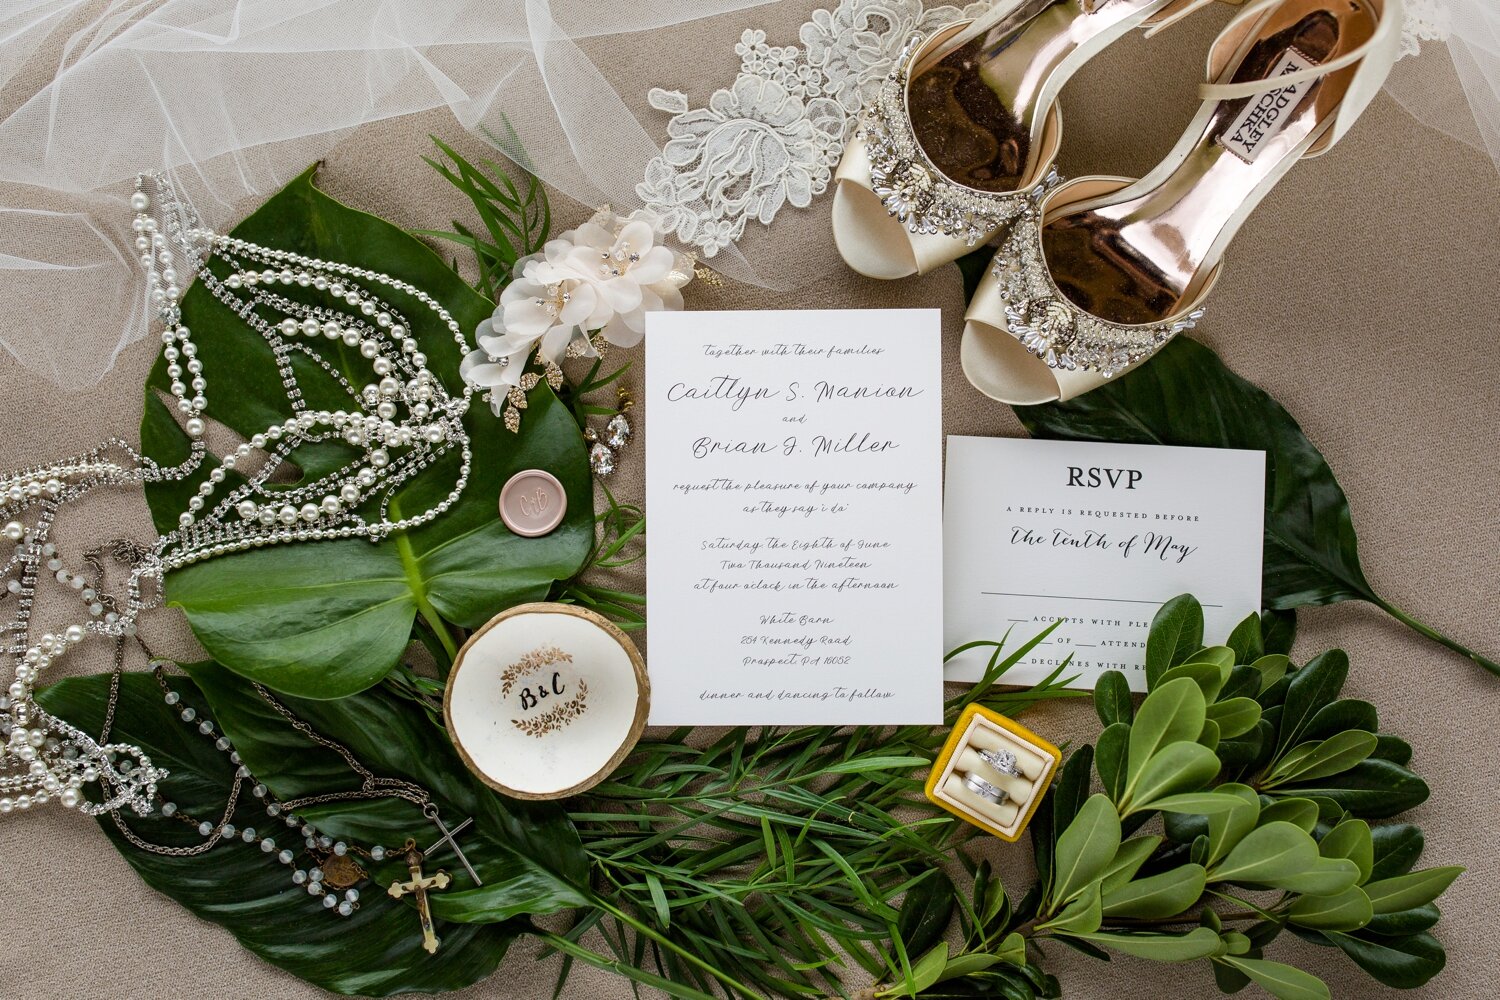
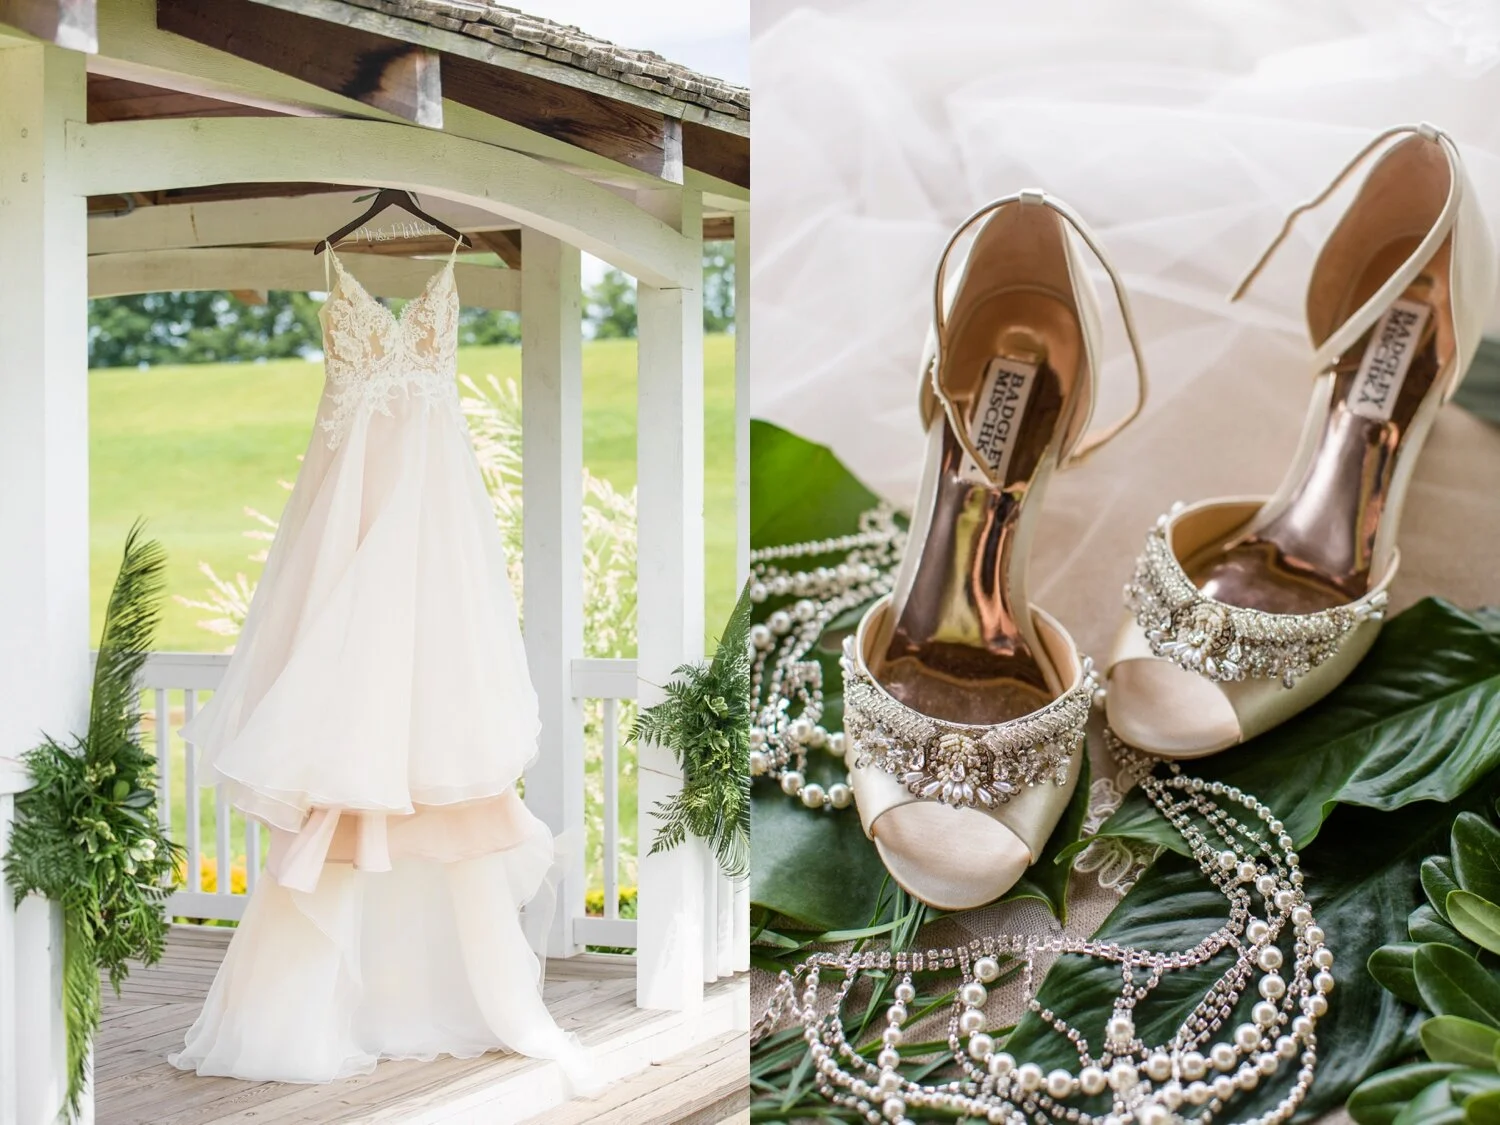
This was one of my favorite invitation/bridal detail shots from all of 2019! While this may look like a simple set up, getting to the final product took a little bit of time. A good flatlay shot requires good light - and for me and my style, I like to have even, soft light across the bridal details I photograph. When I came into the bridal suite, there was a small room with couches in the back that had TONS of window light - I knew it would be the perfect spot for bridal details! Window light was coming stronger from camera left and the top of the image, so after I set up this shot, I added a silver reflector (click here to see/purchase the one I use!) camera right to soften some of the darker shadows cast by the invitation suite (which is a few inches elevated from the invitation tray by the back of a ring box). Believe it or not, the background (tan with blue dots) of this image is actually the couch that was in the getting ready space! I used a 50mm lens for this shot. I didn’t want to use too wide of a lens because I didn’t want any lens distortion, and I wanted to make sure you wouldn’t be able to see the edges of the couch here.

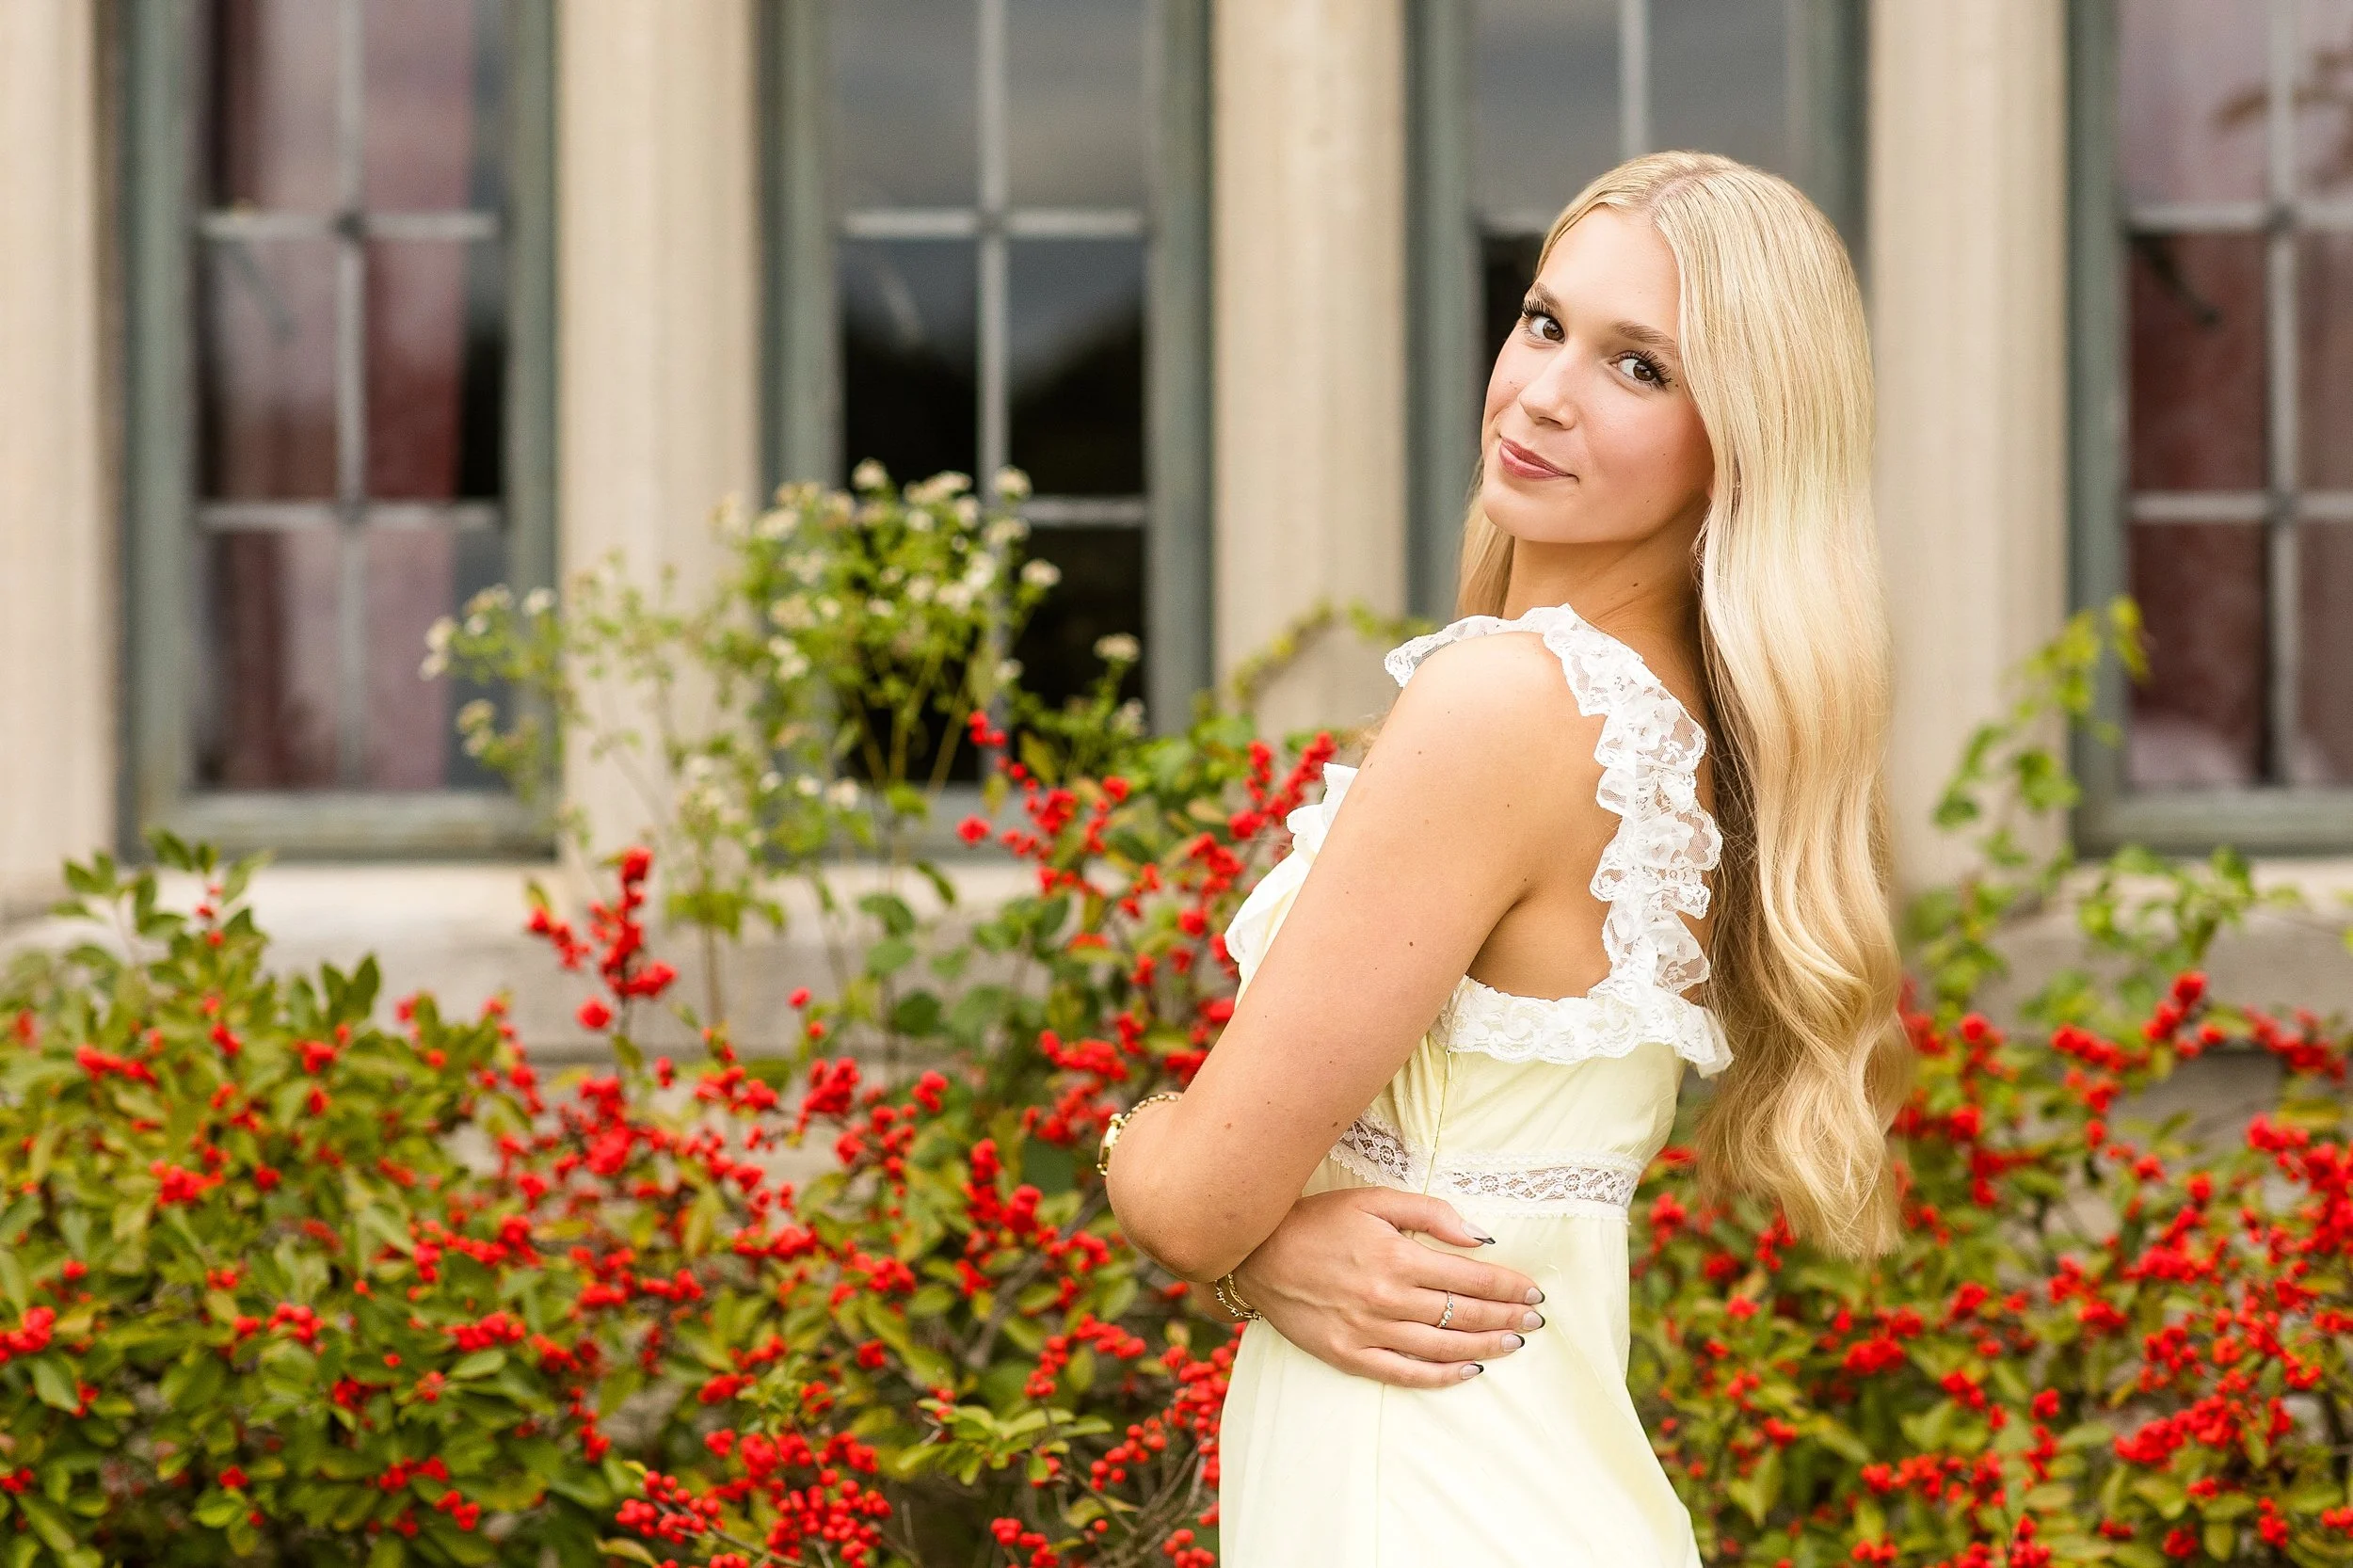
This may be one of my favorite senior photos from this past year! I love love LOVE clean, soft light, and on this particular day in the fall, we had the most beeeeautiful light for Lydia’s senior portraits! But there a few tricks that made this image really pop. Notice where the sun is - you can see it’s a little hazy in the background and hitting her hair, but it’s just out of the camera frame - which makes Lydia’s face clear (free of haze), with a nice pop! I used a higher compression lens (an 85mm) and a lower aperture (f/2) to achieve a dreamy-like look, with Lydia in focus and with the background completely knocked out. I also had my assistant holding a white reflector camera right, just out of the frame, which lit her eyes up a bit more and removed some shadows from her eye sockets!