Jenny + Max: Carnegie Museum of Natural History Wedding Photos

Comment

Jenny + Max: Carnegie Museum of Natural History Wedding Photos

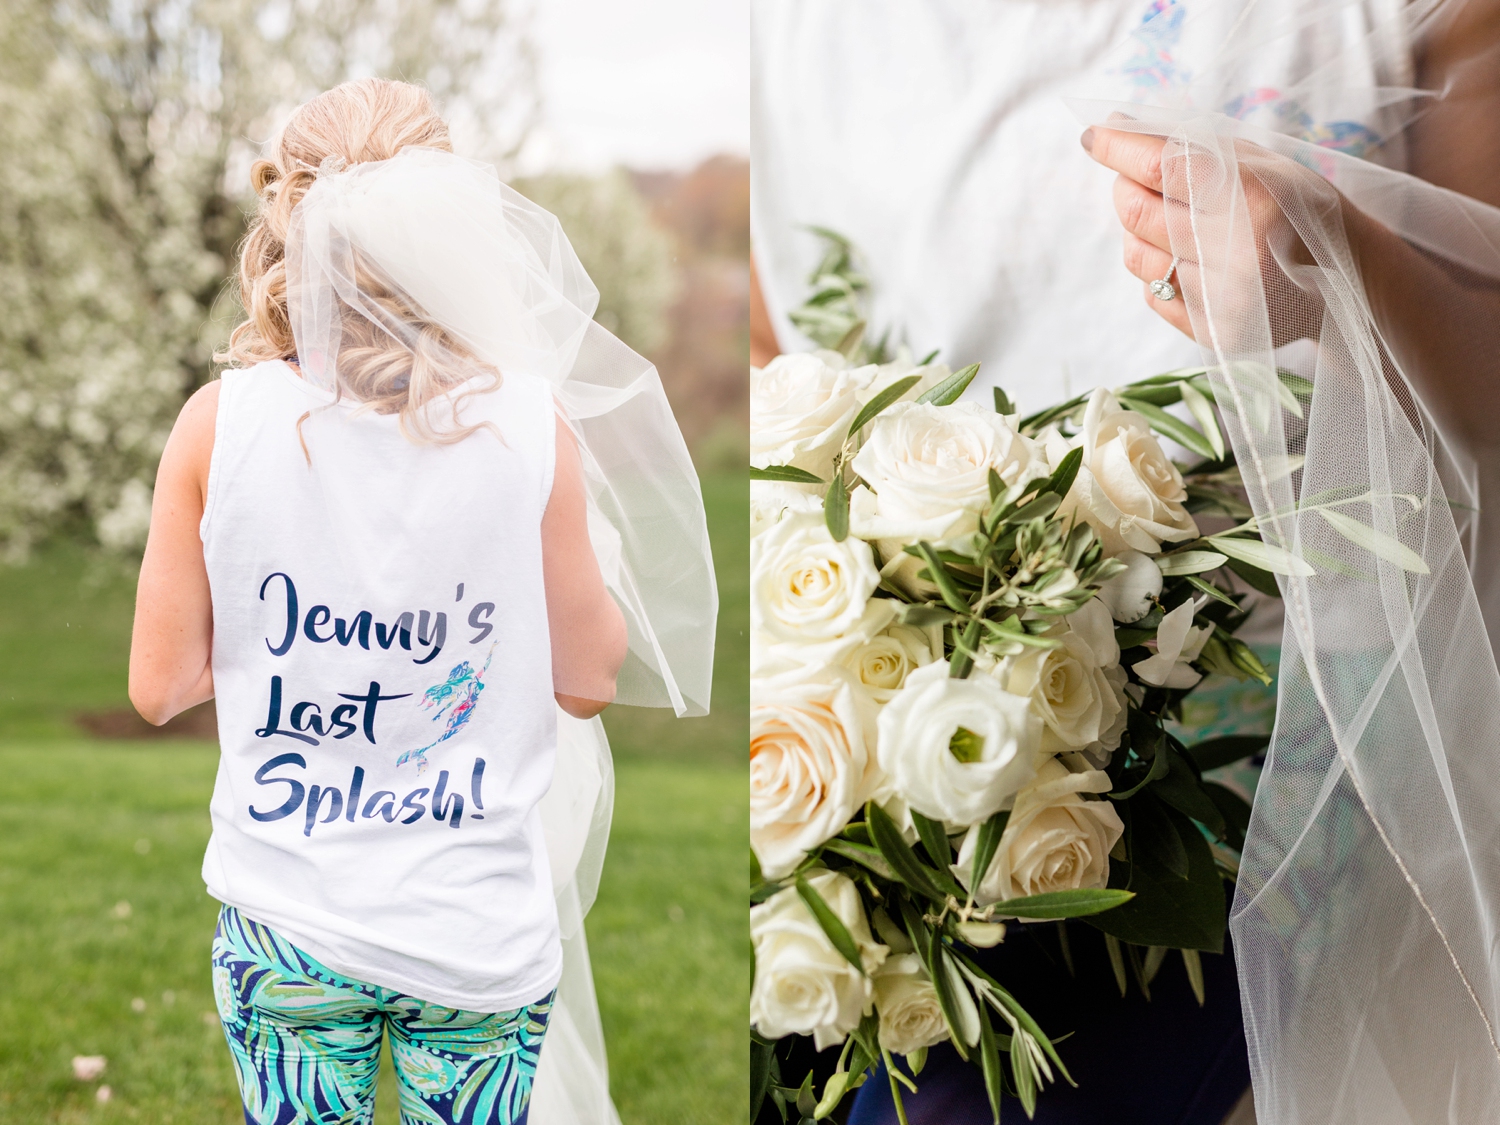
Jenny and Max met in college in Melbourne, Florida, and their first date was at the beach! Definitely not something you hear about every Pittsburgh wedding 😏 But the beginning of their story was absolutely perfect (and very in character), considering that both Jenny and Max are marine biologists! Max even popped the question on their fishing boat. Knowing all of these little details going into their wedding, I knew that they would have some great details to tie their love for the sea into their day - and they did not disappoint!!

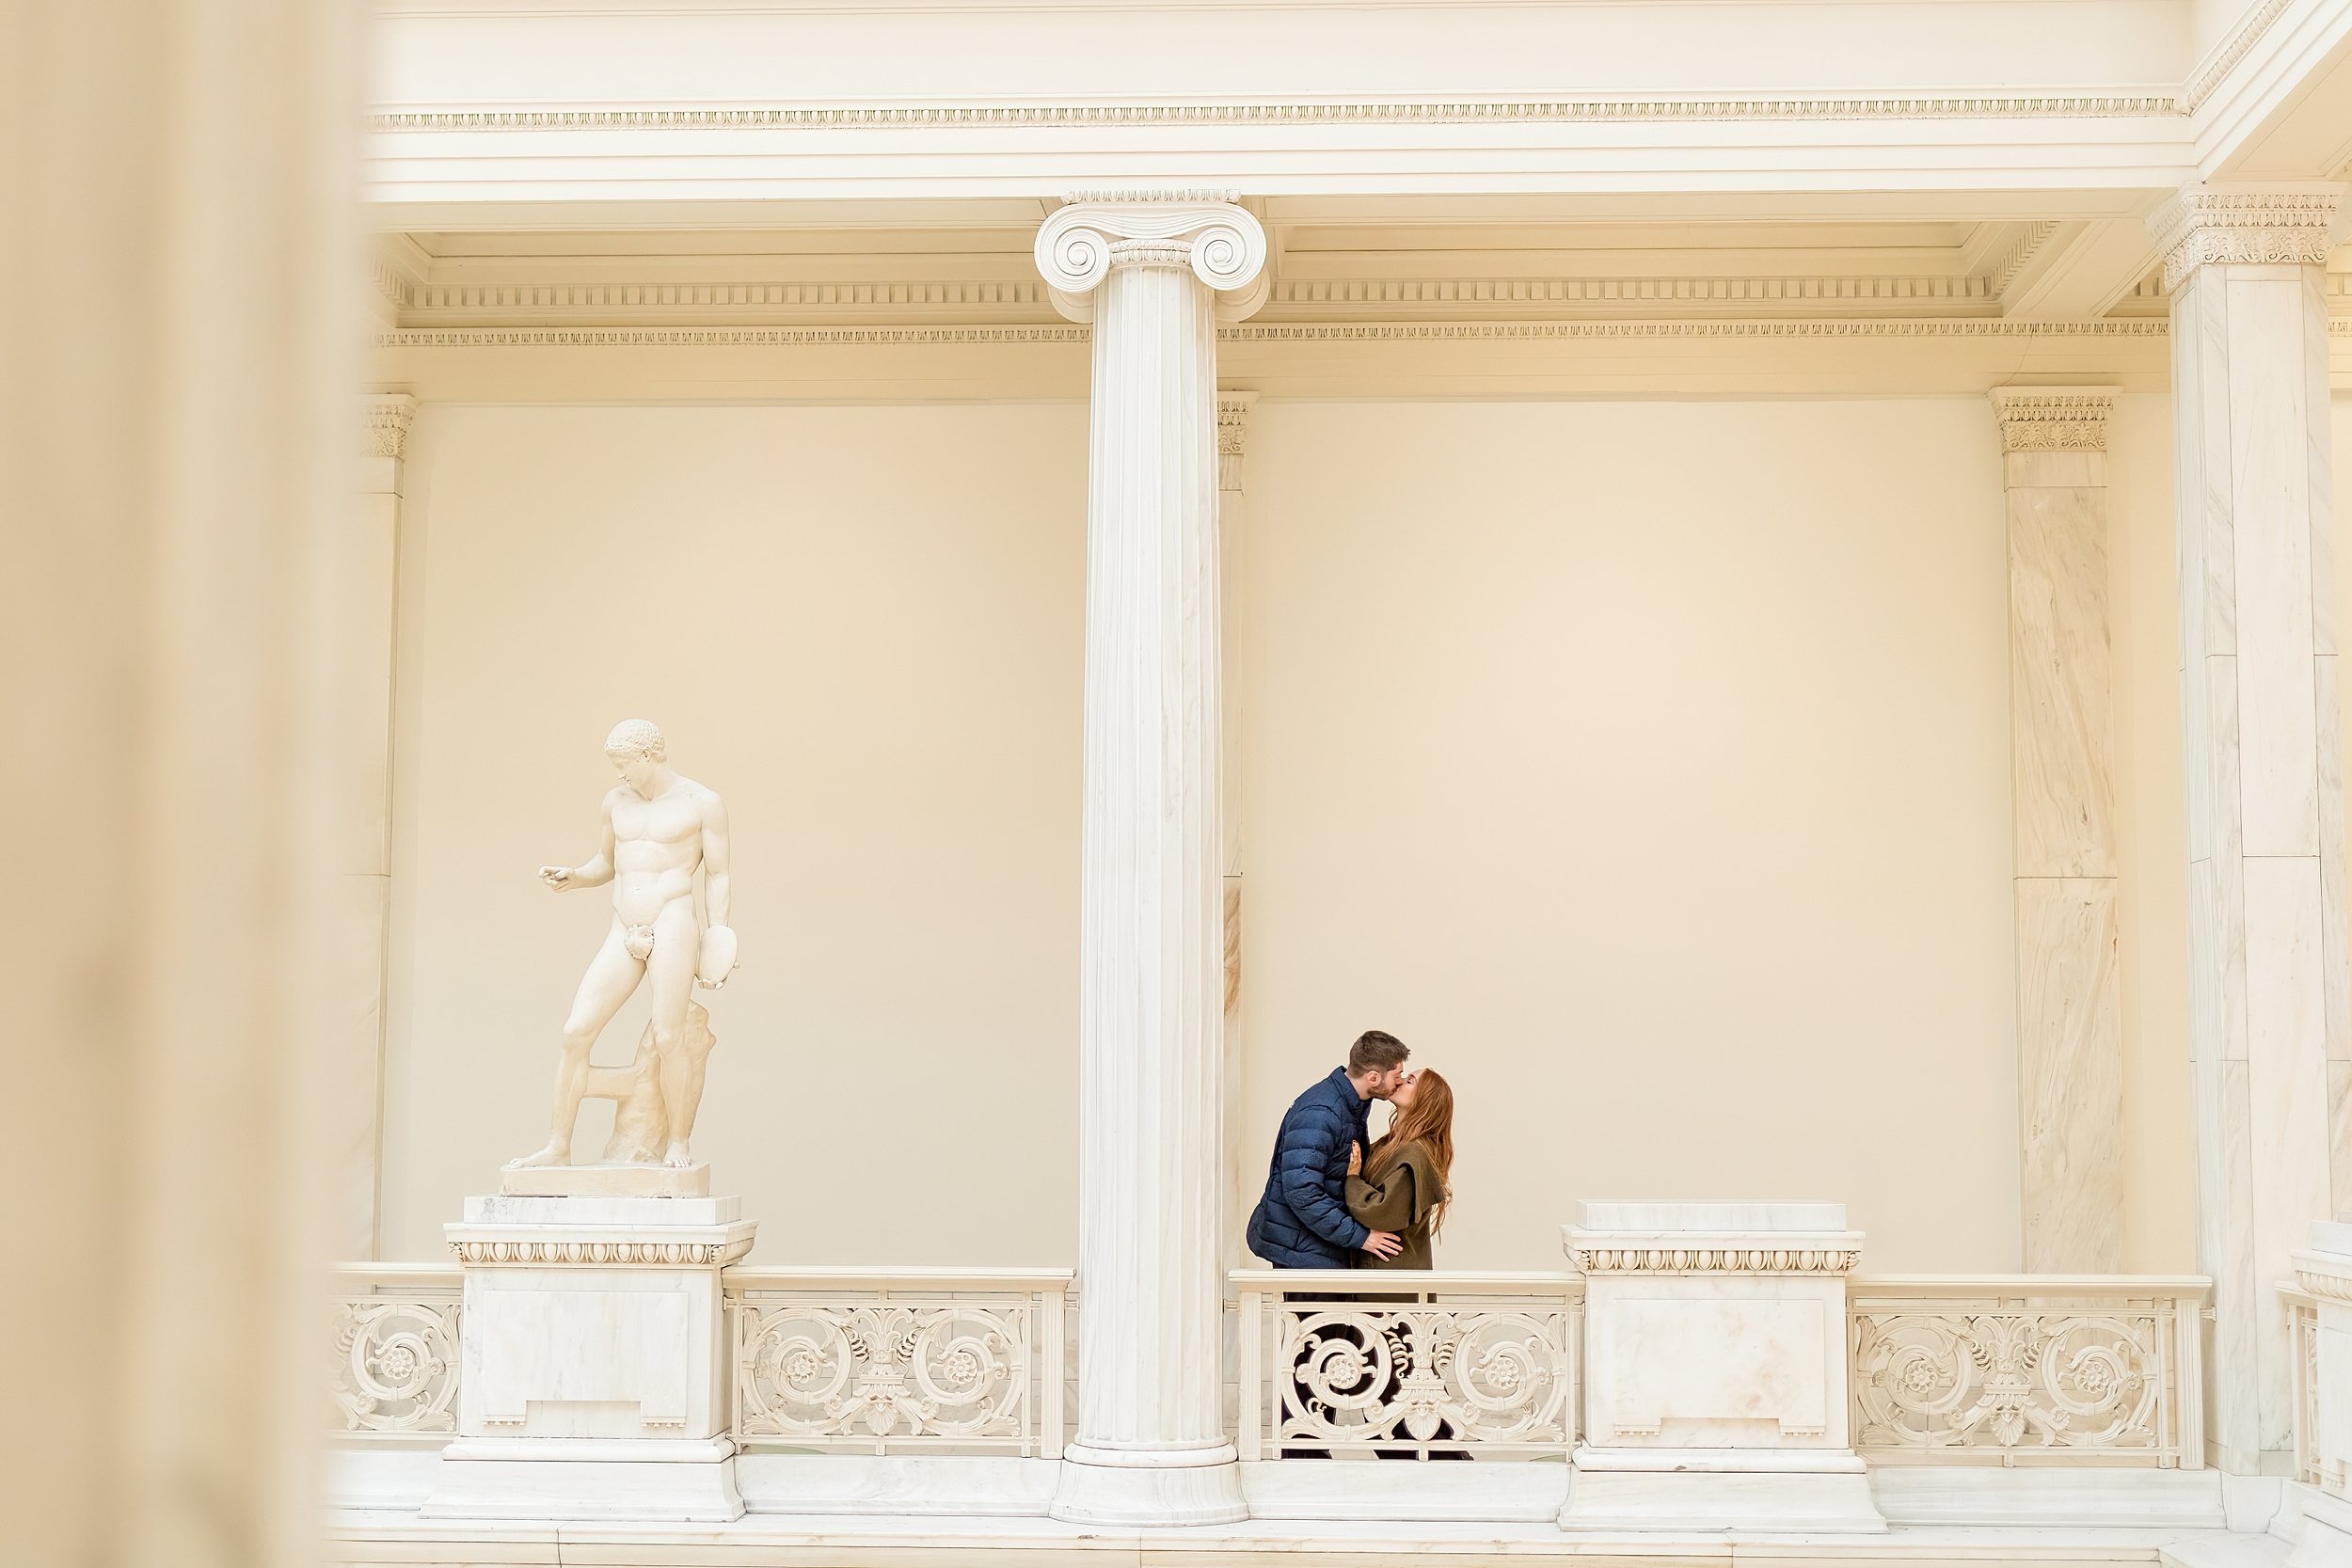
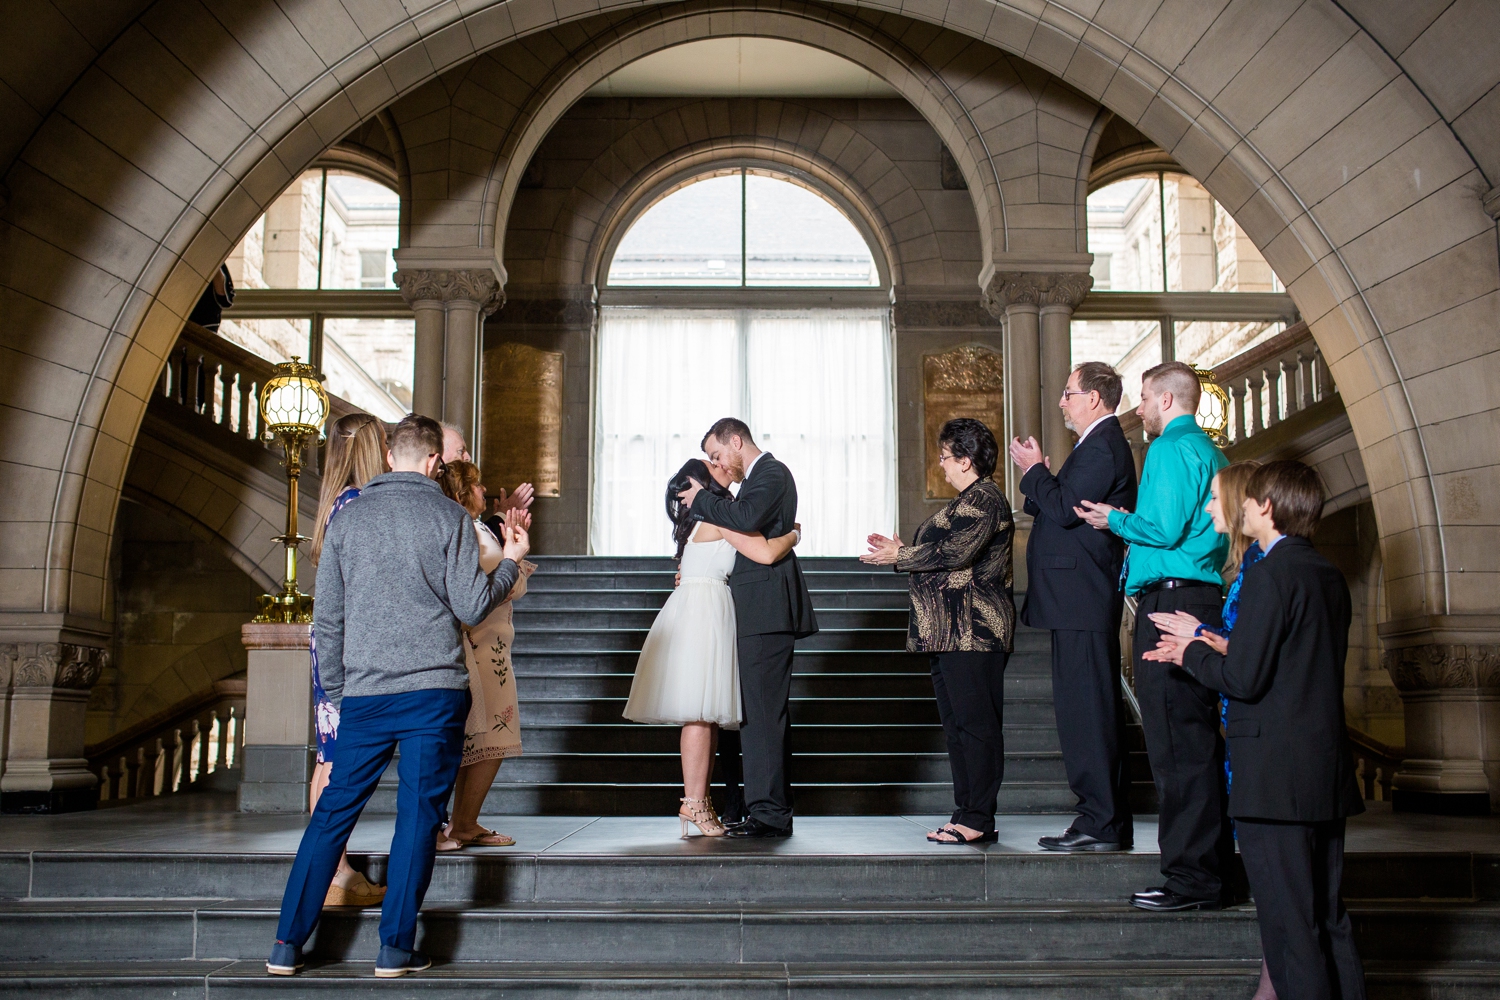
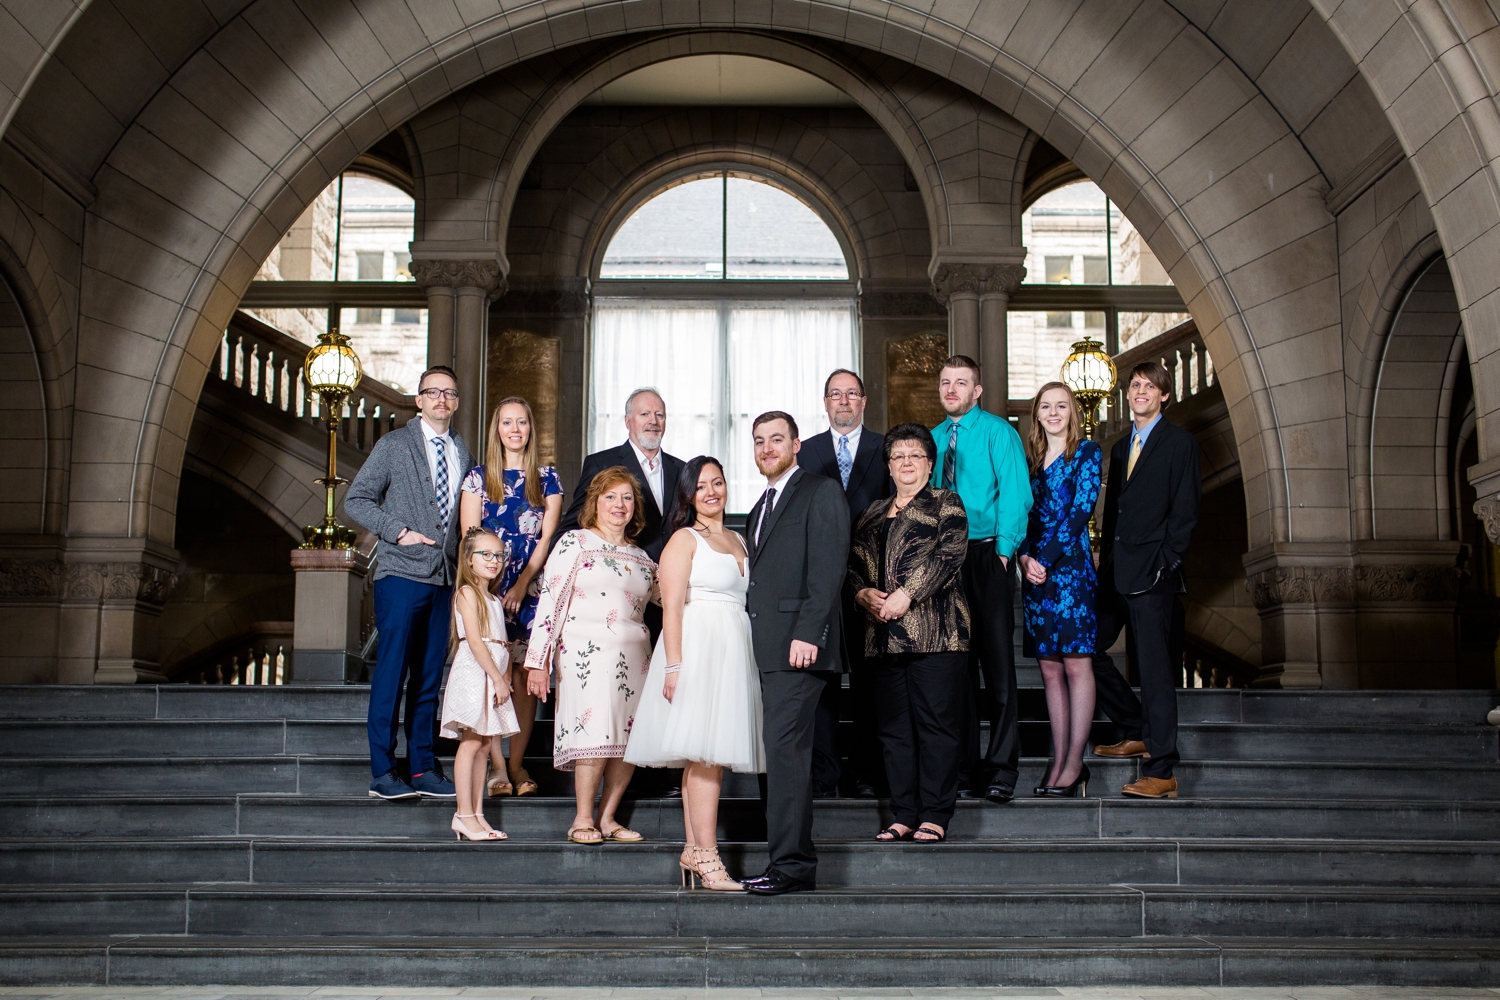
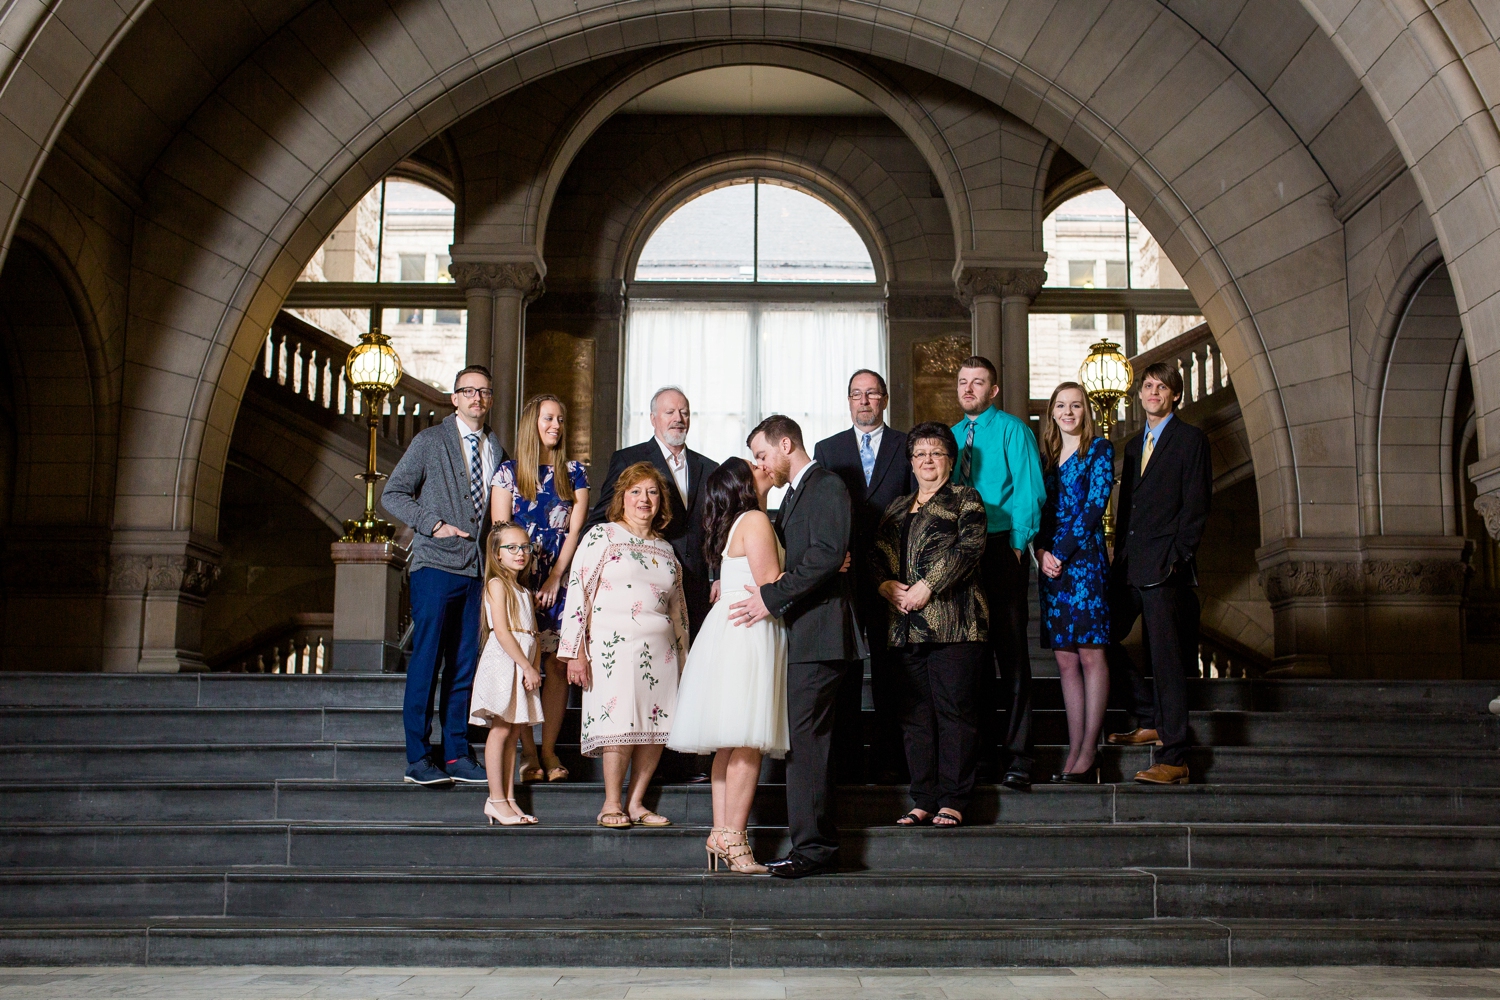
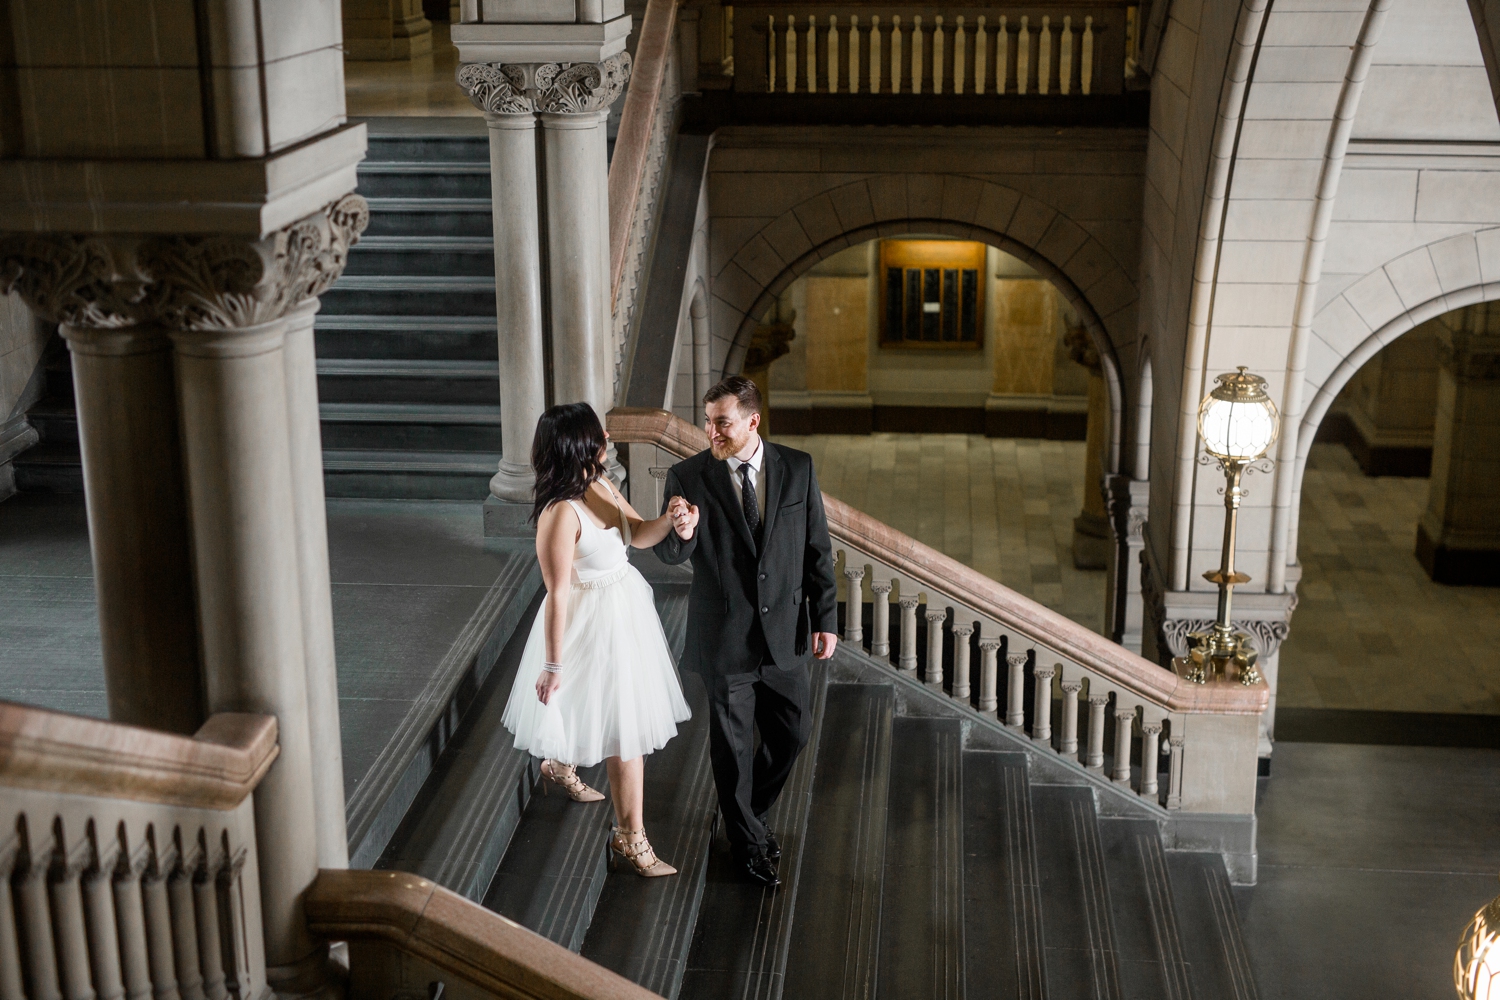
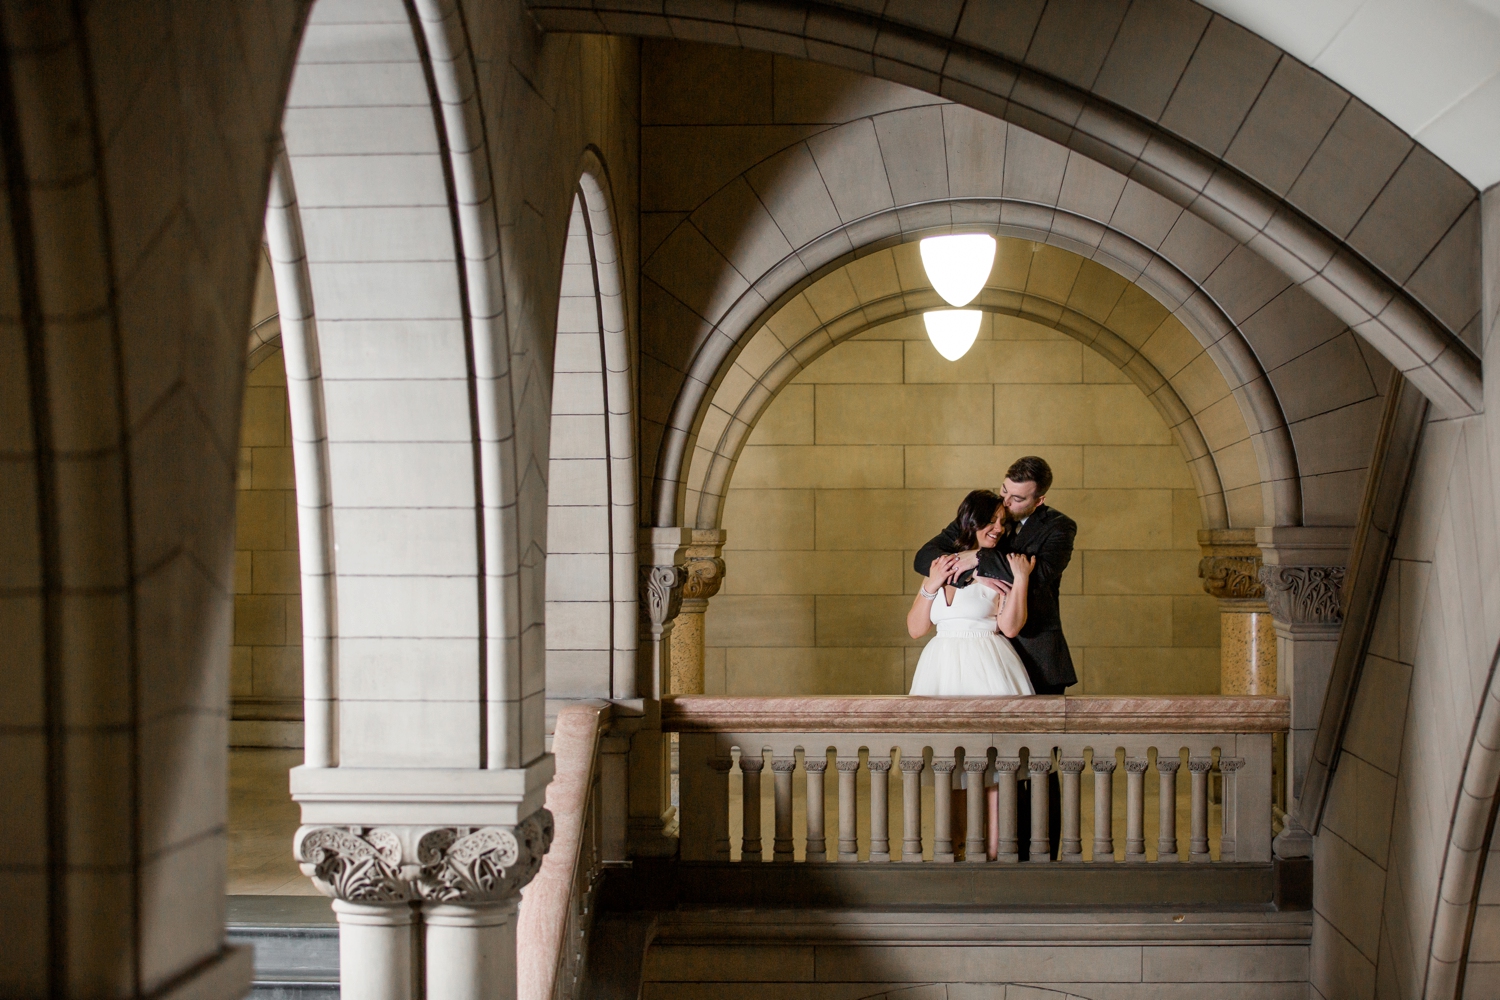
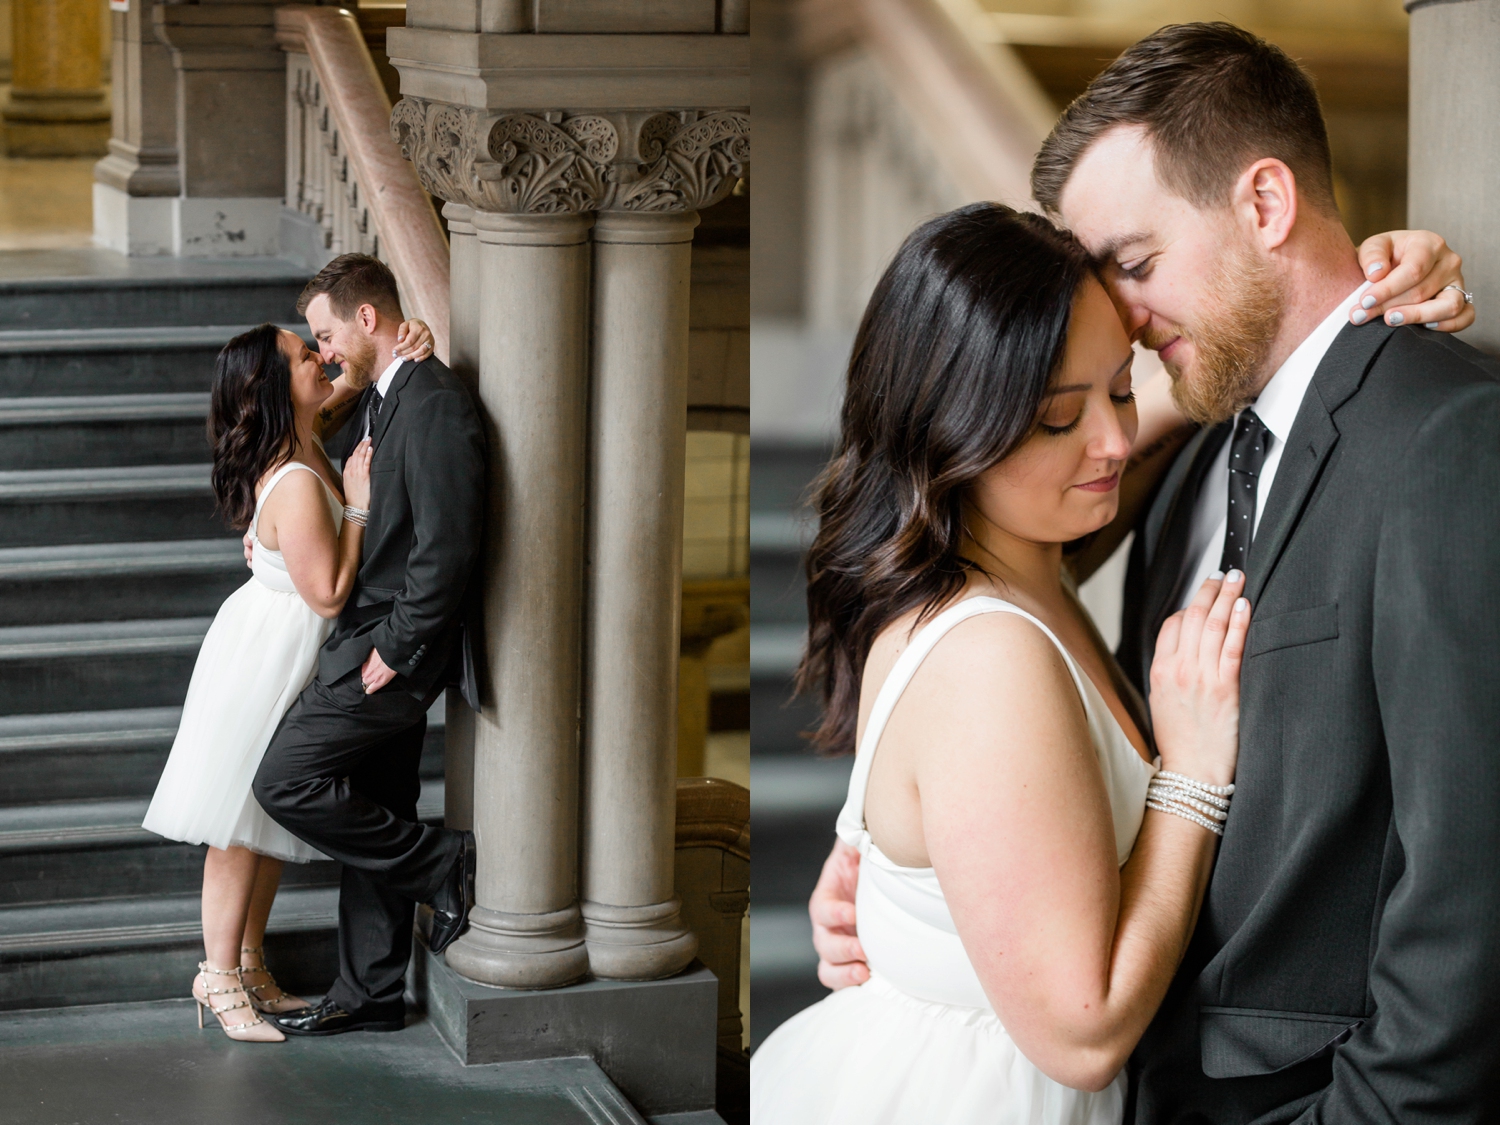
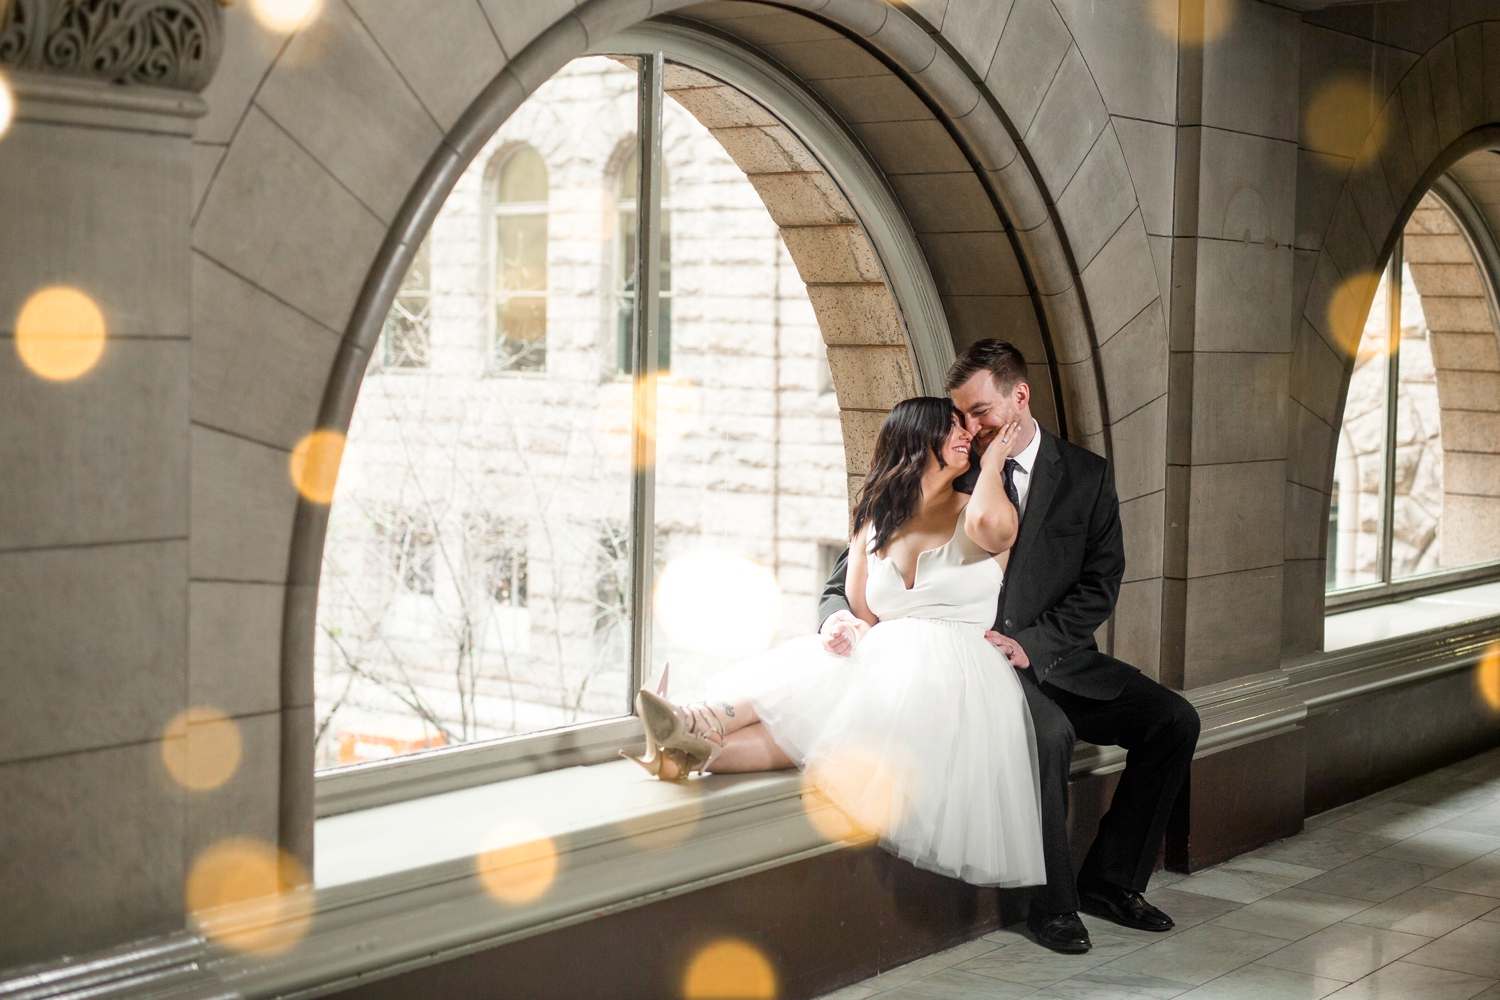
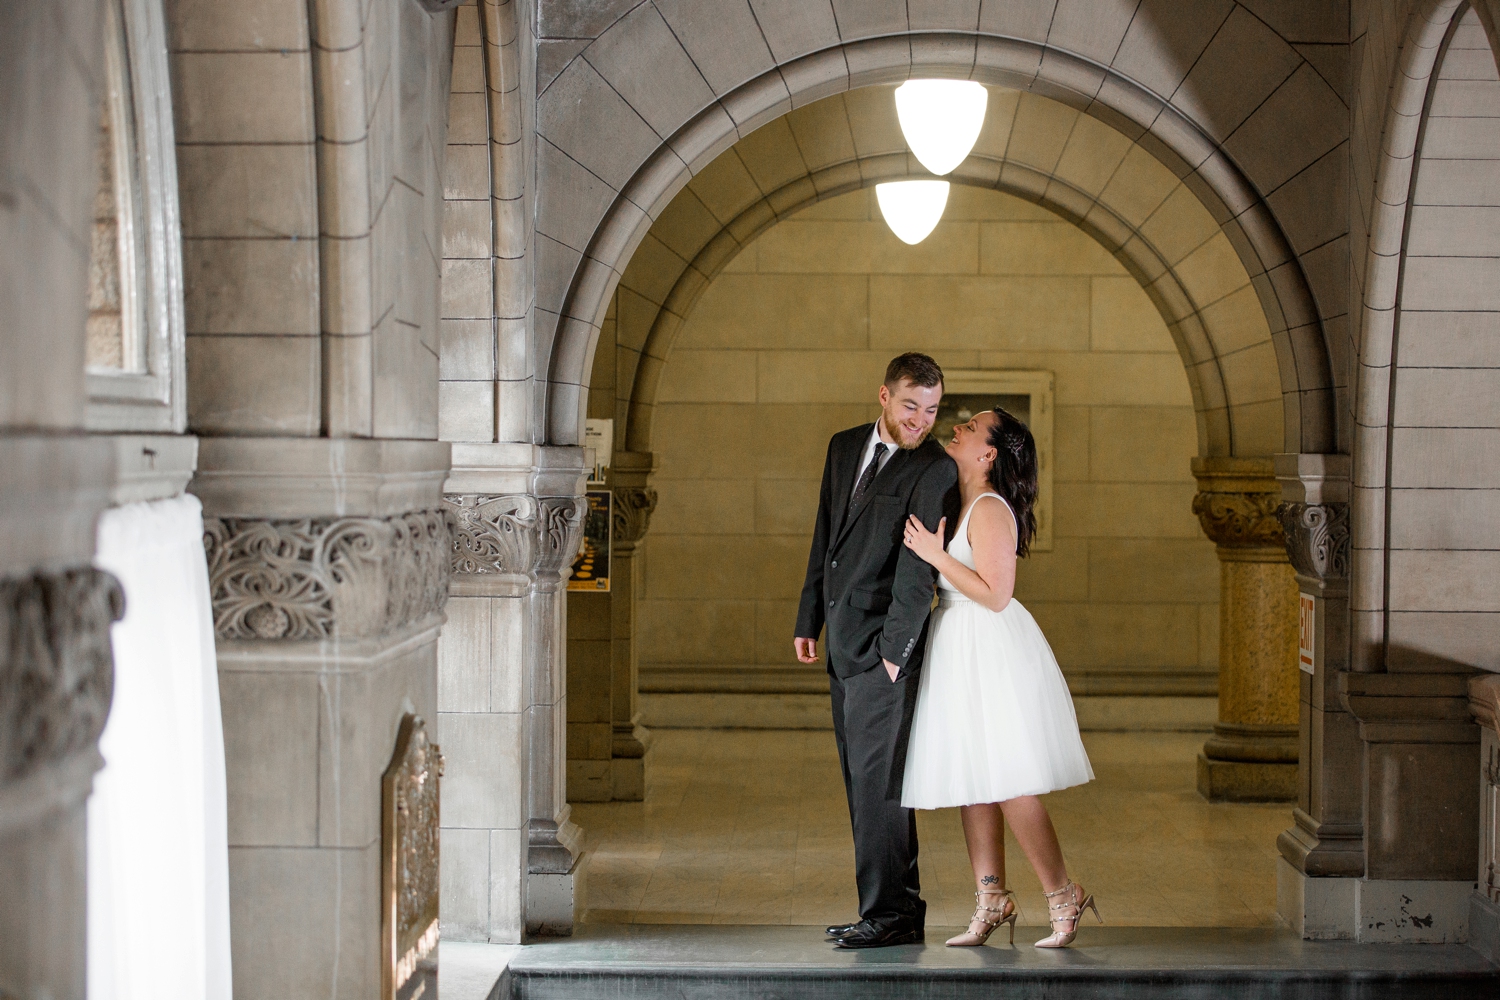
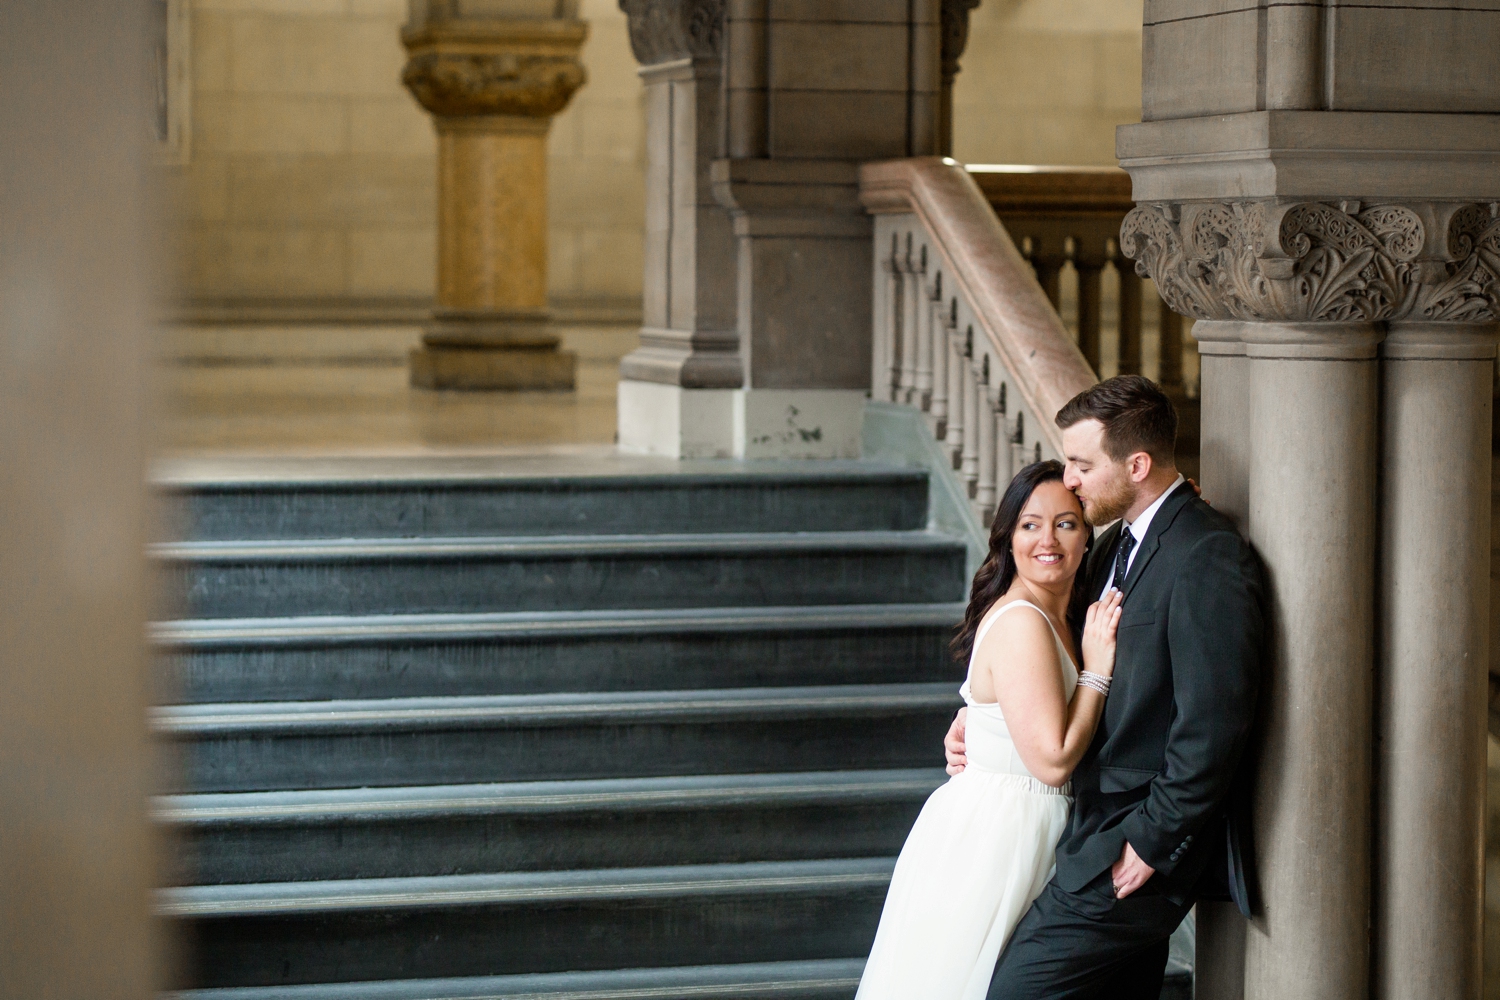
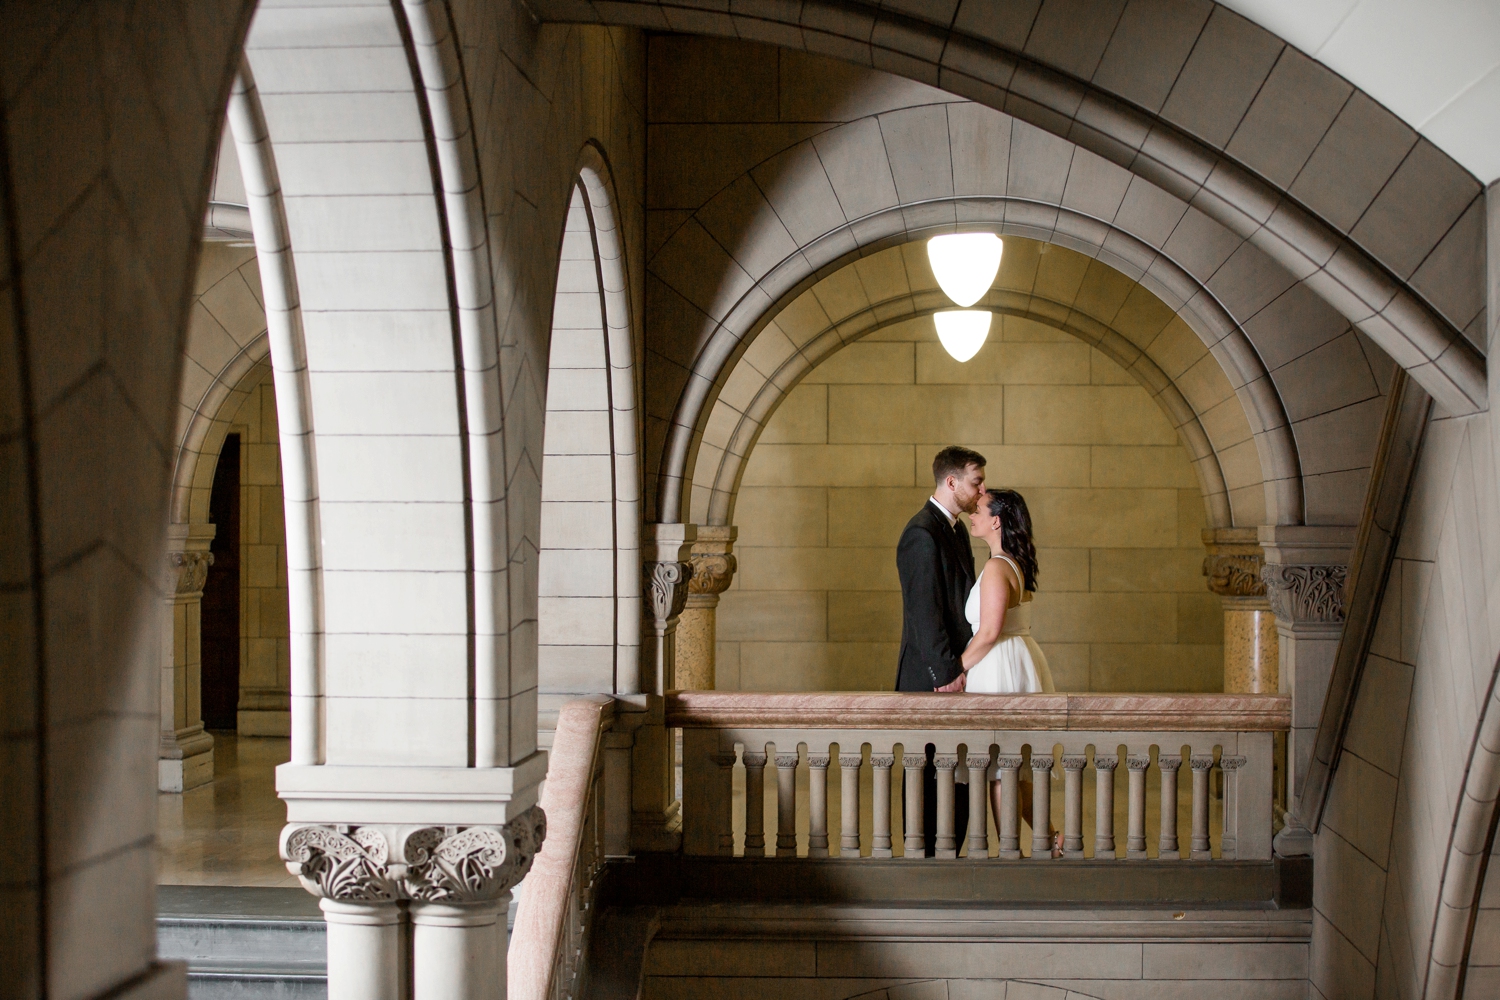
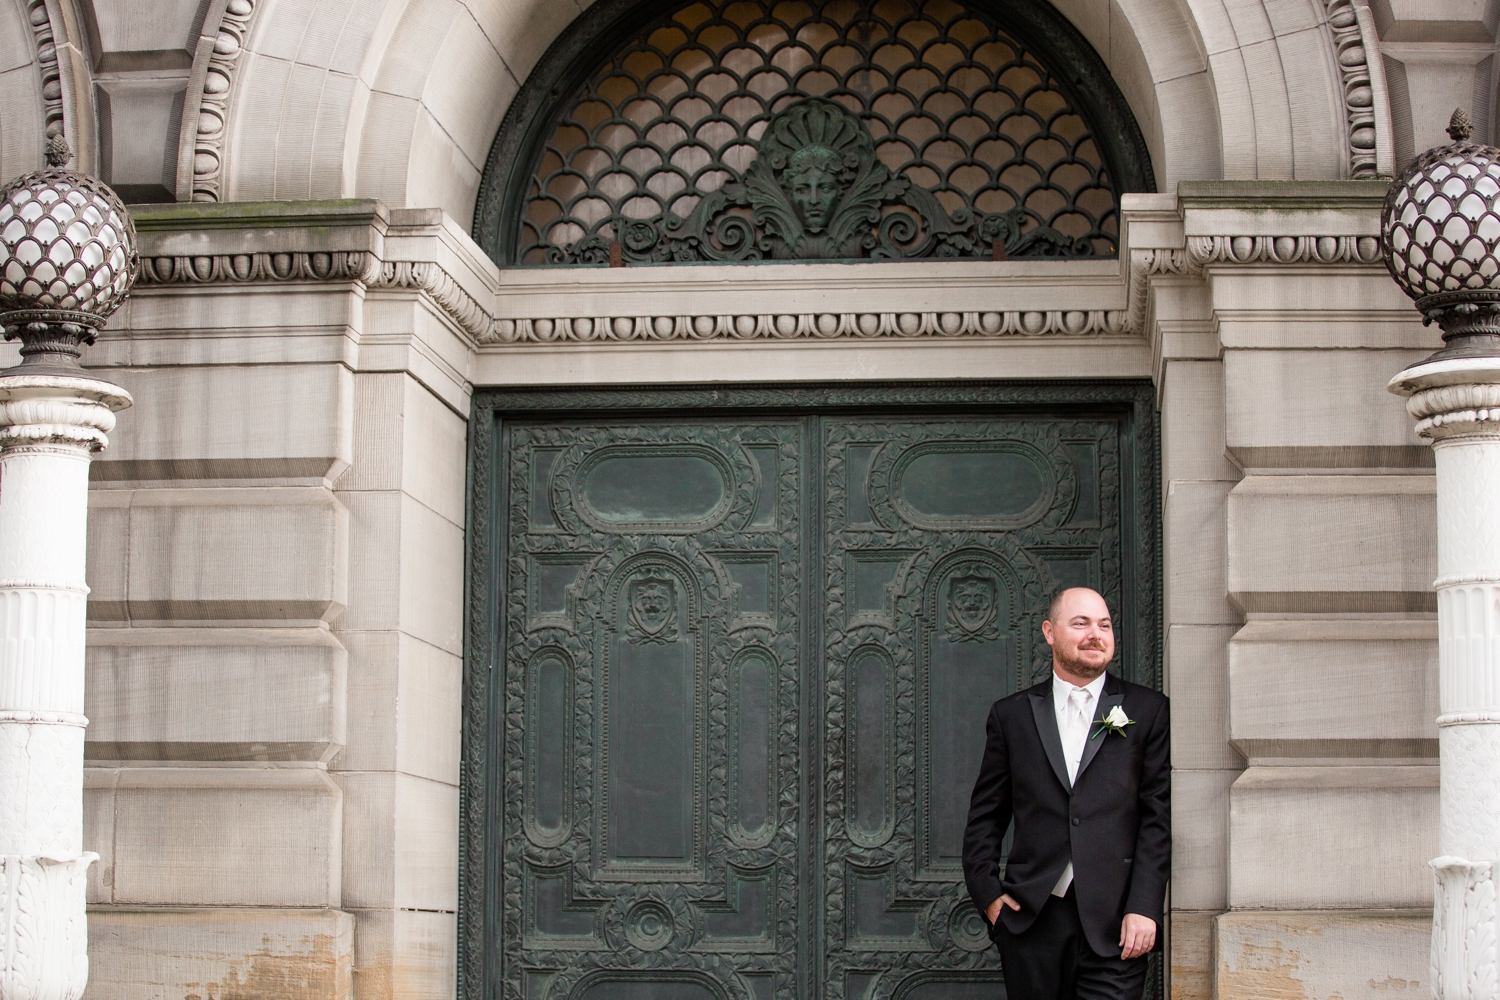
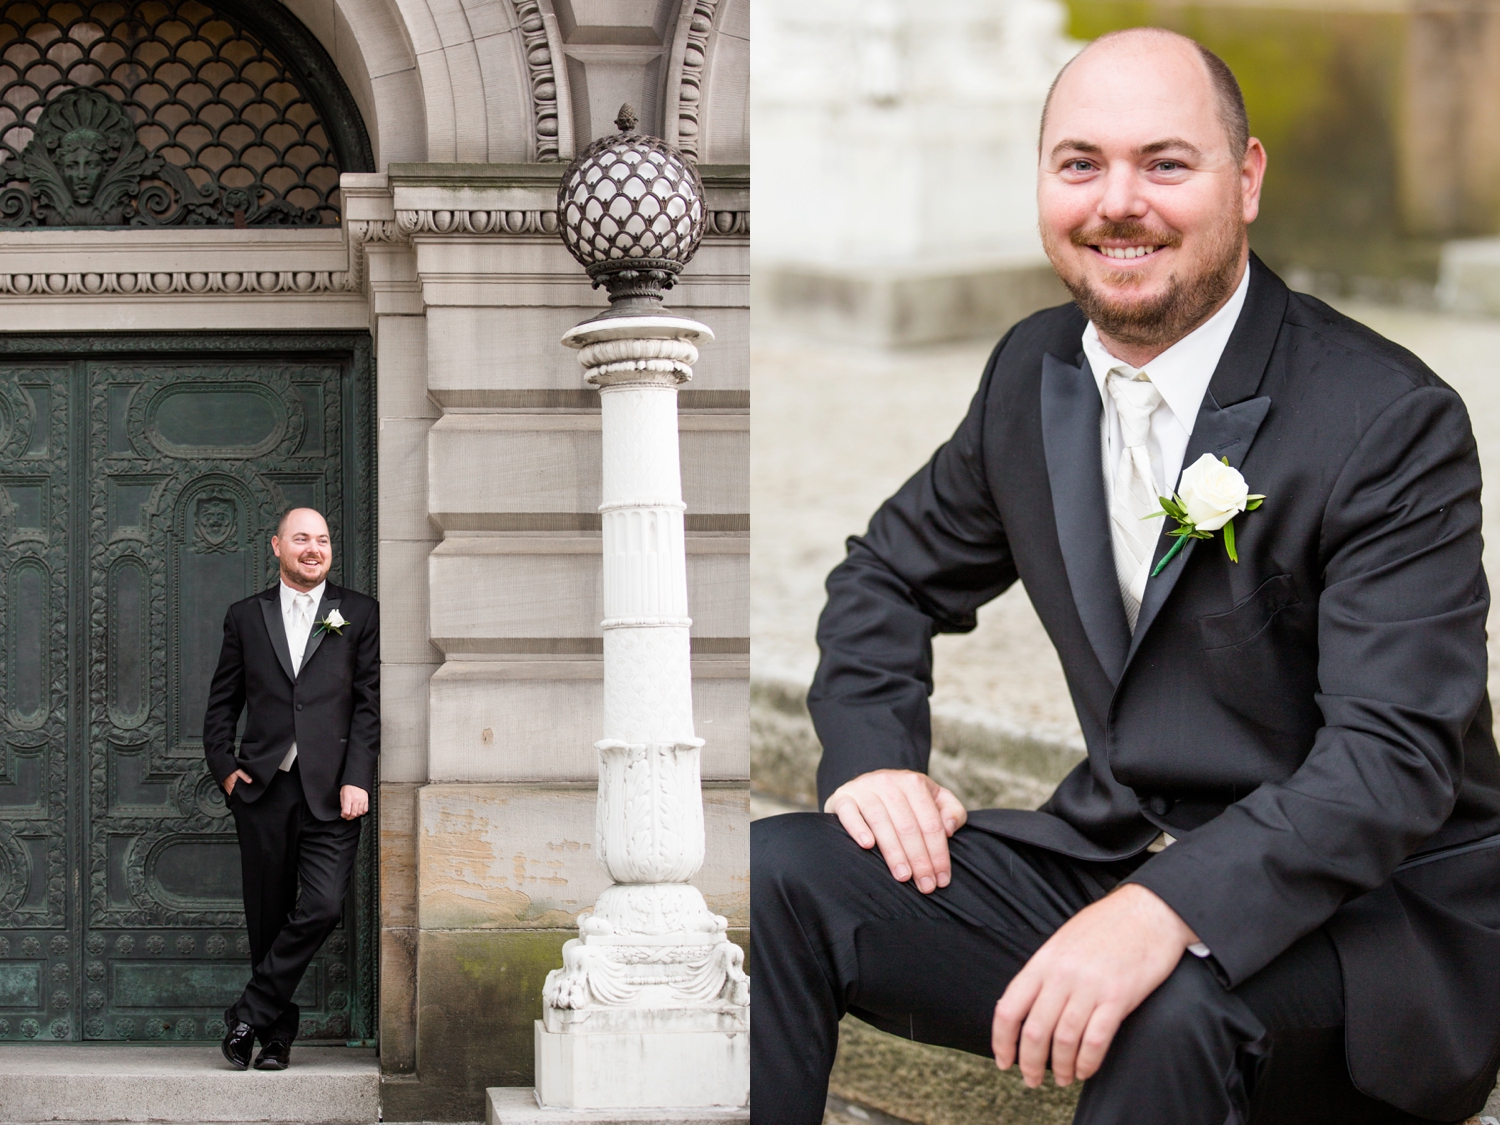
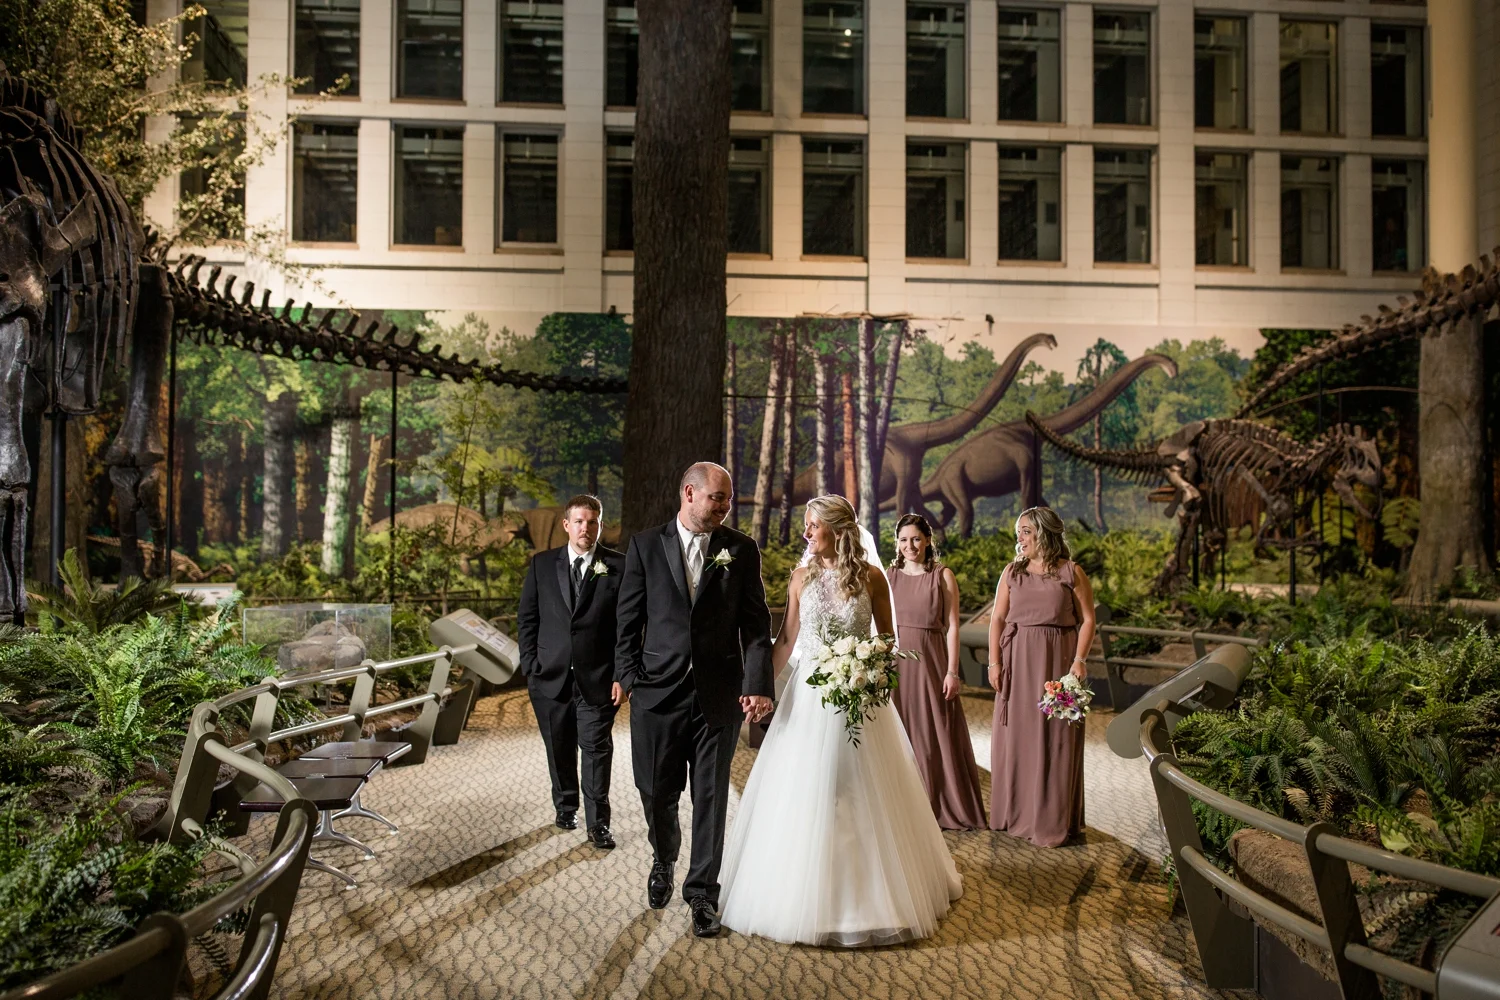
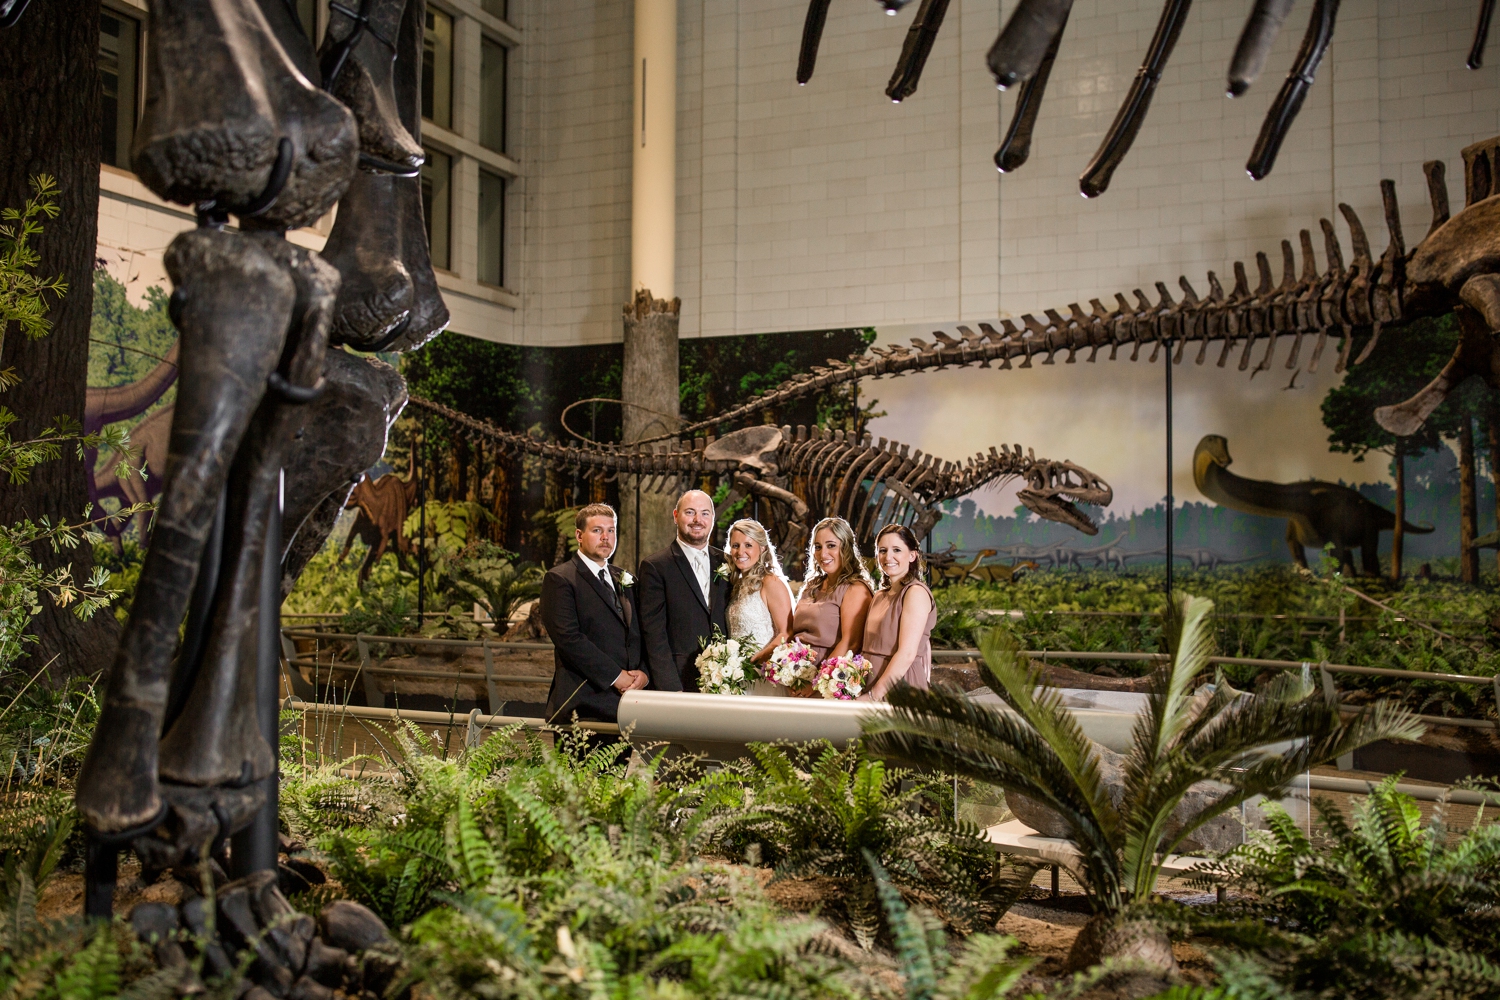
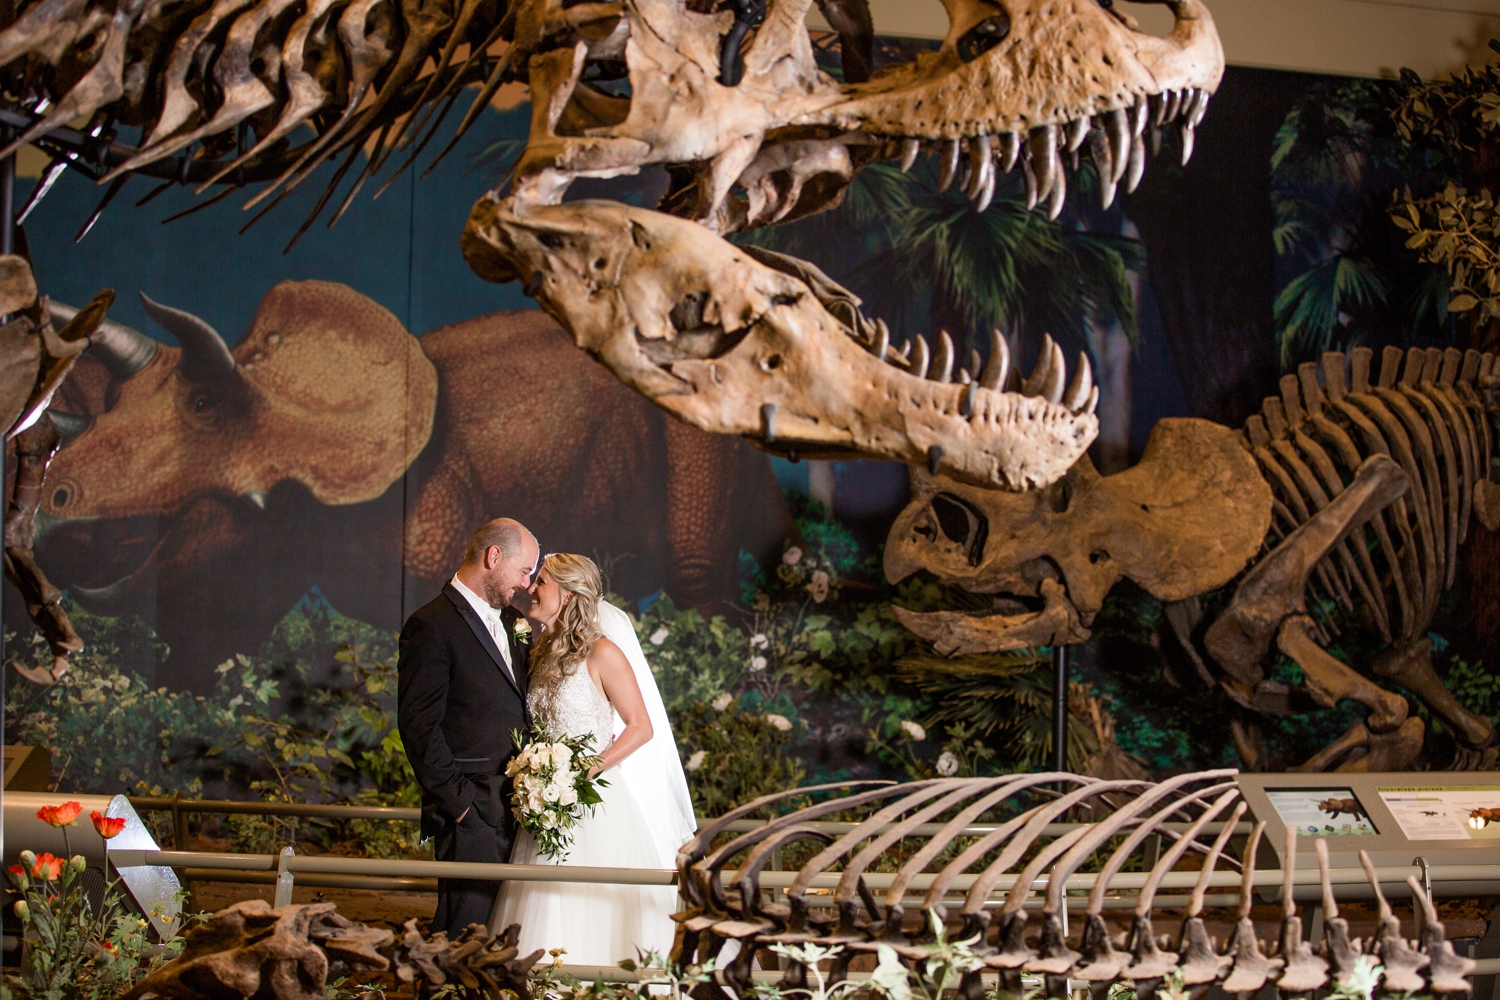
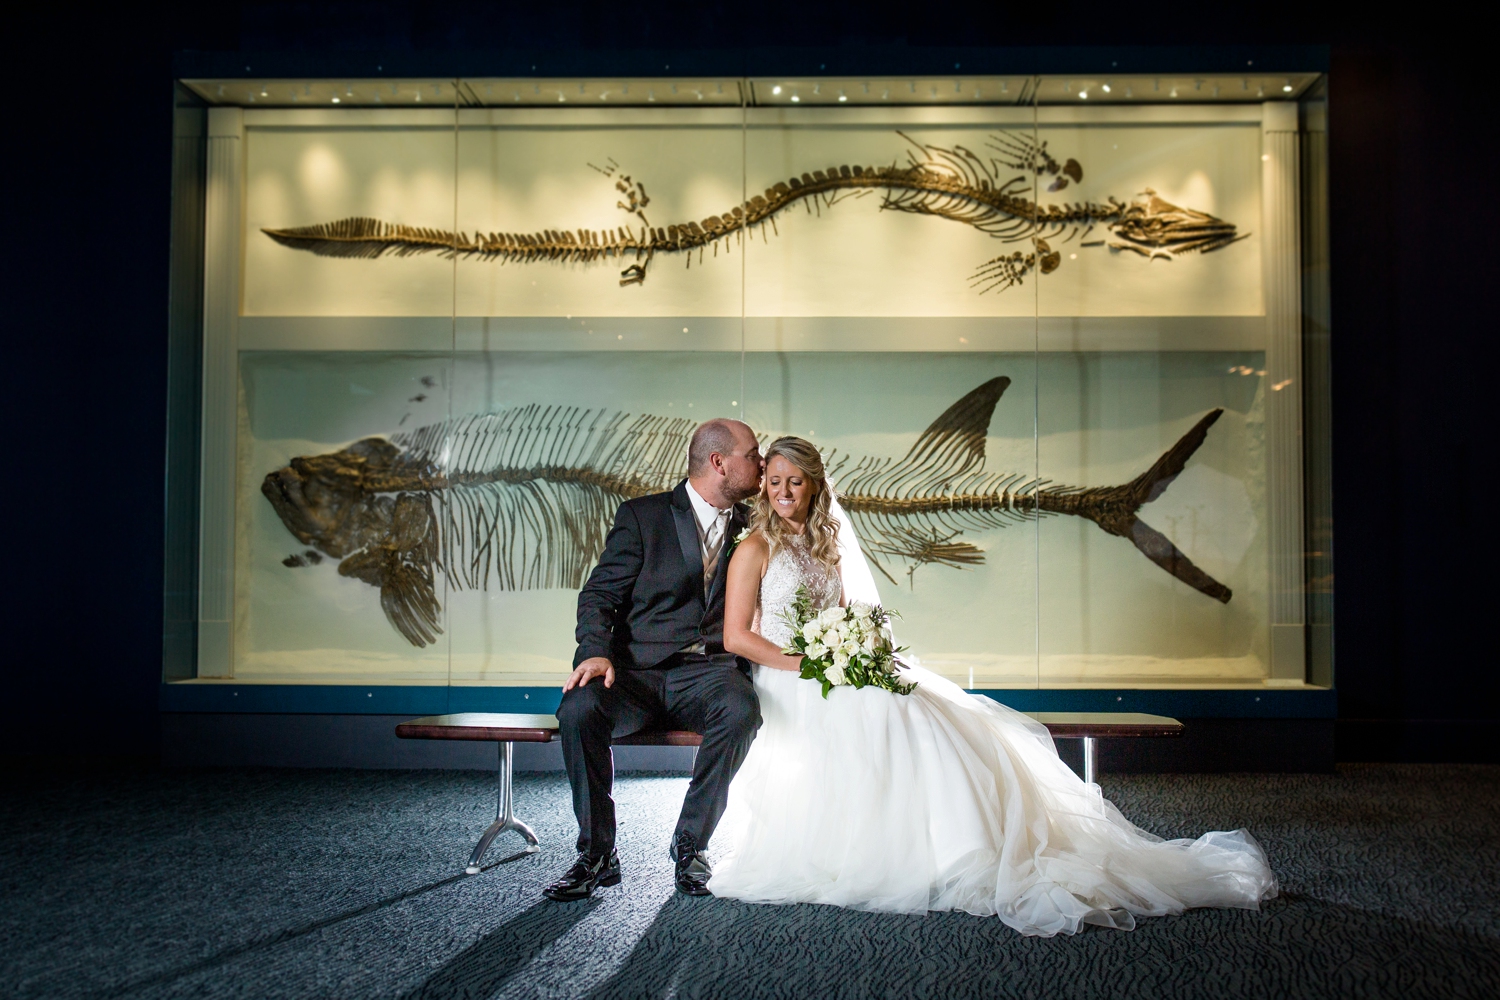
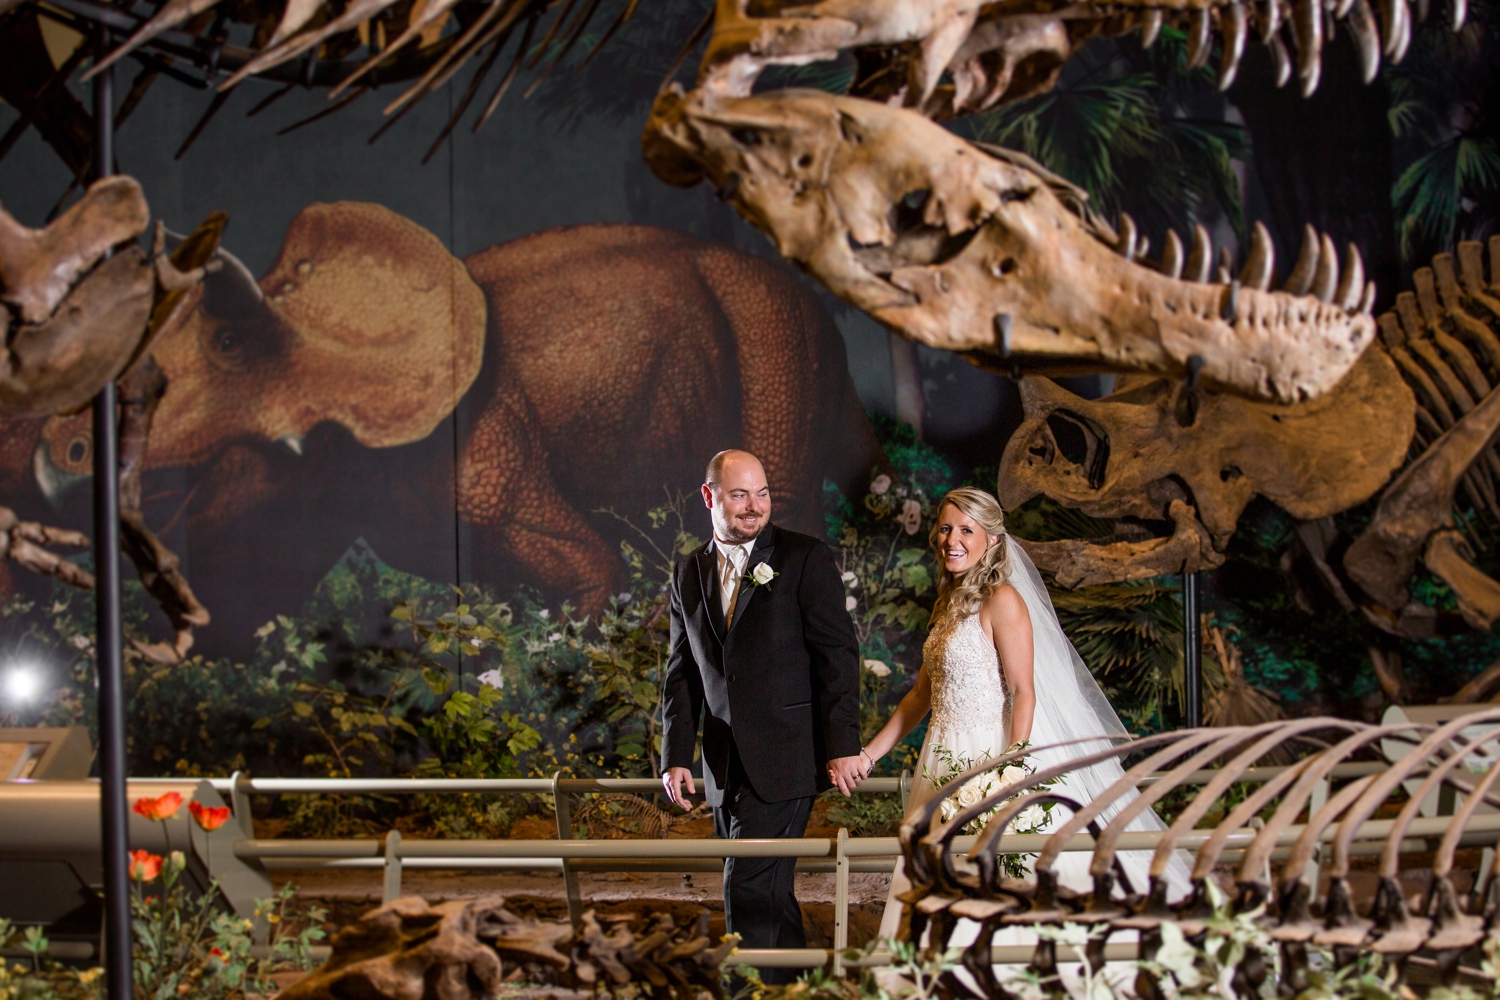
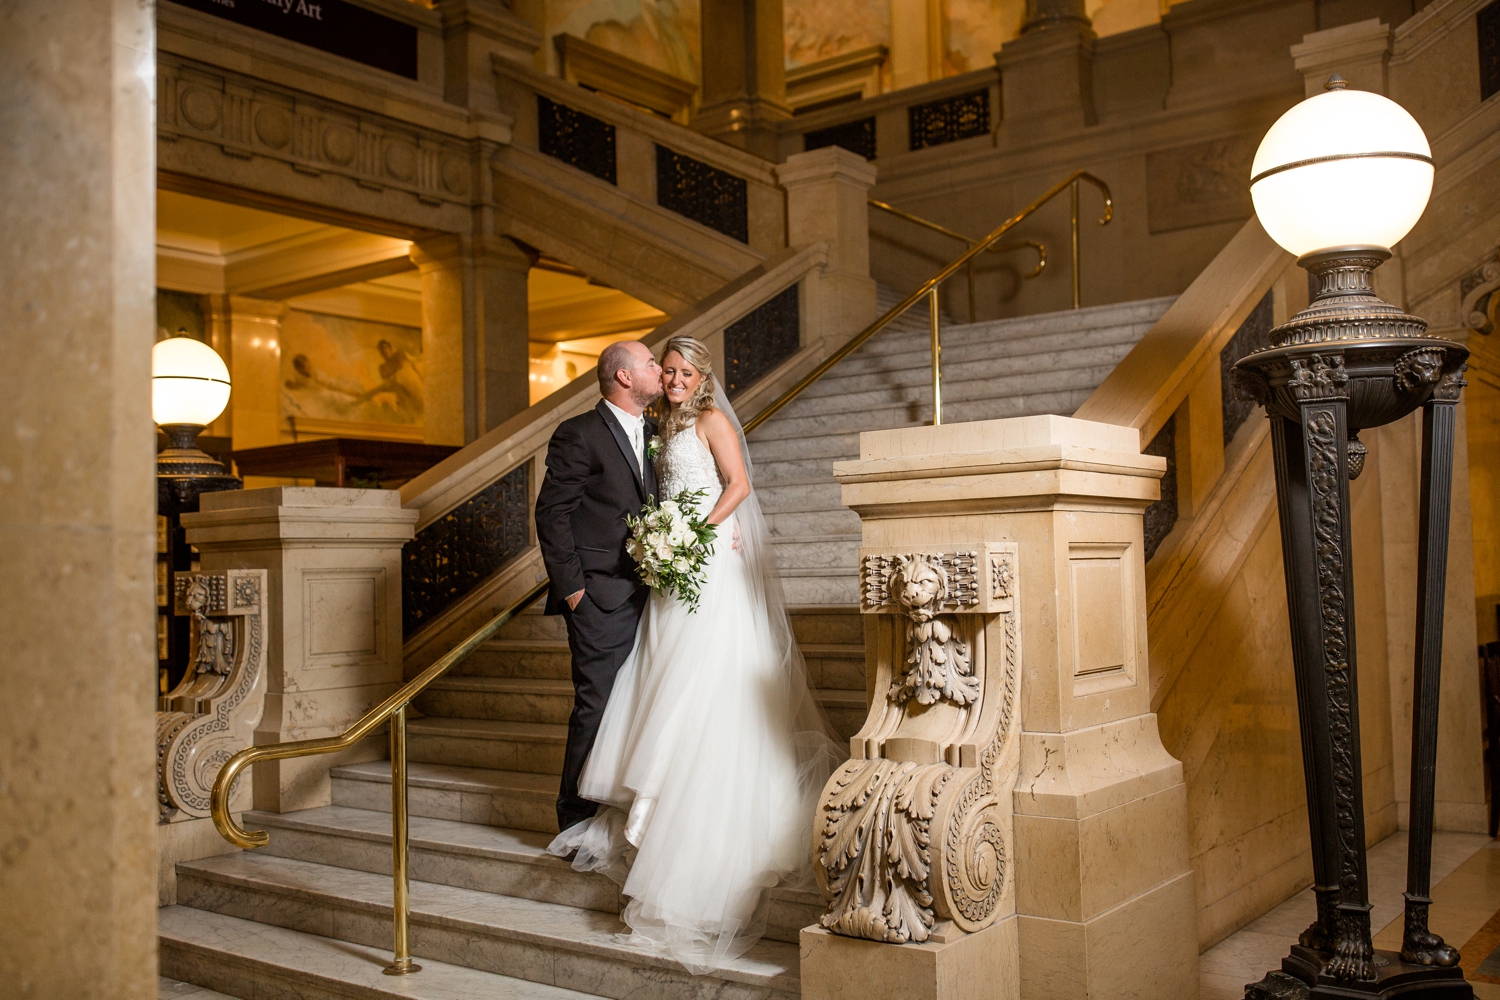
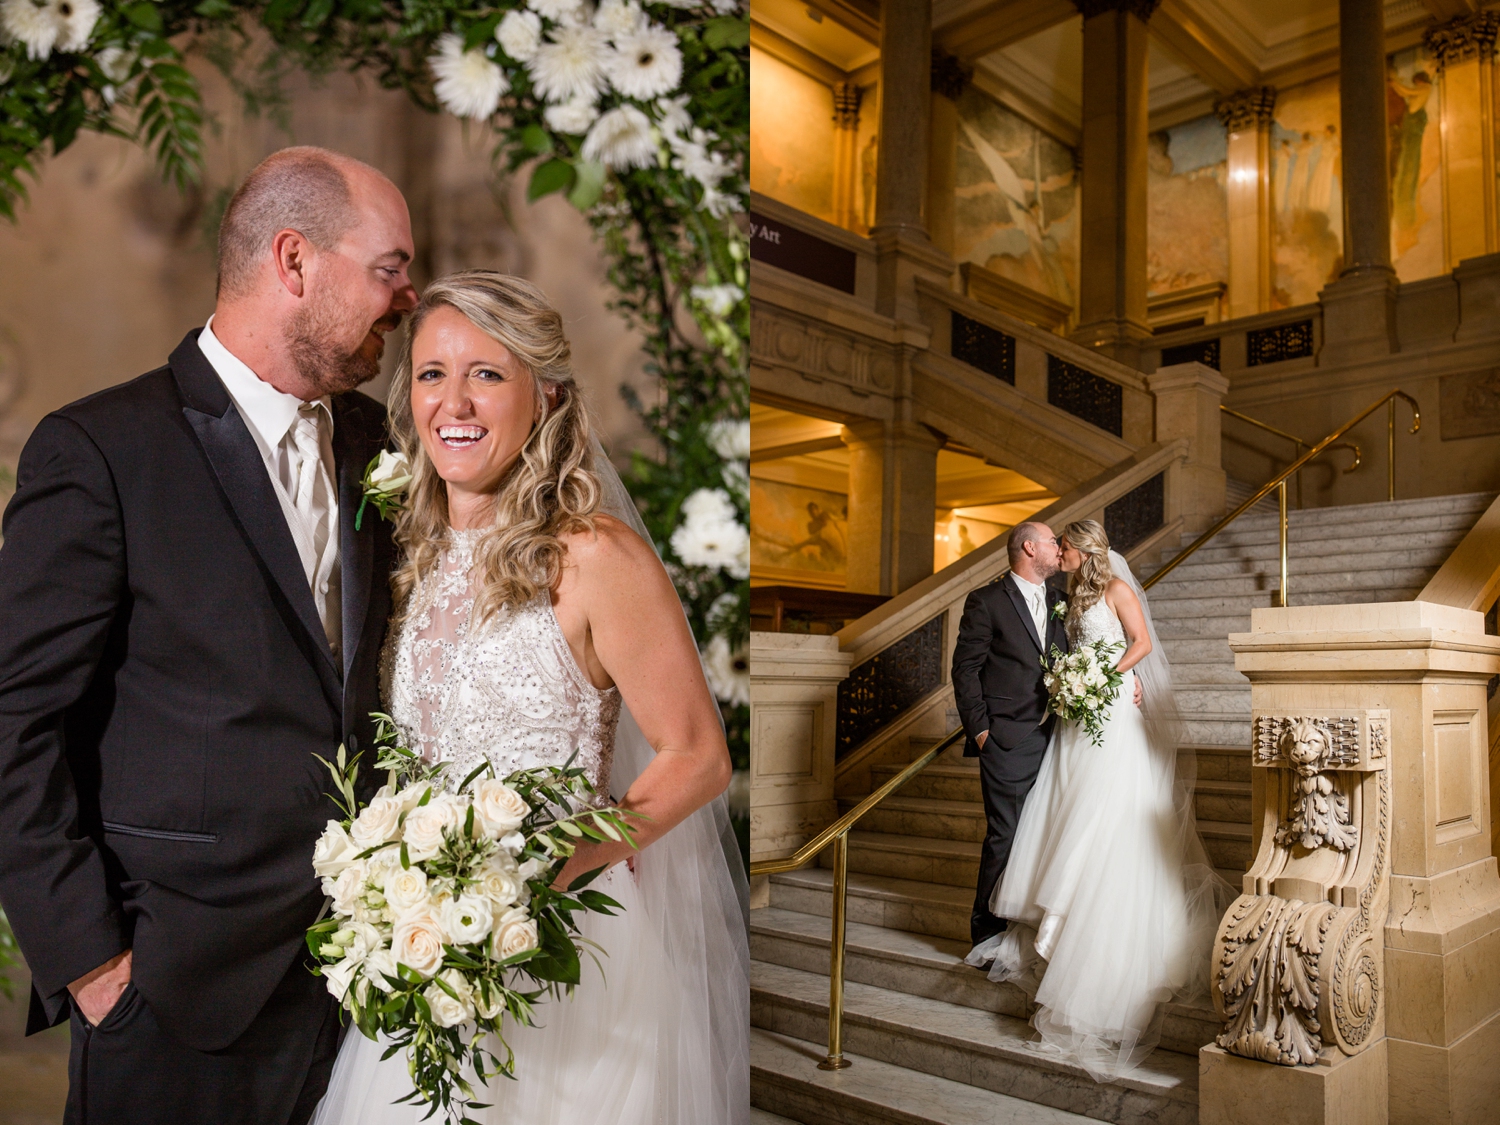
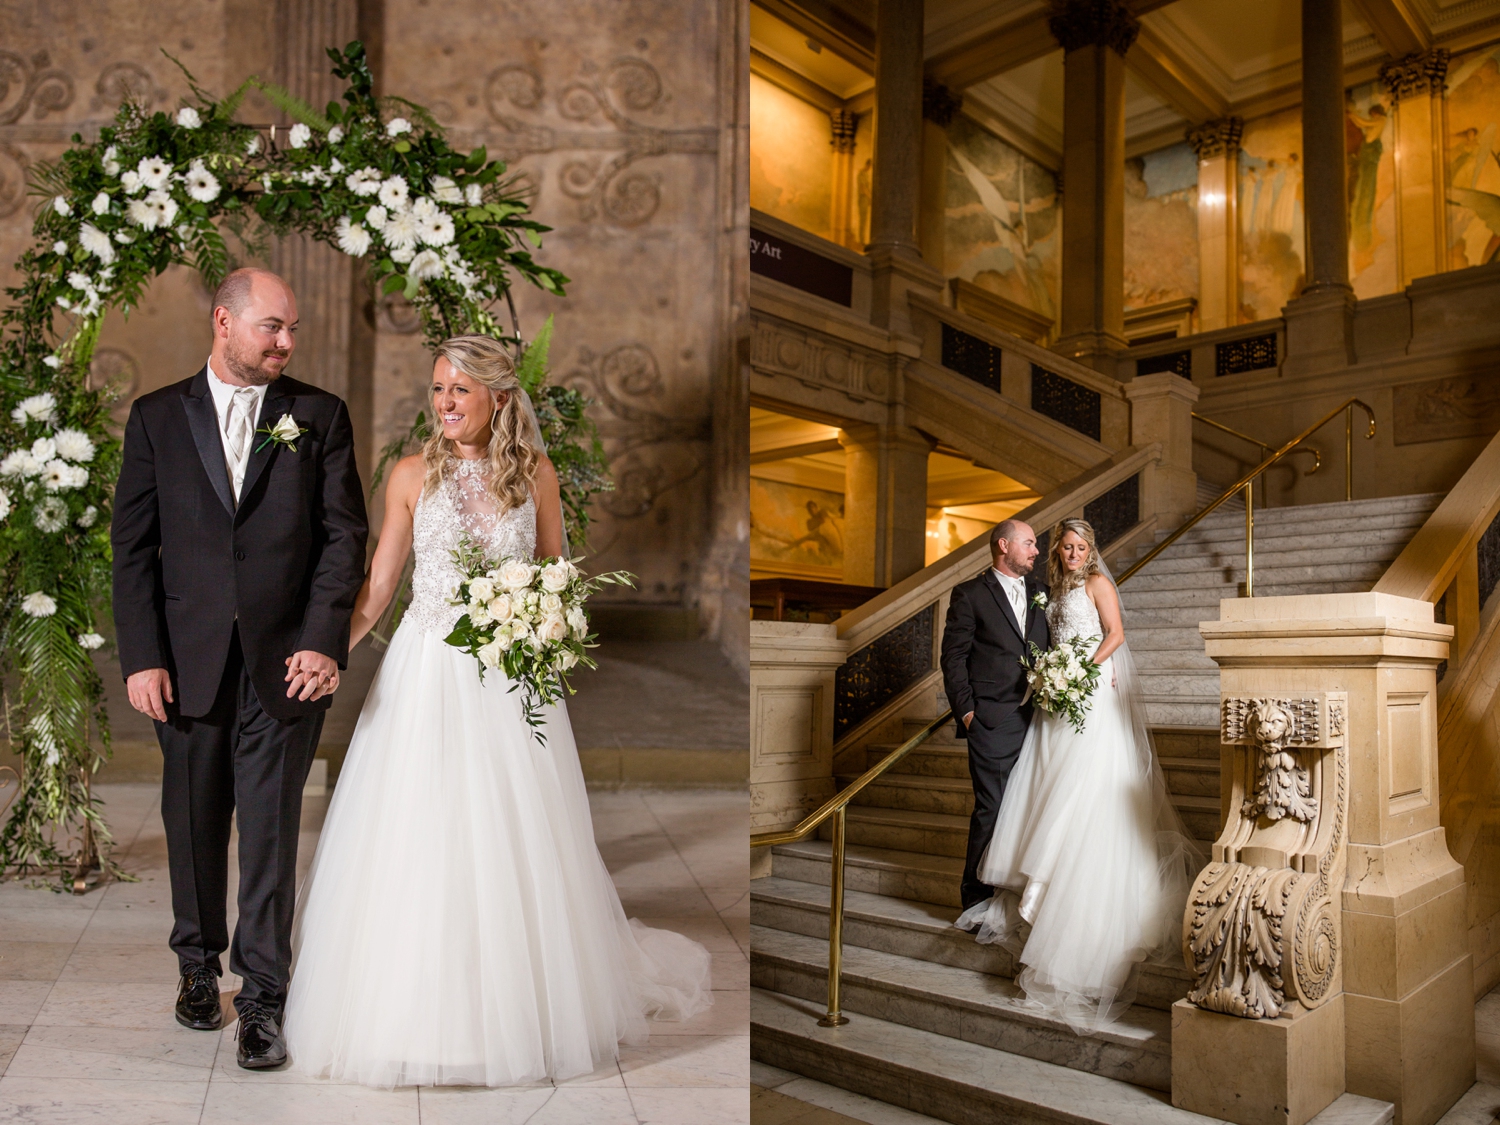
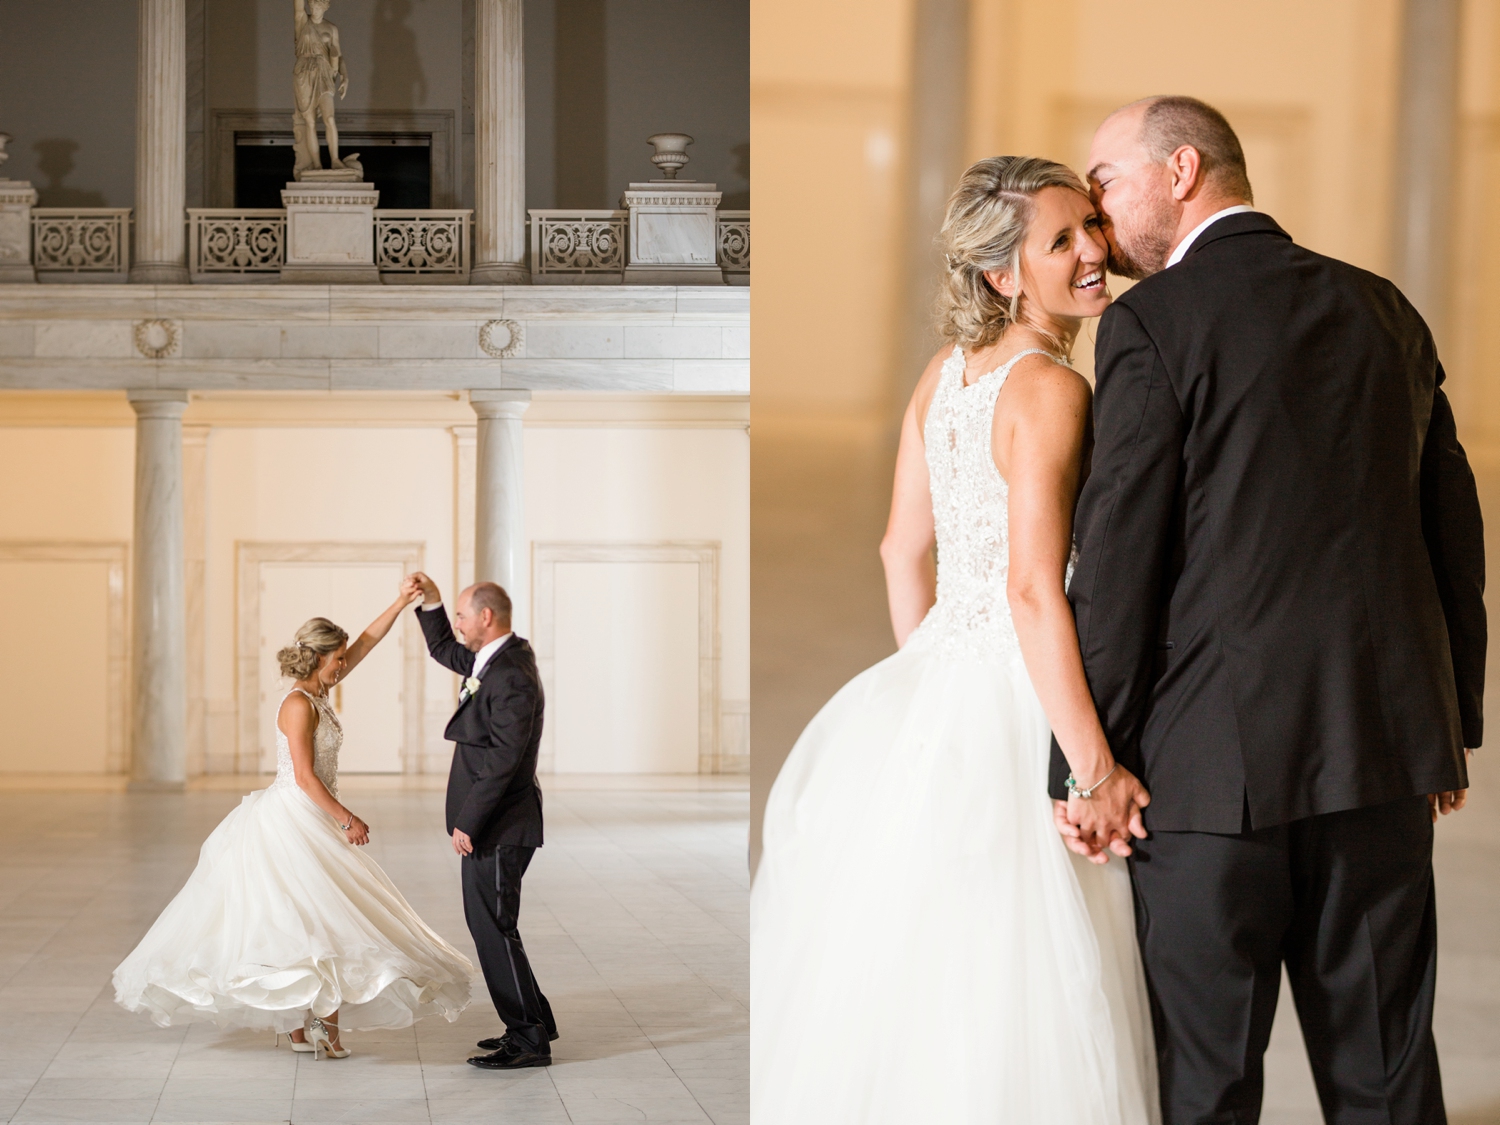
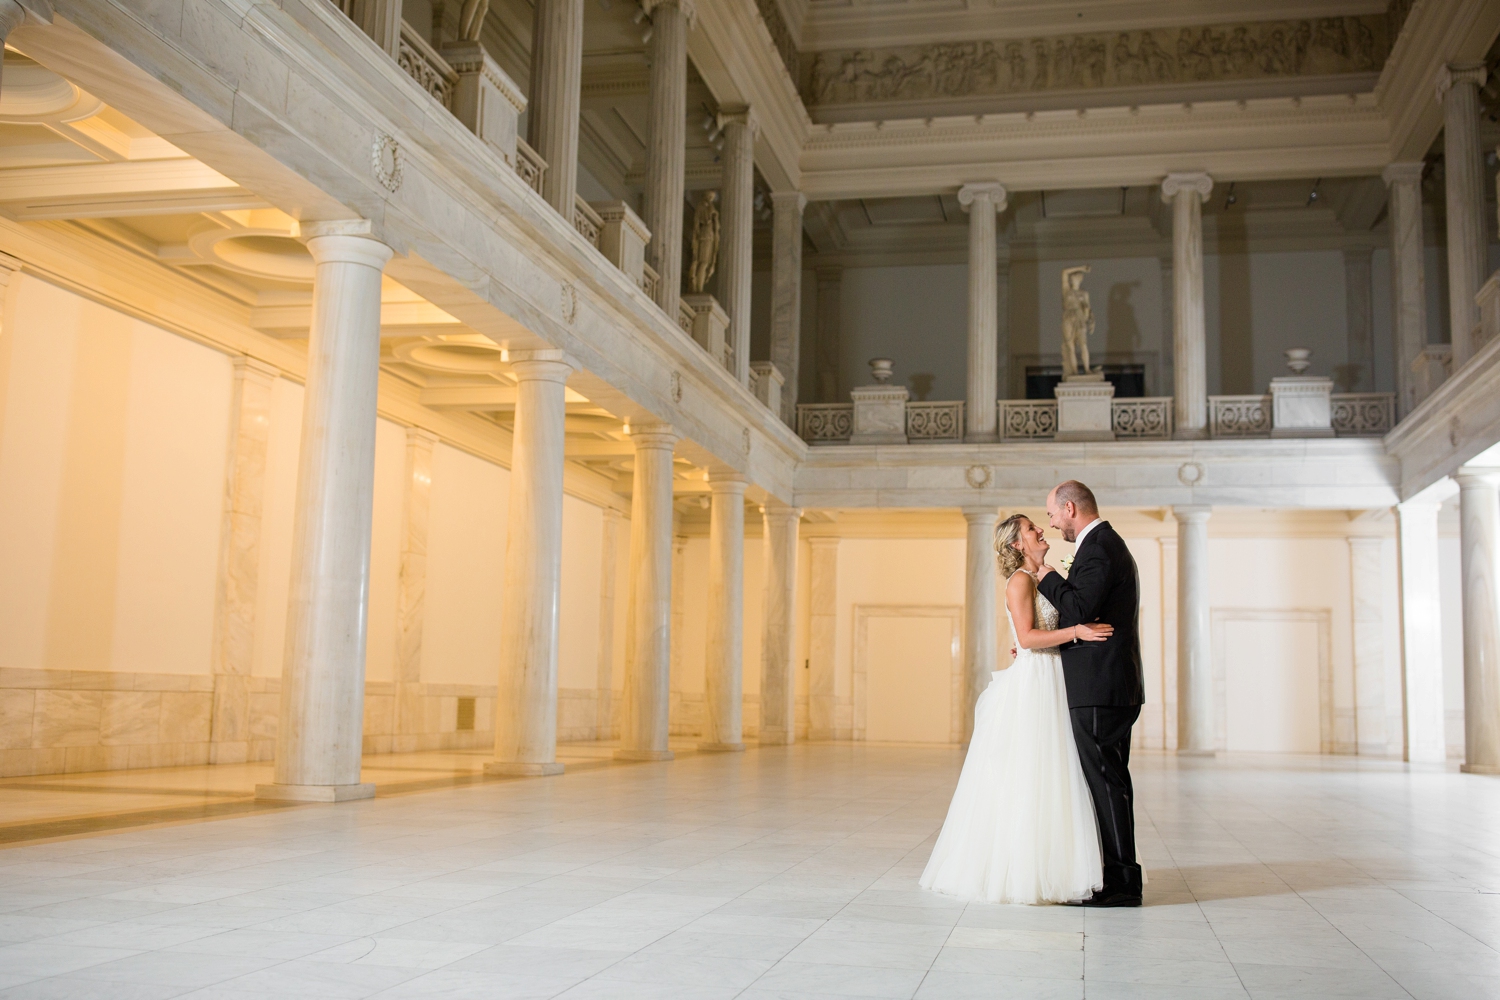
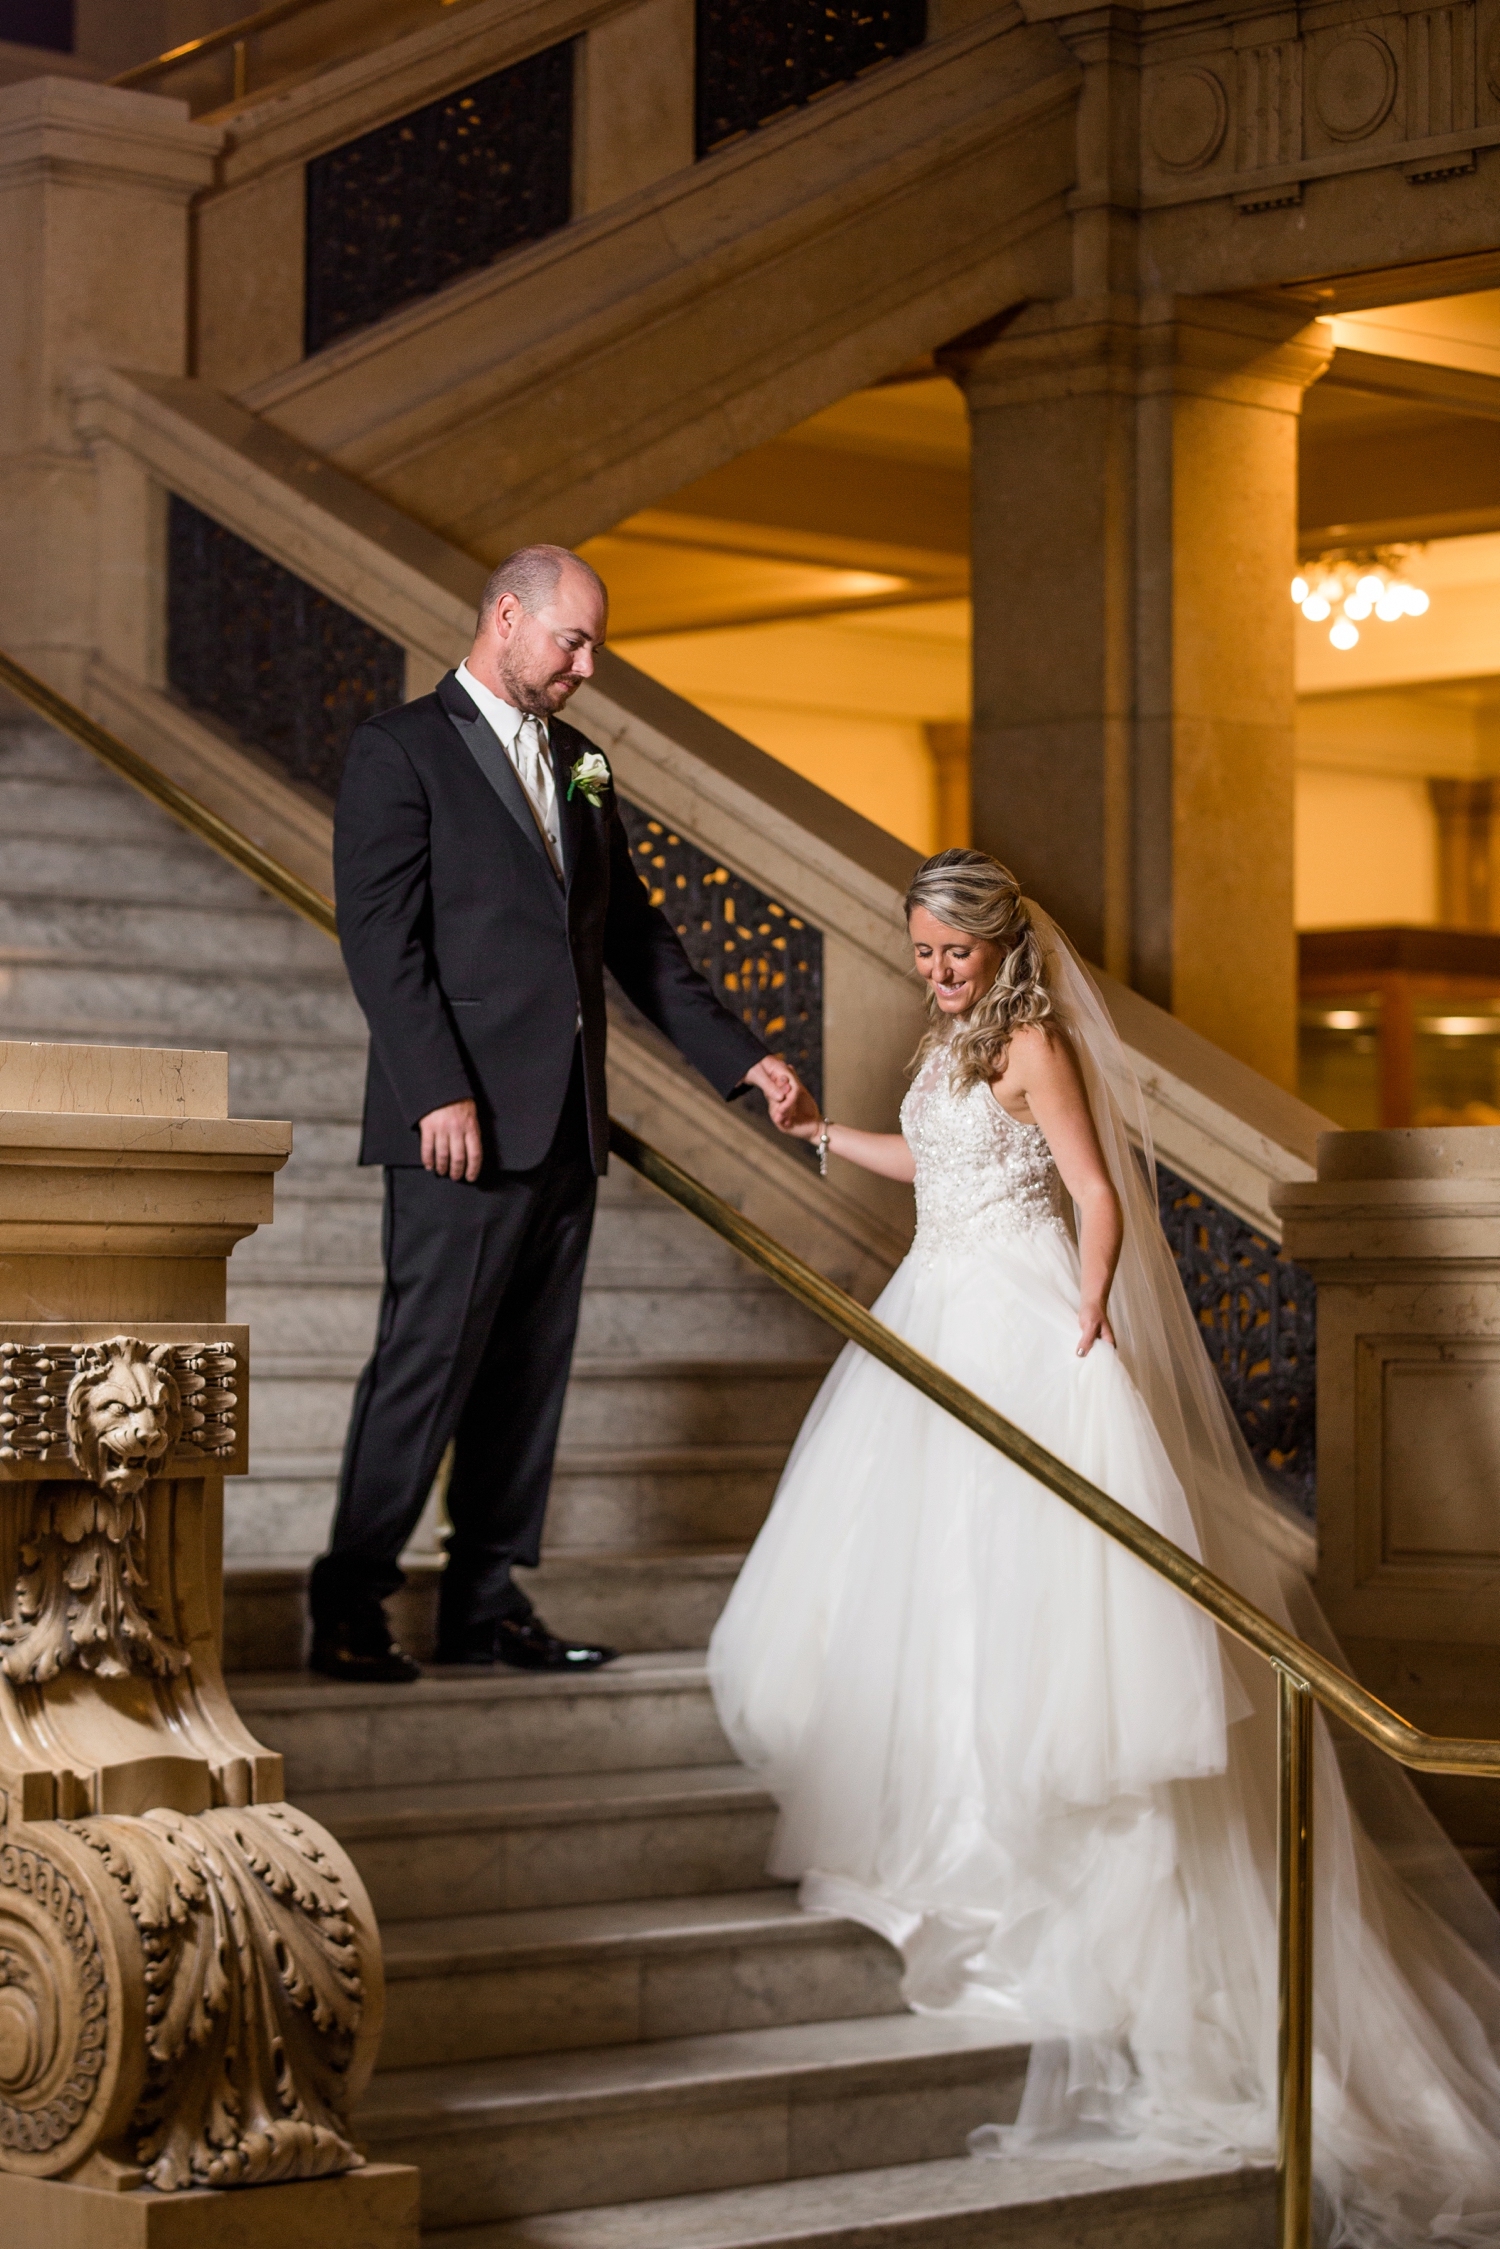
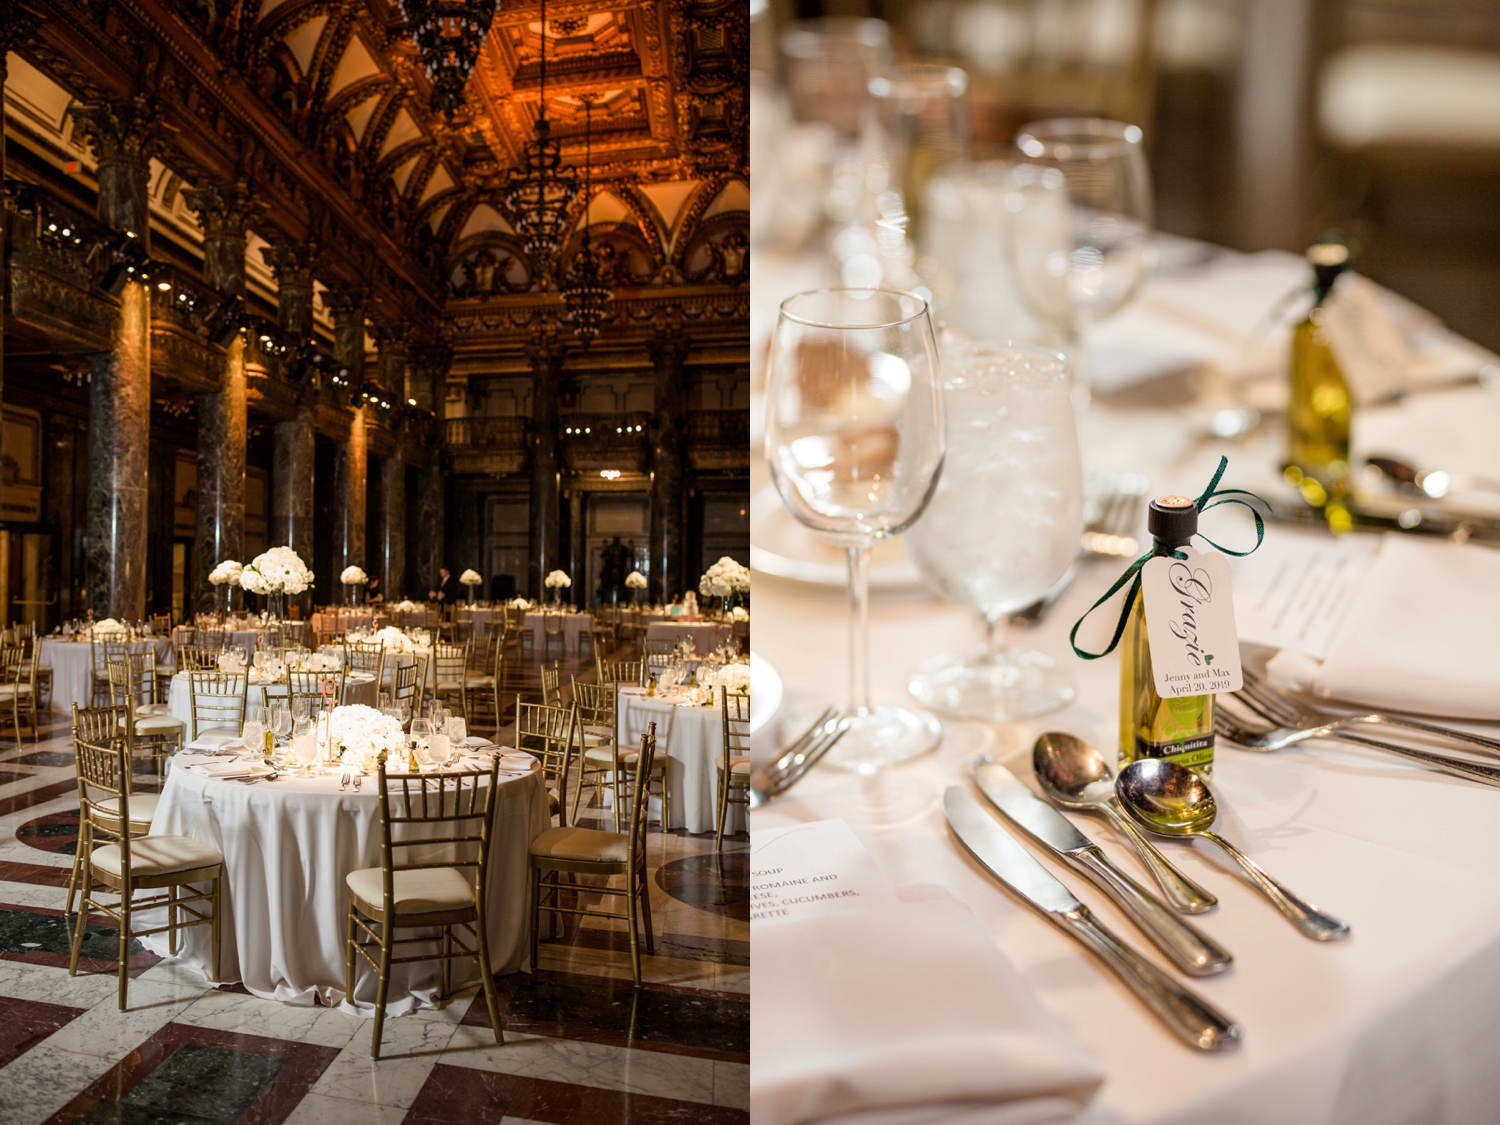
Jenny and Max chose one of the most beautiful and iconic wedding venues in all of Pittsburgh - the Carnegie Museum of Natural History. With its iconic grand staircase (voted one of the best museum staircases in the world!) and gorgeous rooms modeled after wonders of the world (you’ll see what I mean once you start looking at the images!), one detail that rose above the rest and was so important to Jenny and Max was getting photos with the fish and dinosaur fossils - because it is a true representation of their relationship and mutual love for the ocean! While we did utilize other areas of the museum for photos, it was so exciting to be able to capture images that really reflected the two of them!

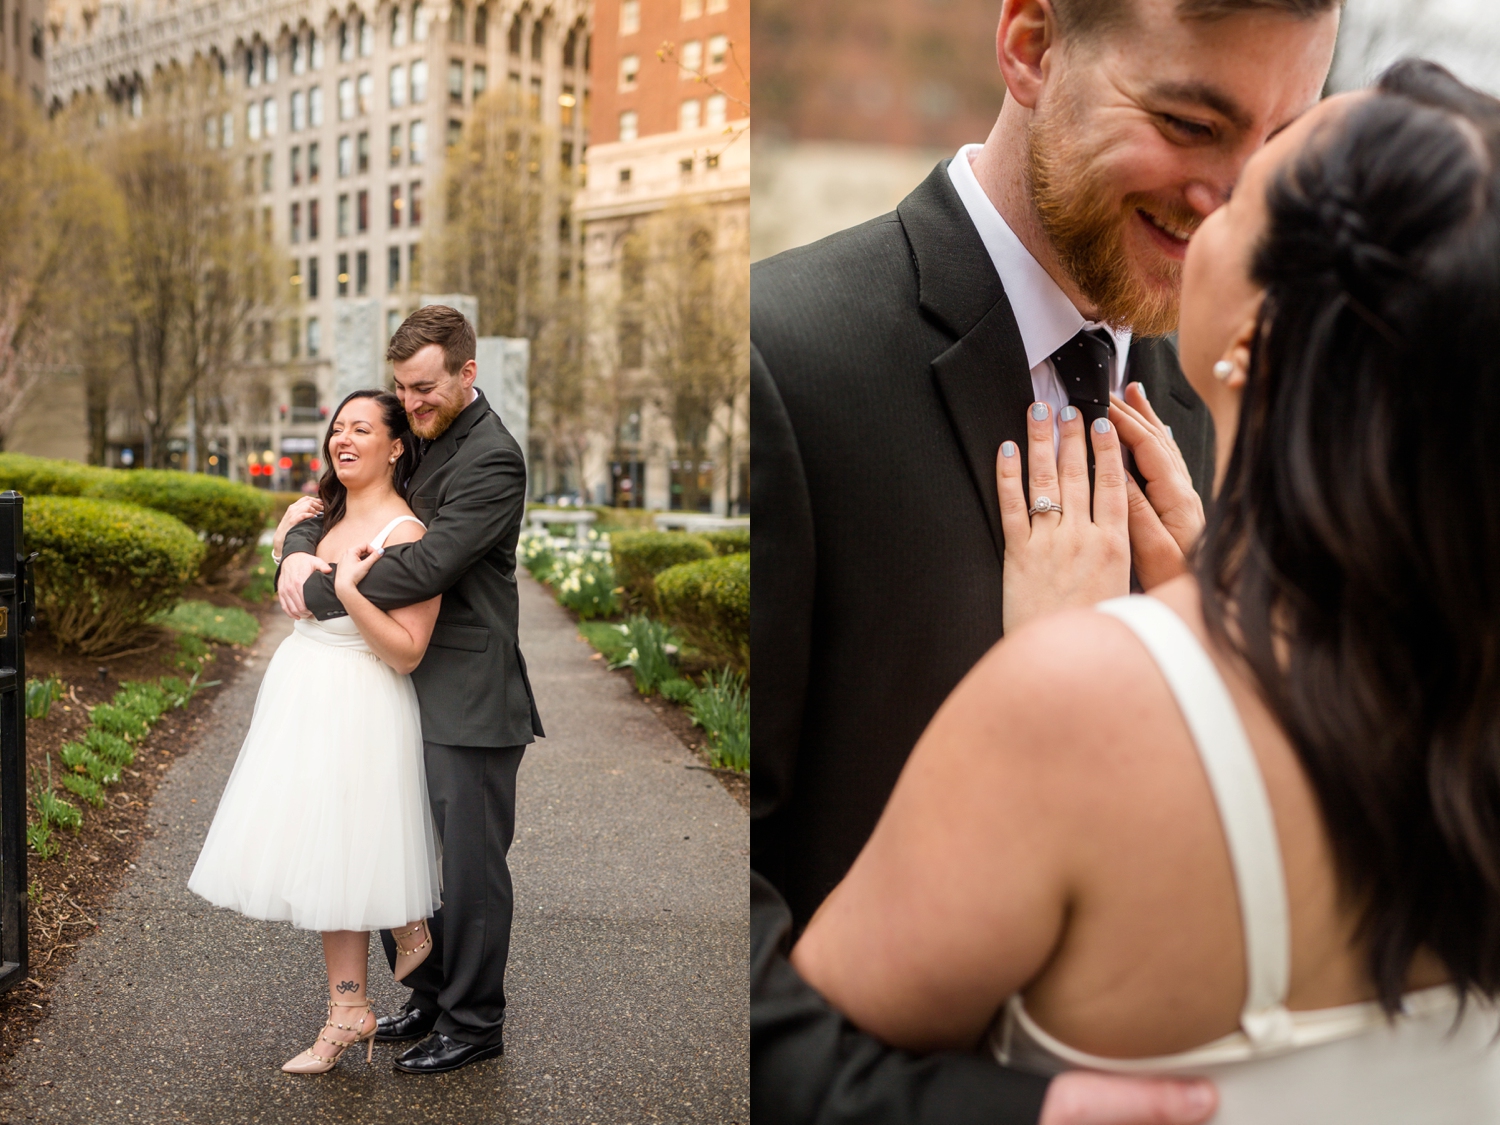
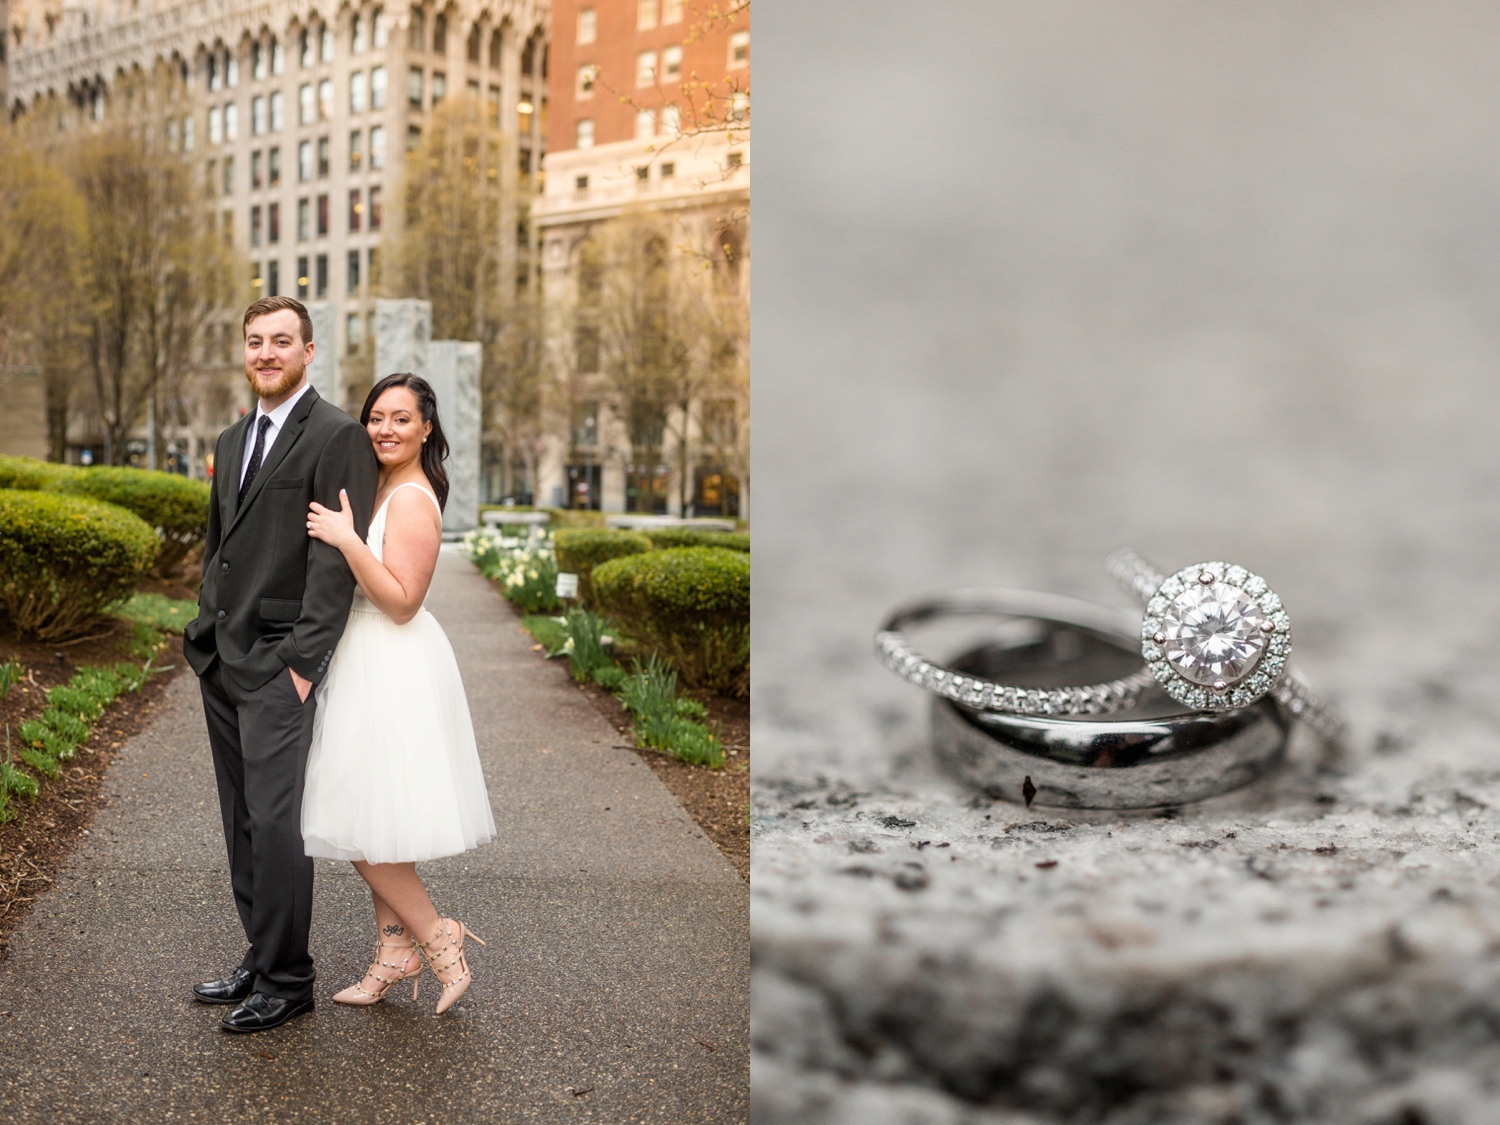
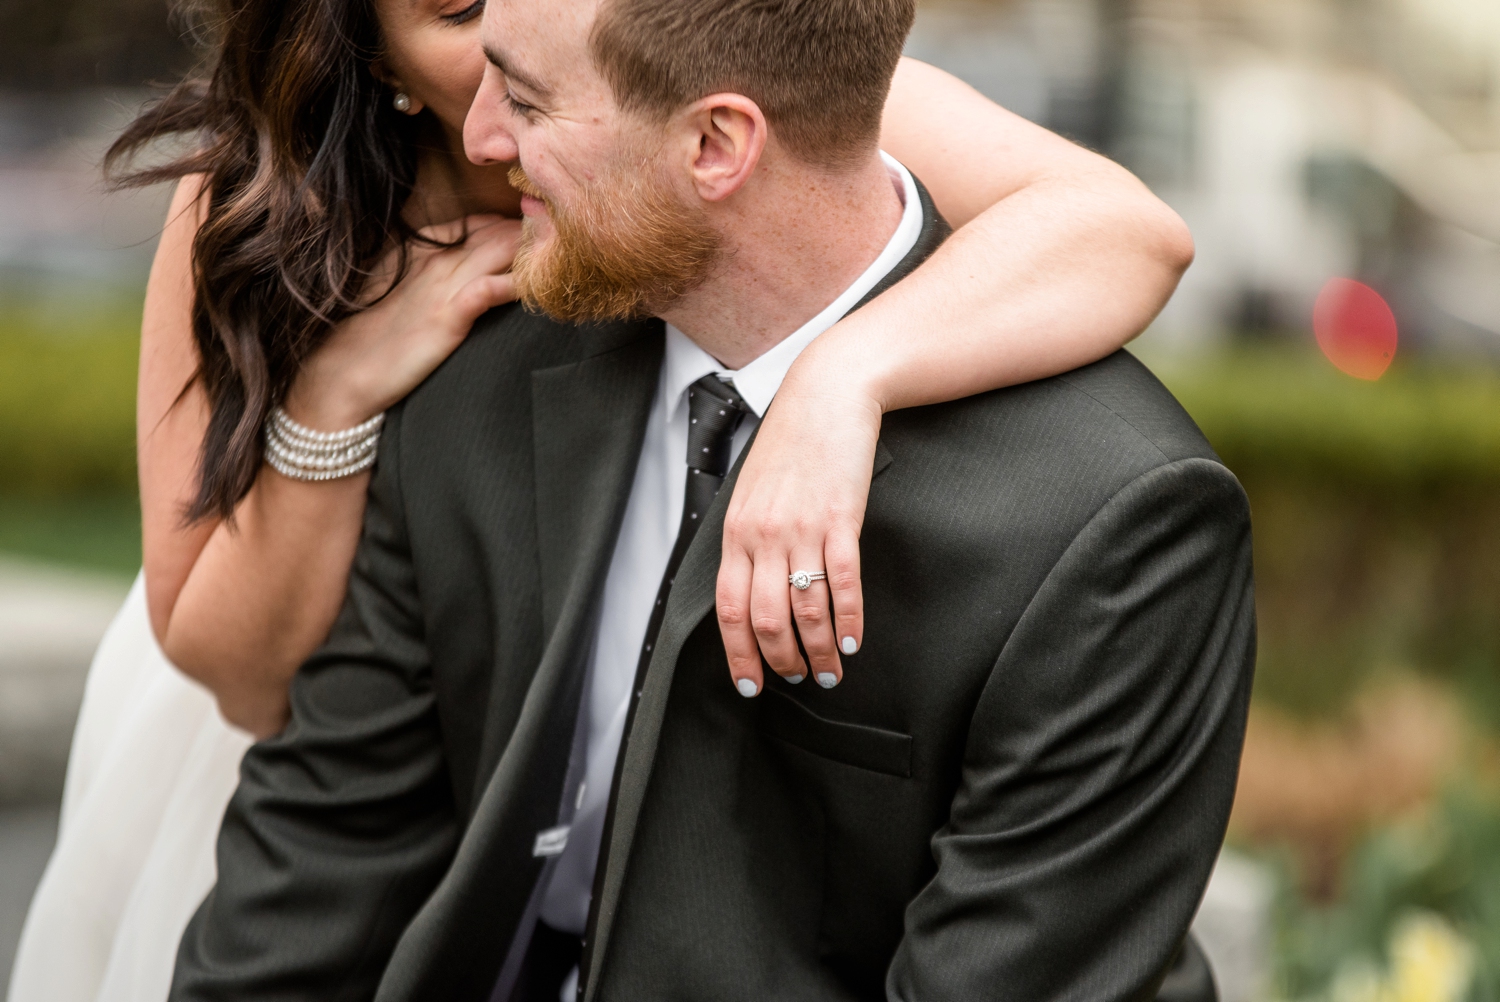
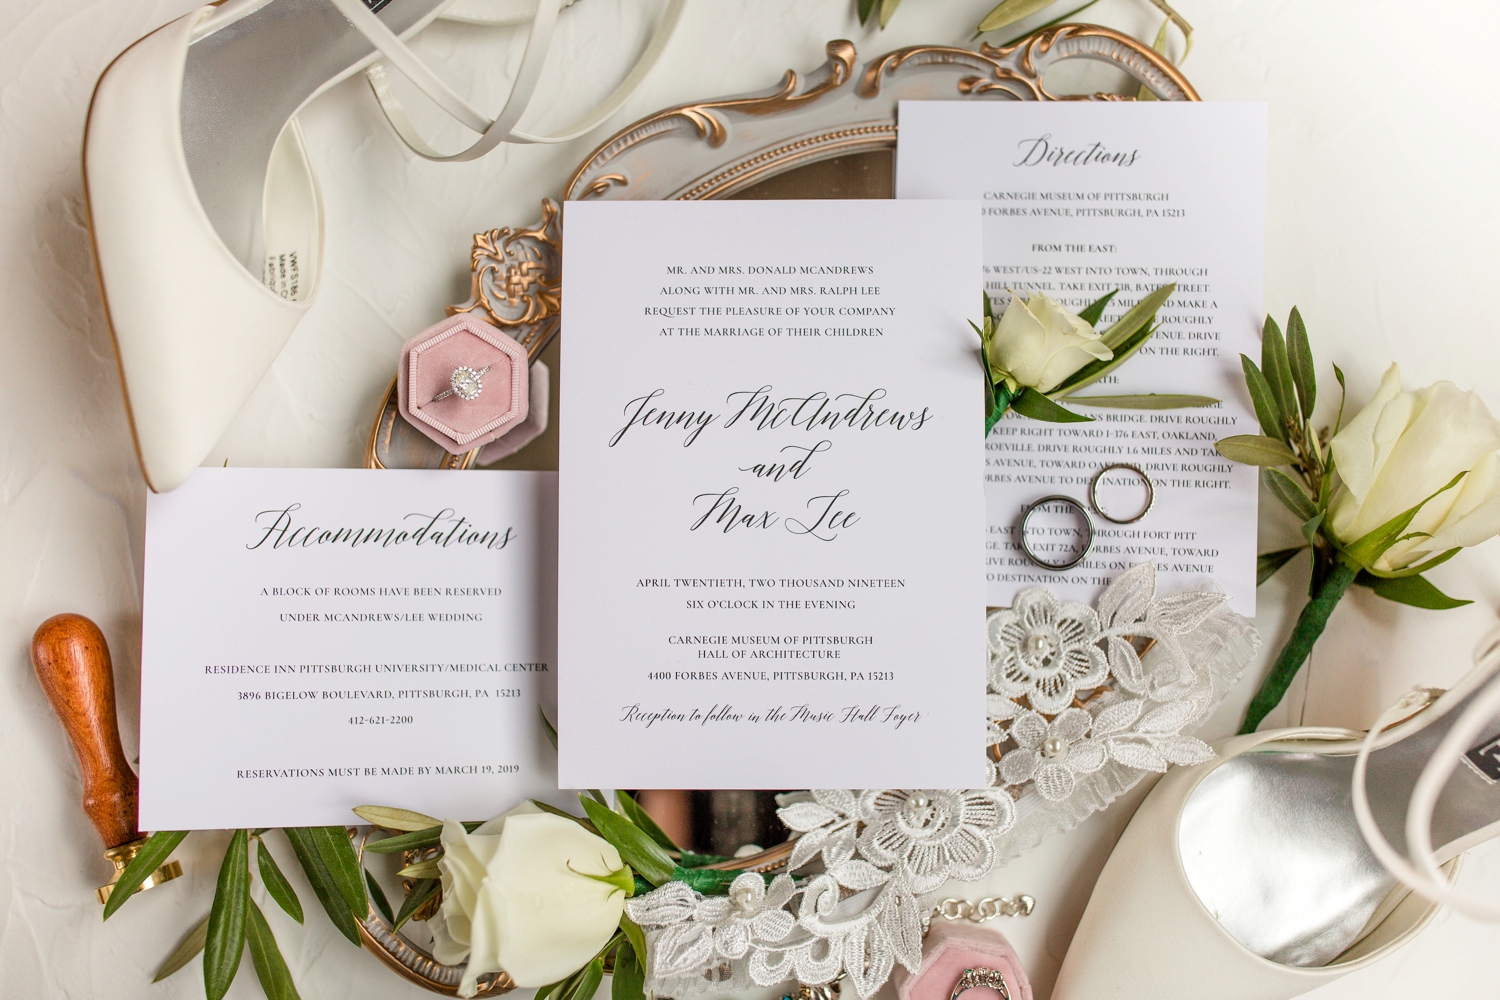
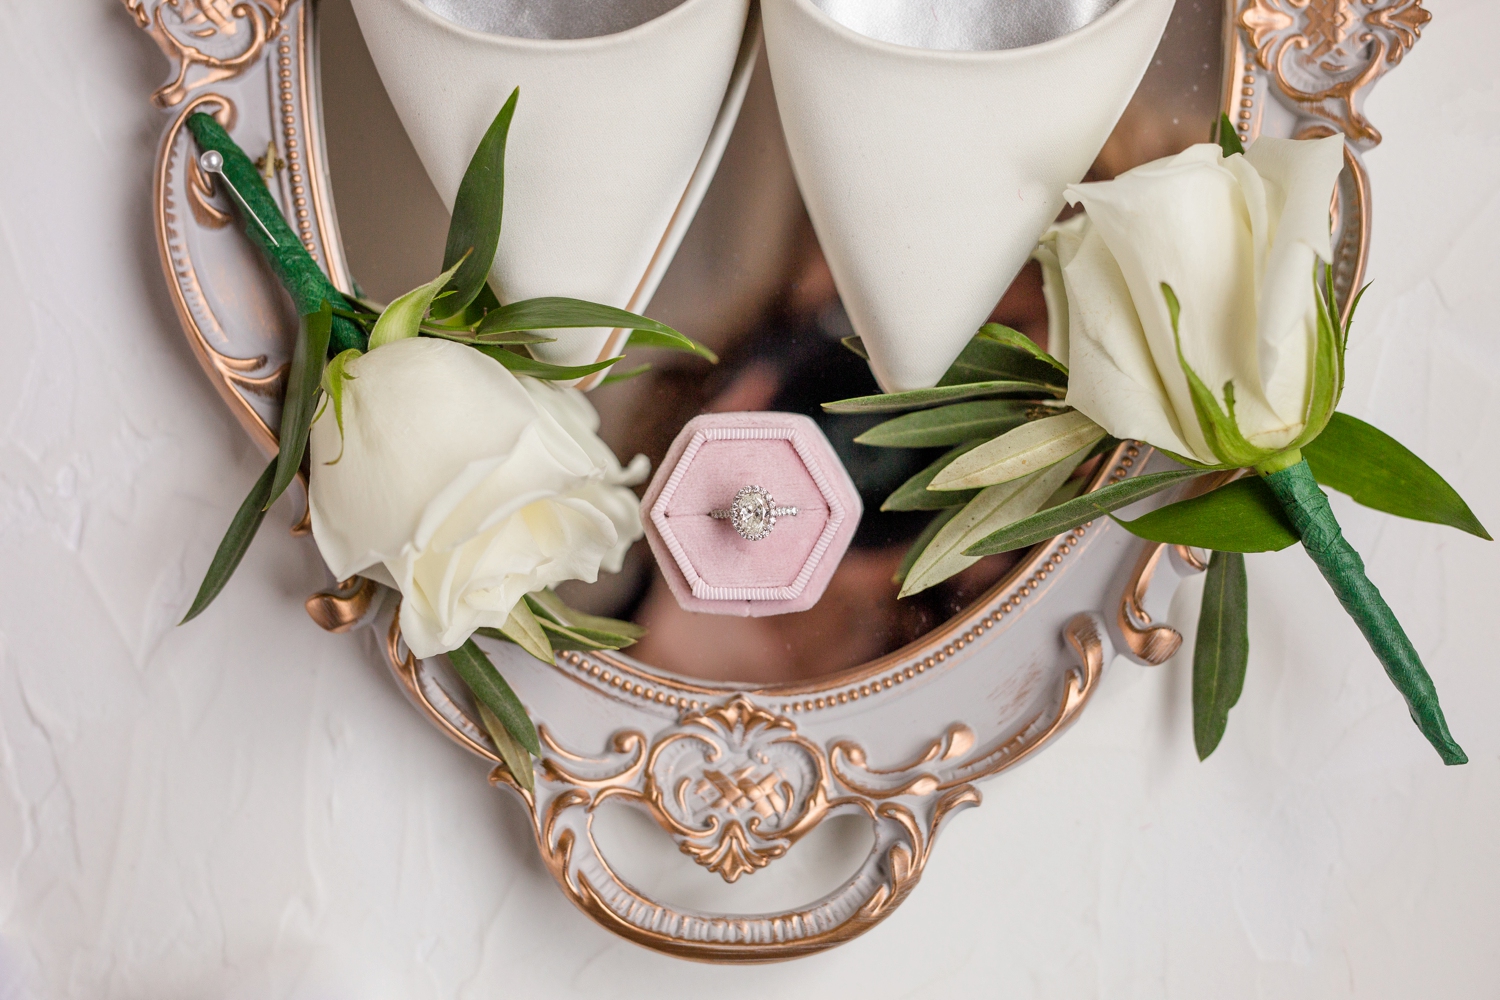
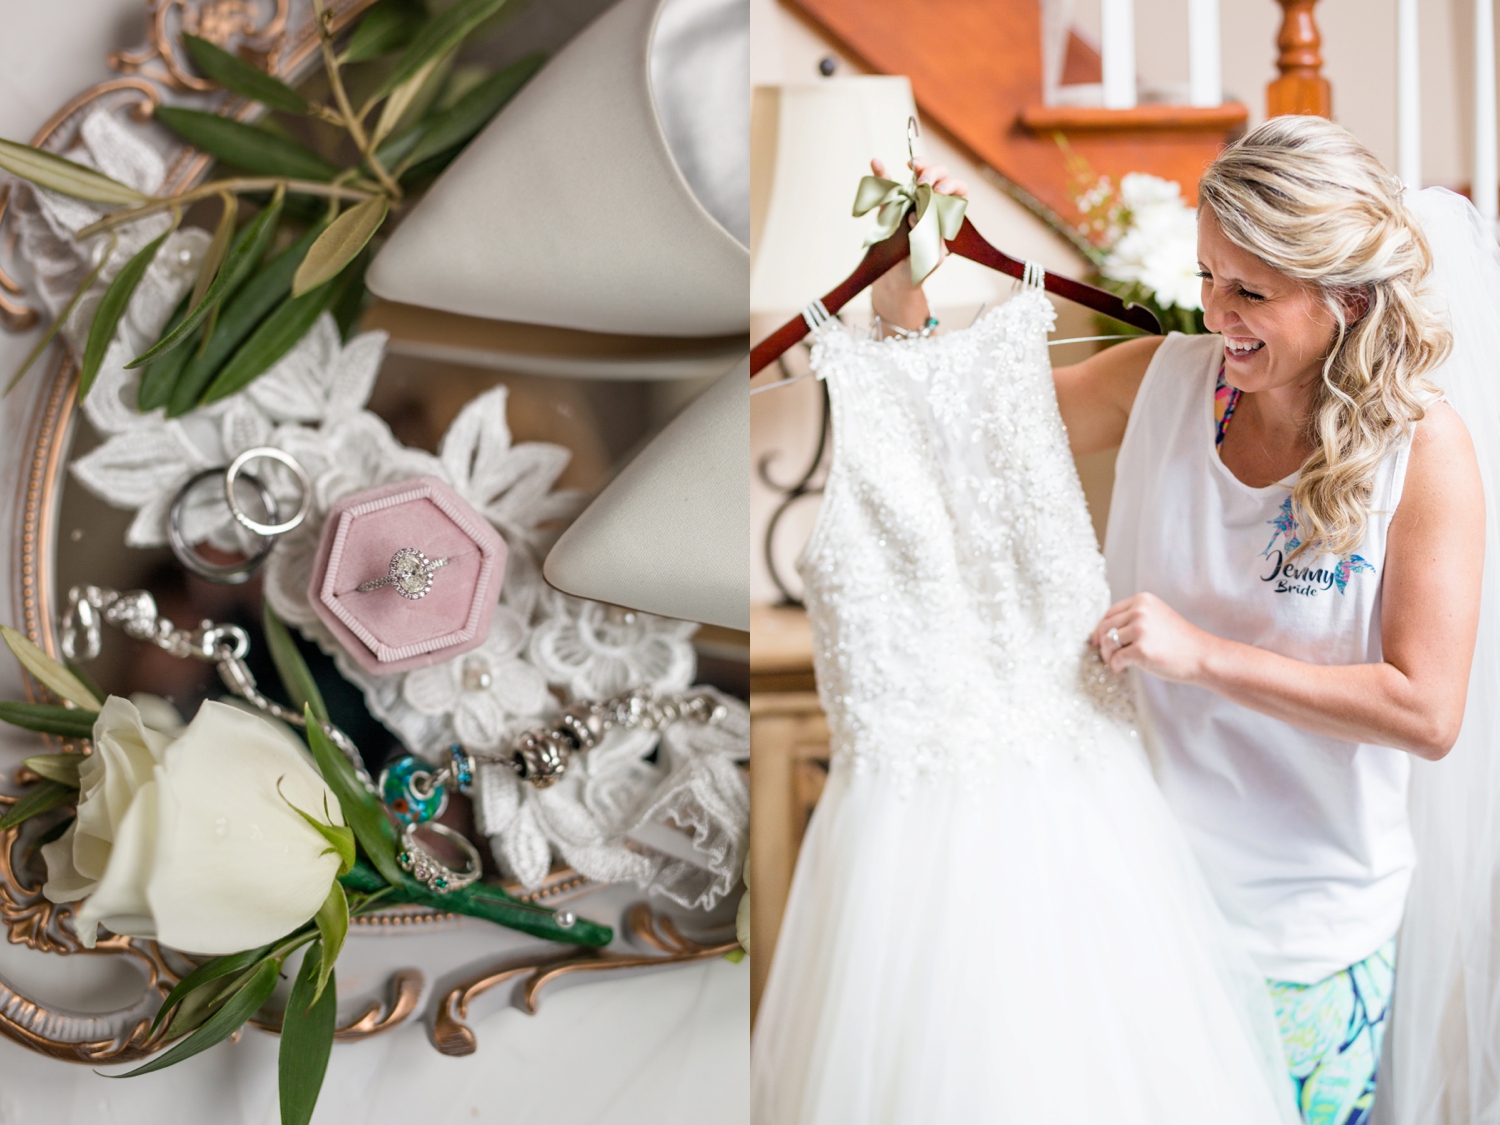
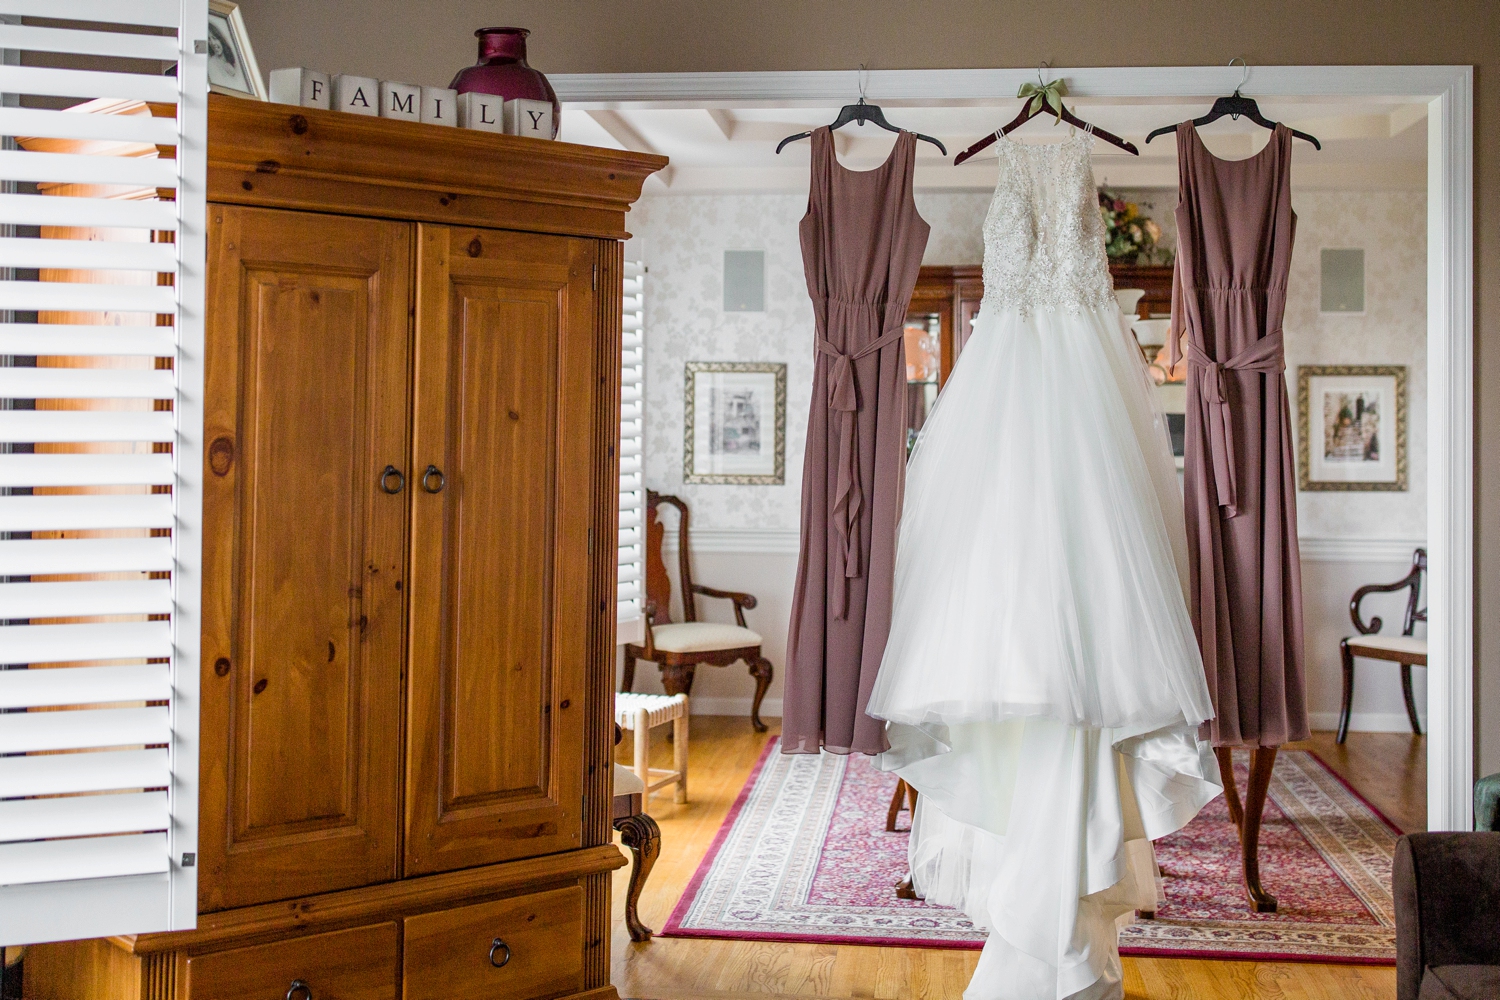
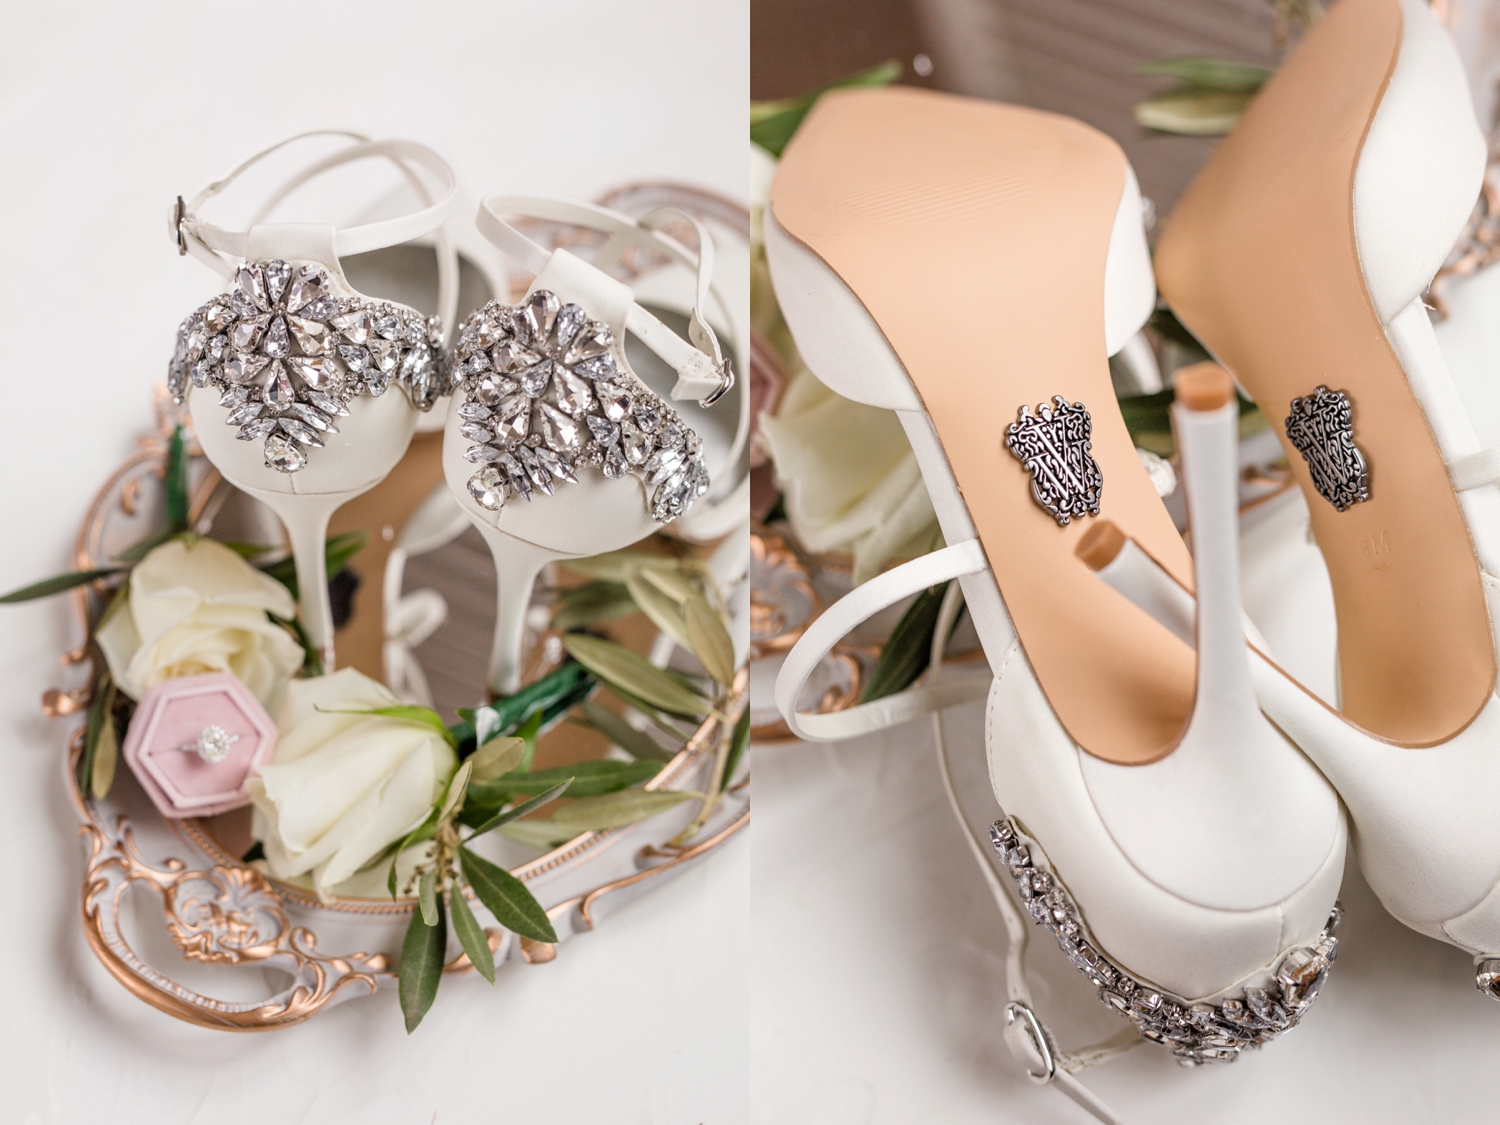
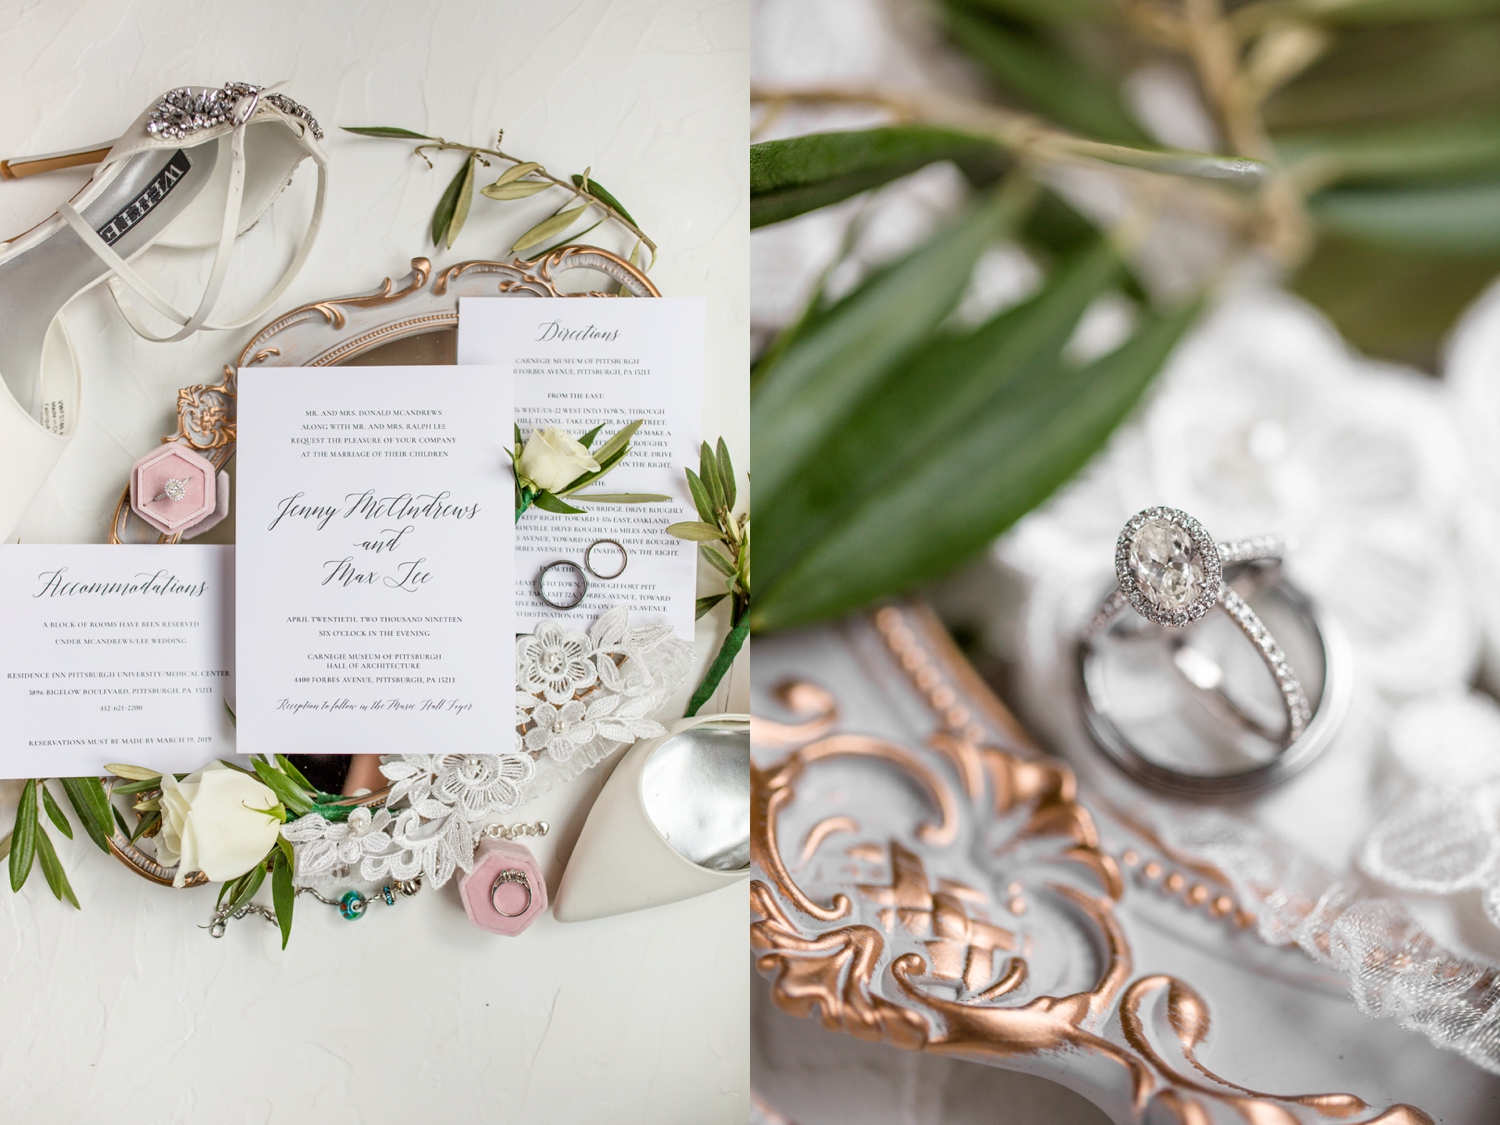
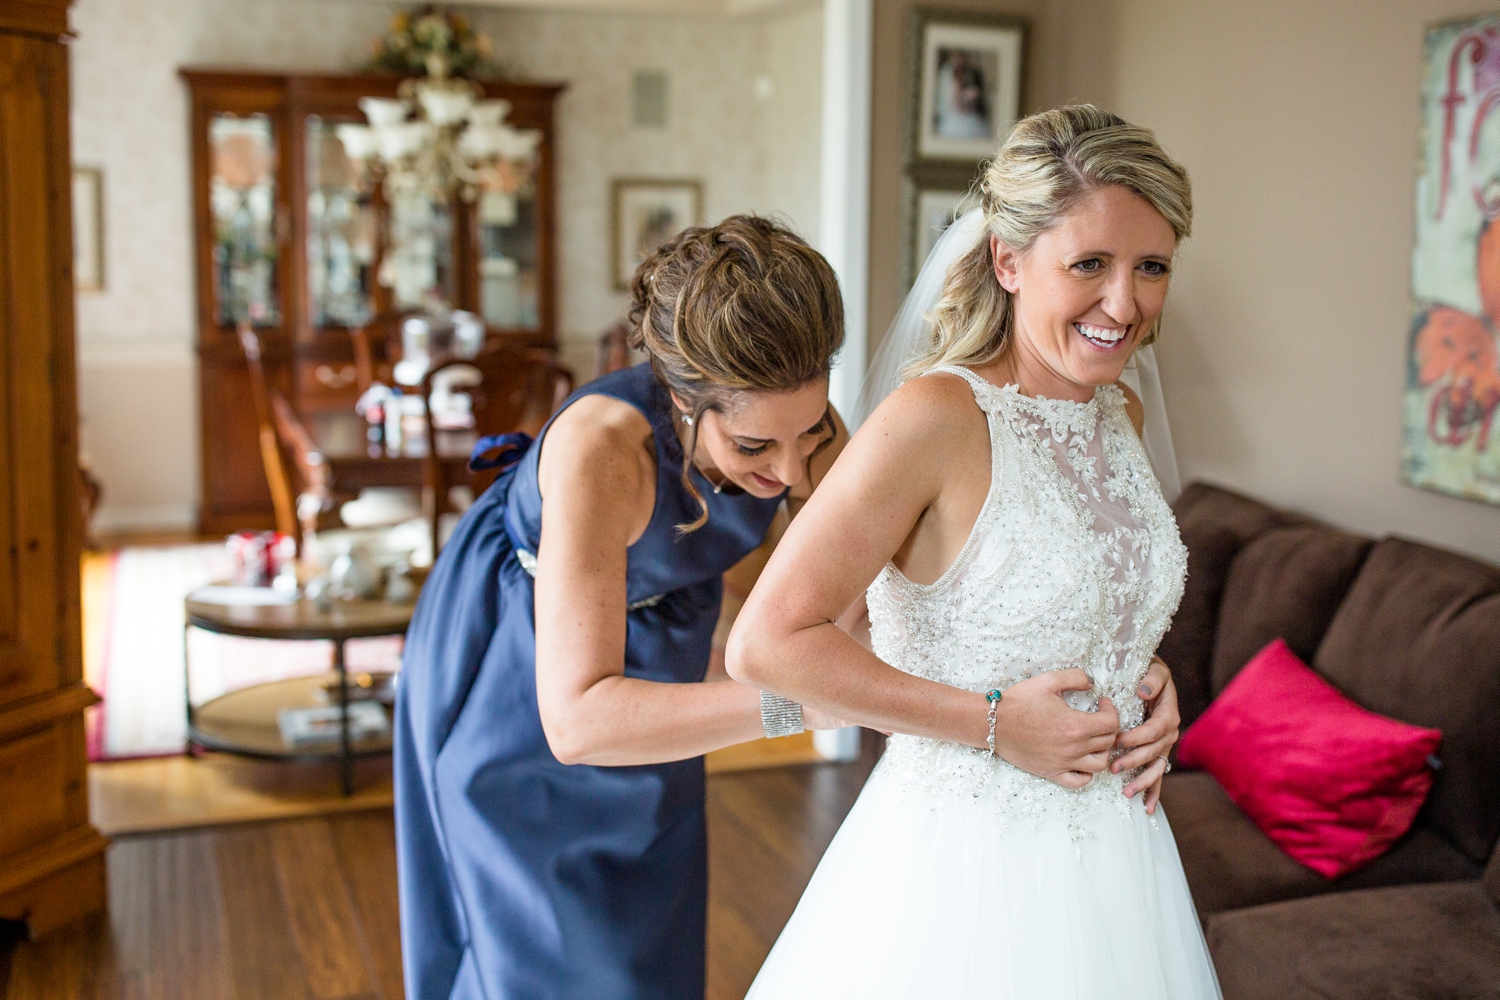
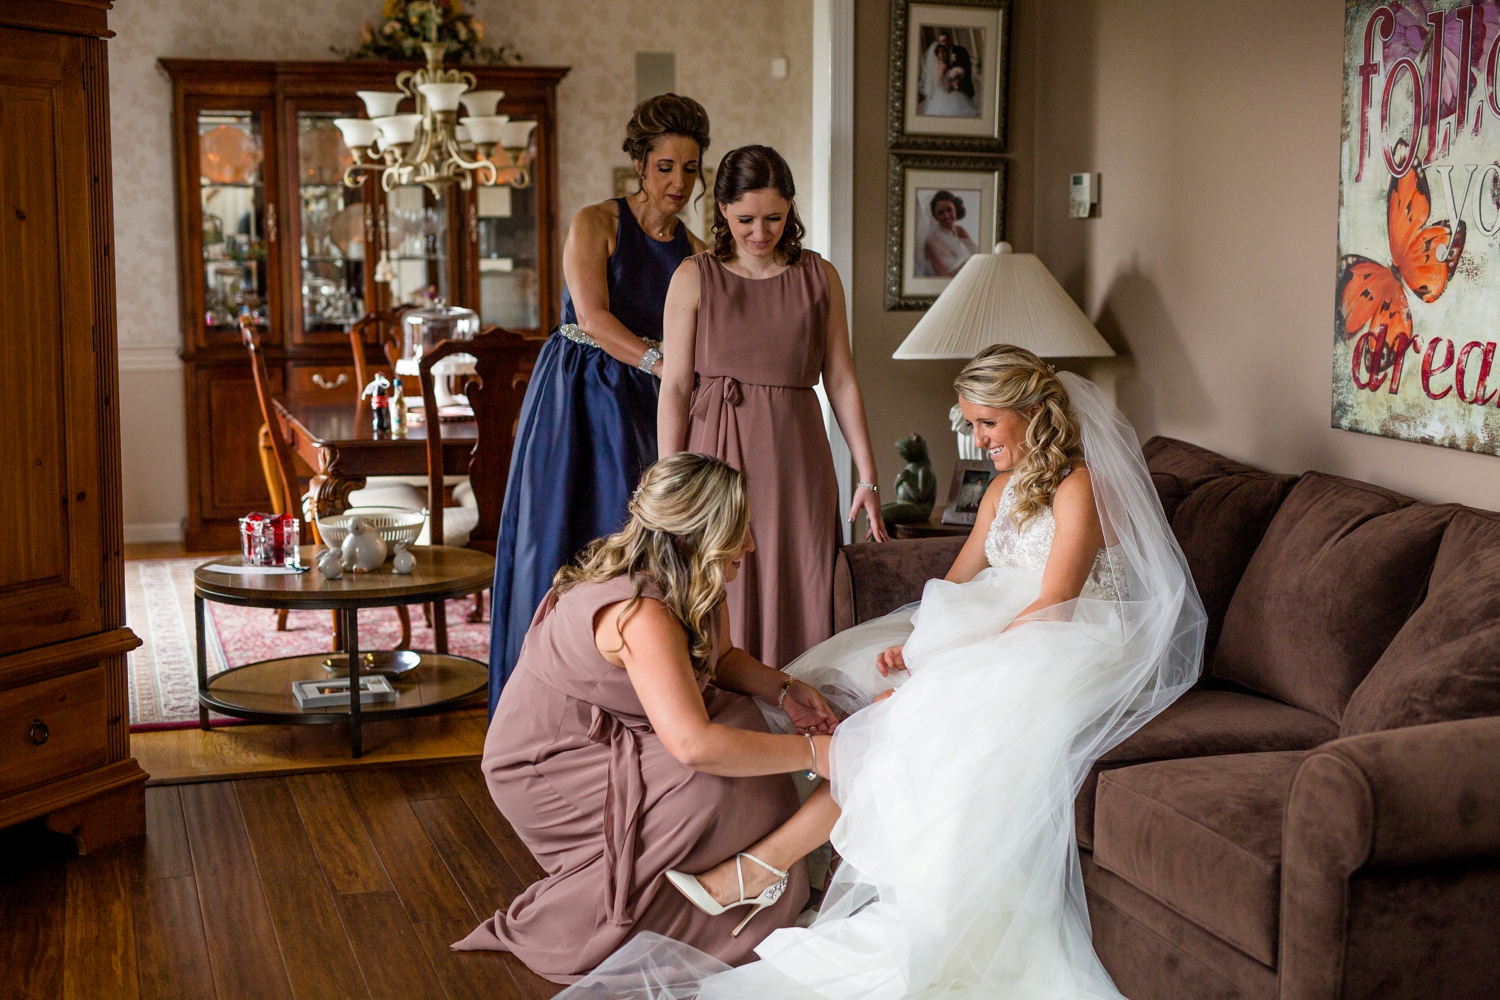
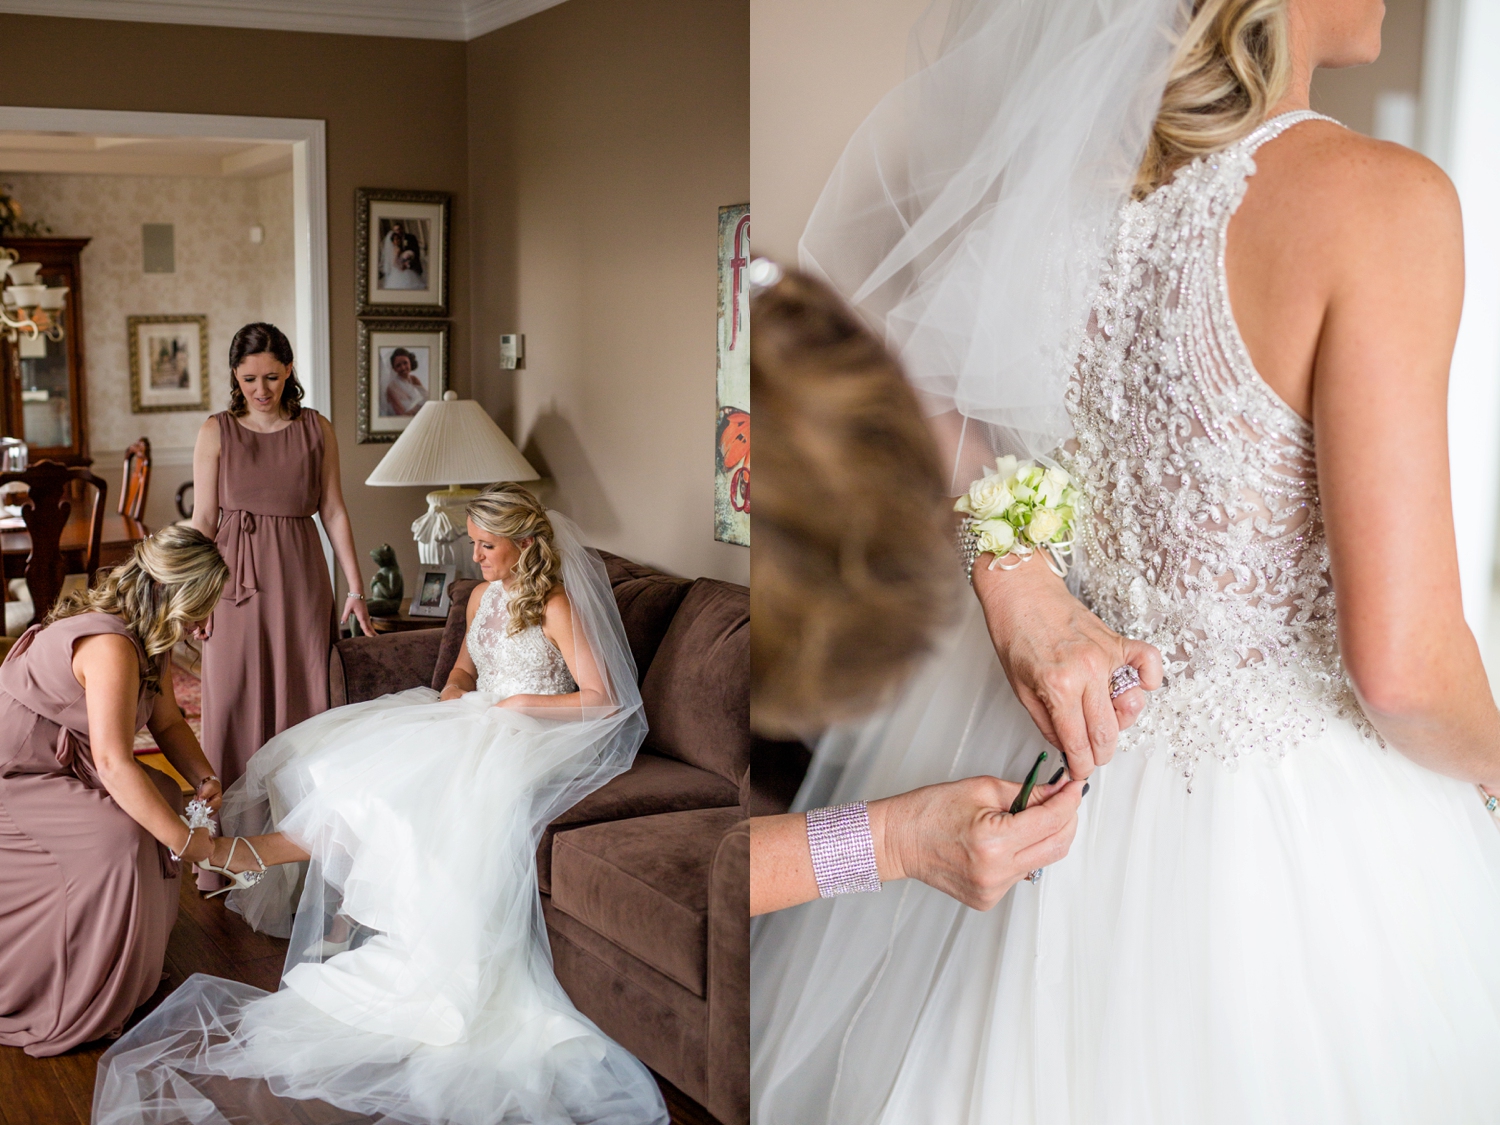
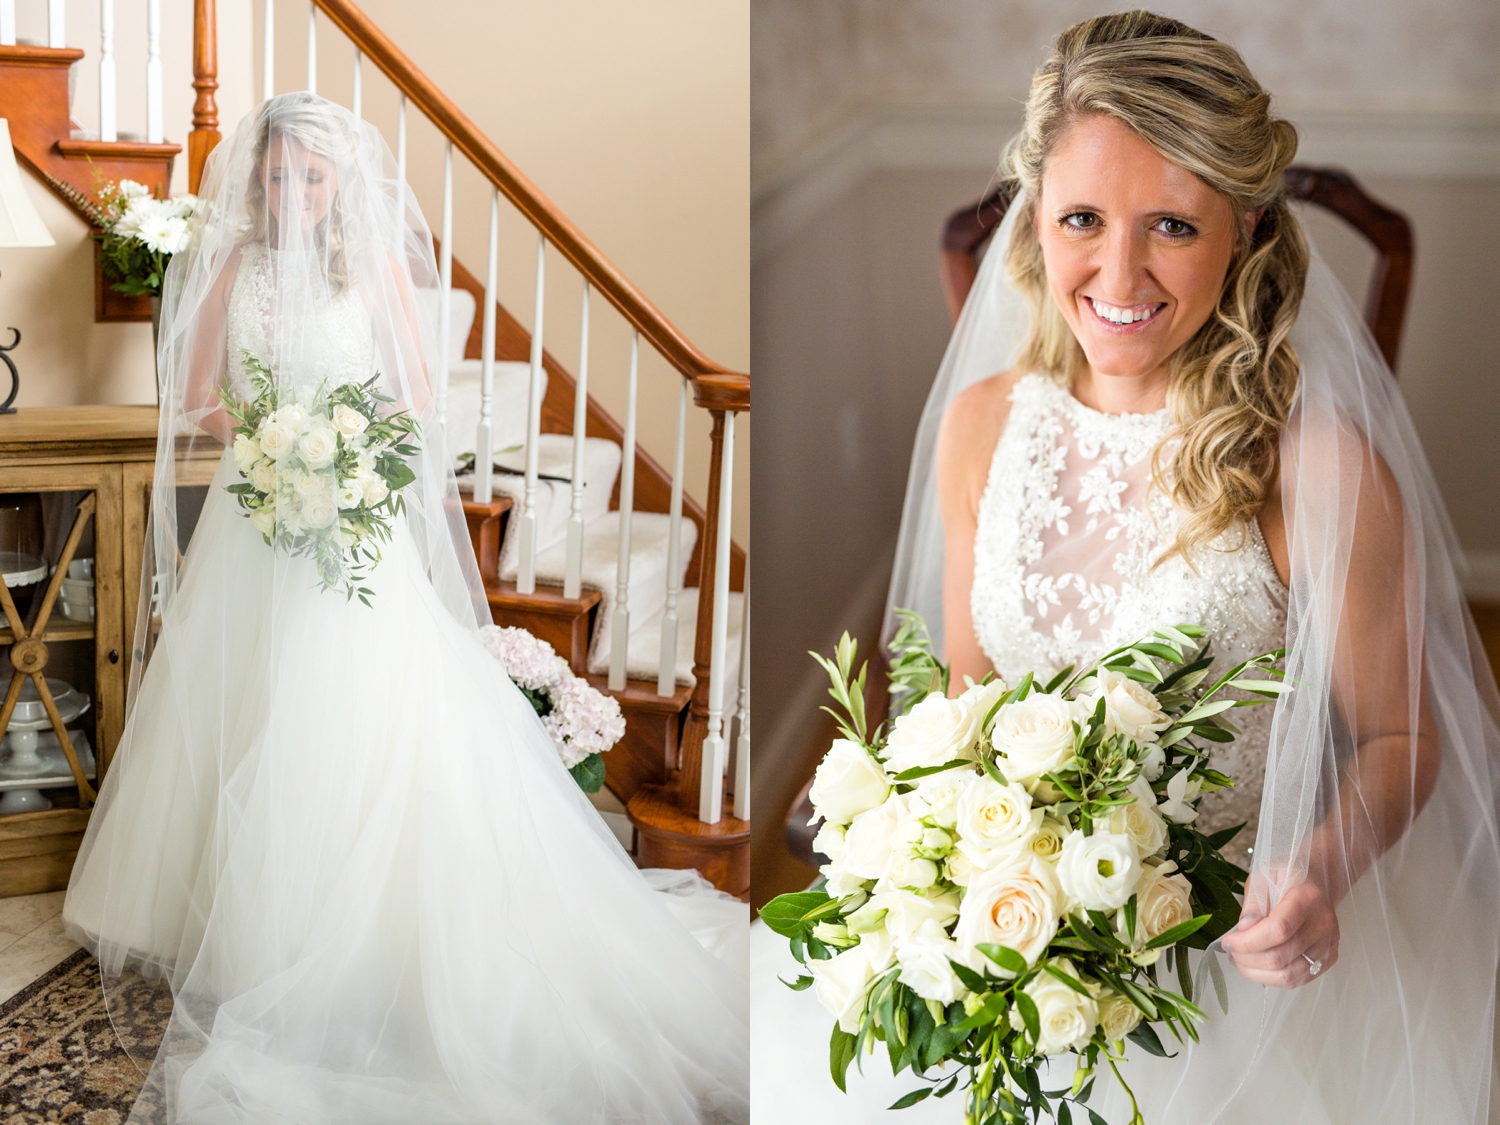
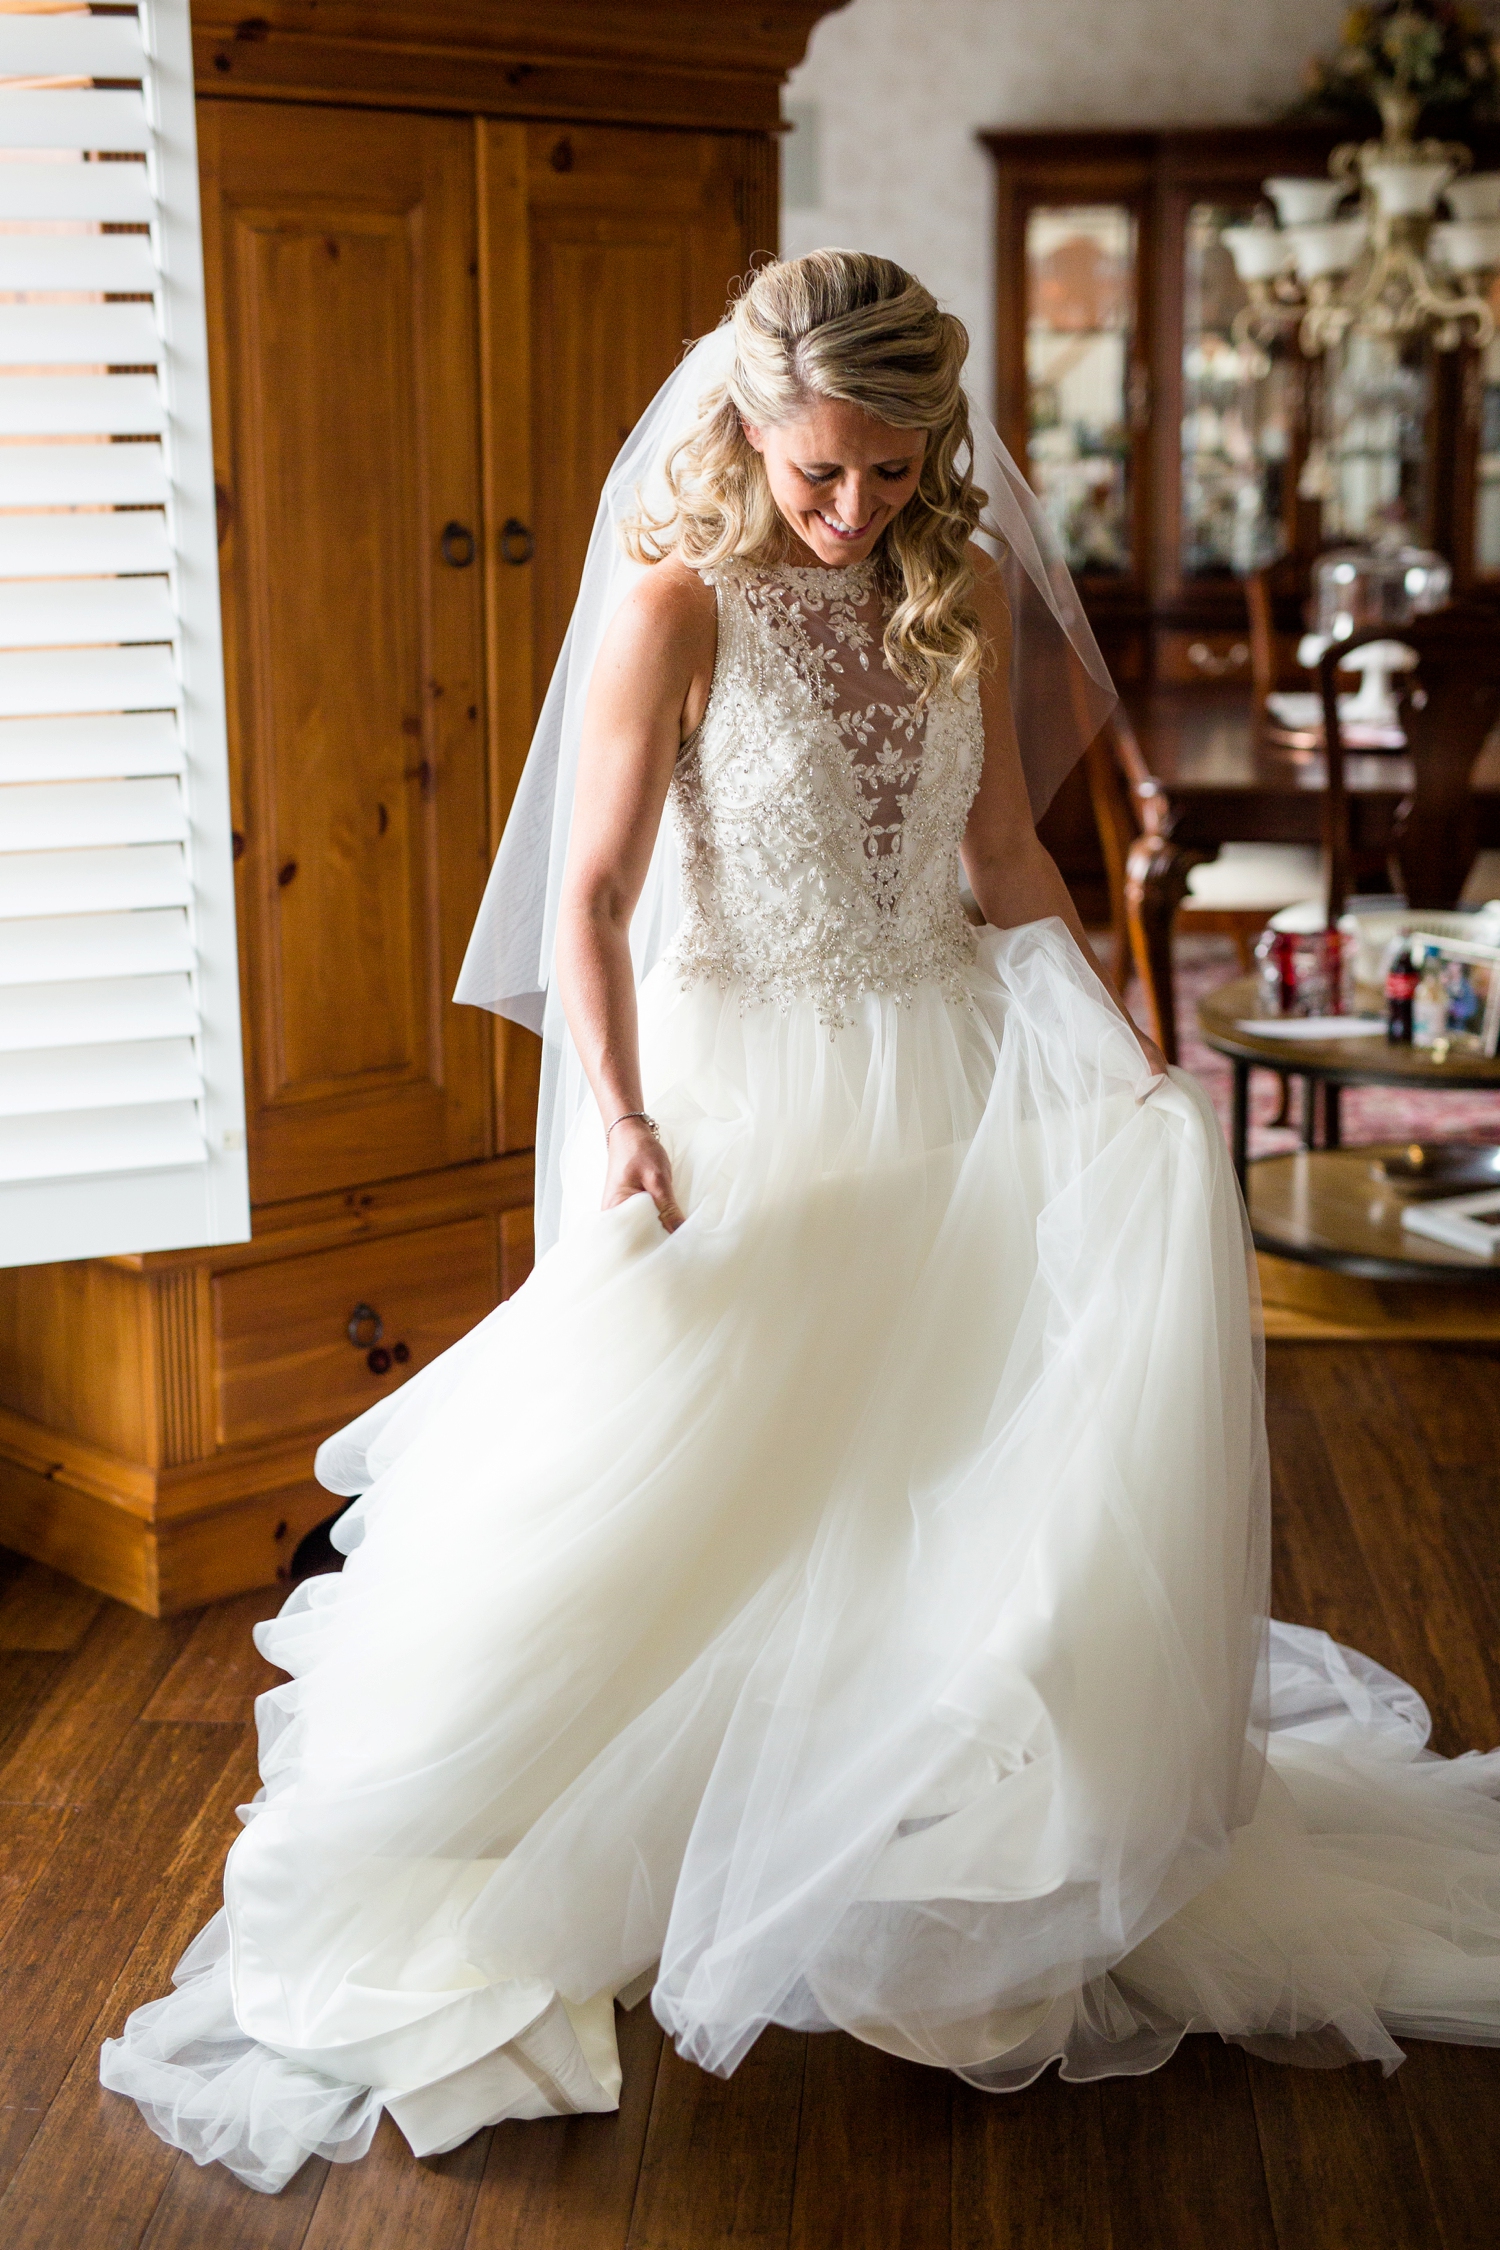
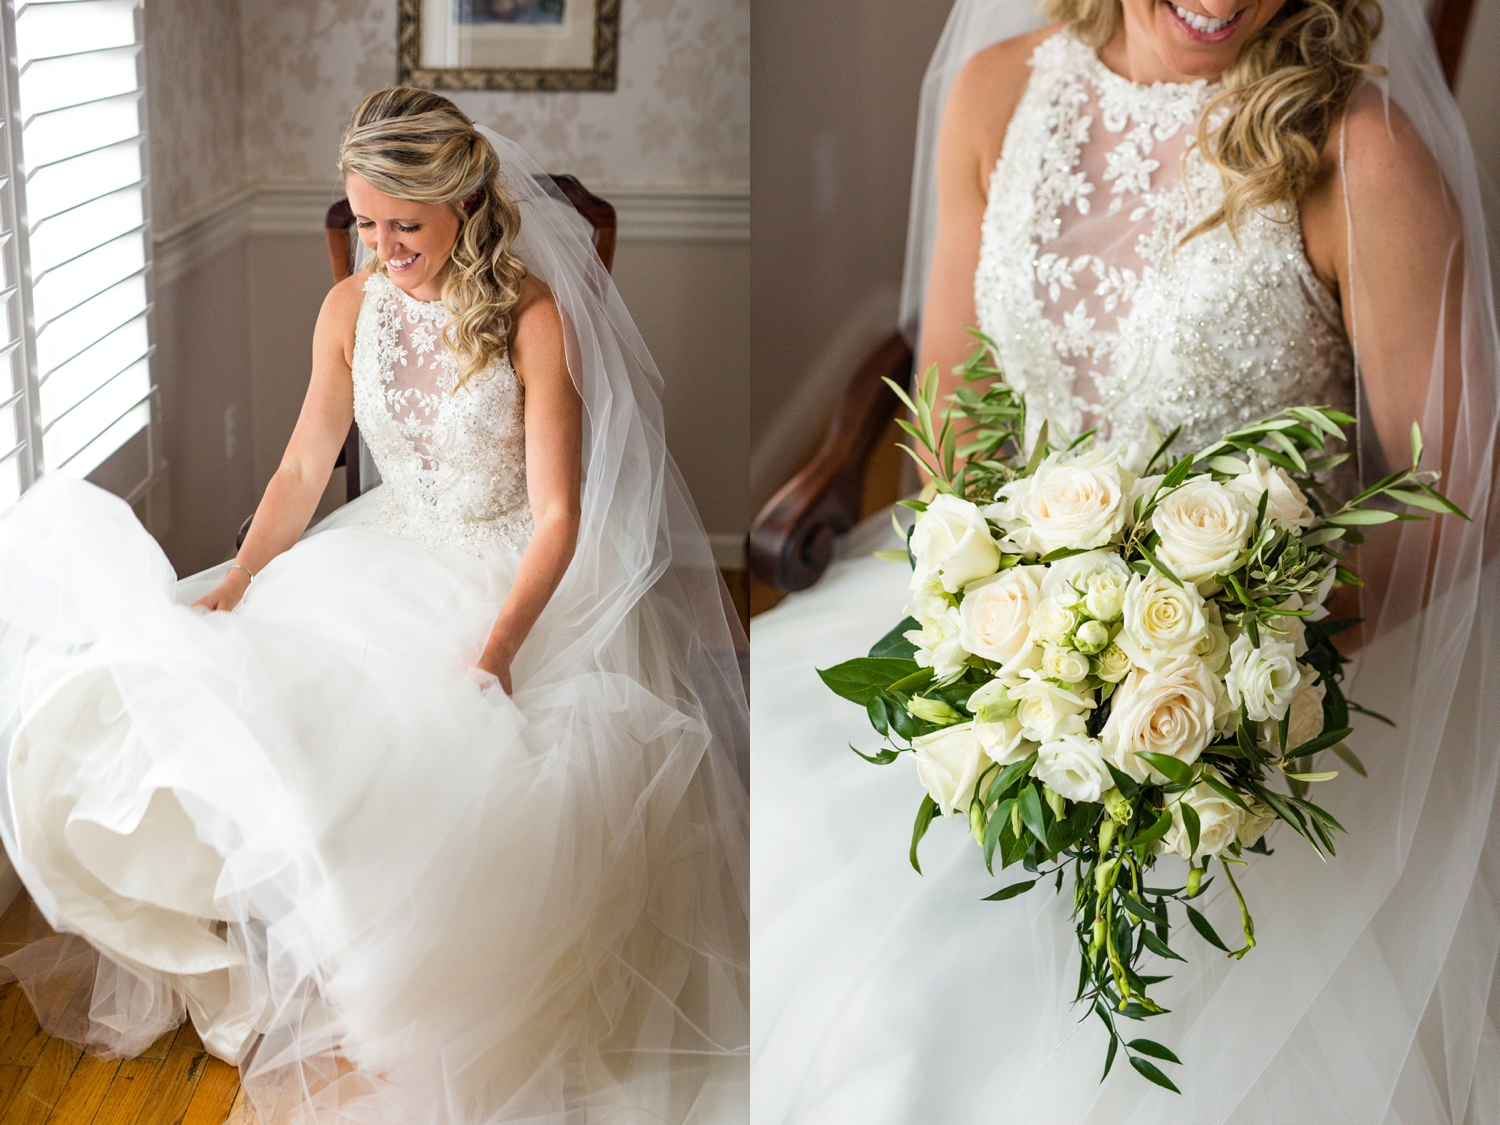
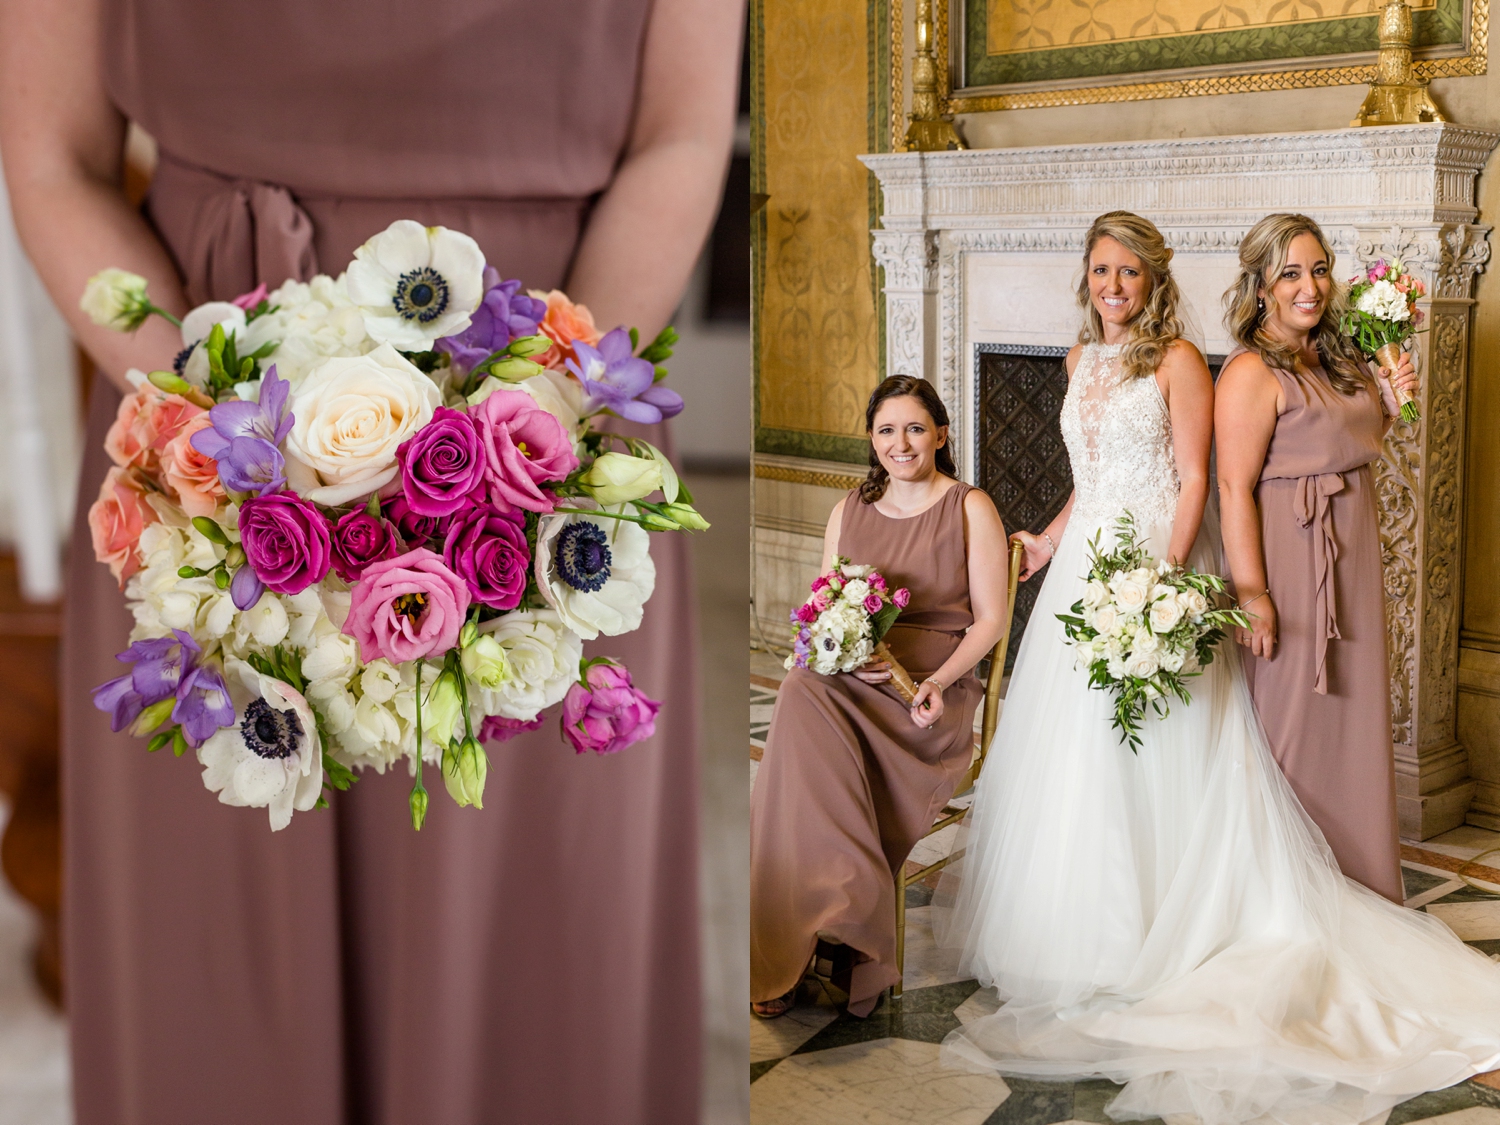
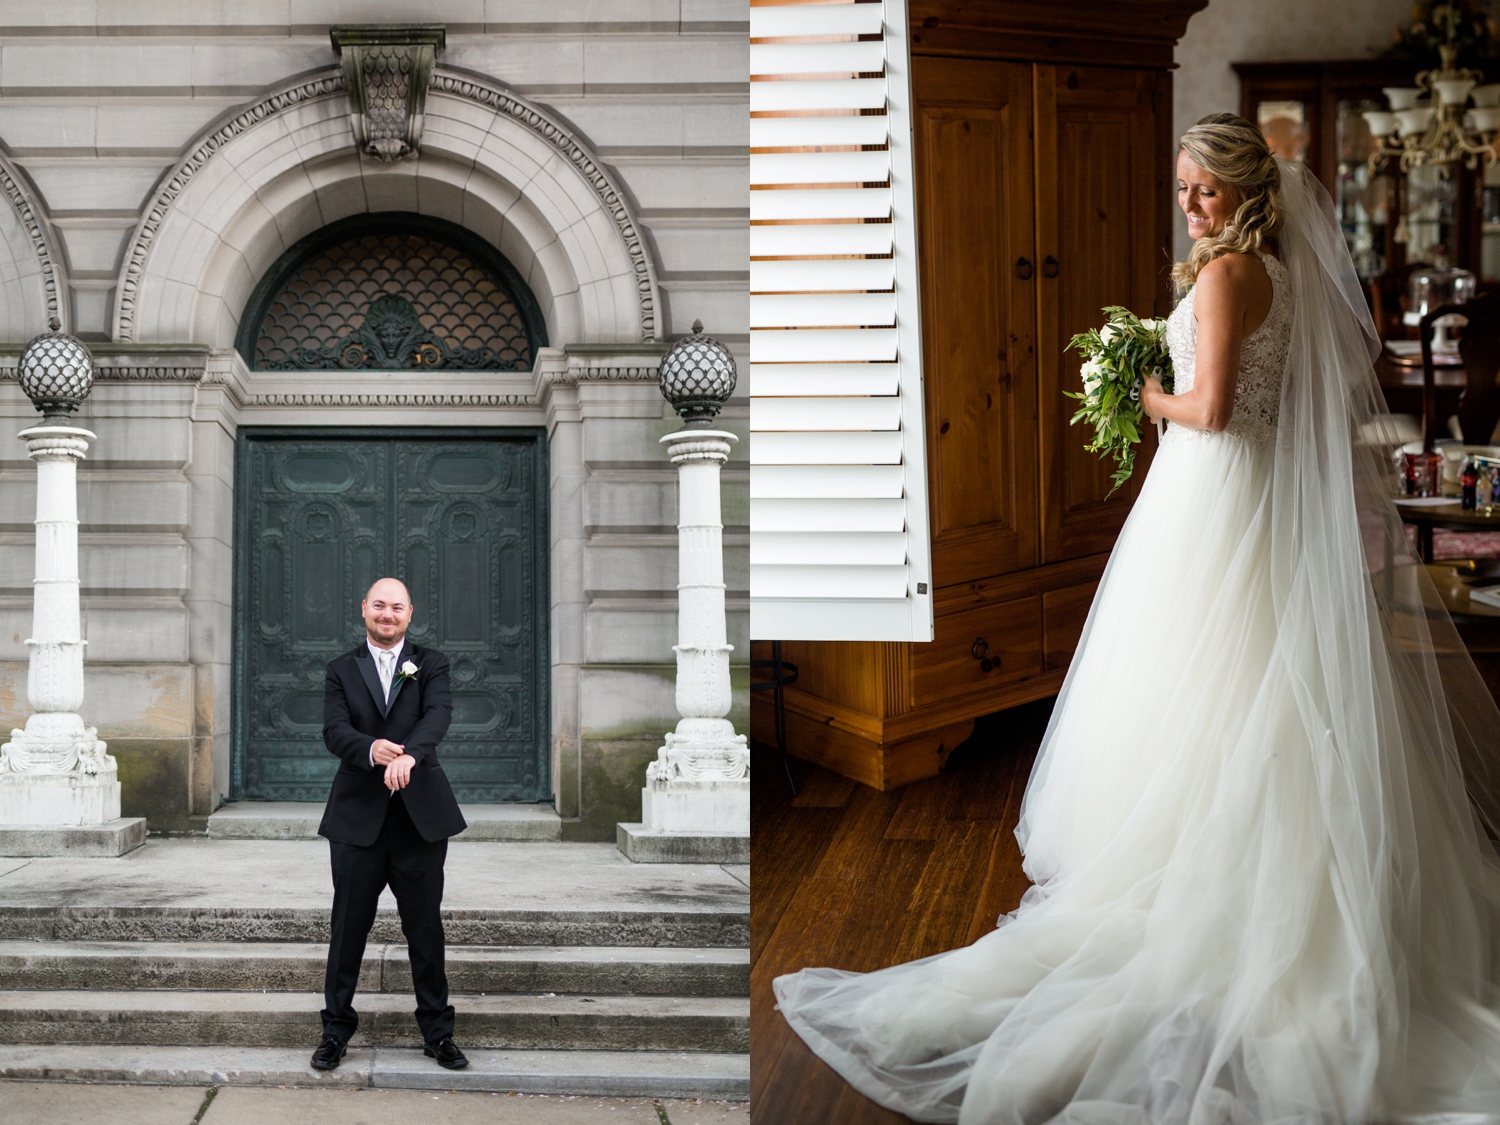
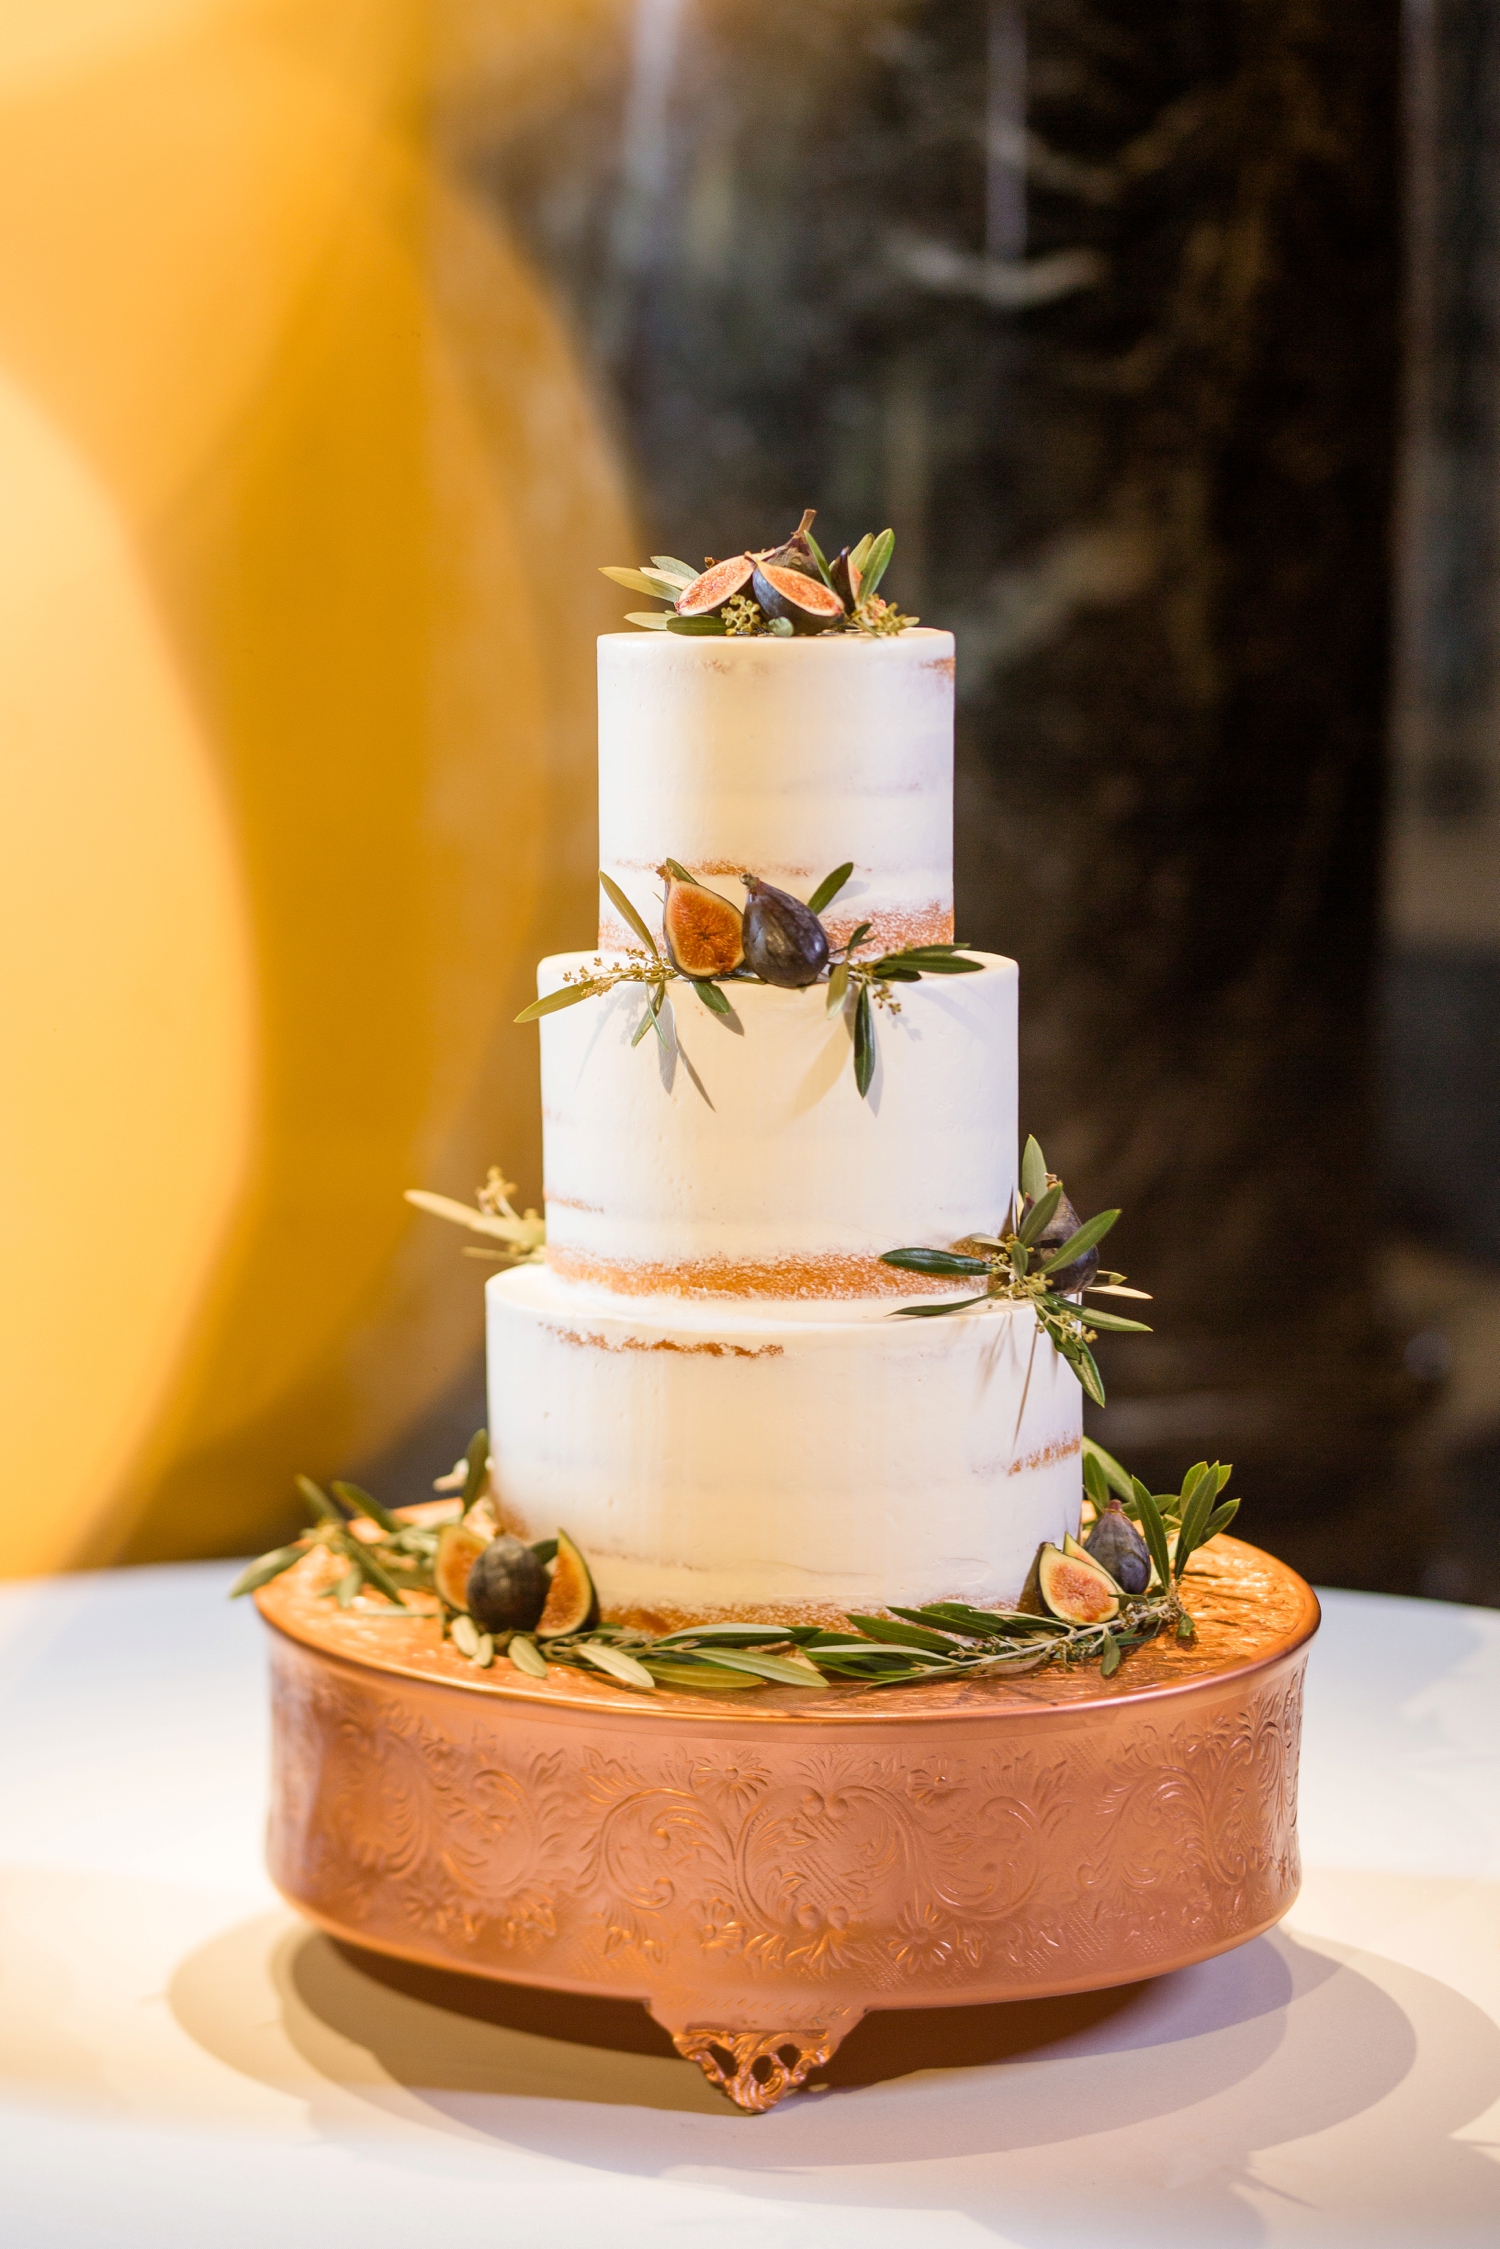
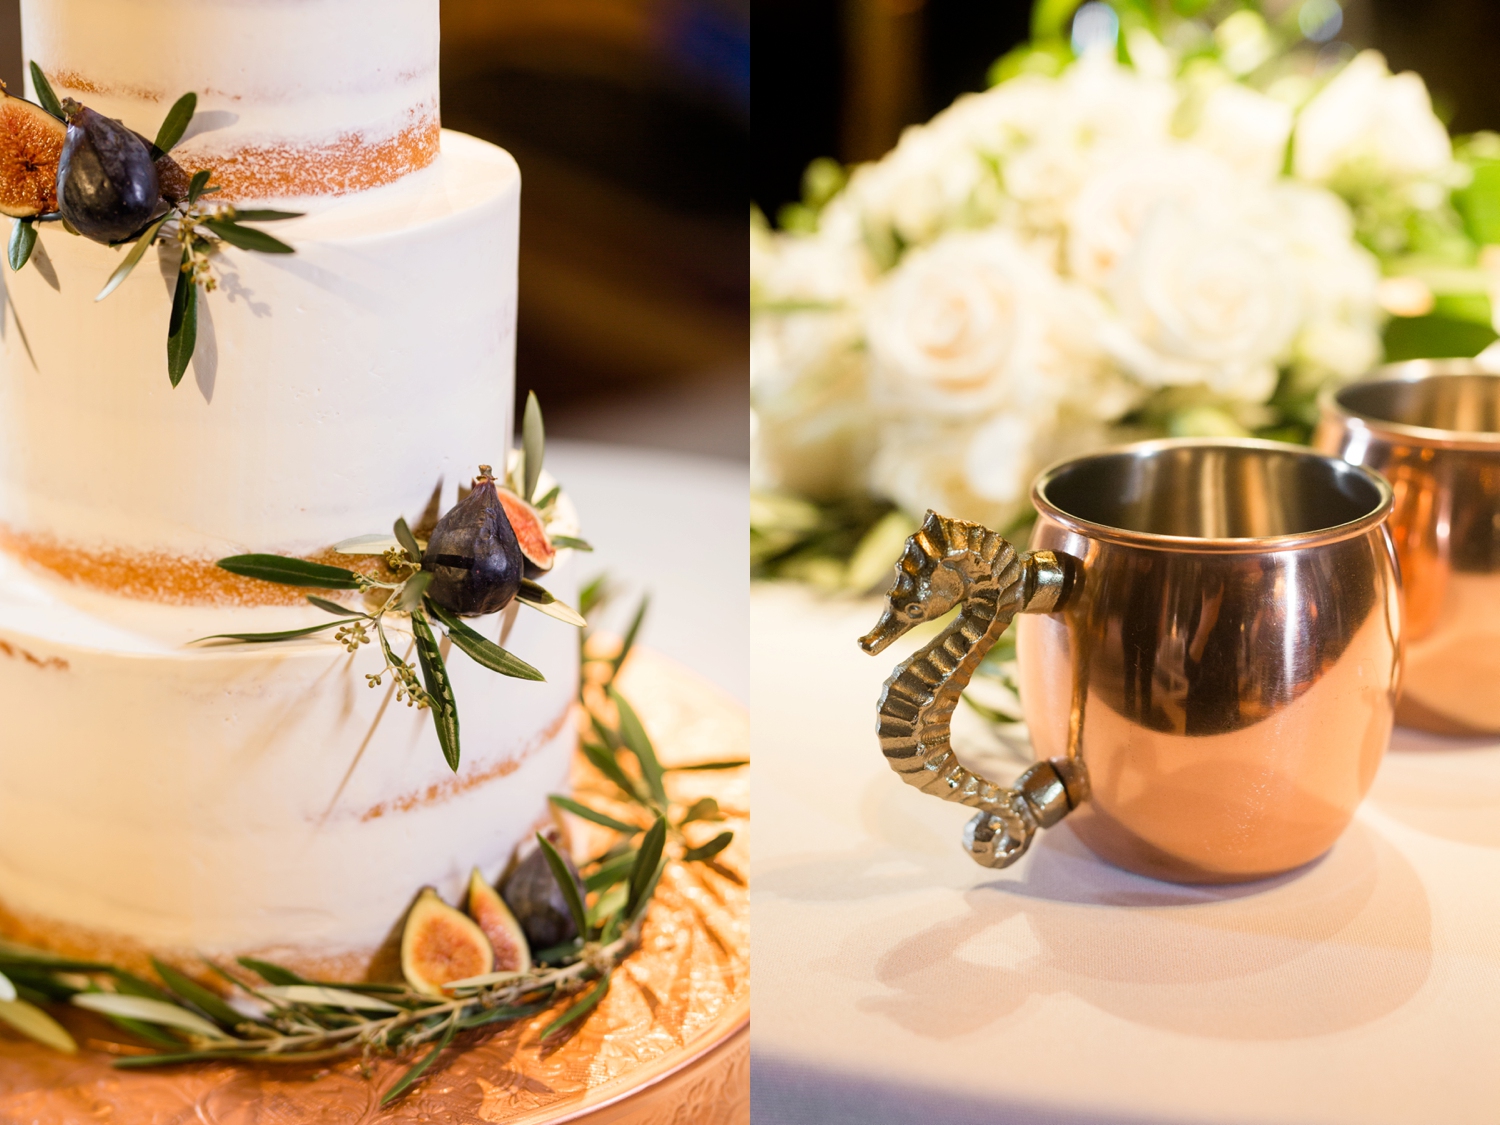
Along with photos with the fish and dinosaur bones, there were a number of other unique and personal details sprinkled throughout their day: the first detail I encountered on their wedding day was an olive branch that Jenny had brought all the way from a tree in their backyard in Florida, which I was able to incorporate into some of her bridal detail photos (there are also olive branches in her bouquet!). Another bridal detail of such sweet significance is the Pandora charm bracelet you’ll see in the images below - each of the three sisters (Jenny, her twin, and their older sister) all have the same charms that represent each of their weddings. Such a sweet and sentimental detail!

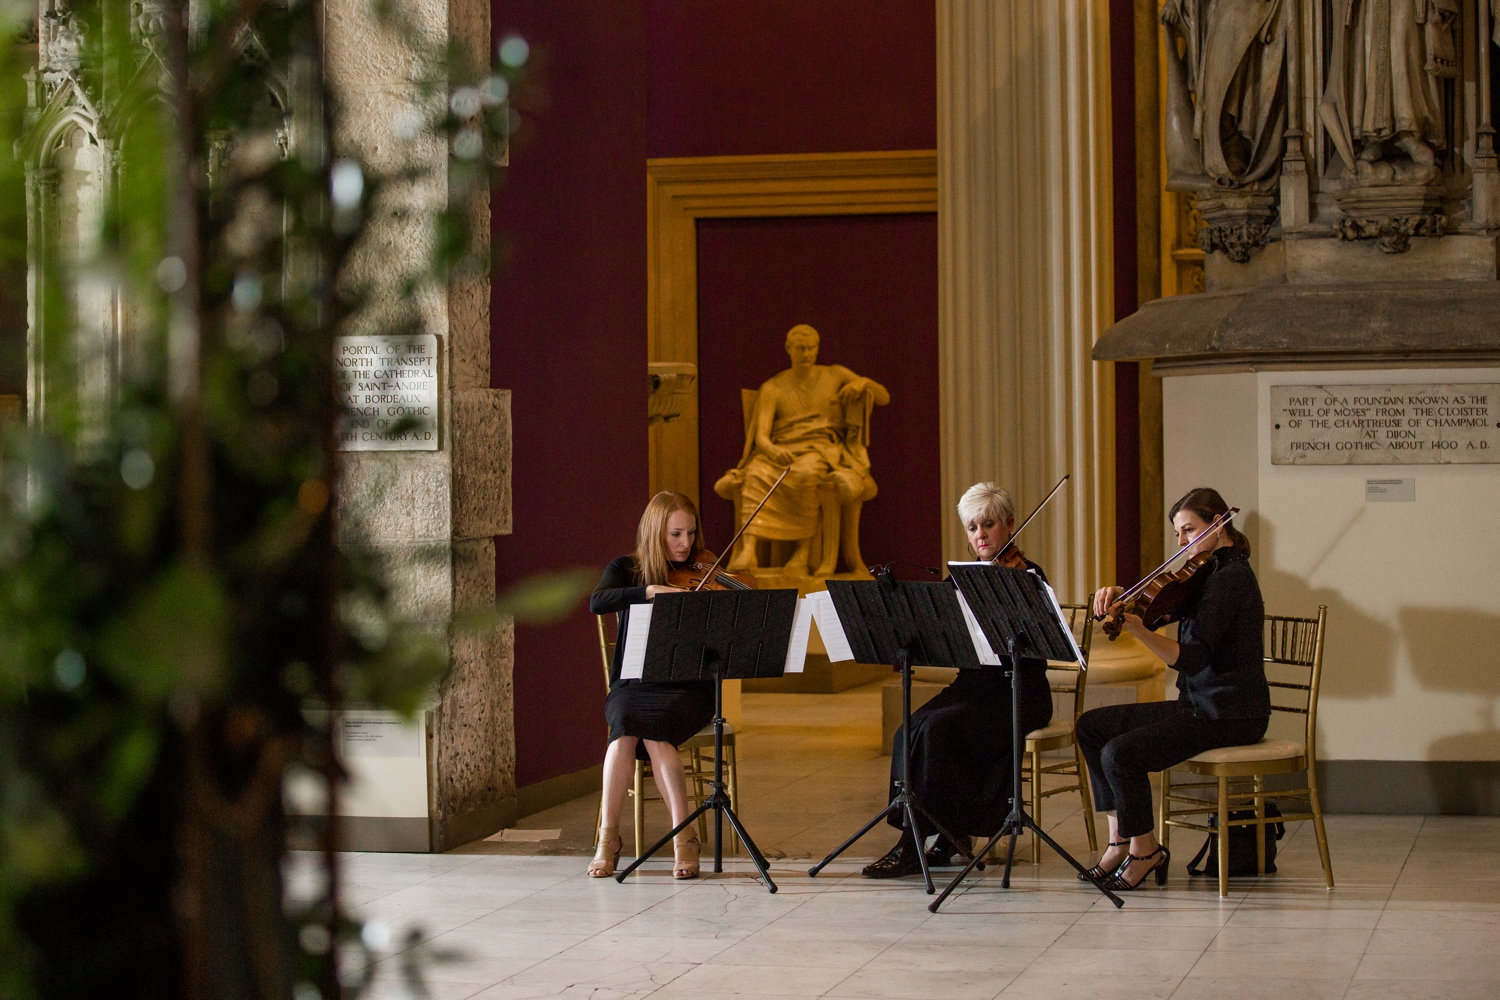
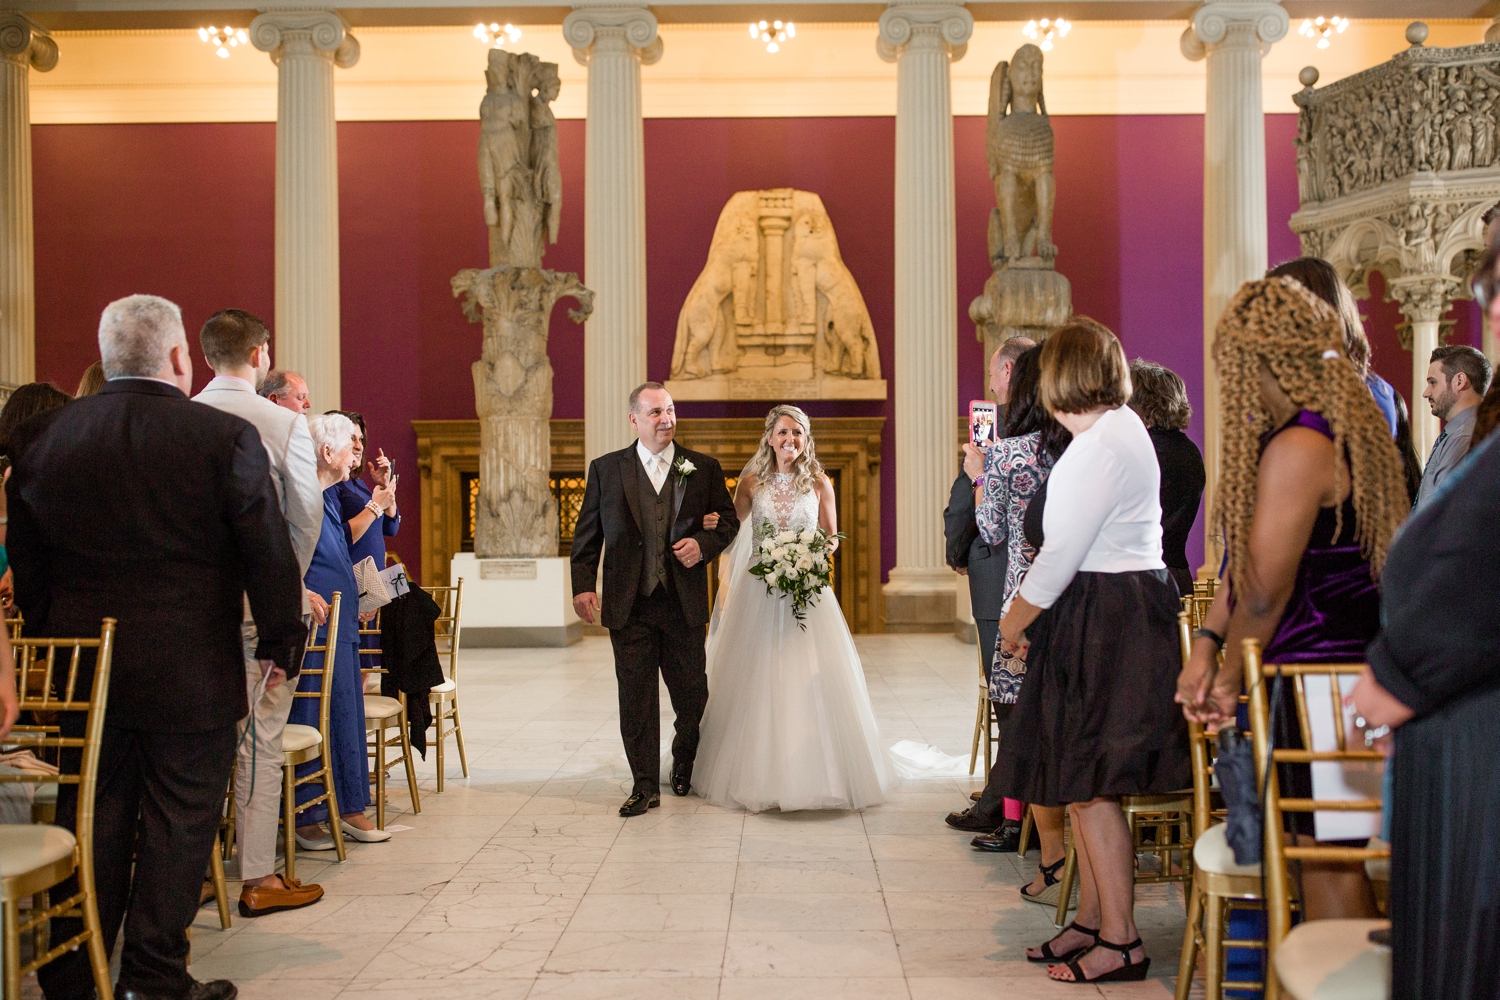
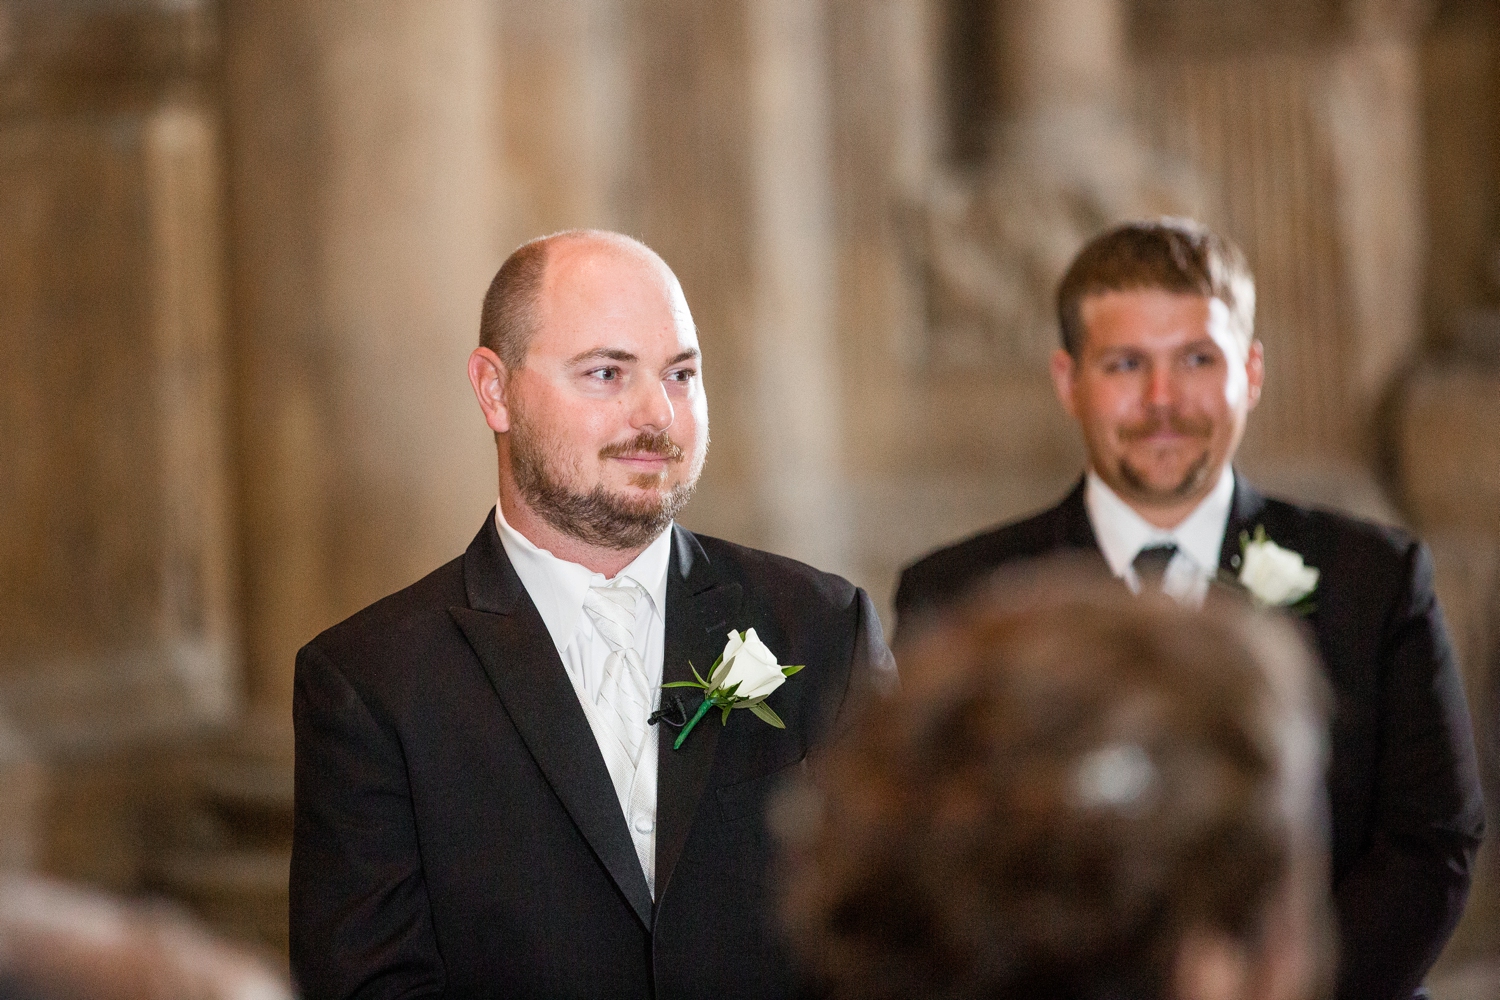
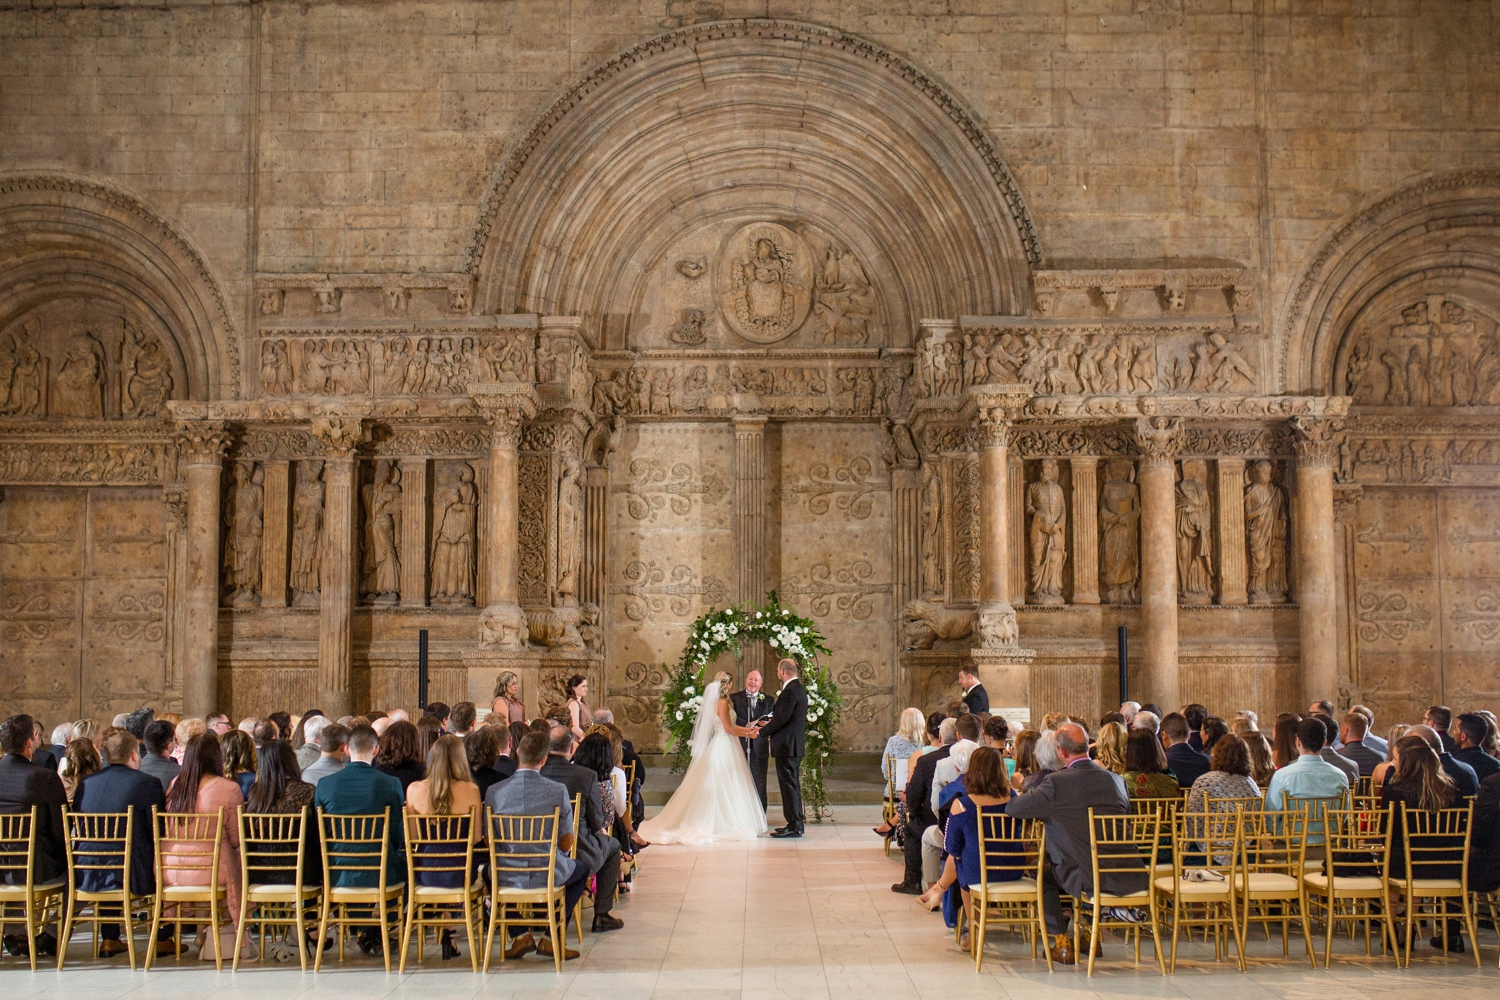
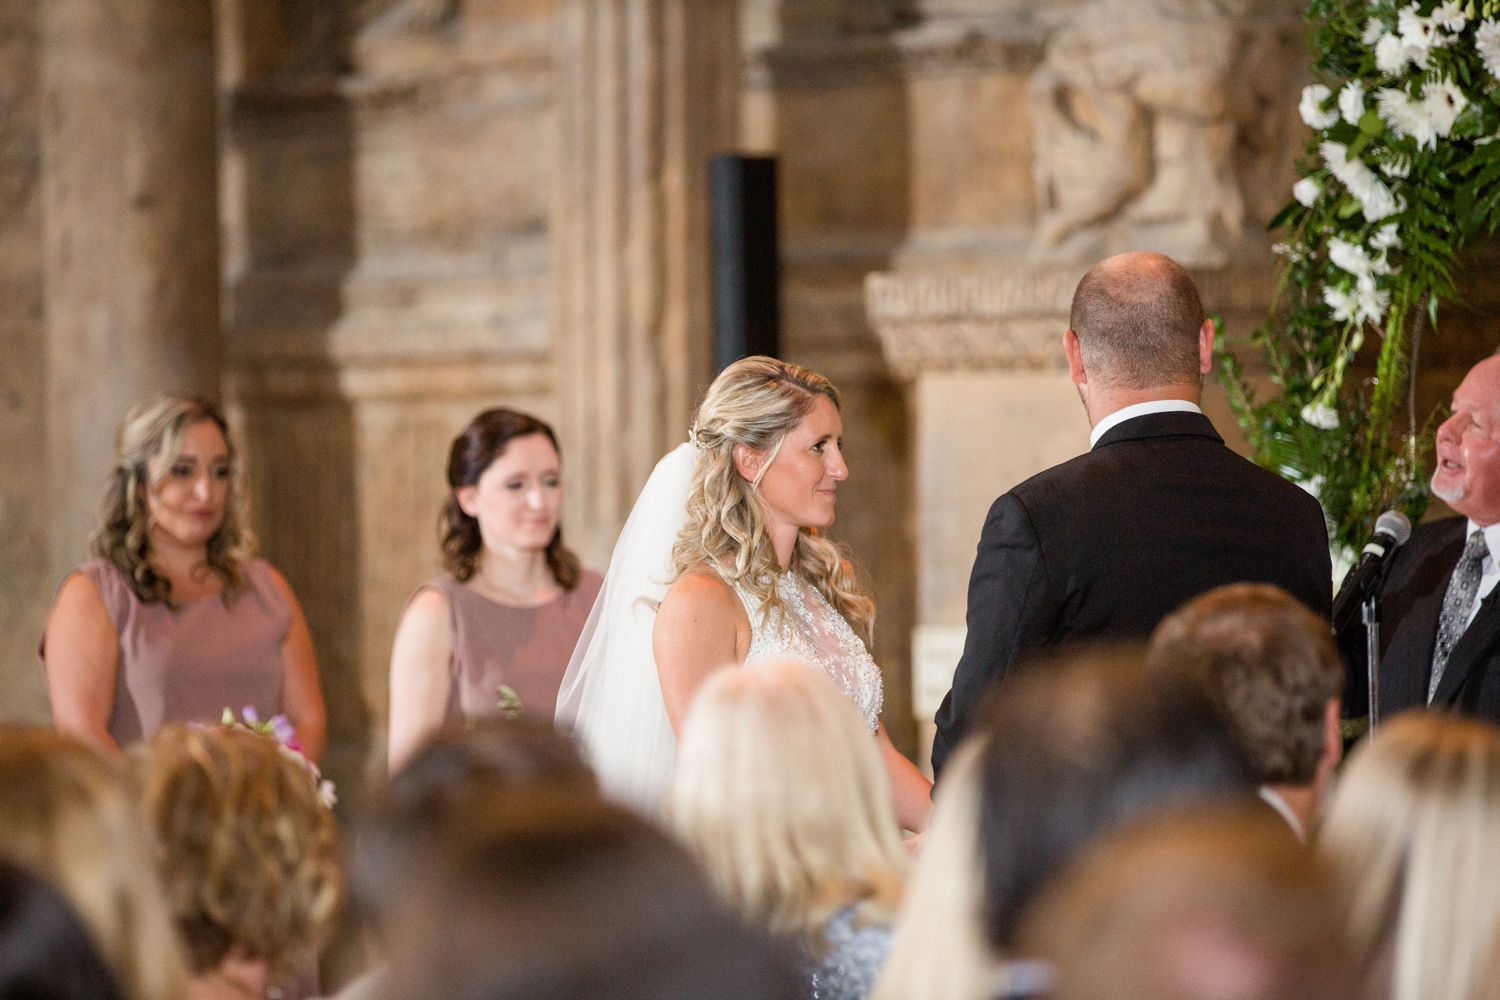
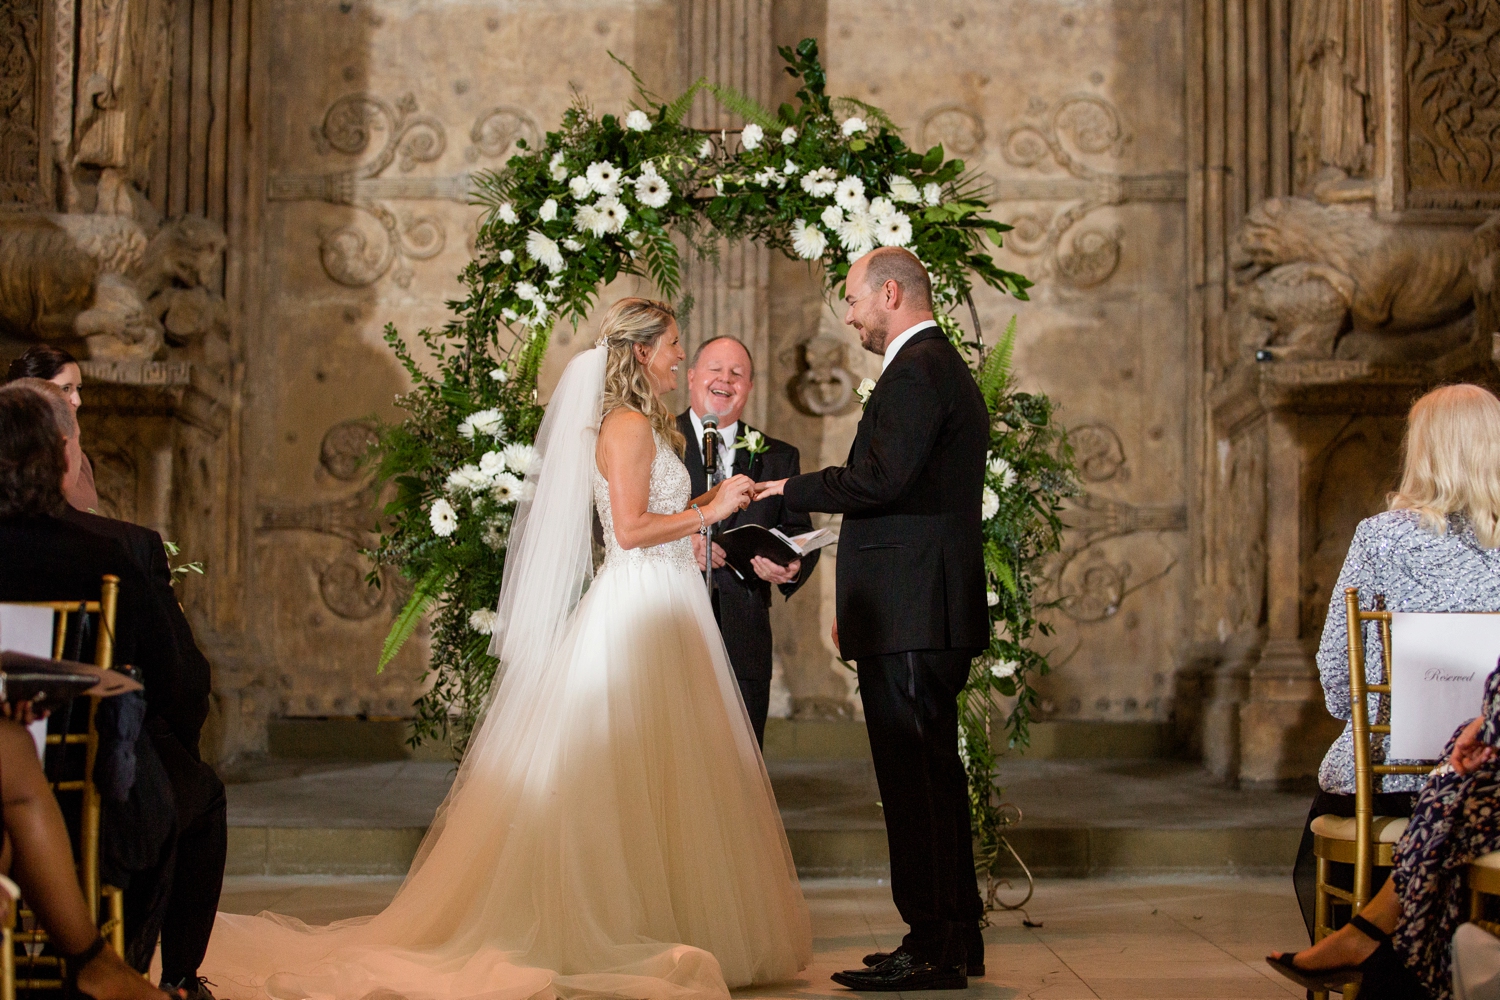
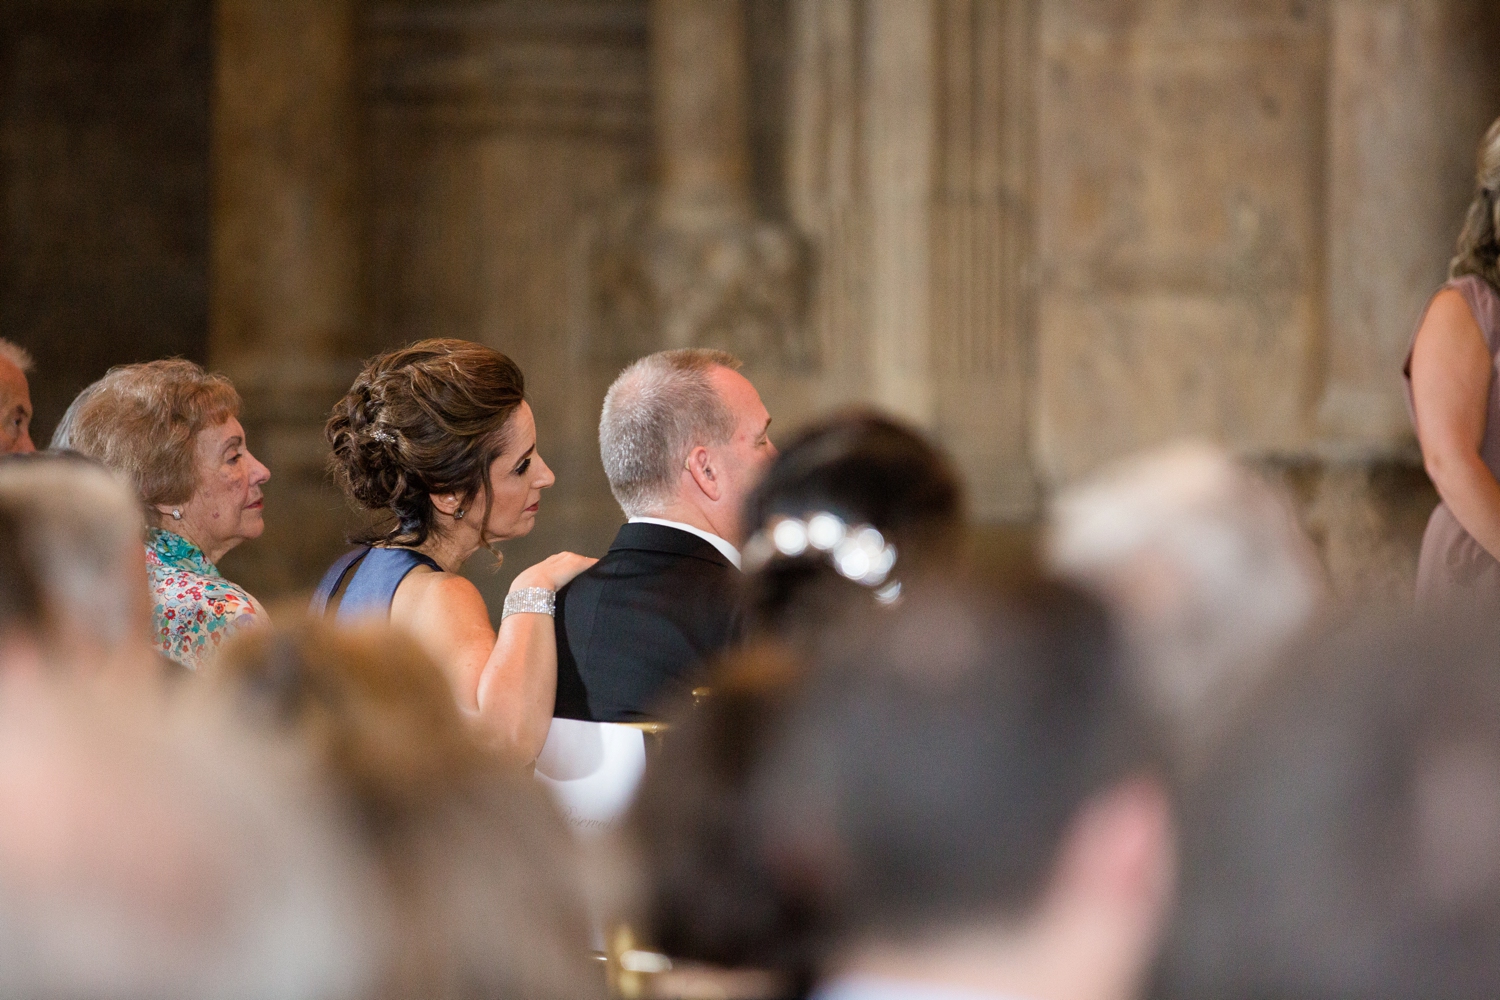
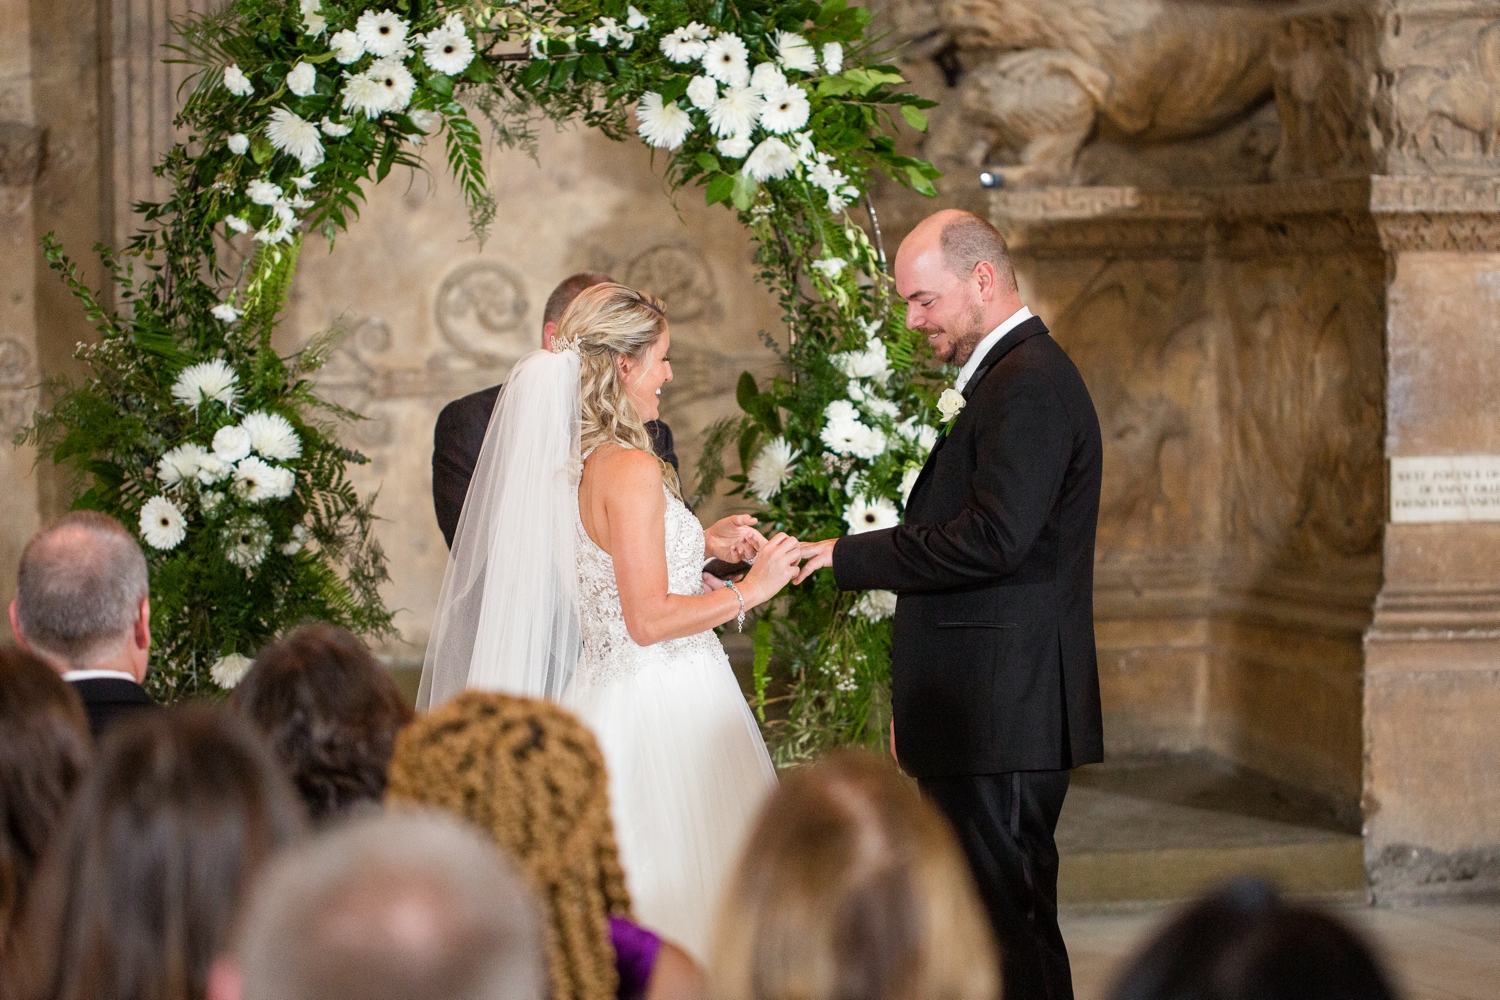
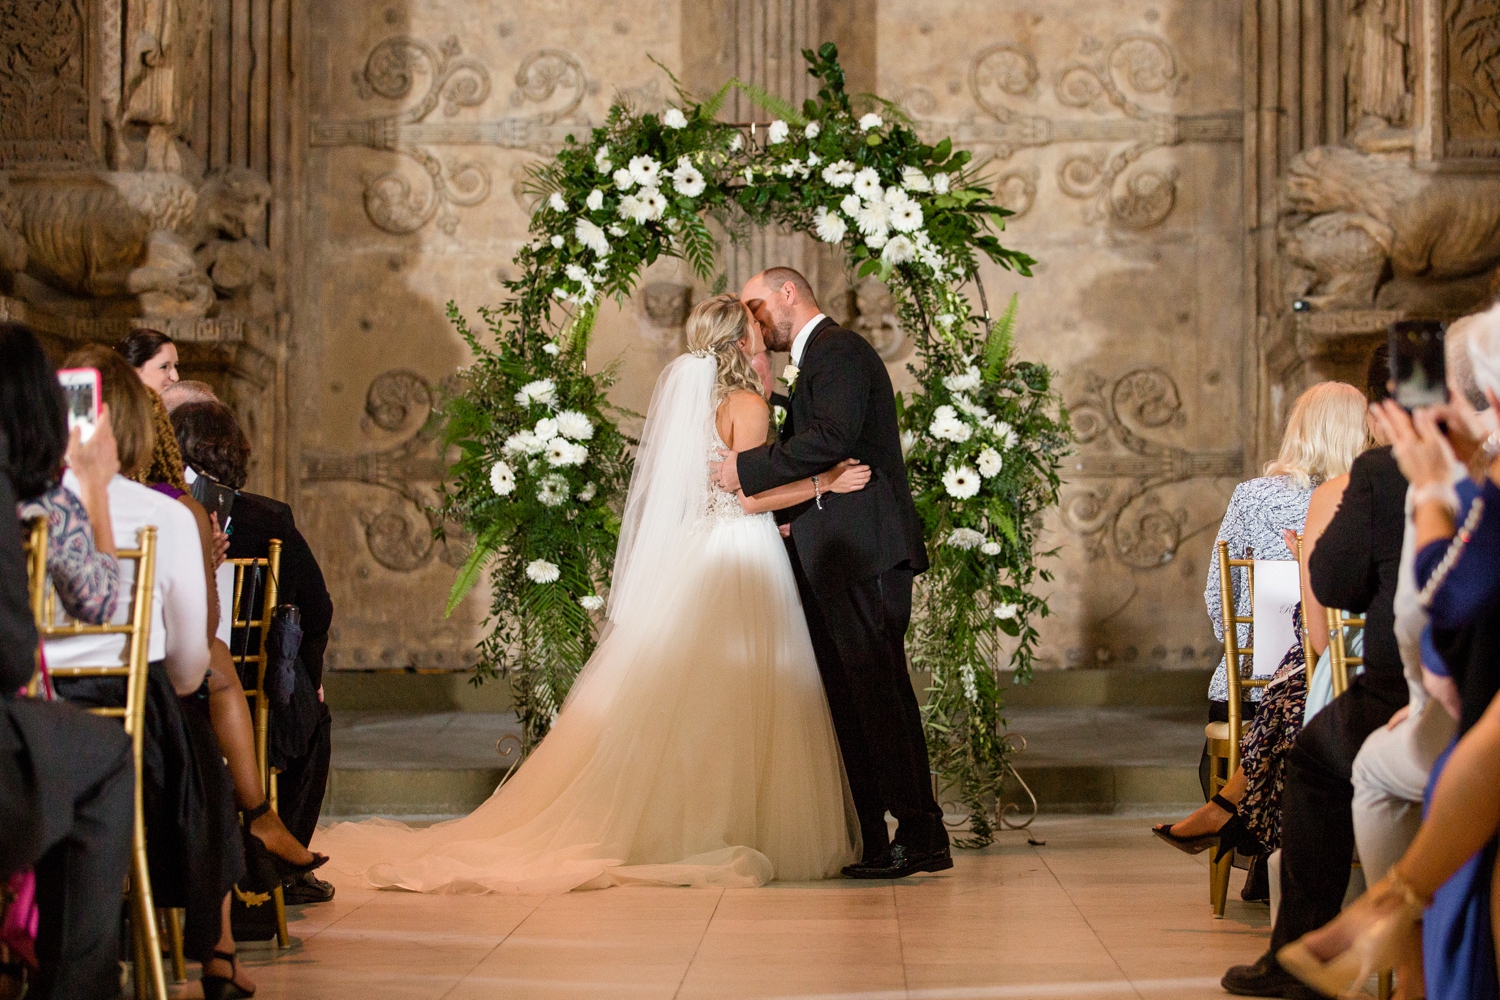
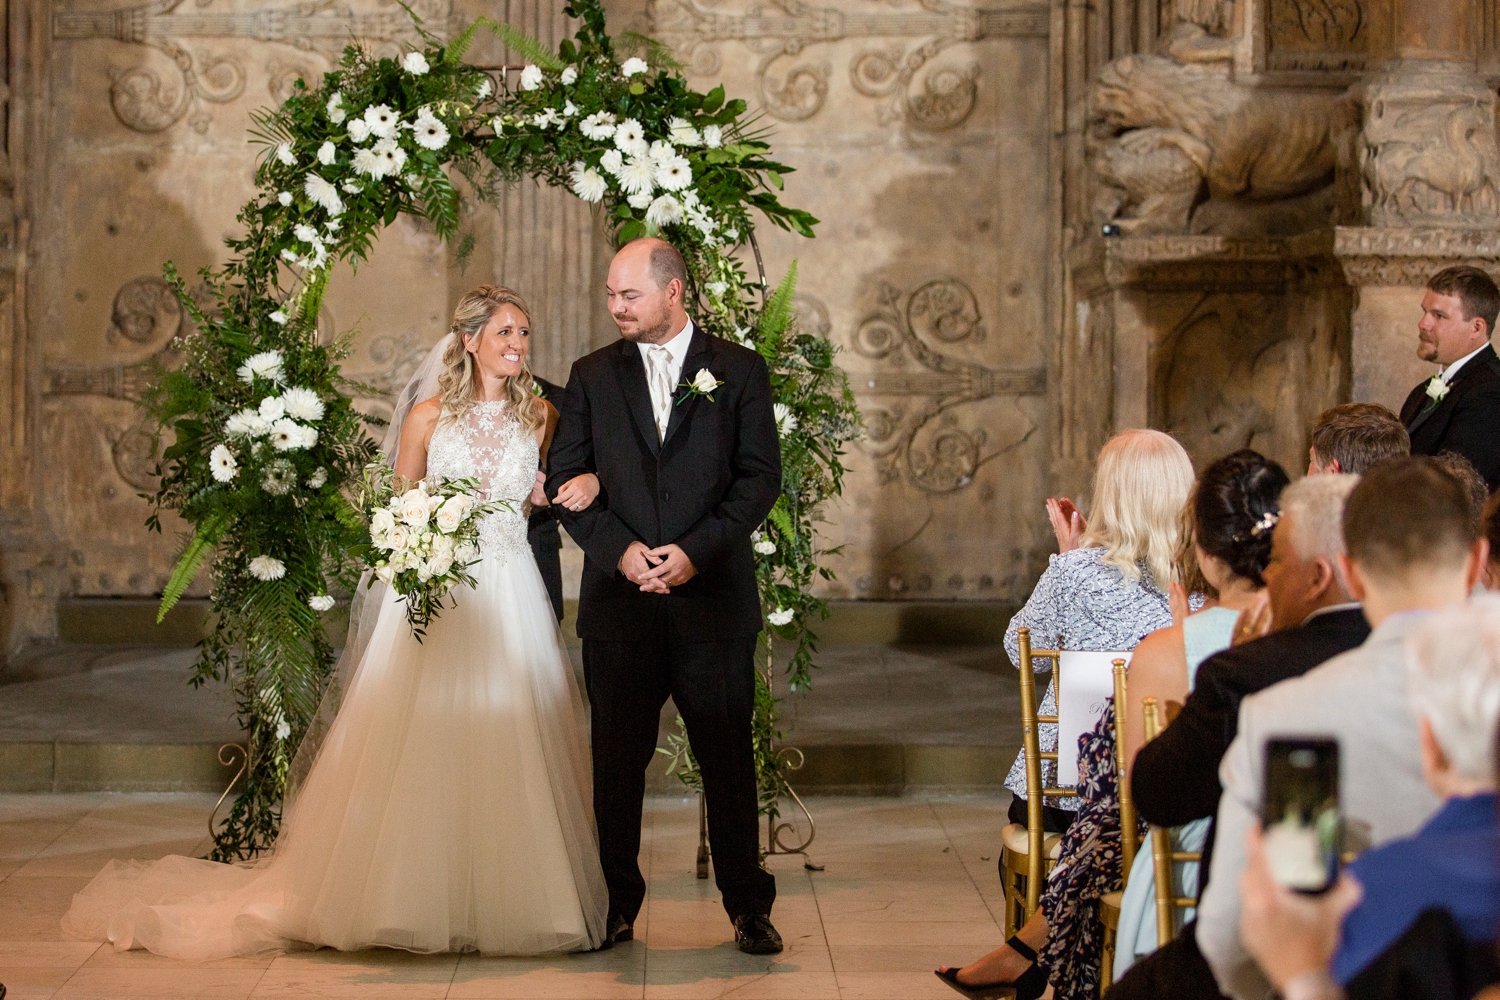
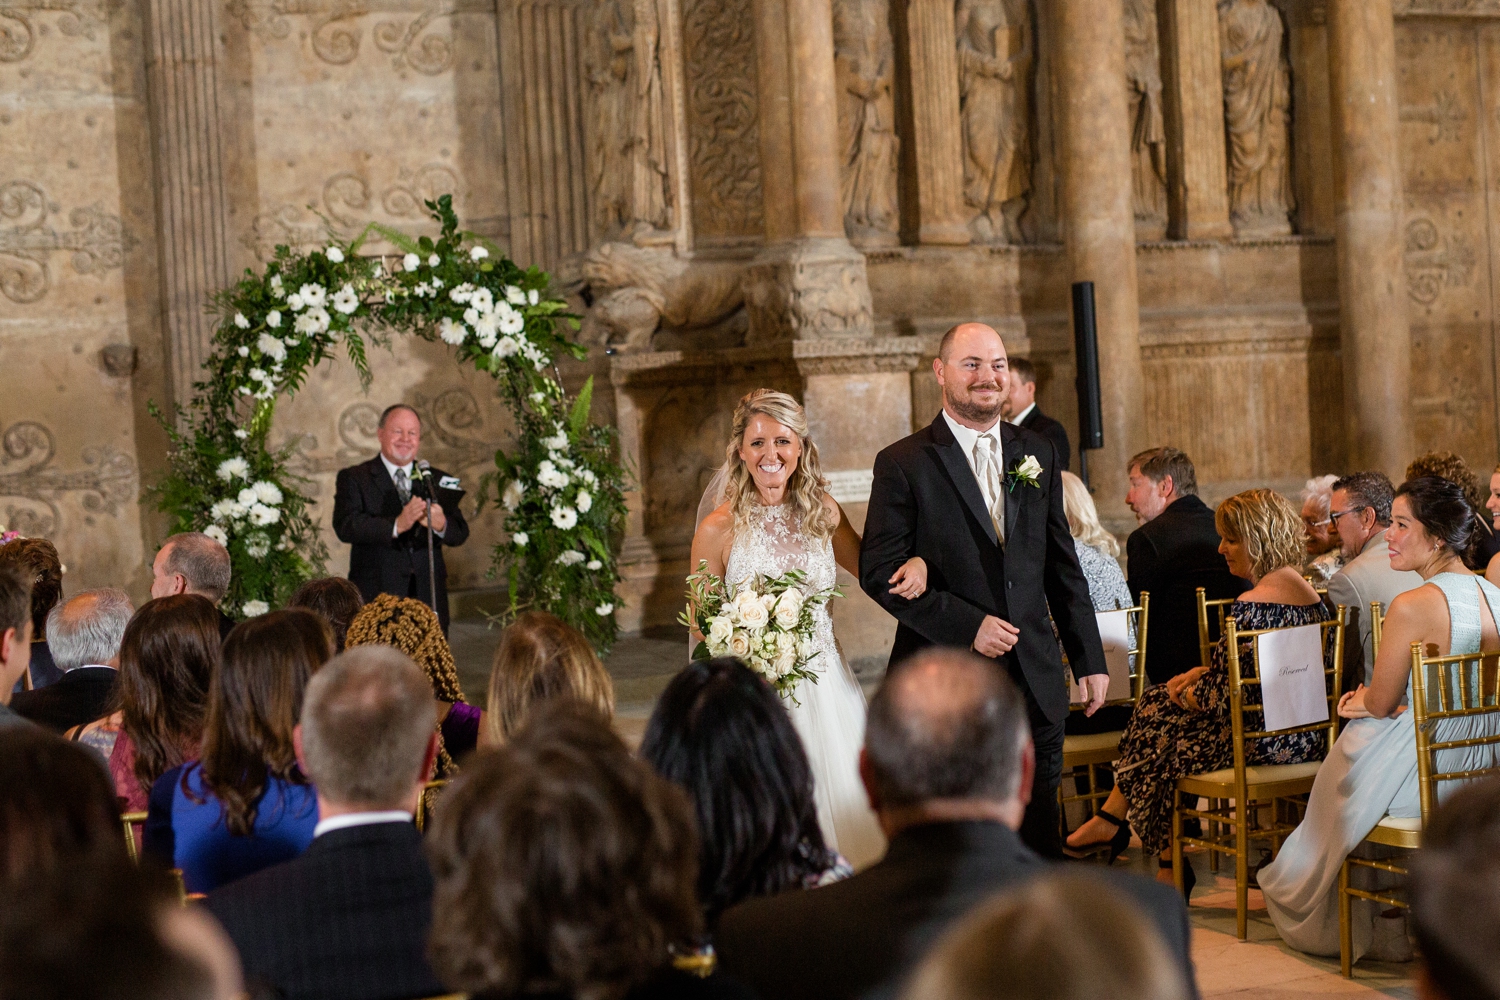
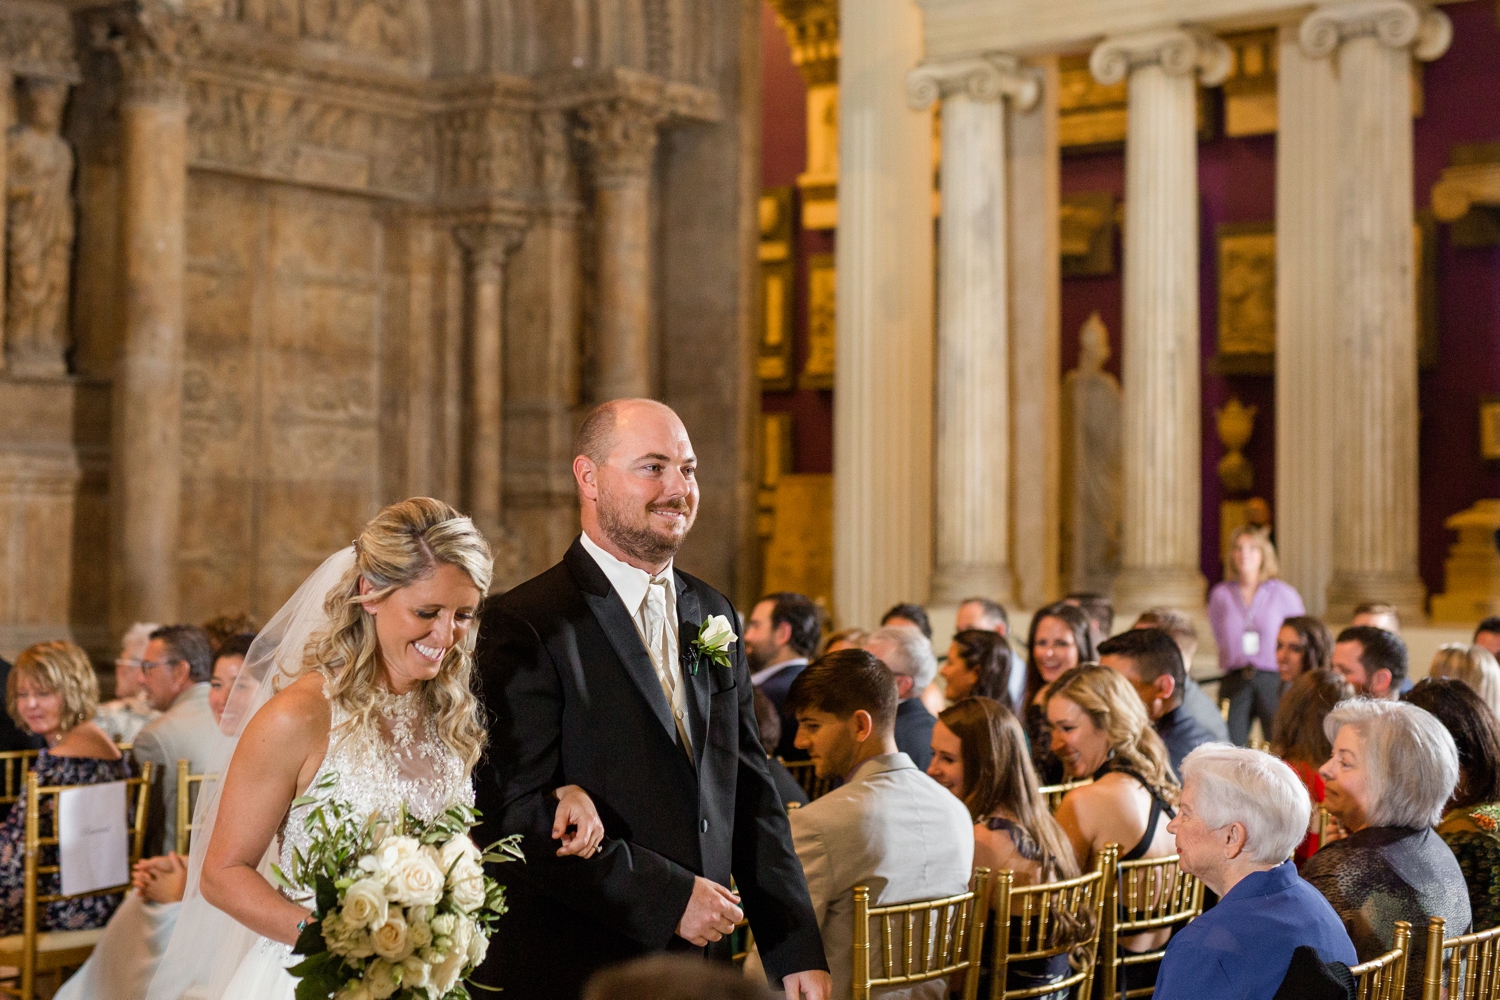
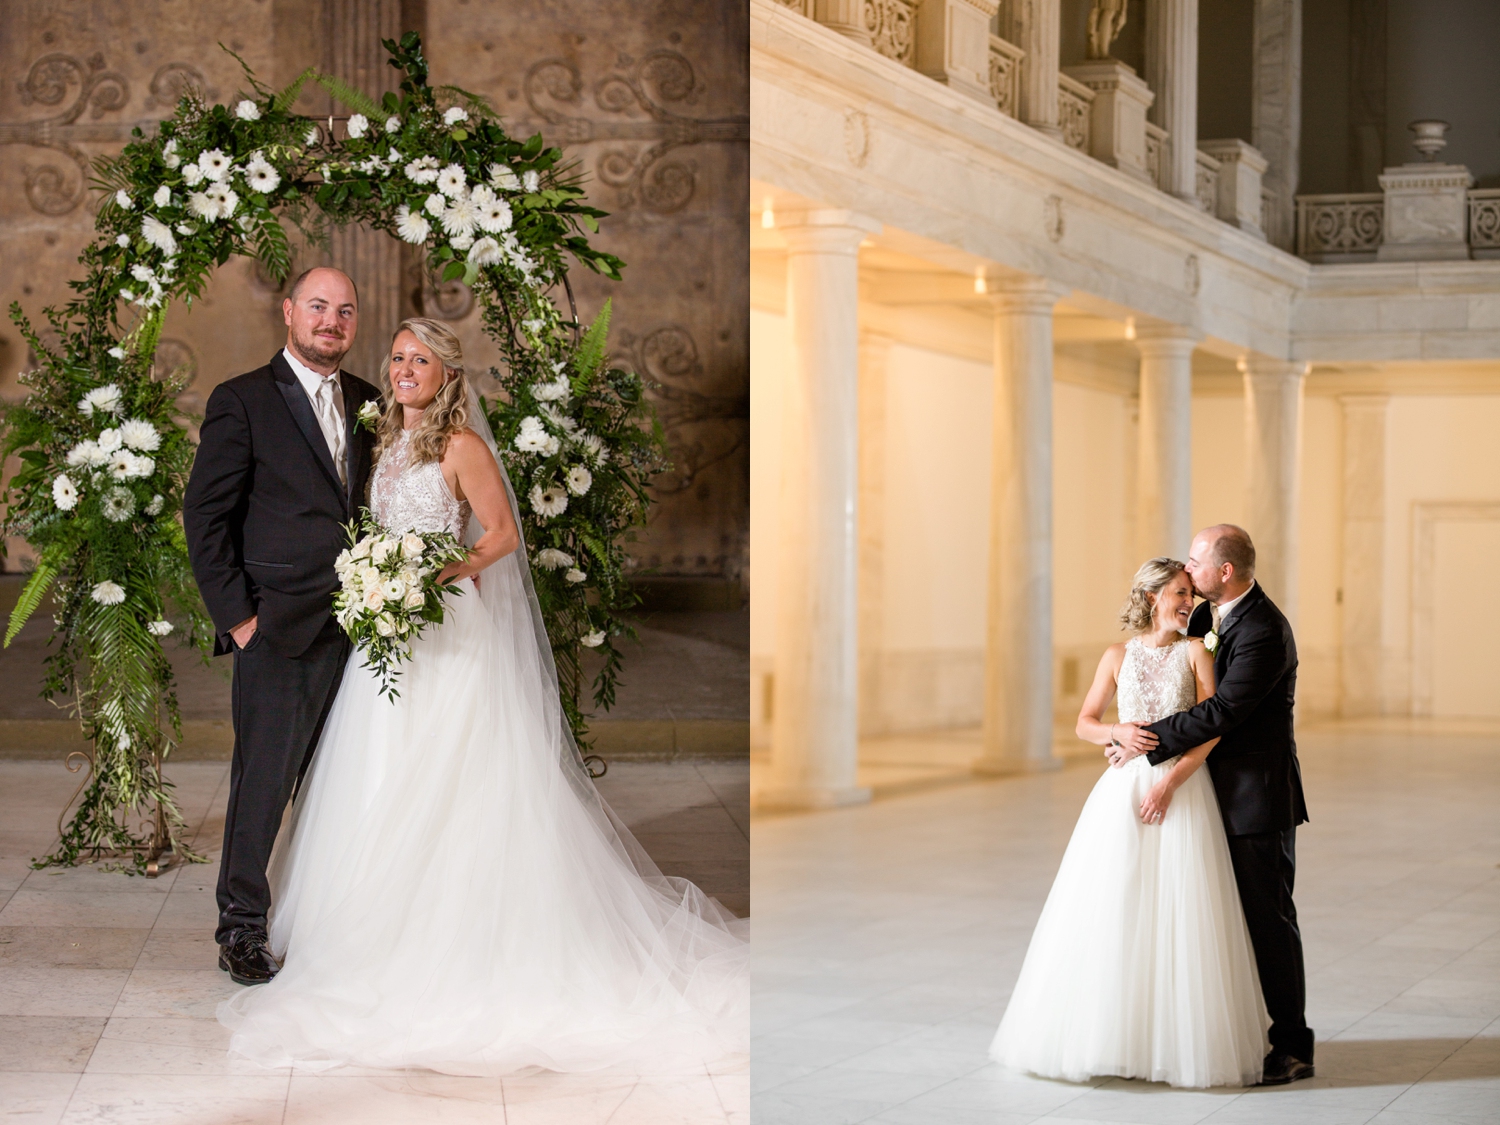
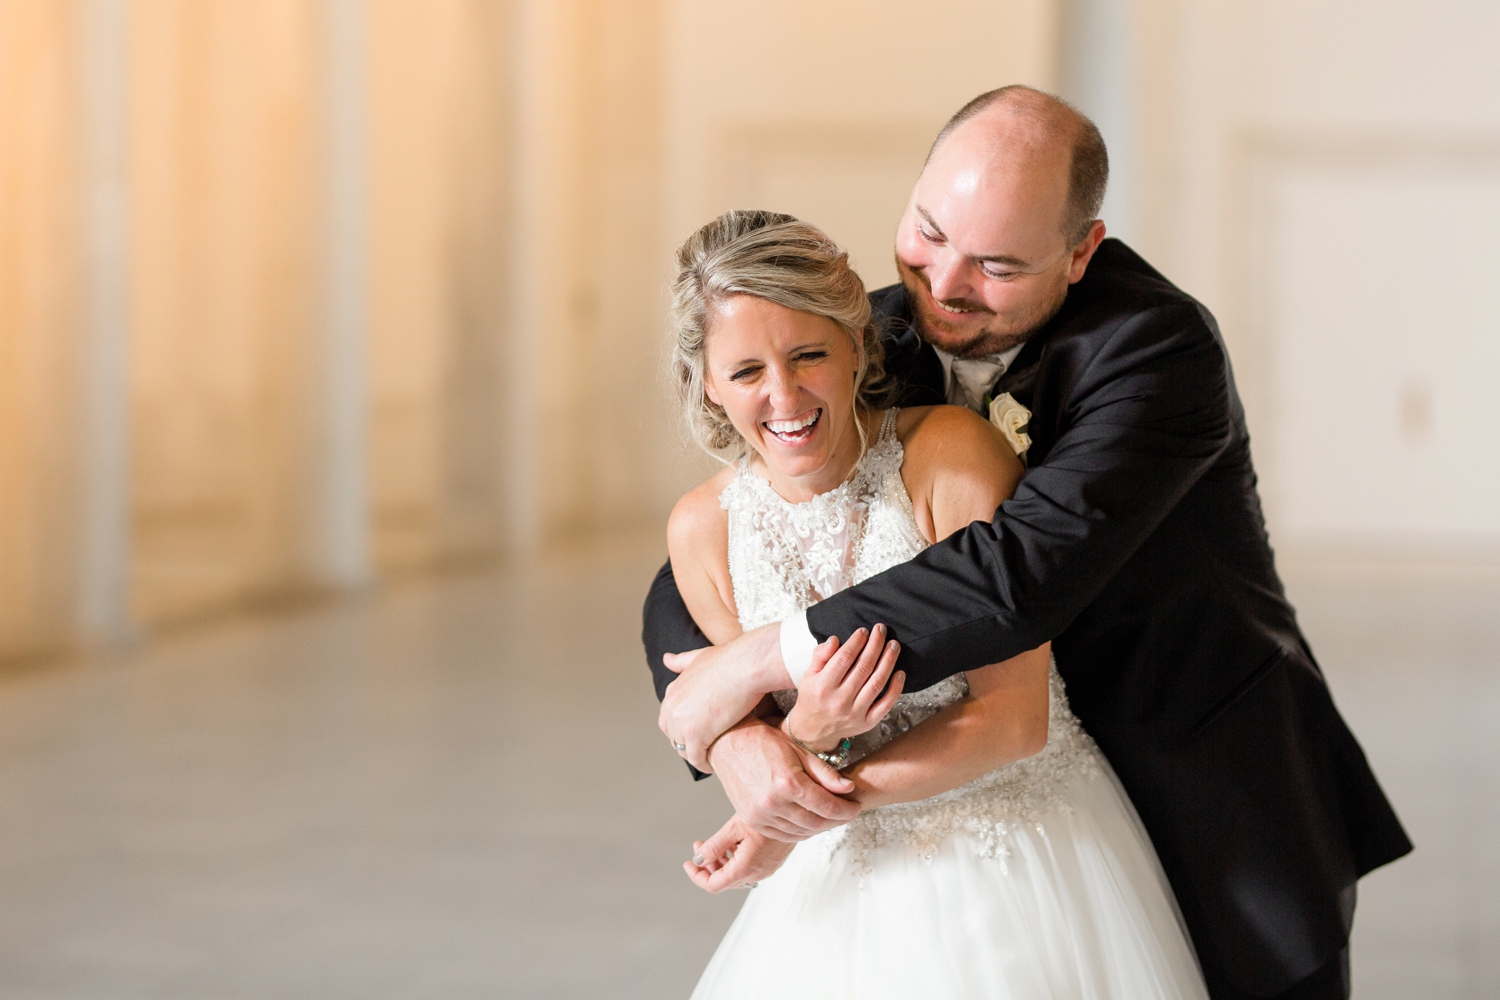
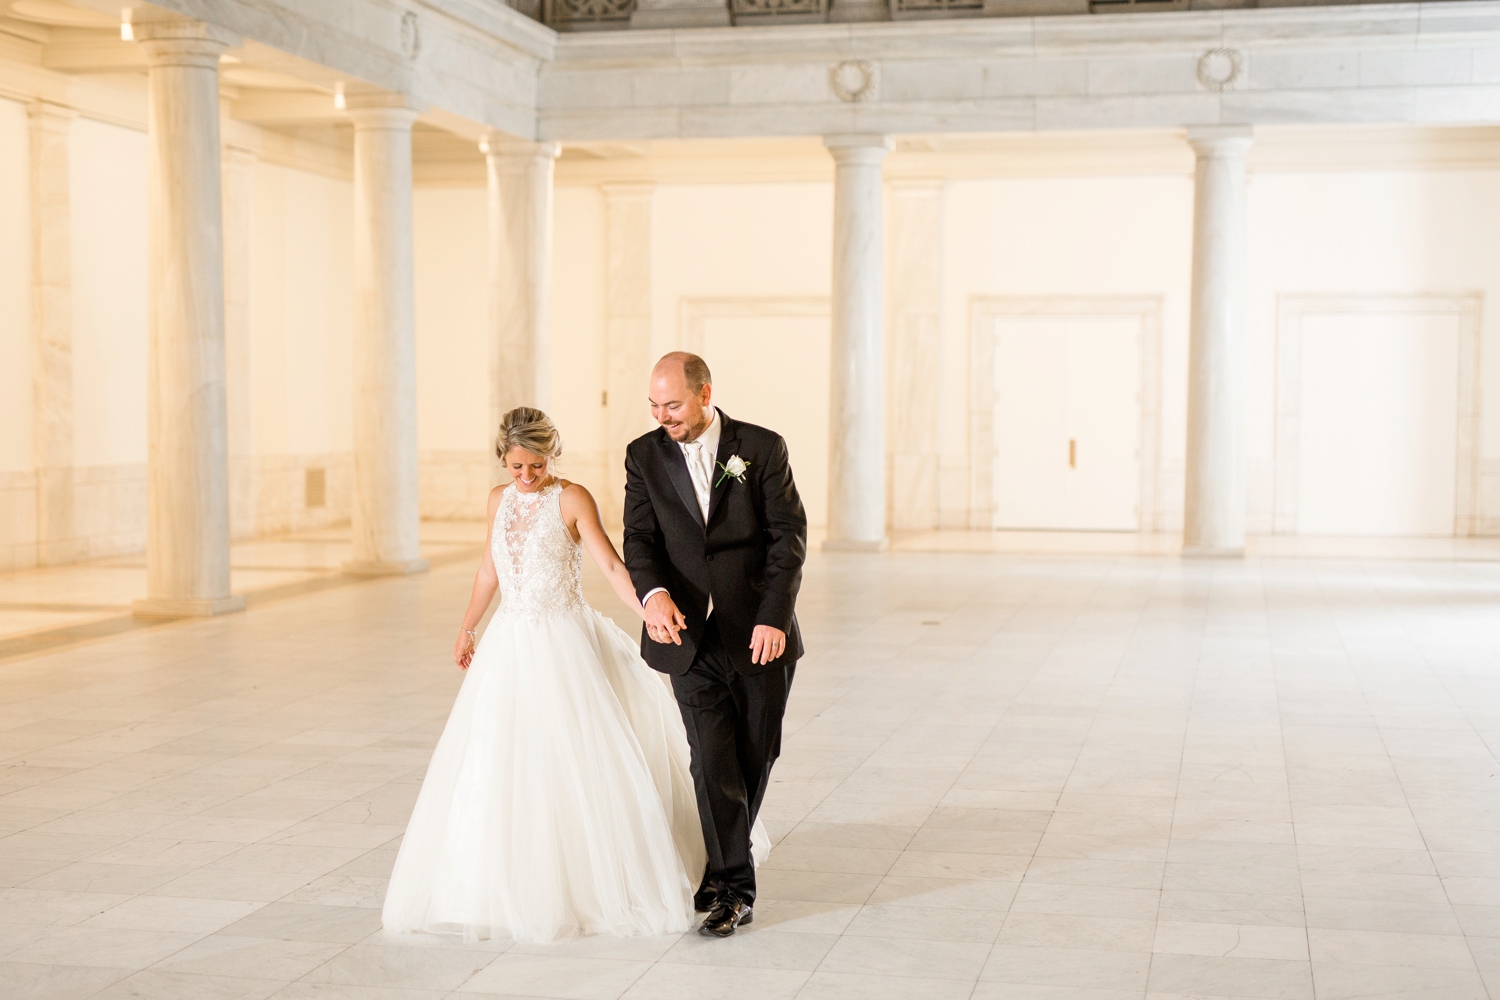
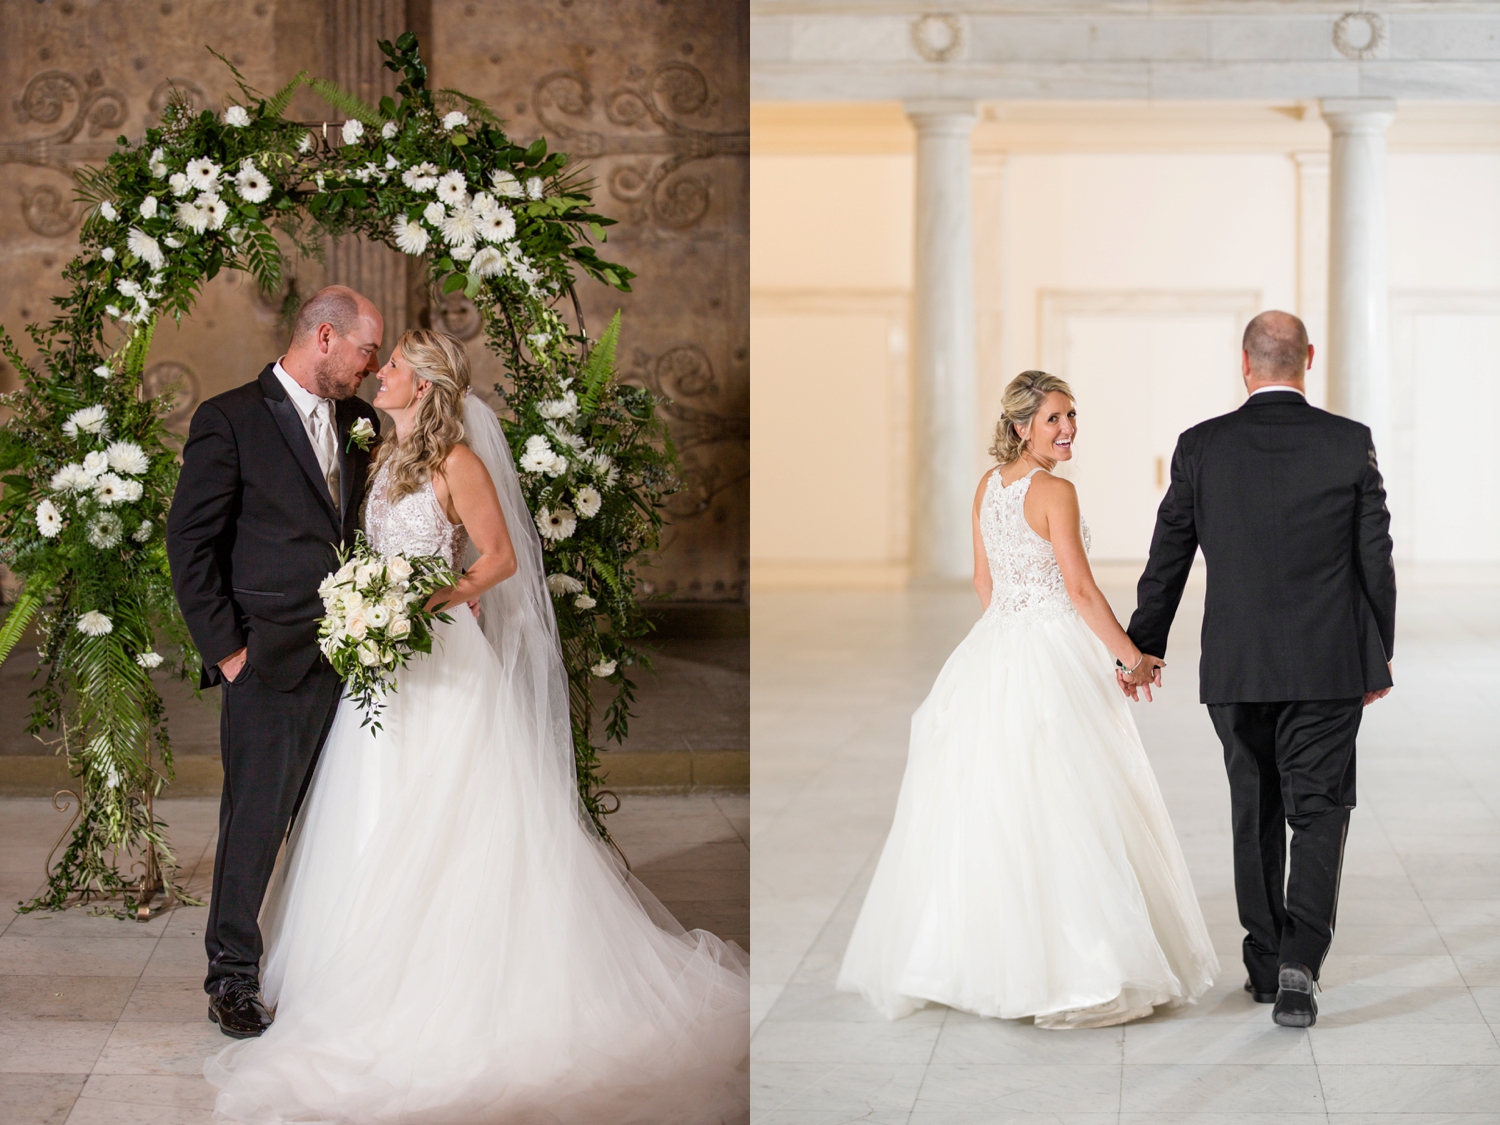
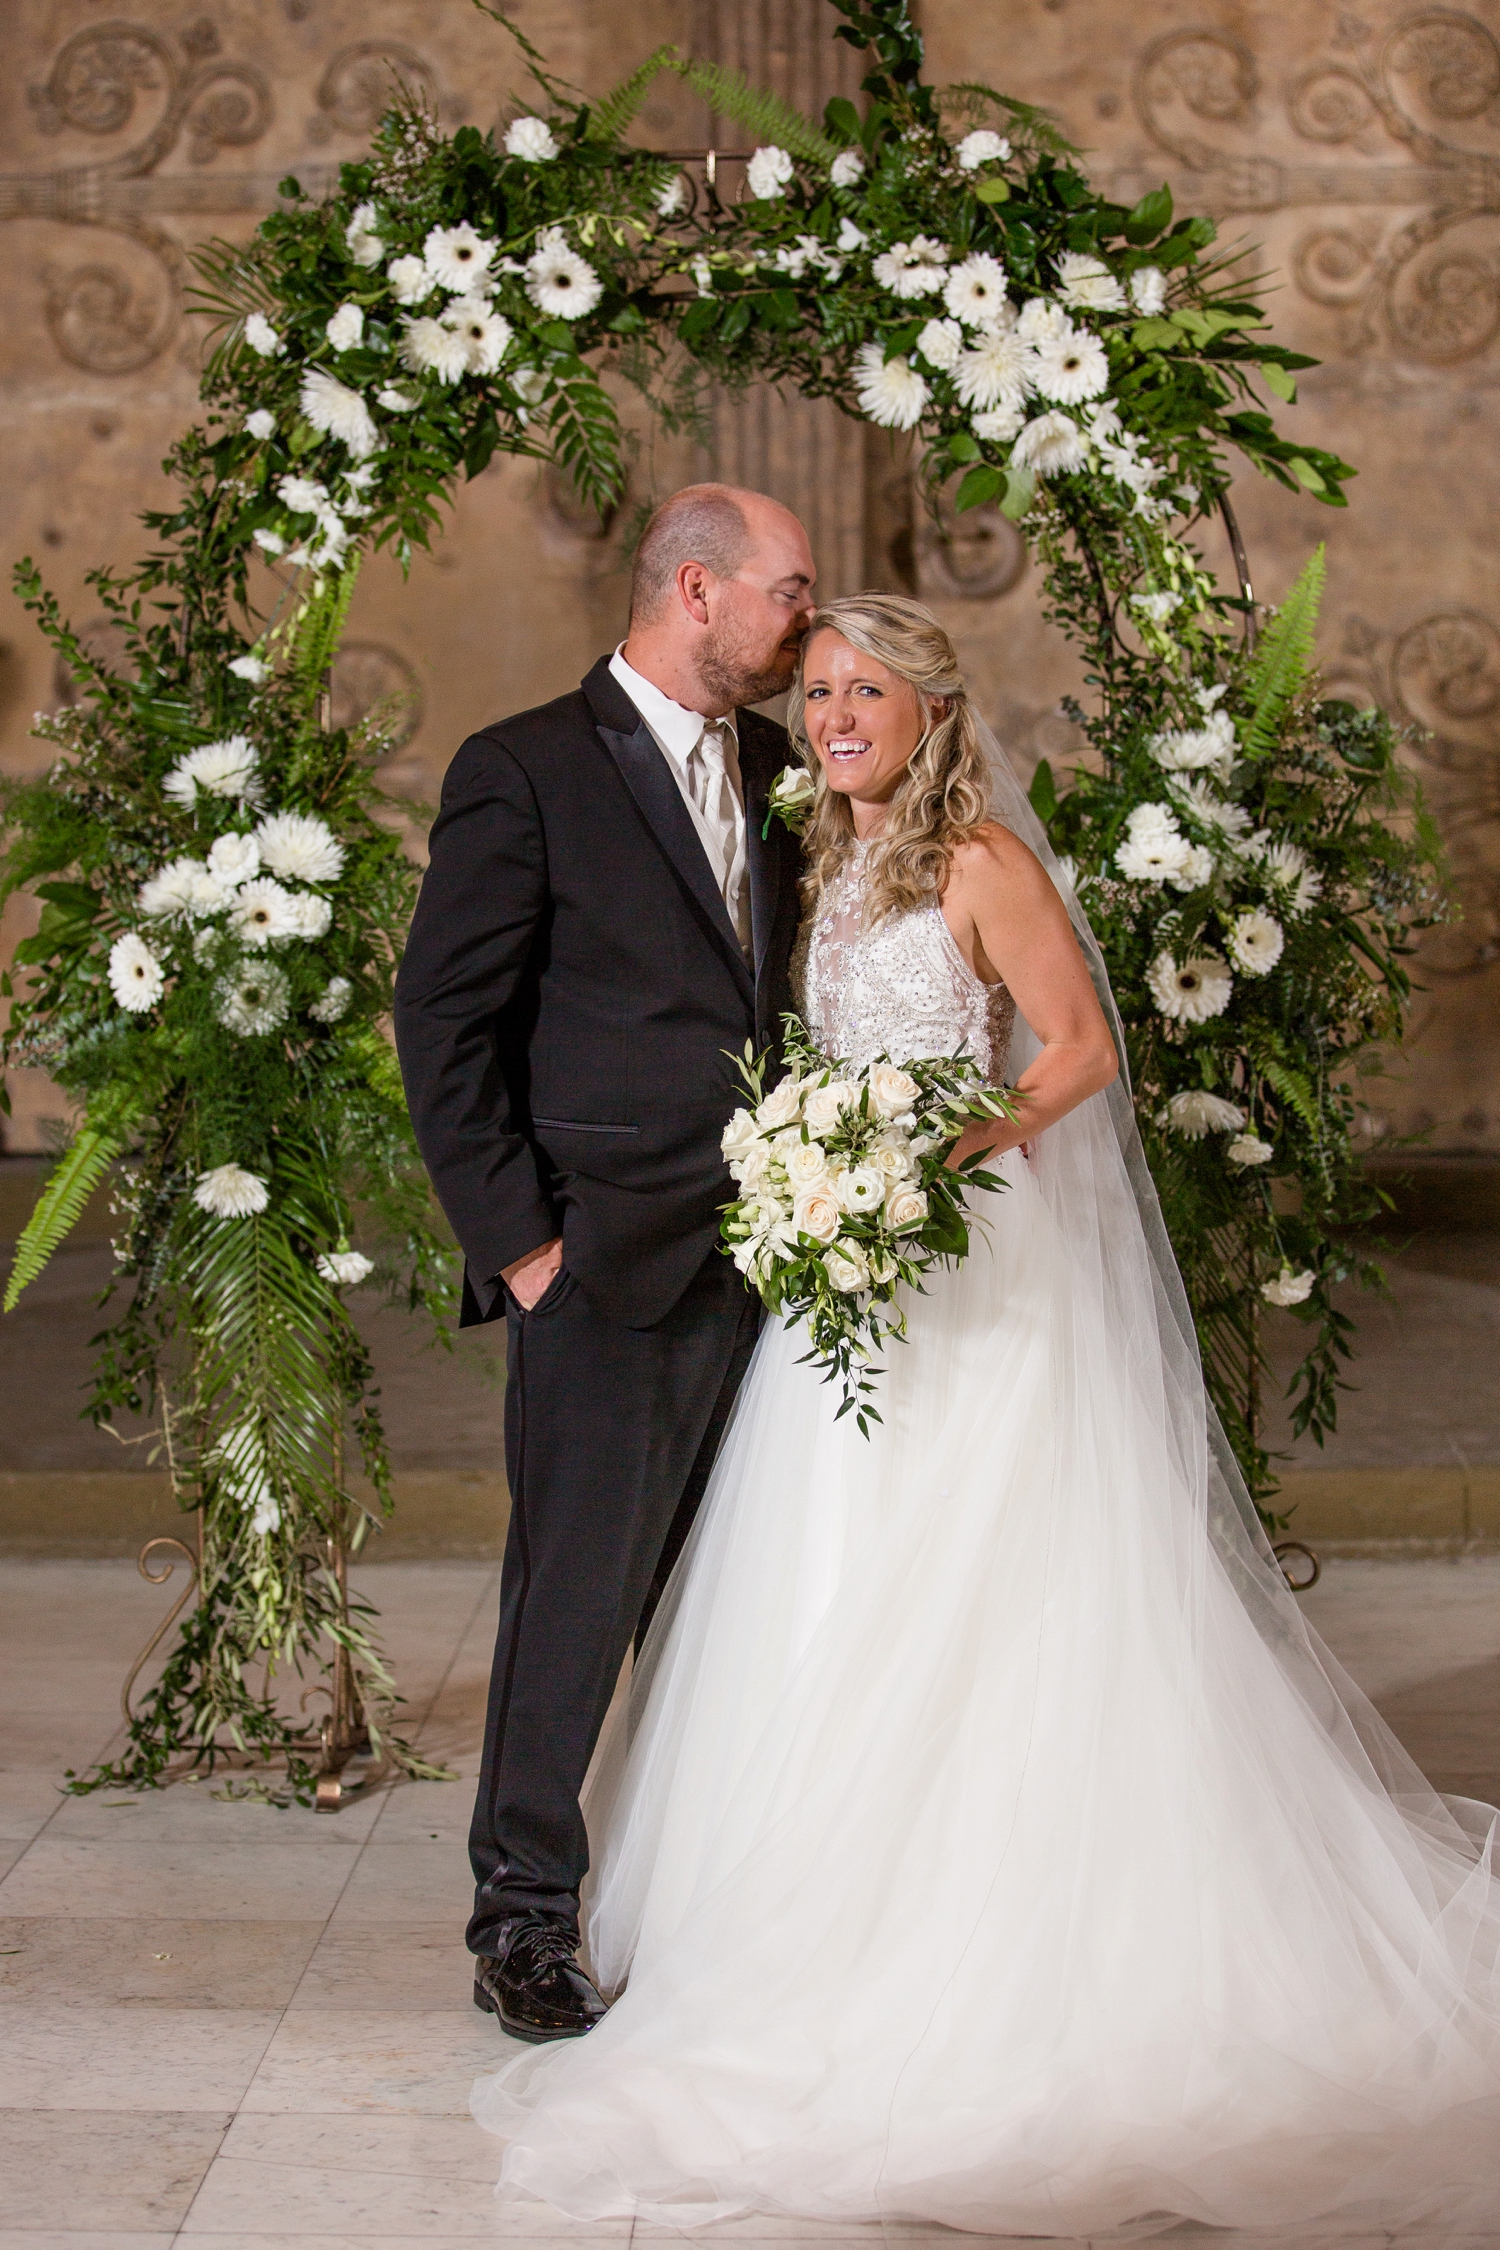
After getting ready at her childhood home, we hopped over to the Museum for the ceremony in the Museum’s Hall of Architecture, which, according to the Museum’s website, was created with 140 plaster casts from architectural masterpieces from the past, both in Europe and the United States. As a whole, the room was “inspired by one of the seven wonders of the ancient world, the Mausoleum at Halicarnassus.” Talk about the perfect place for a wedding ceremony!

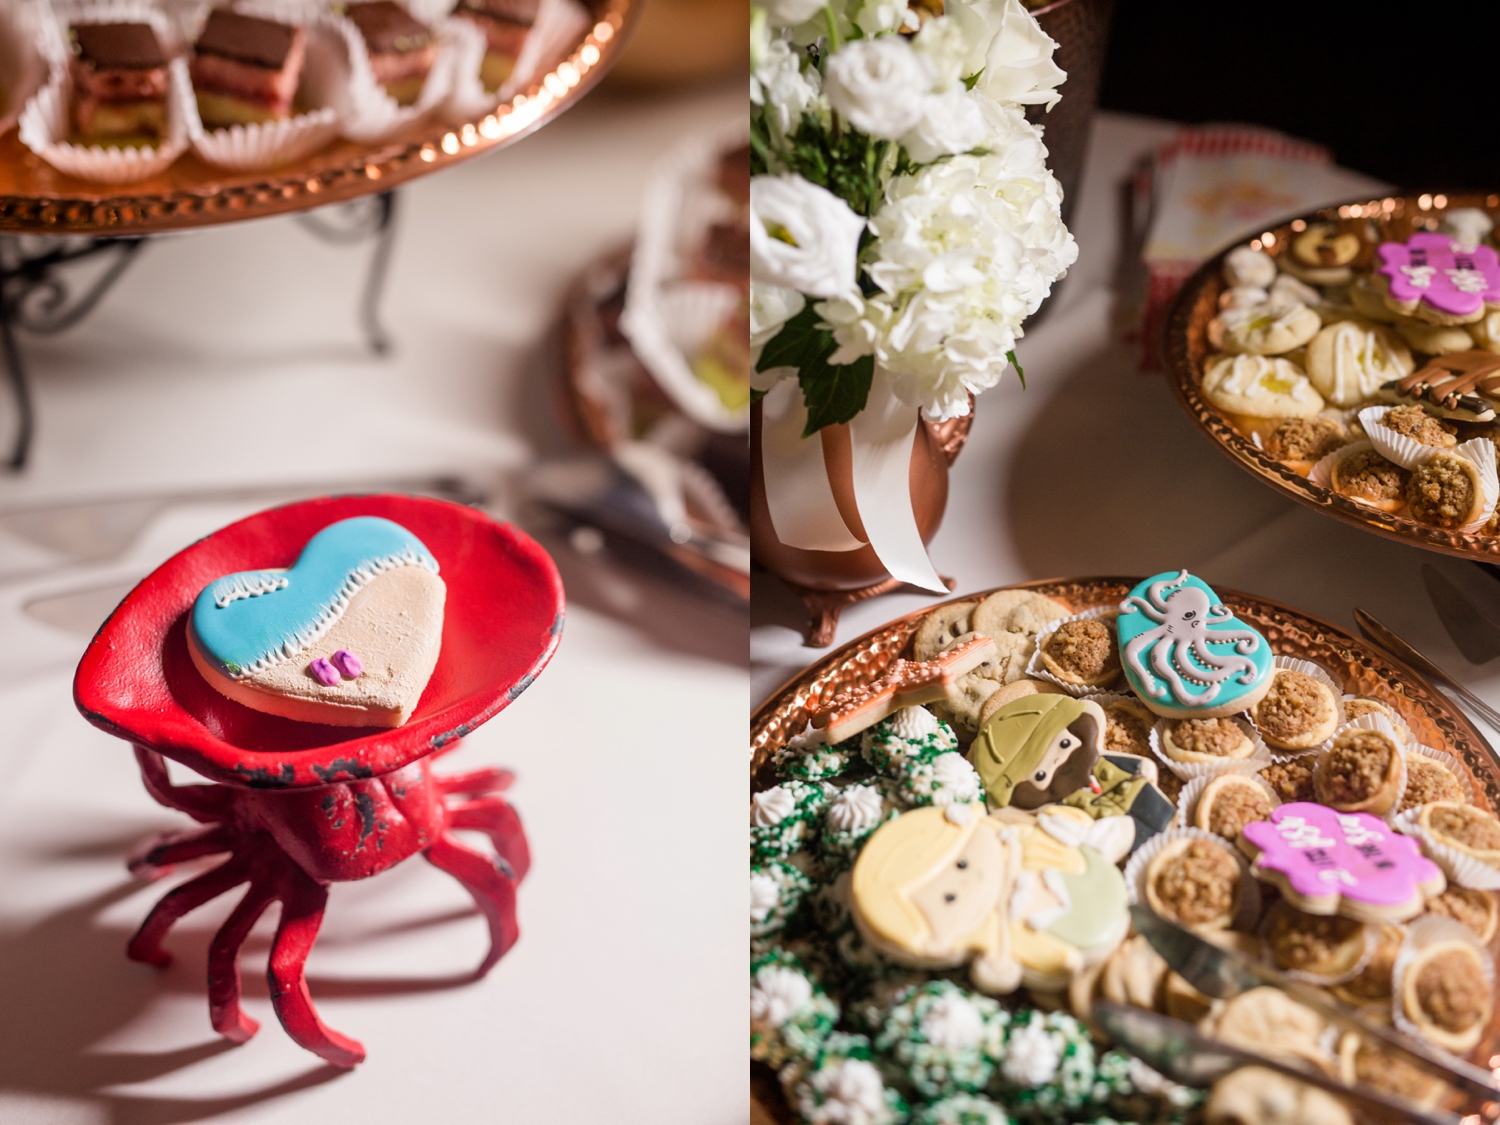
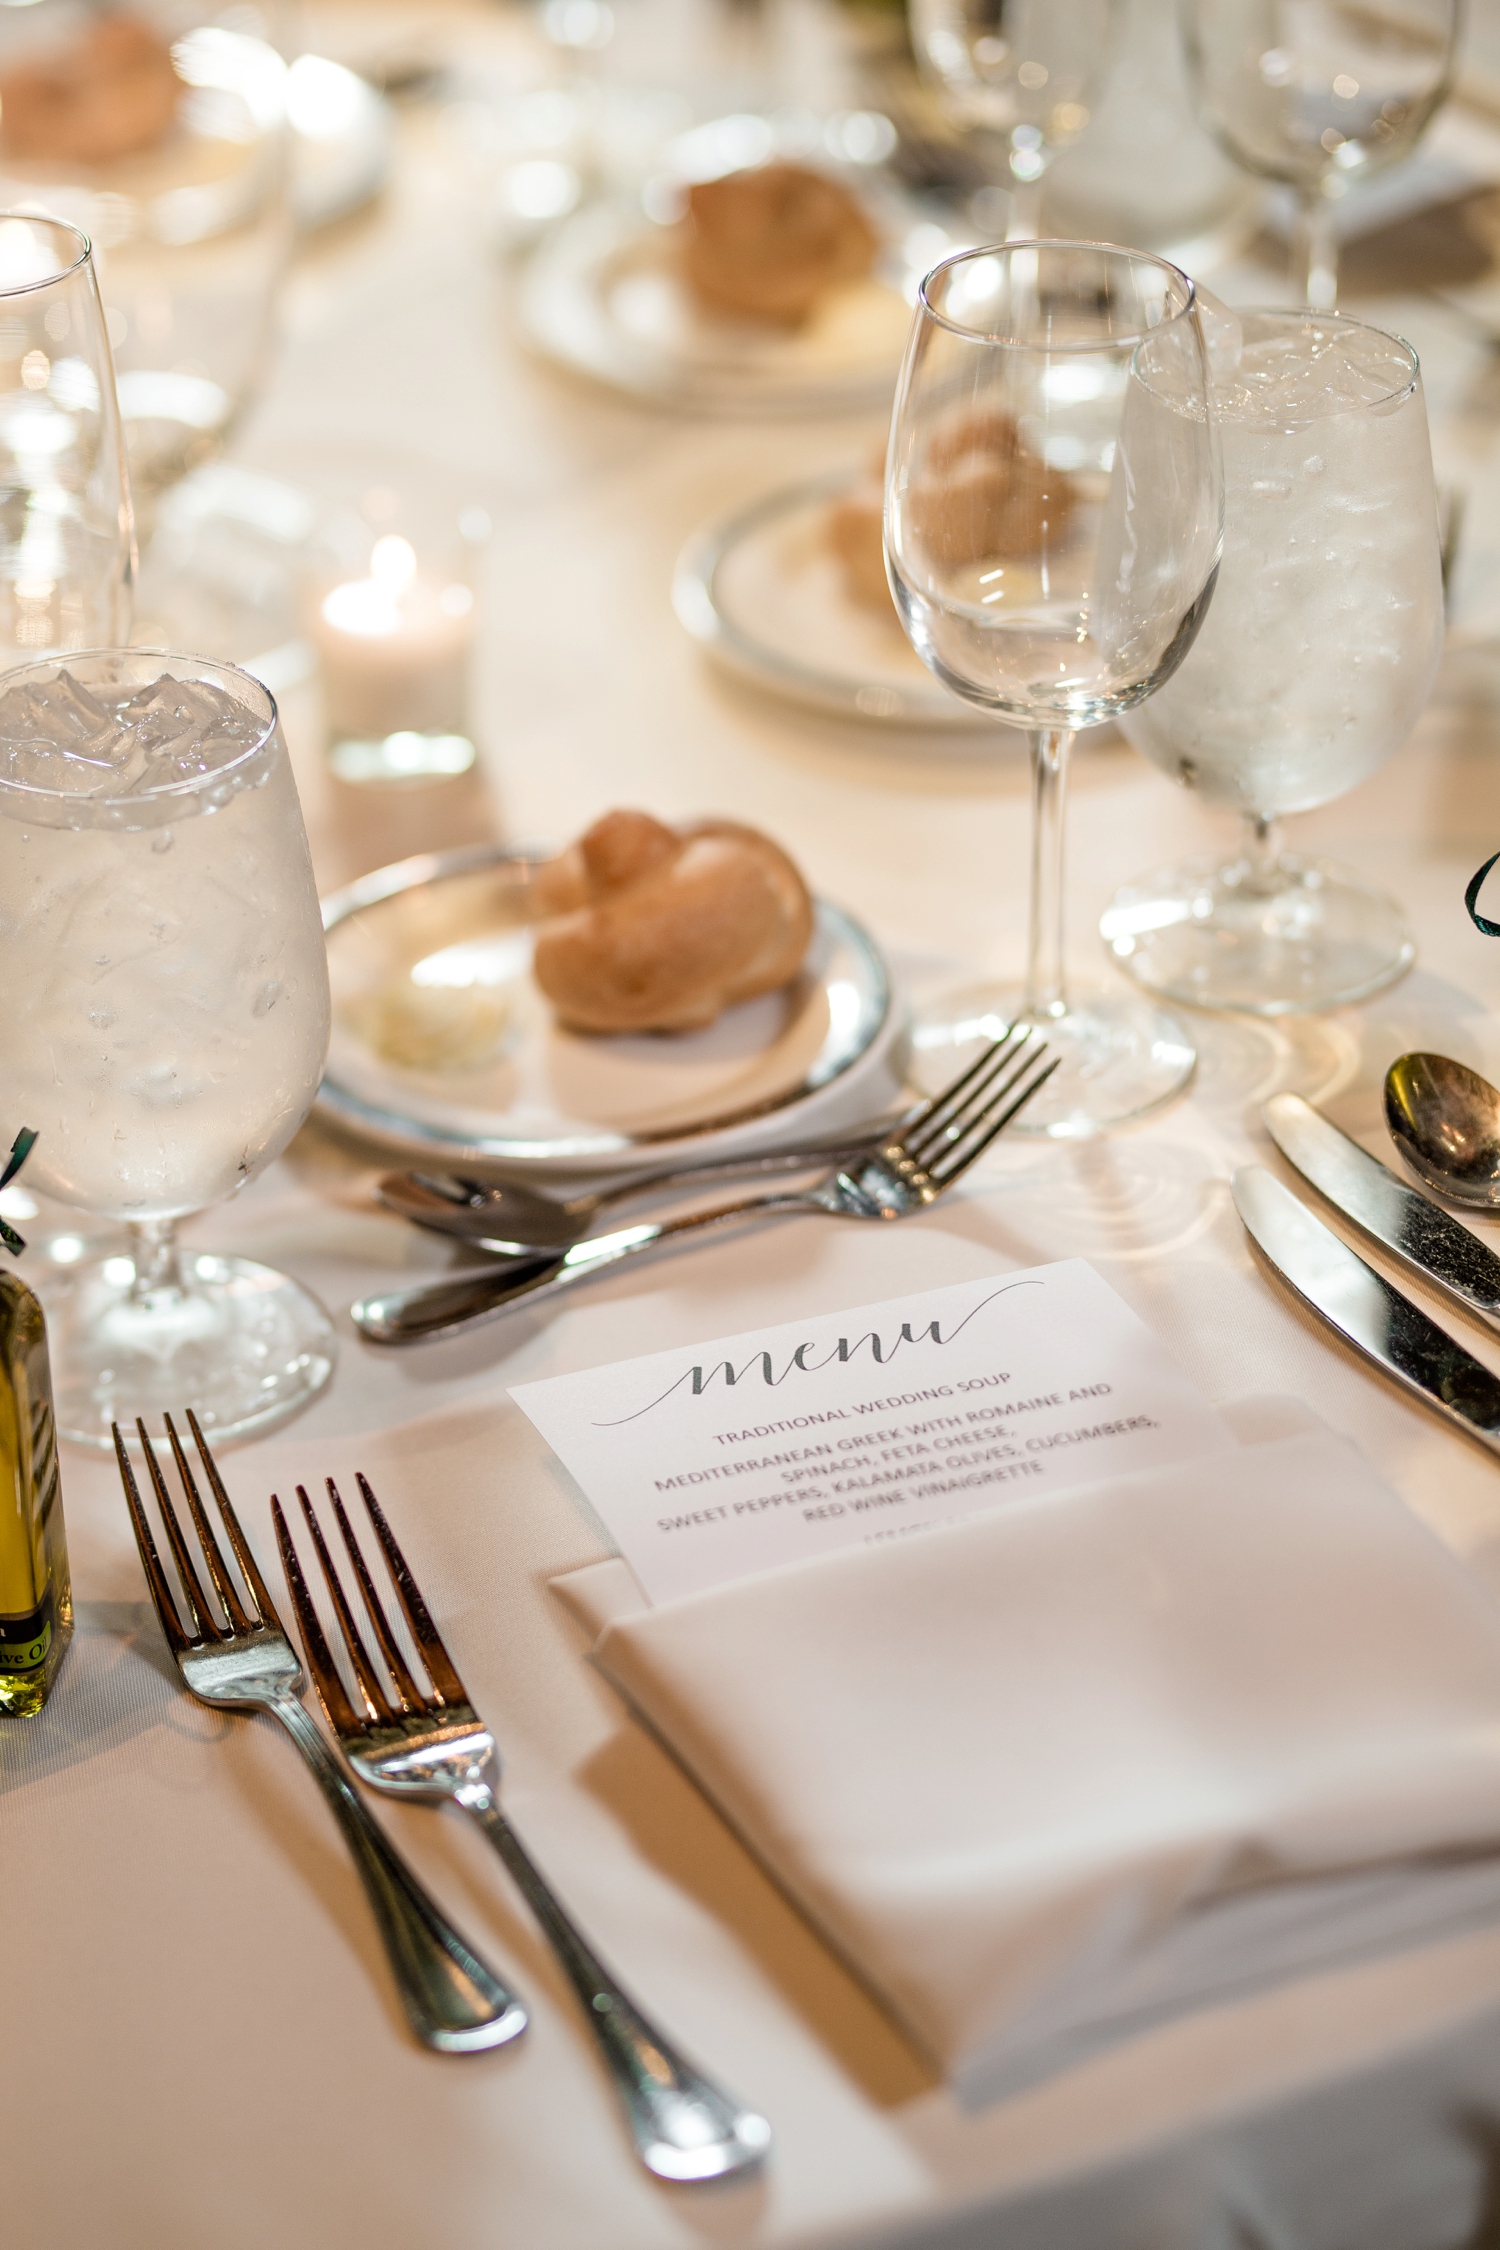
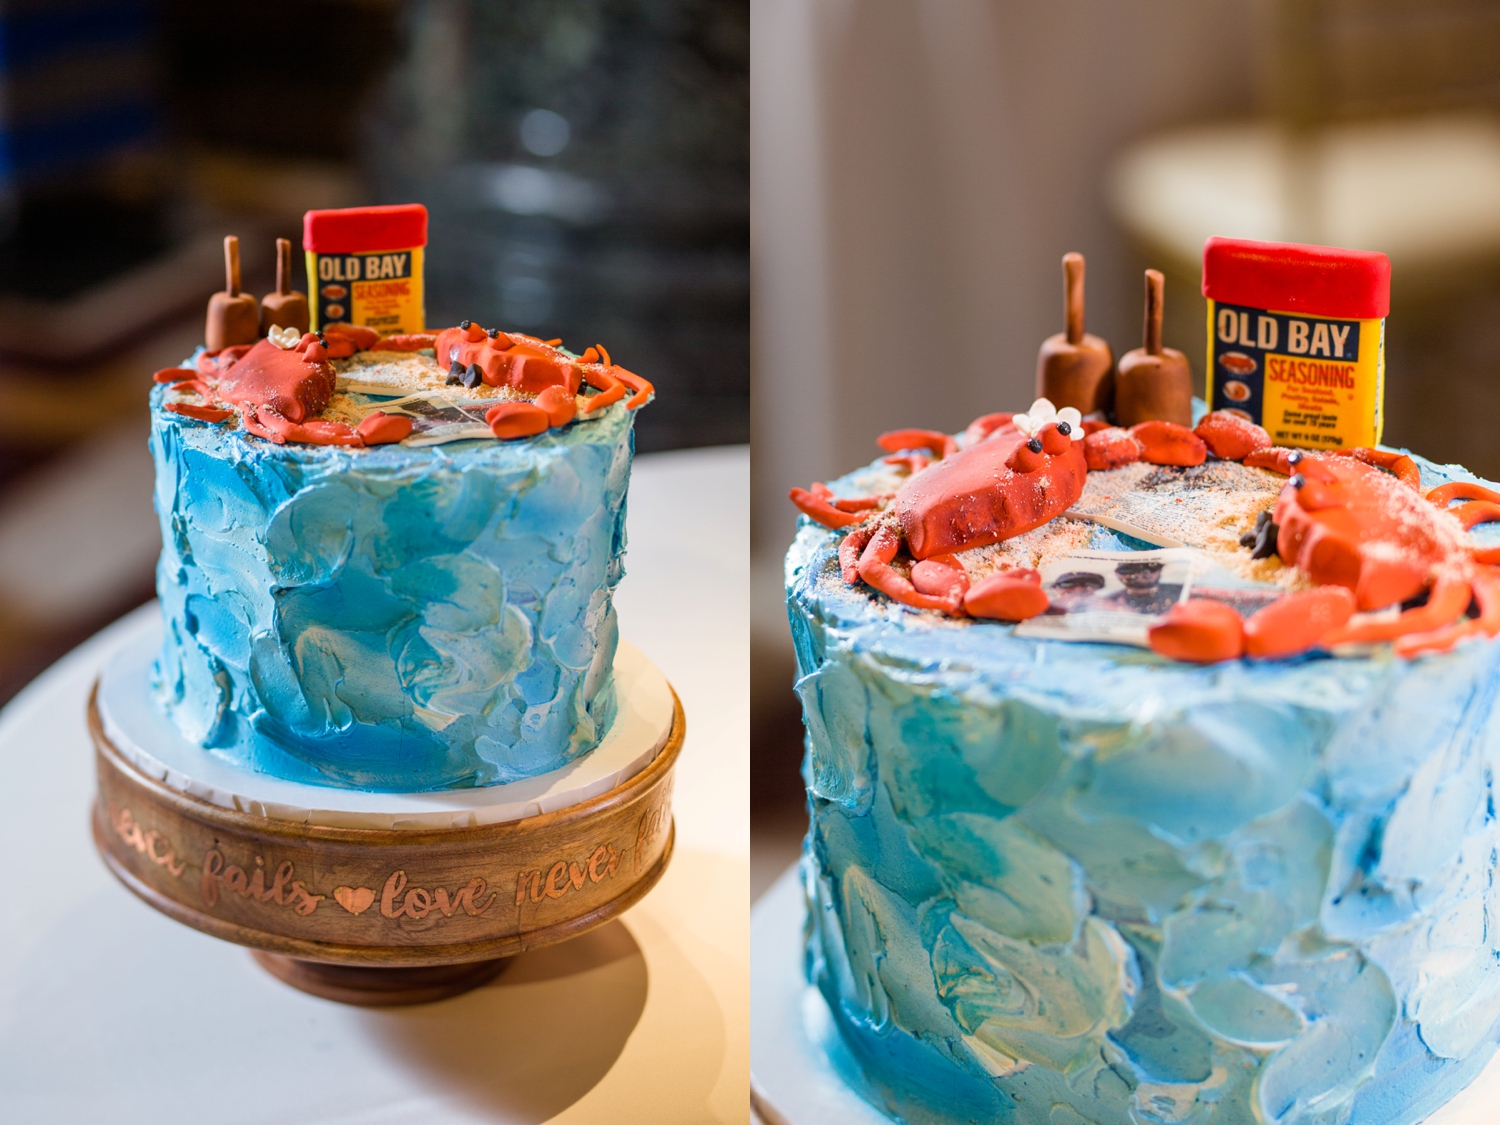
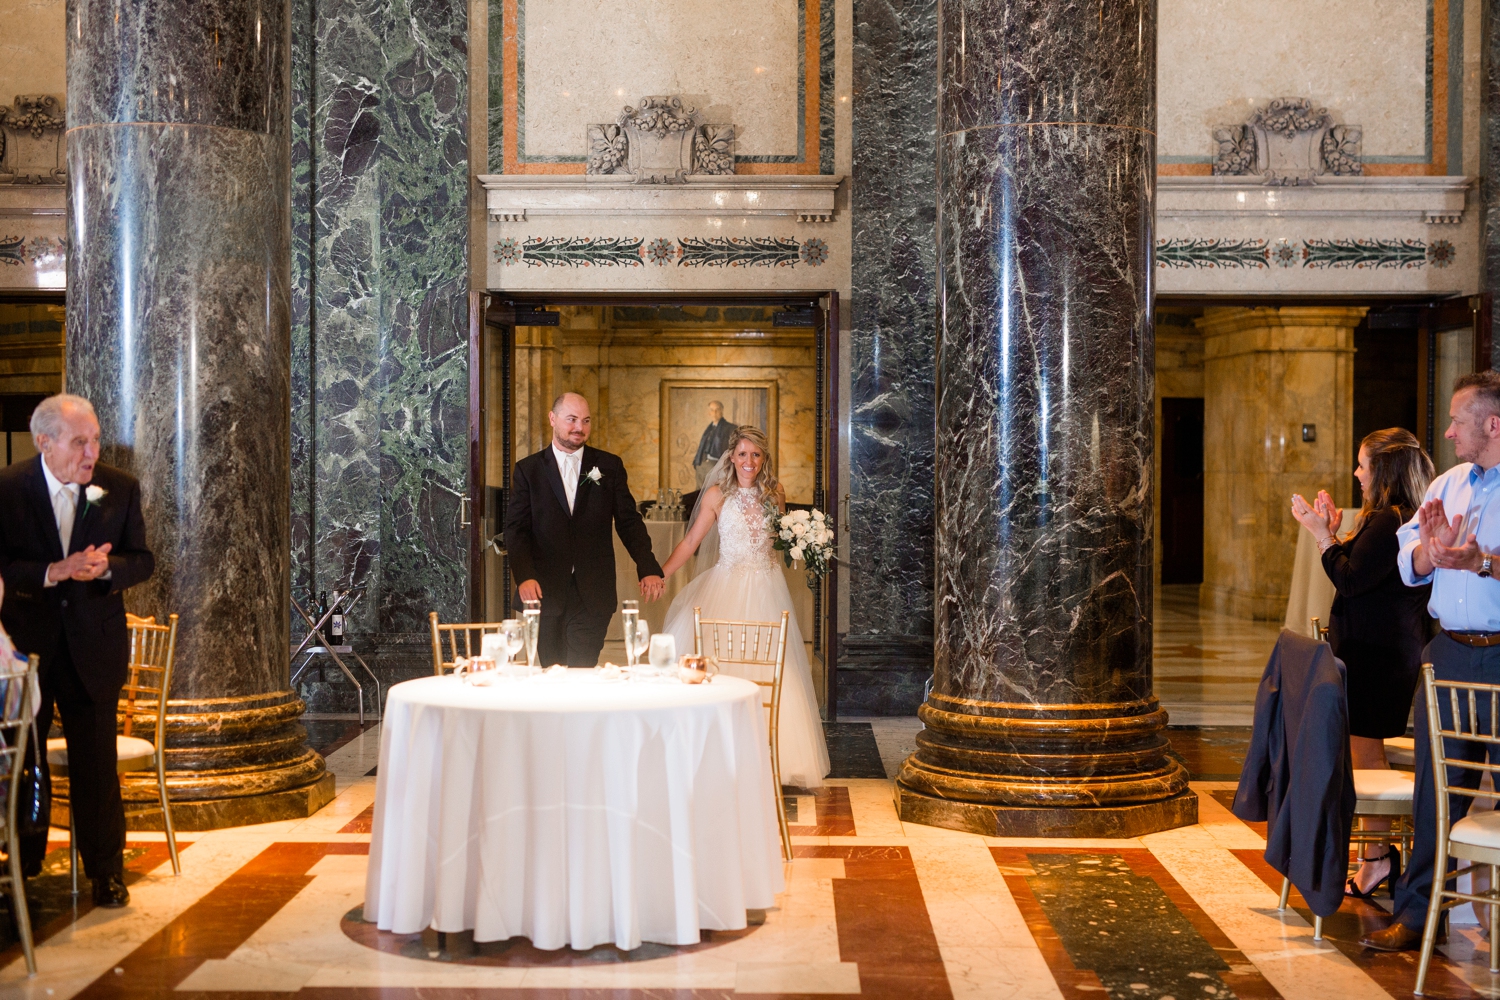
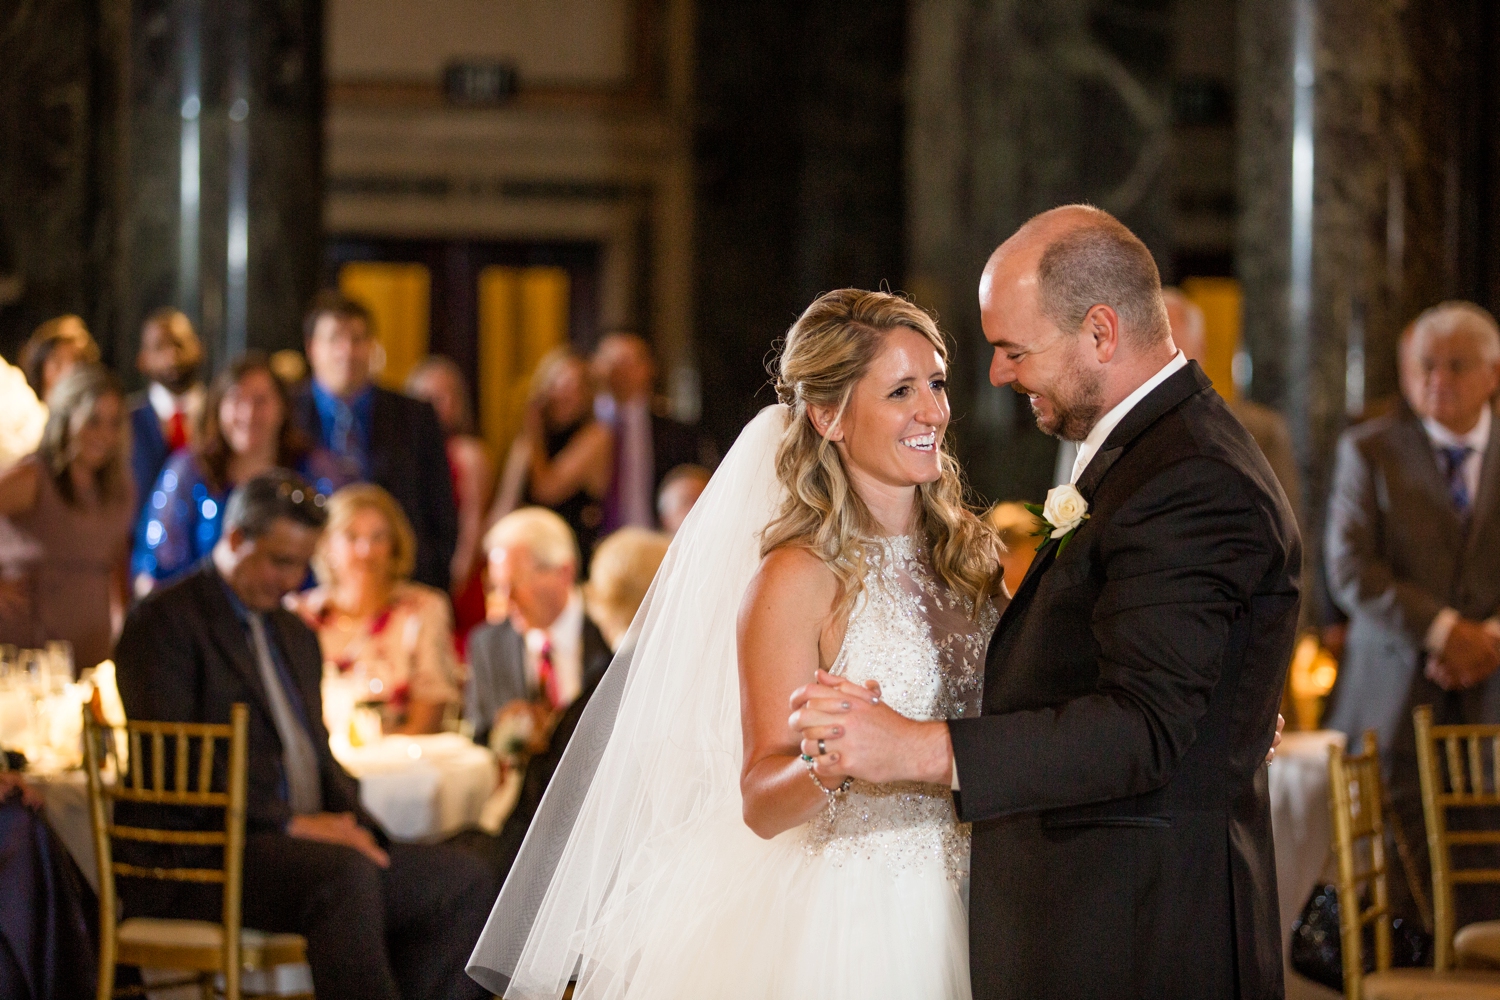
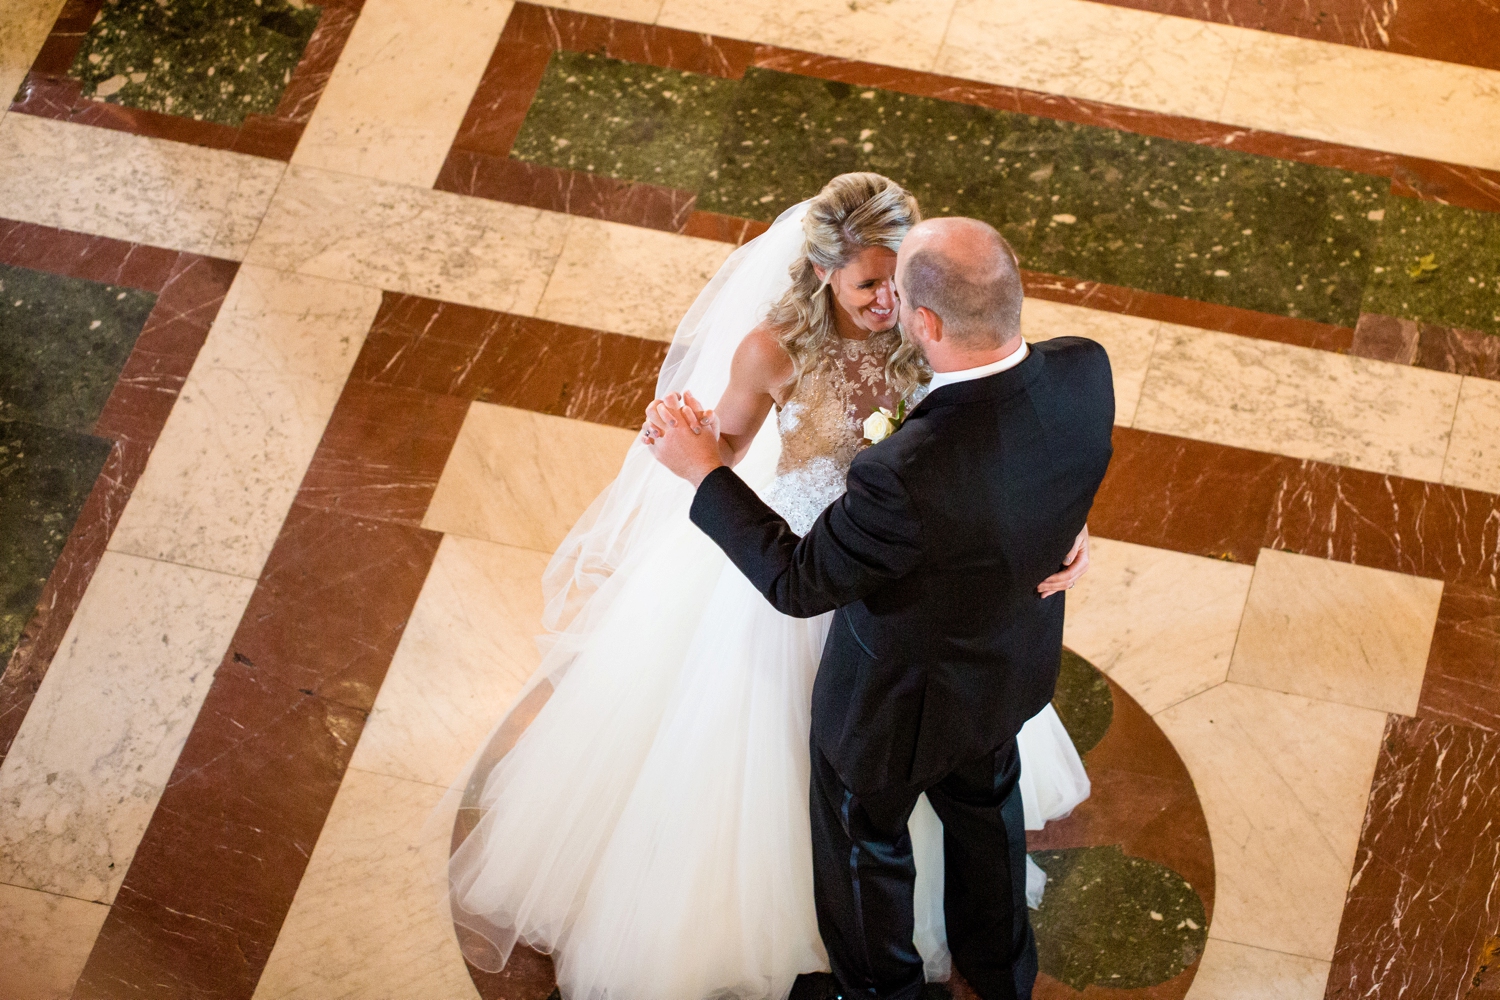
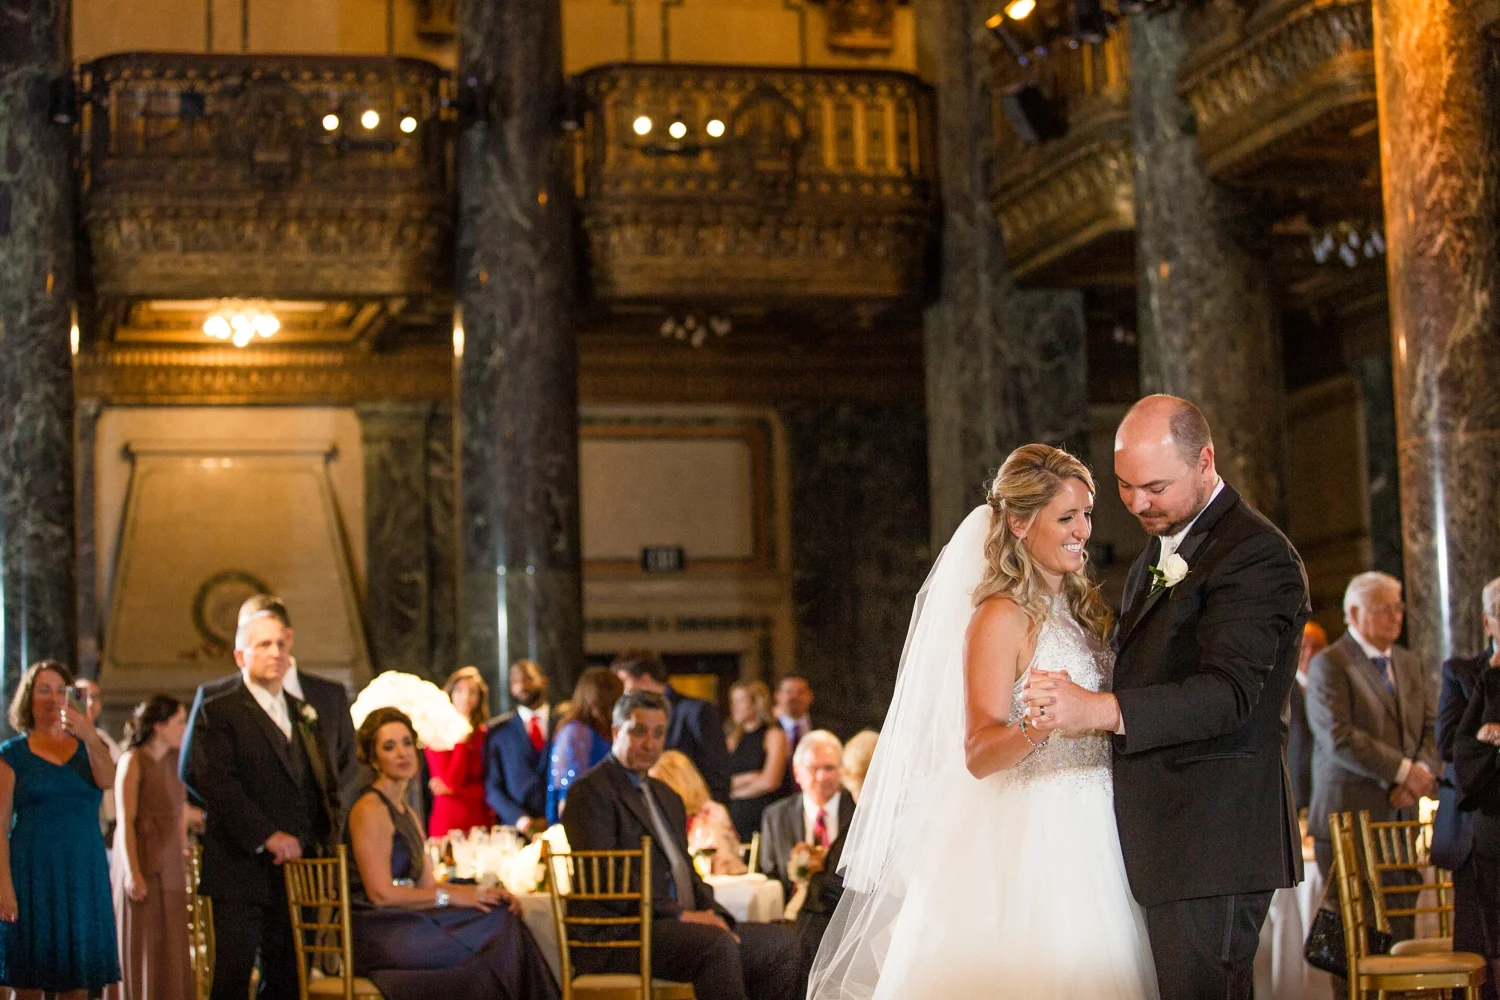
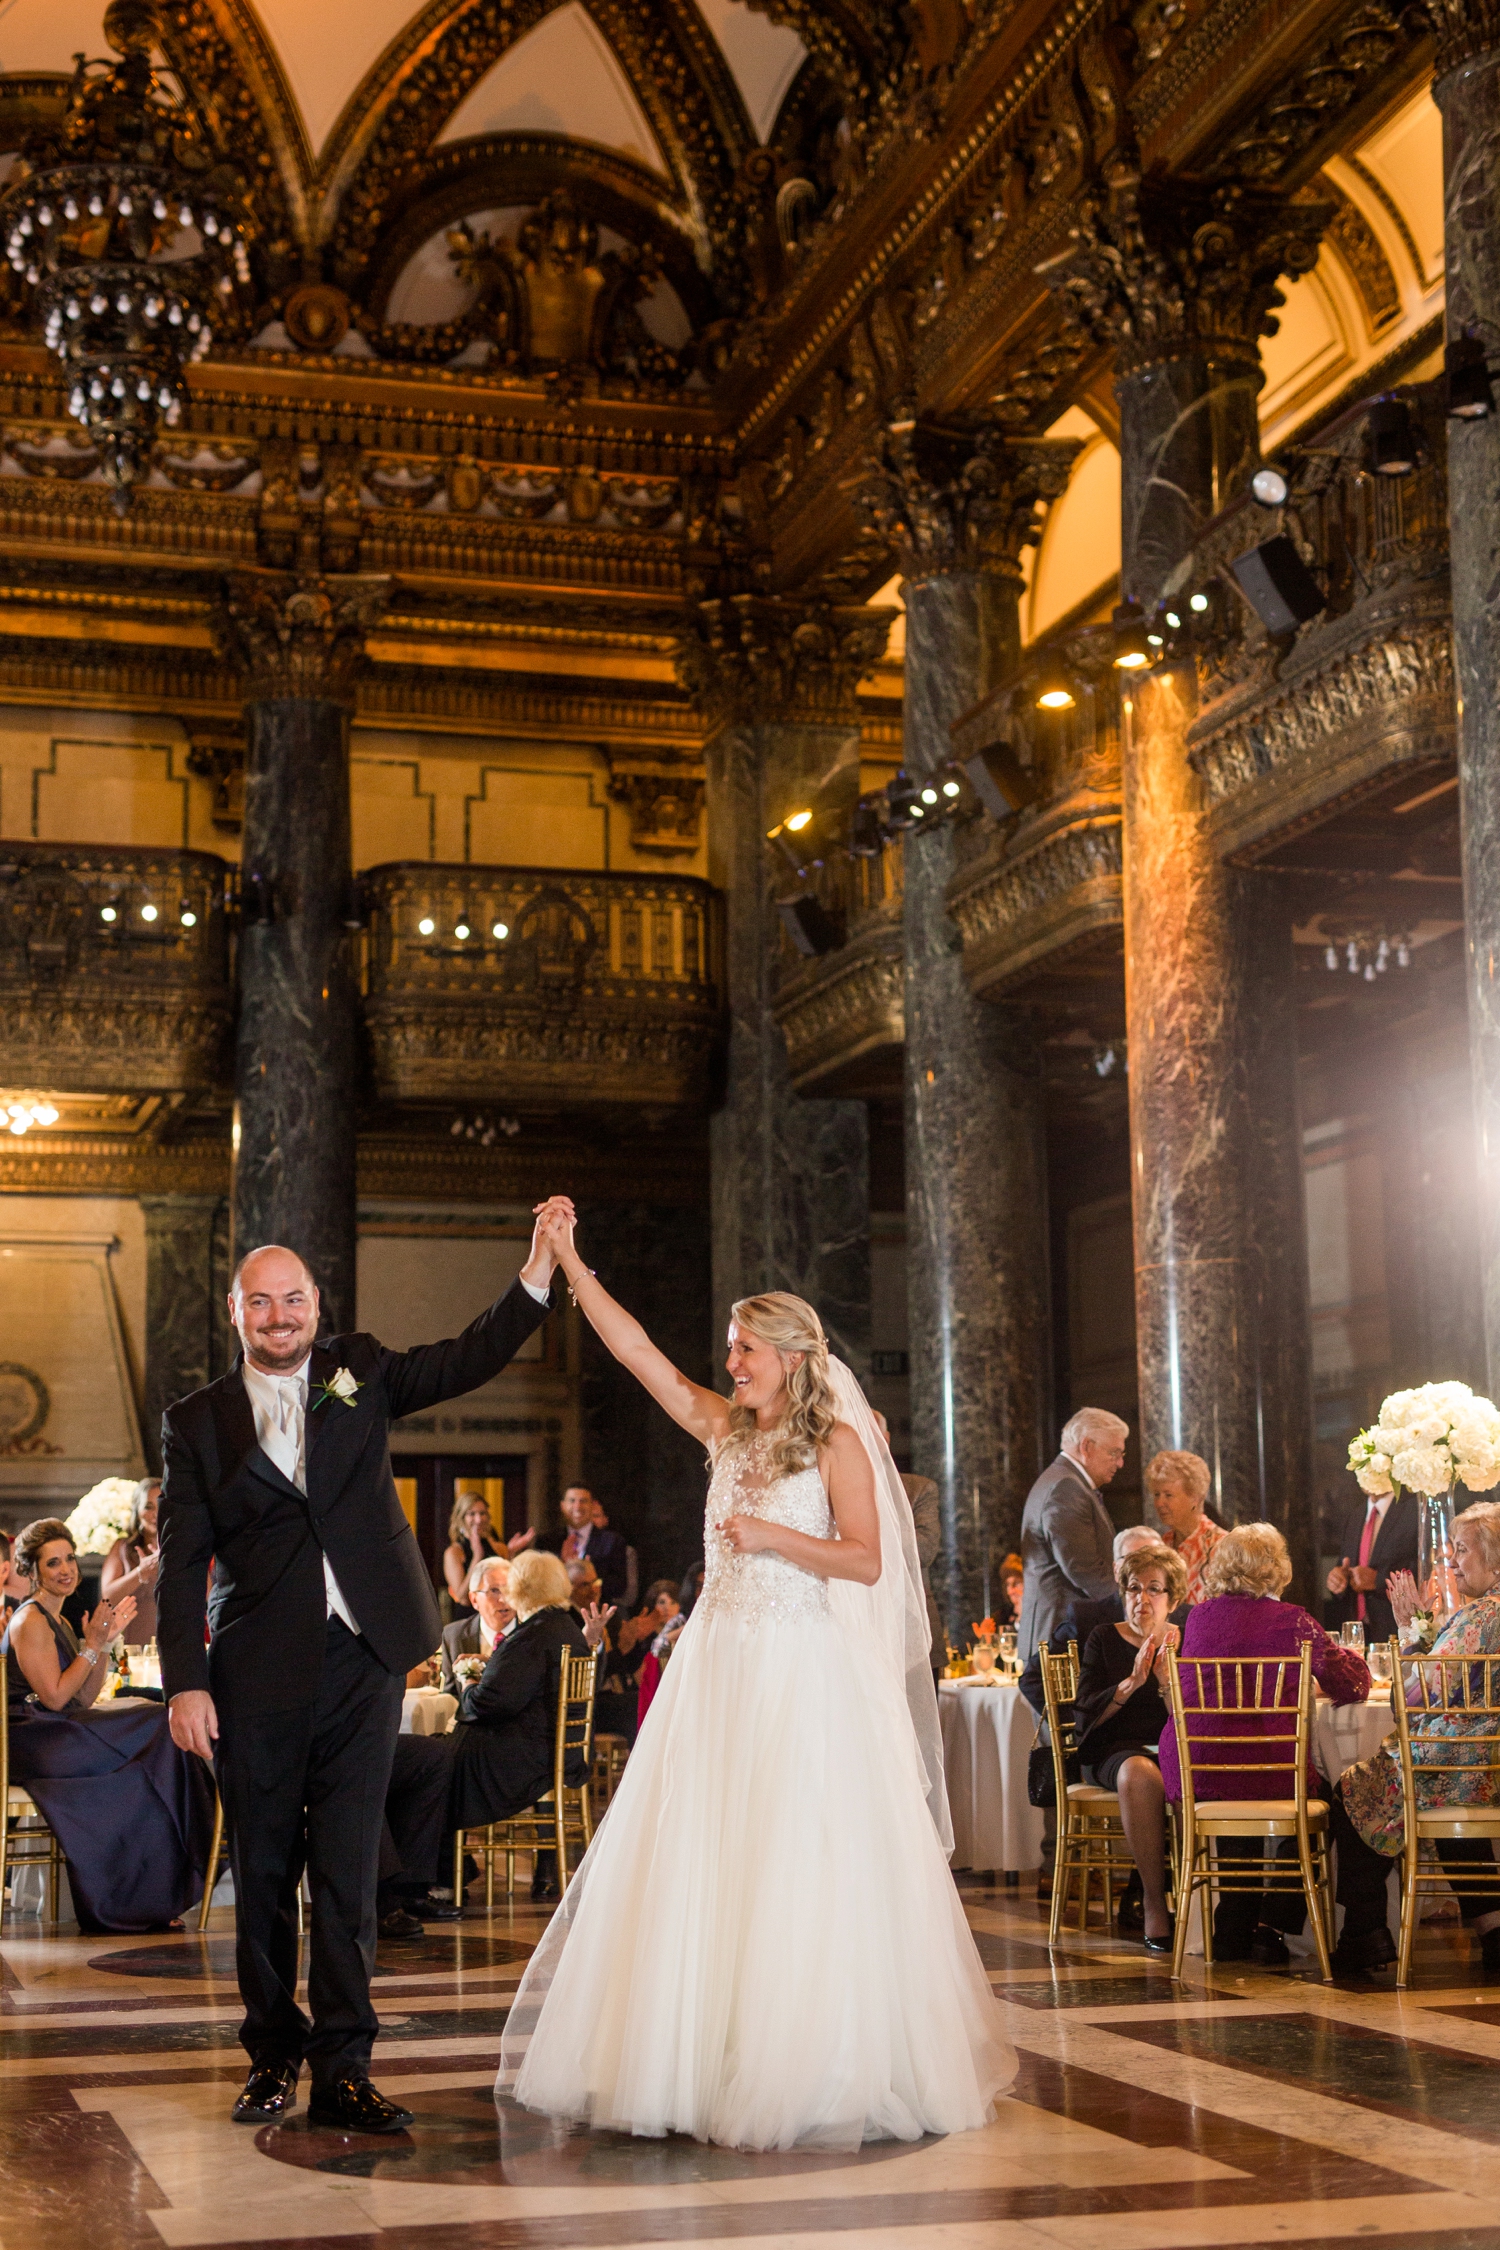
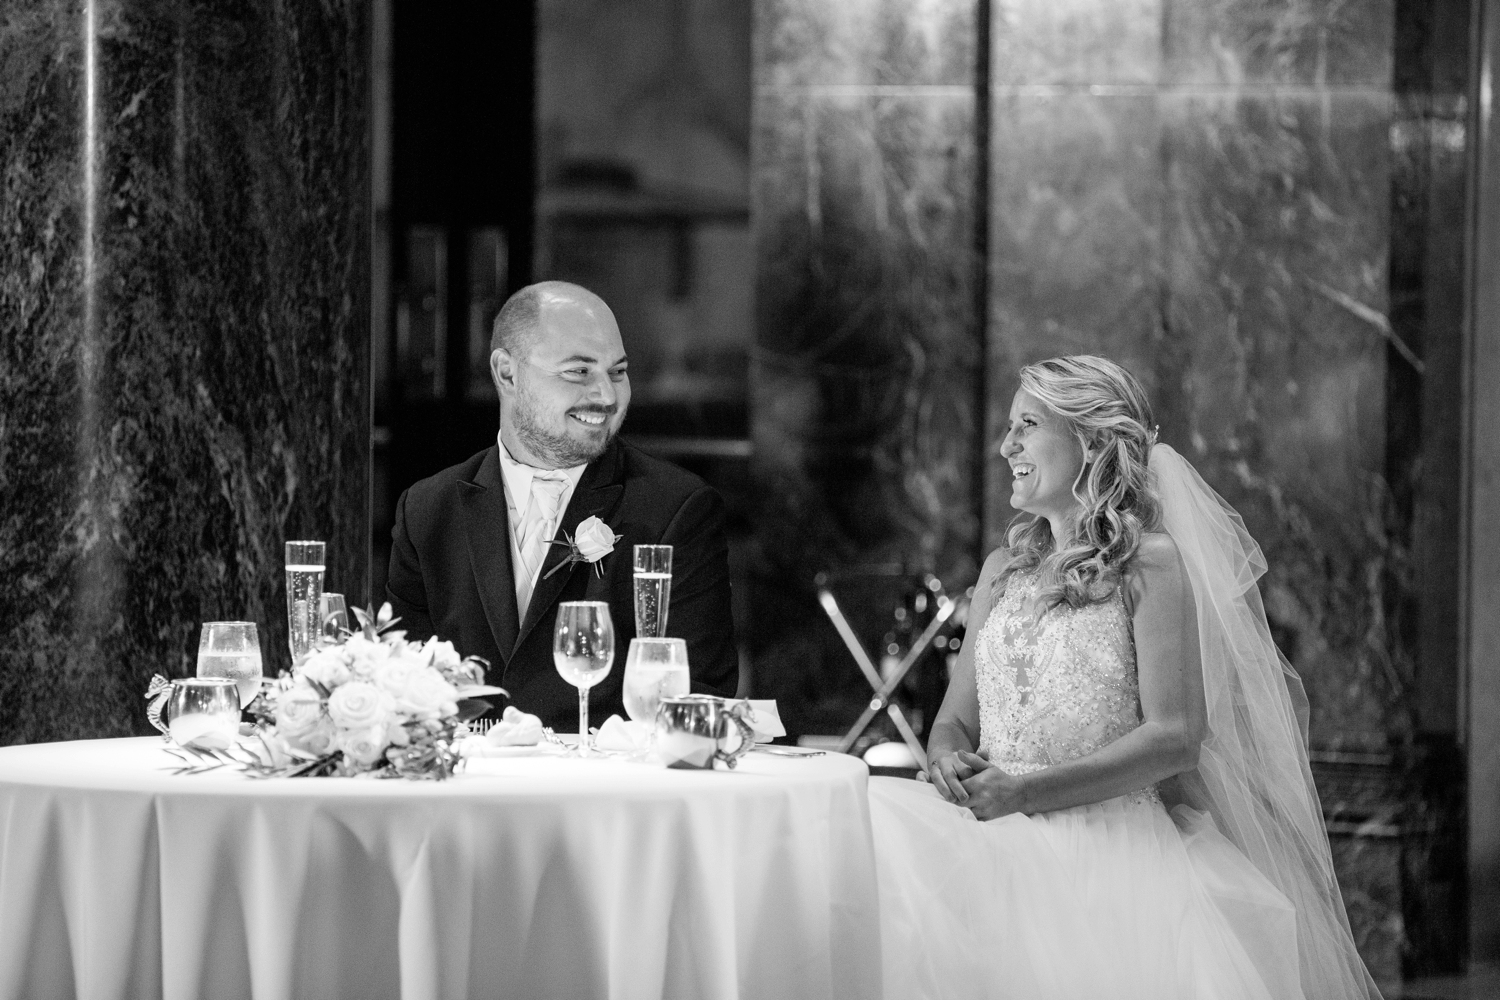
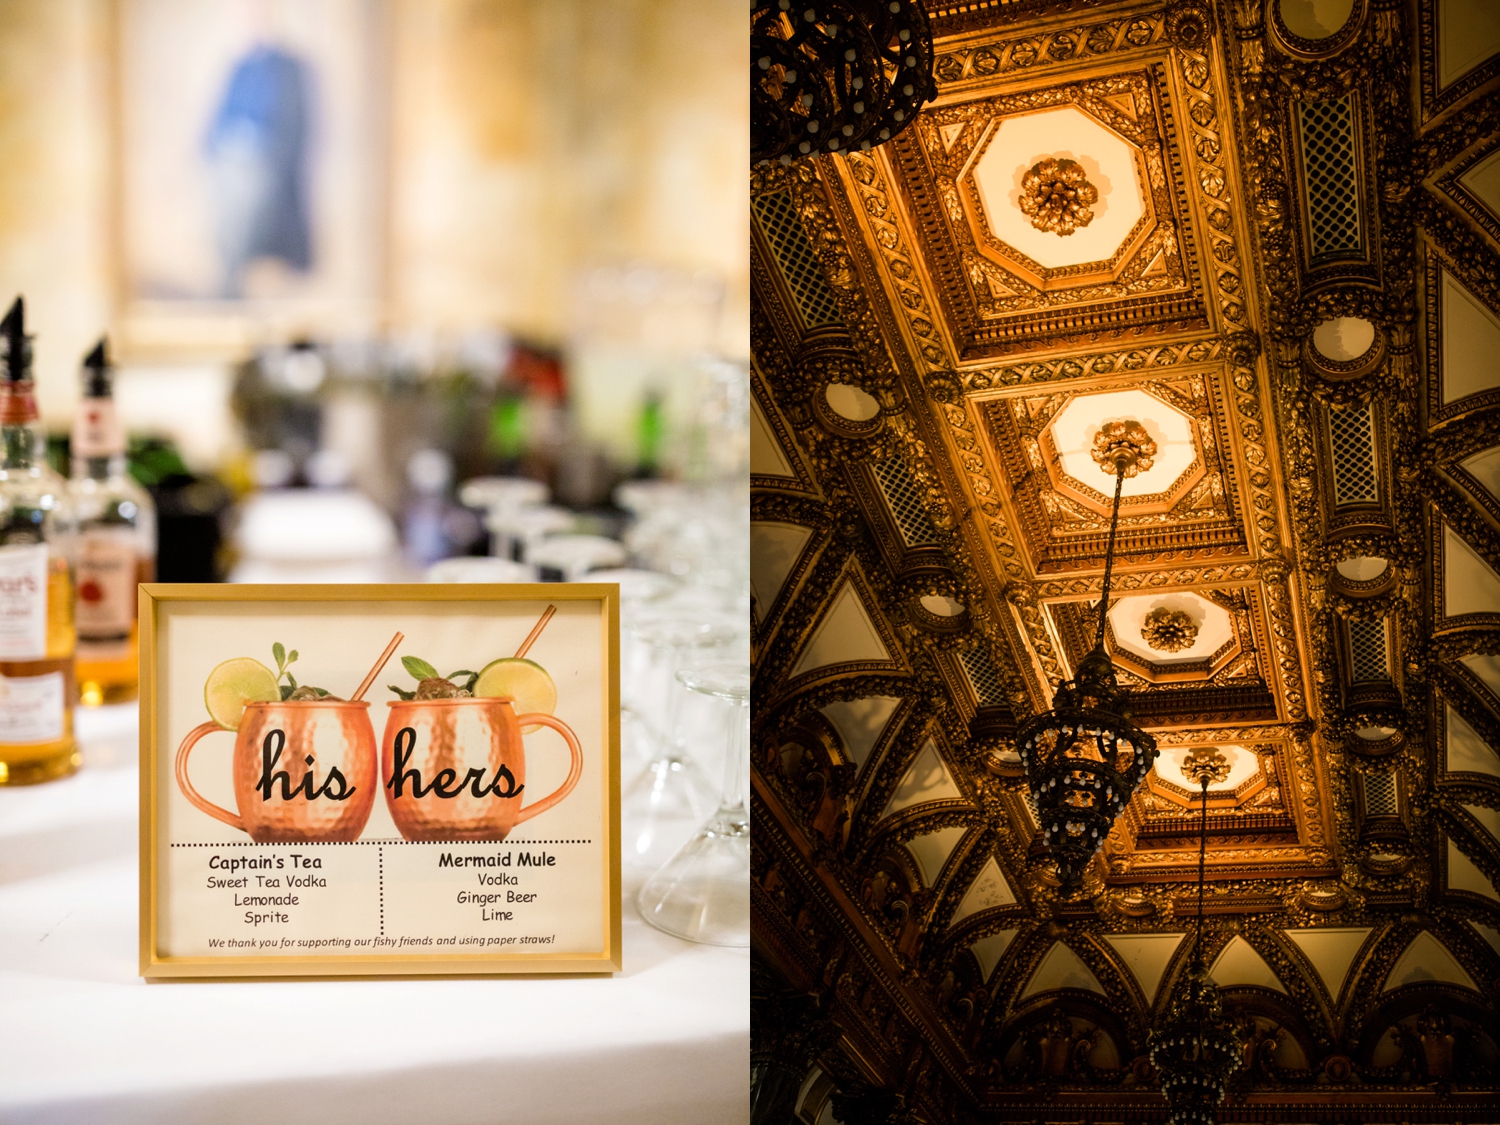
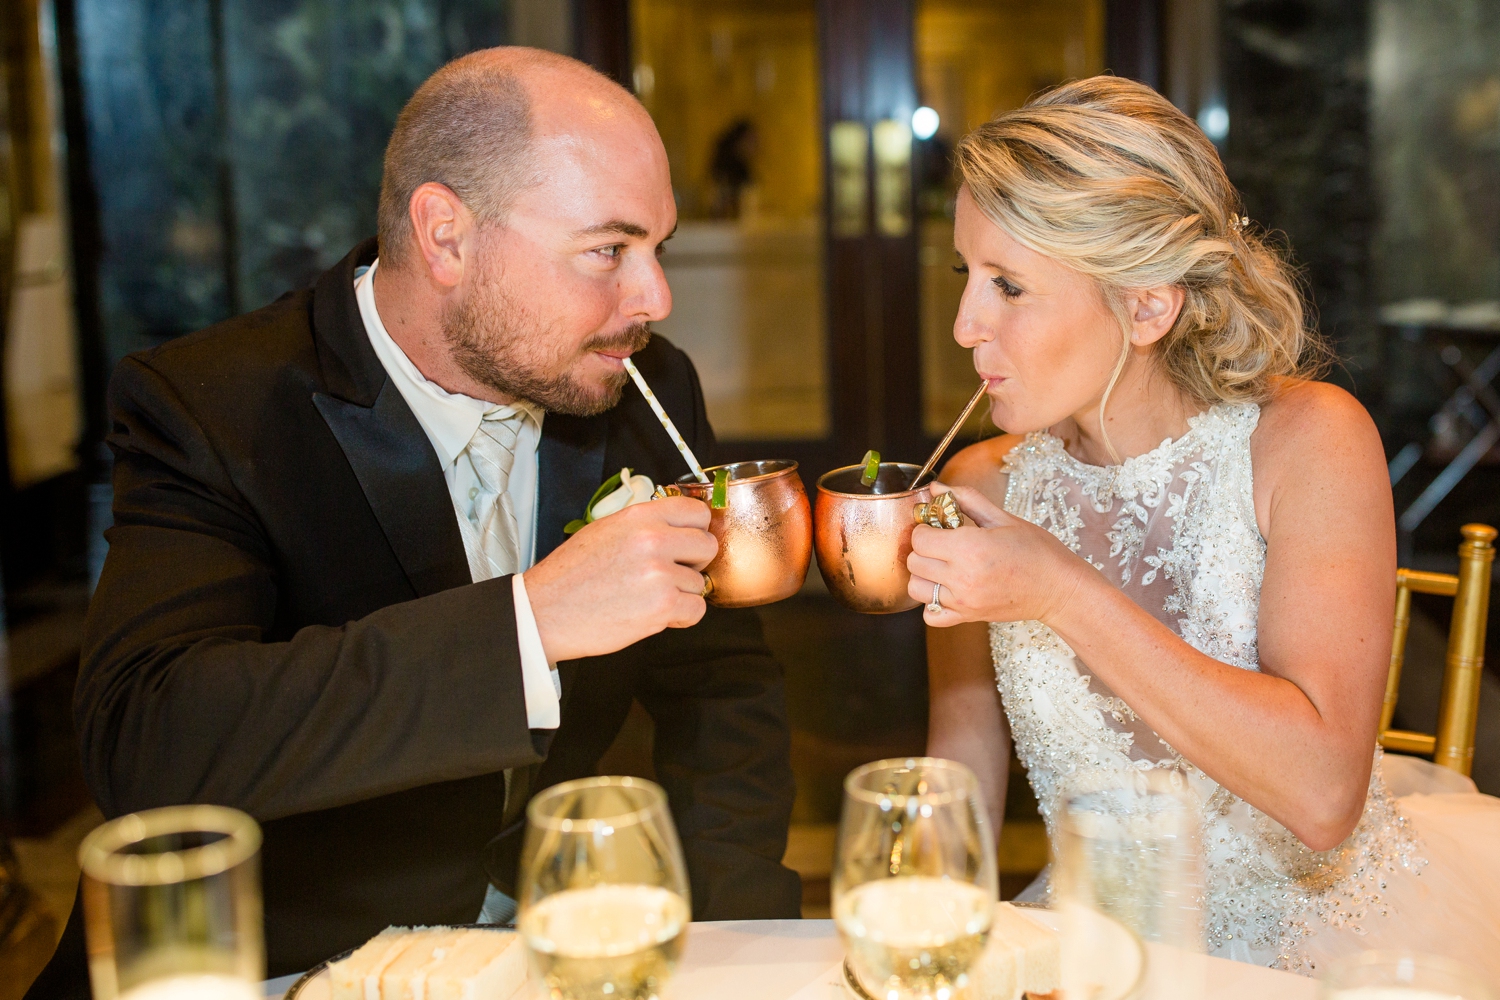
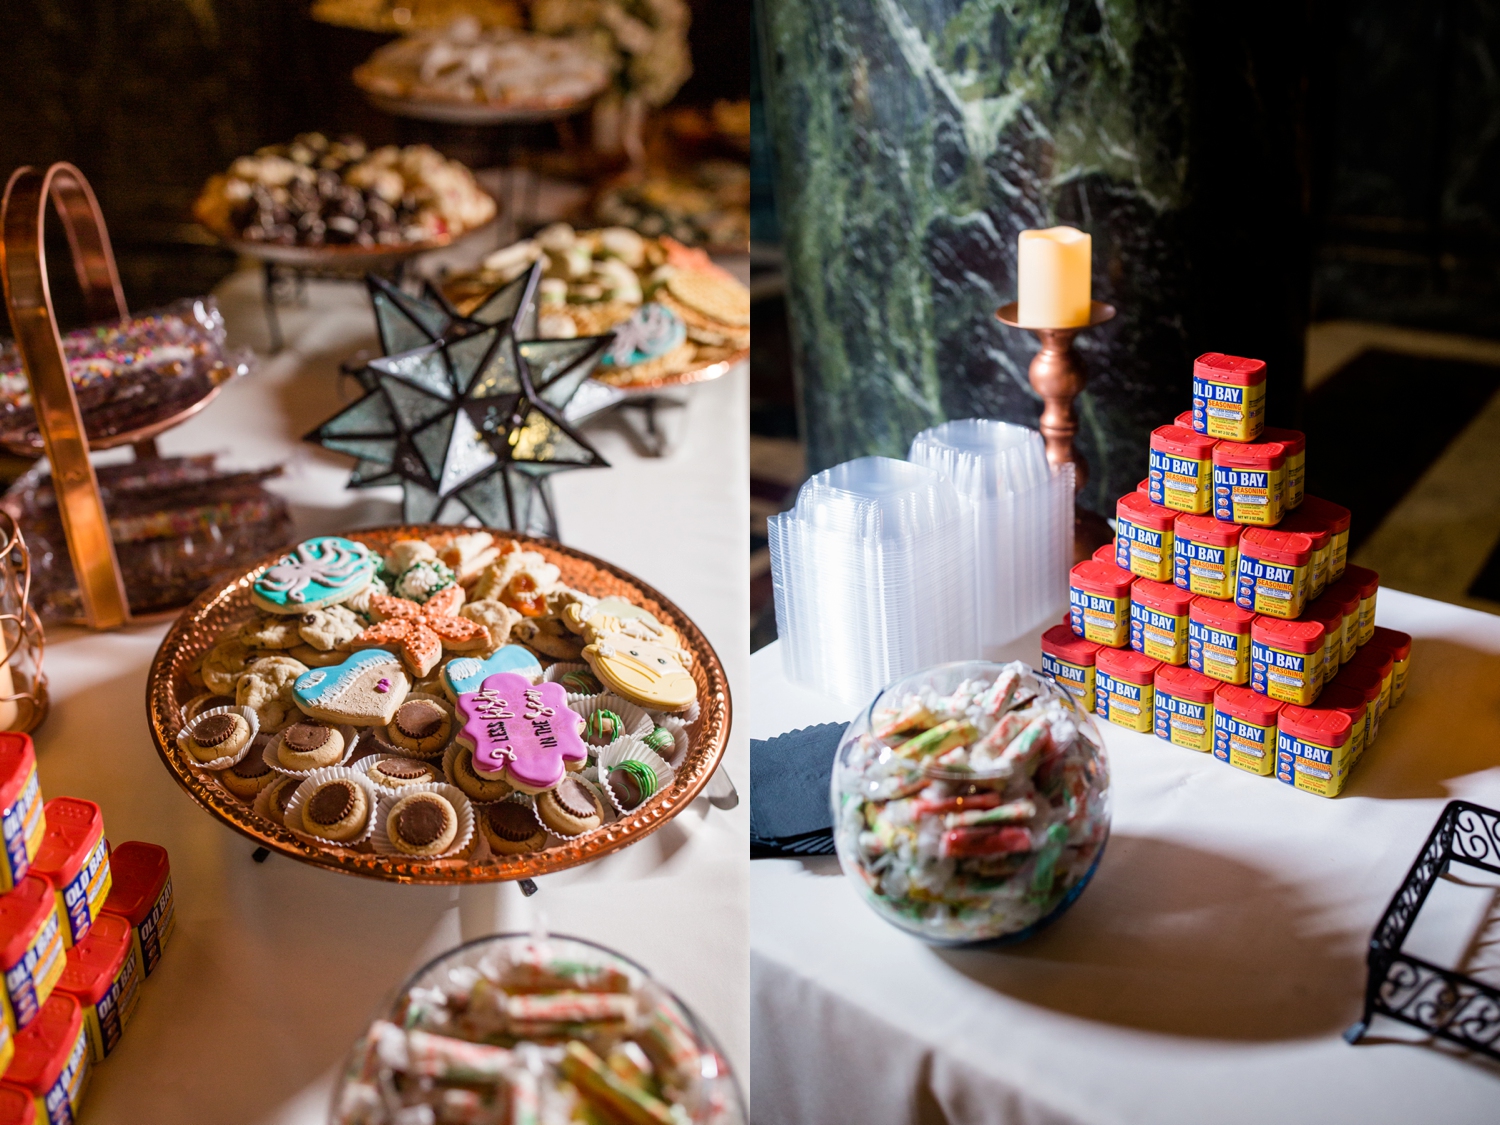
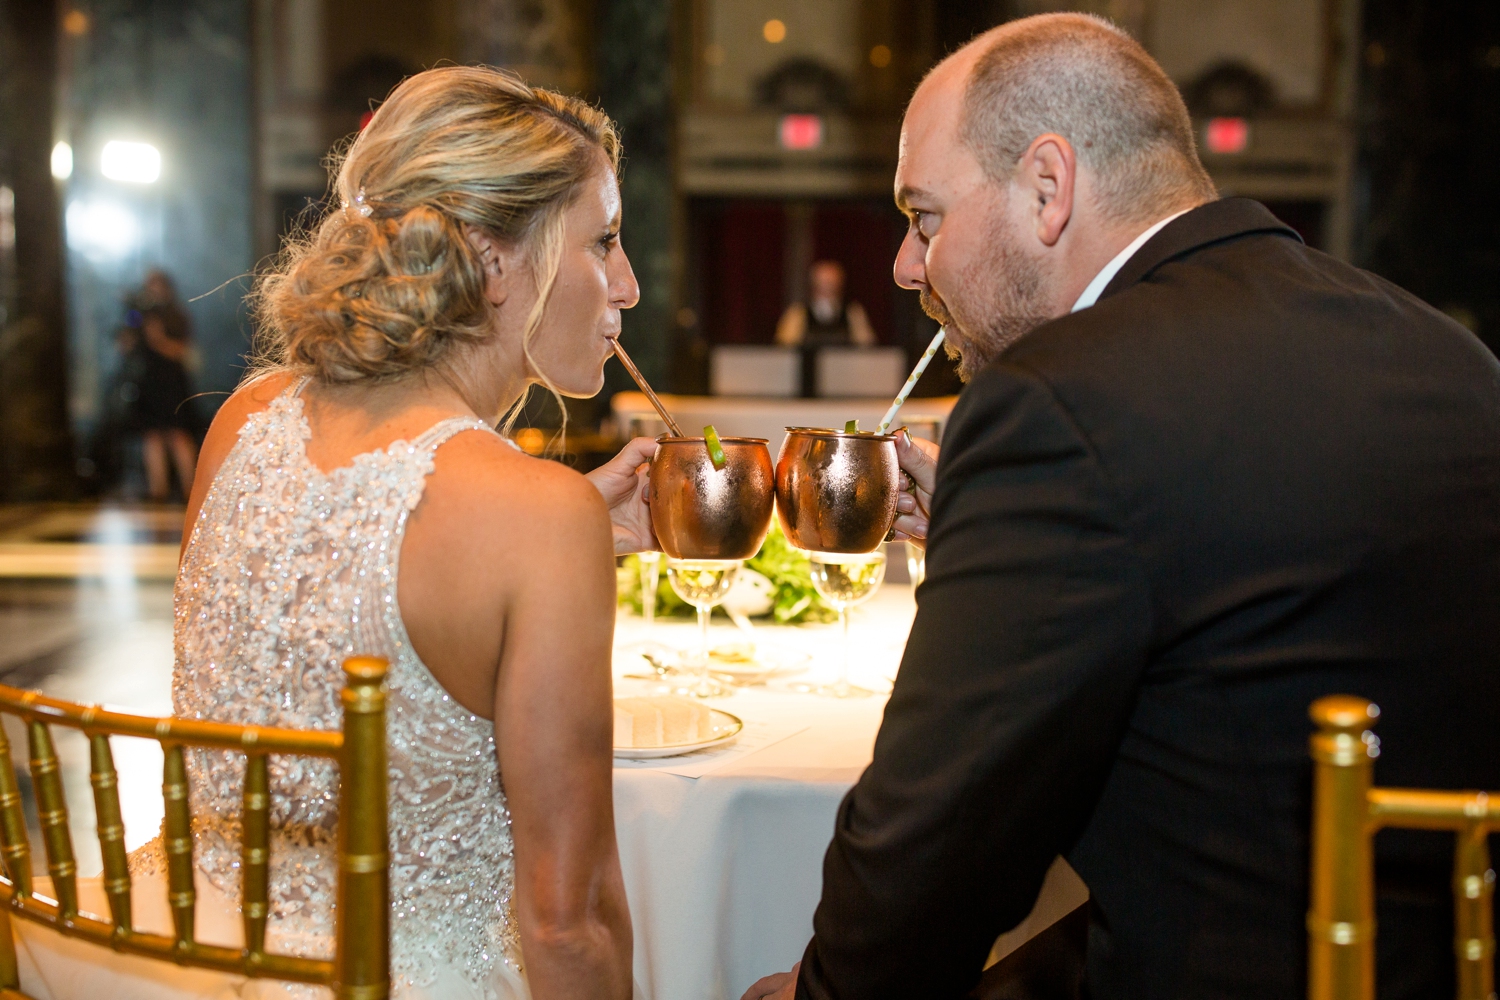
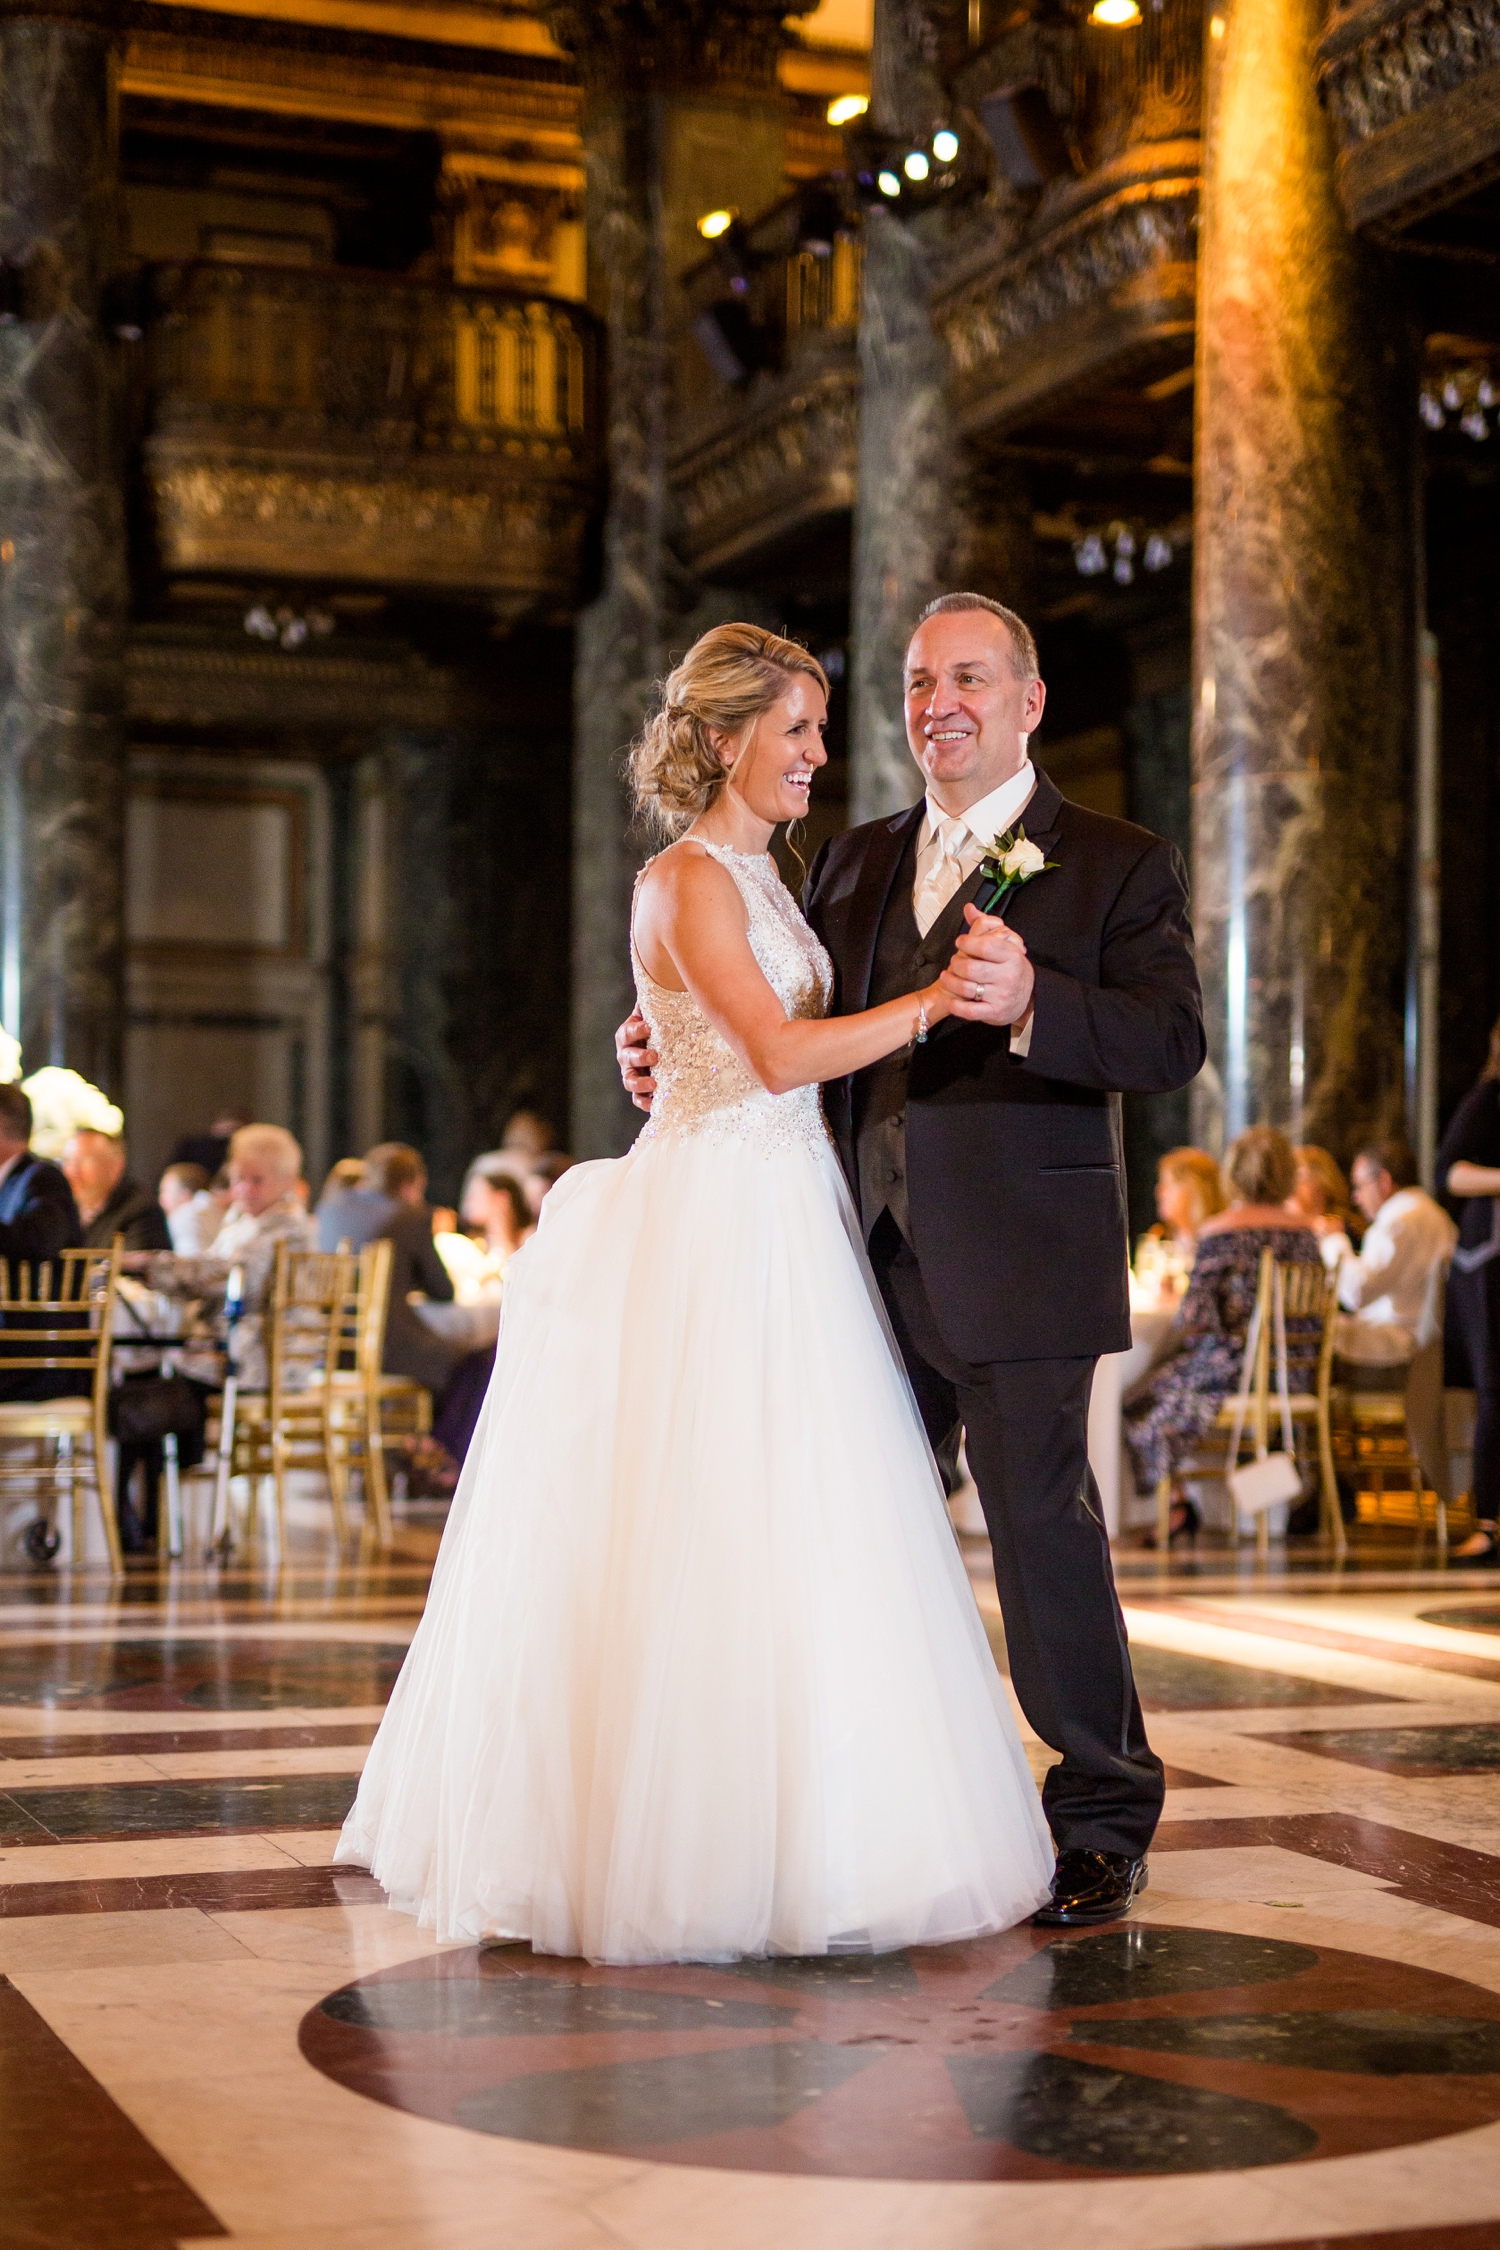
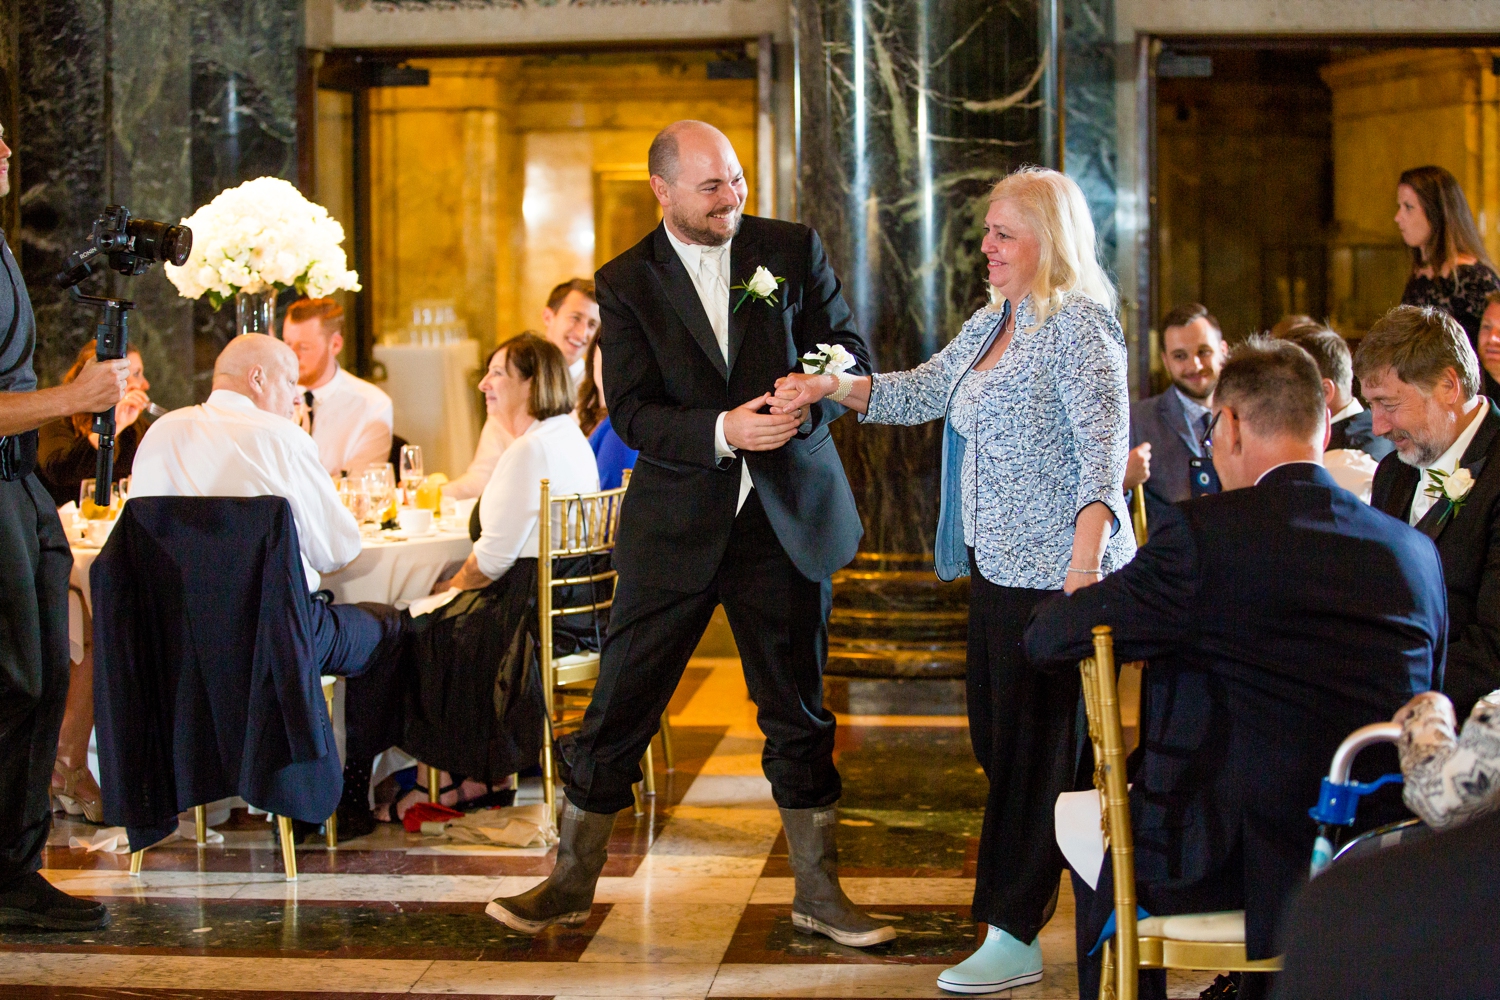
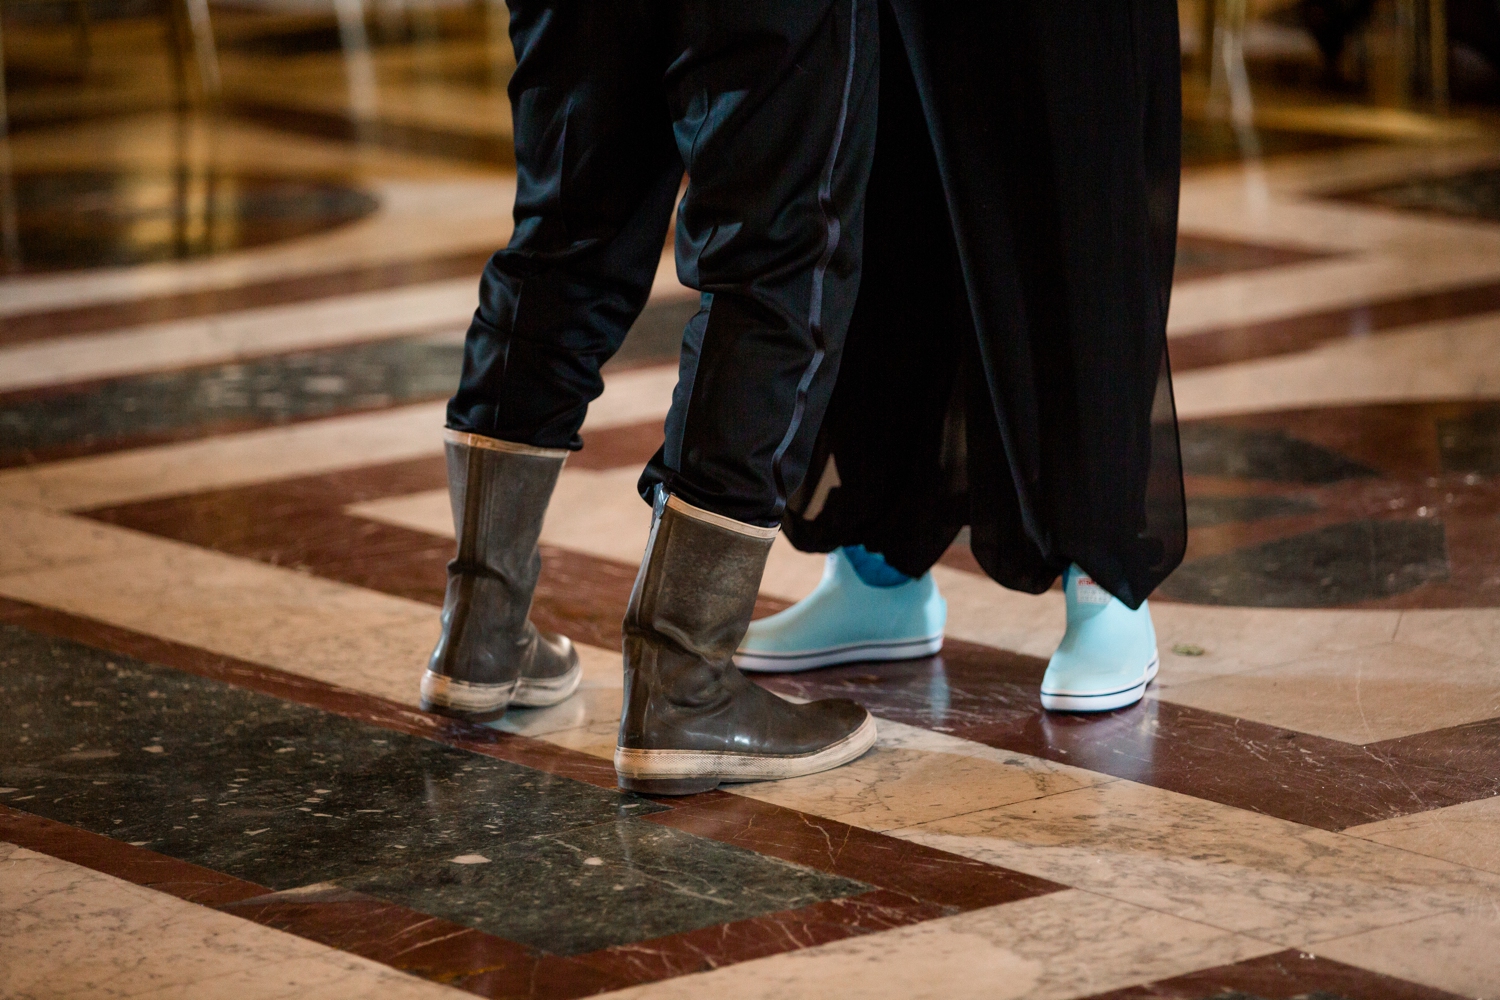
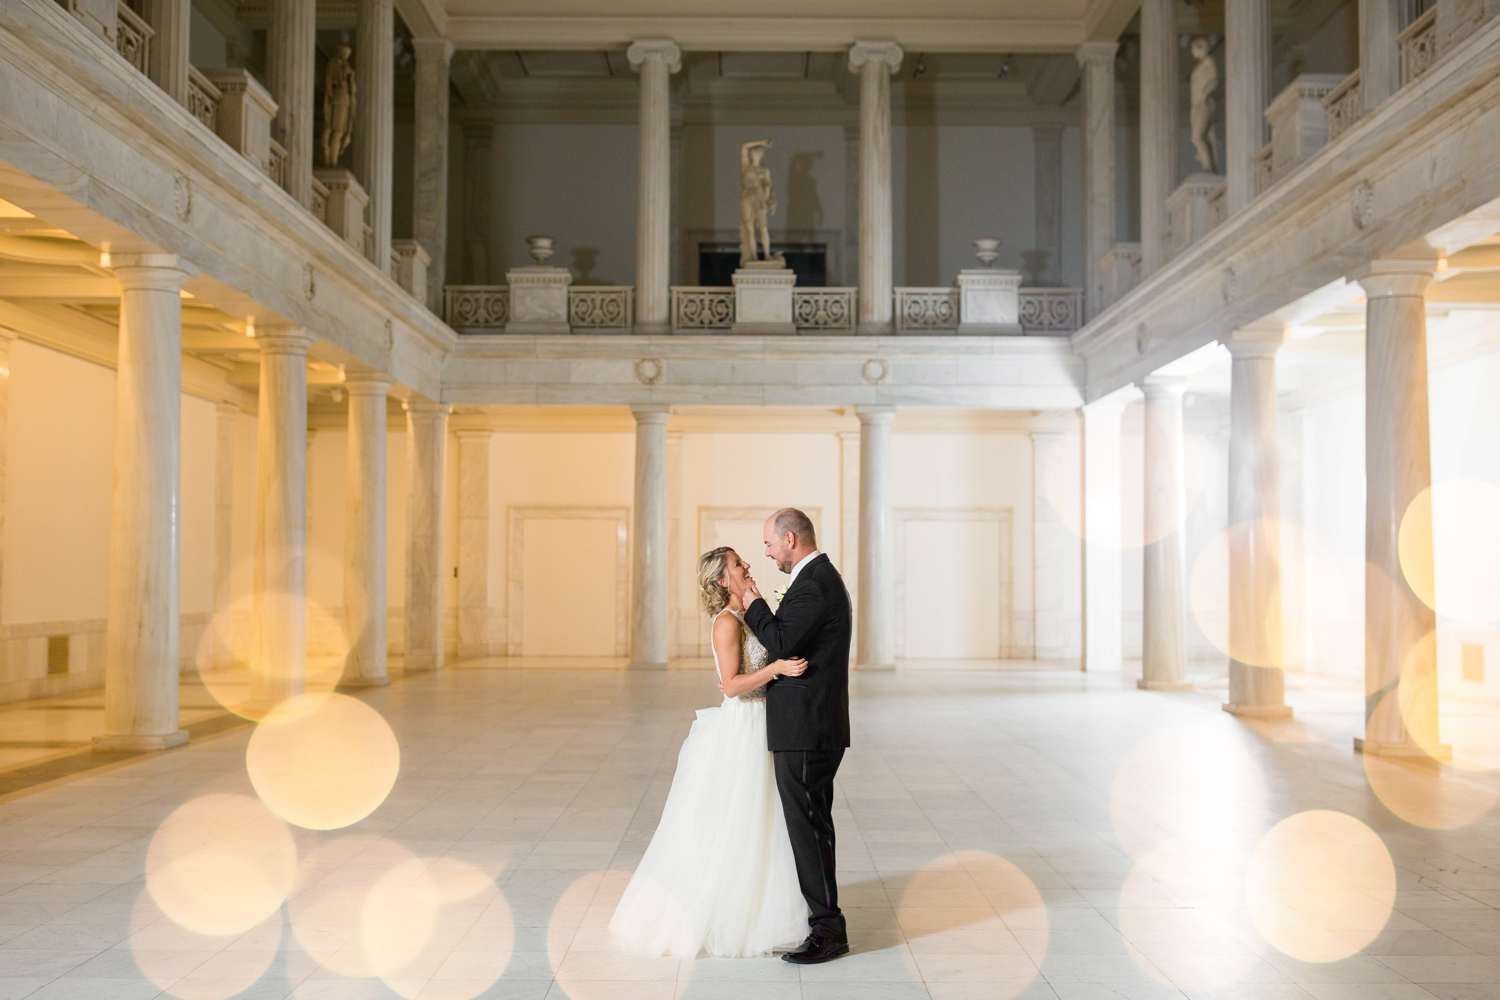
After the ceremony and photos around the museum, we headed over to the grand Carnegie Museum Music Hall Foyer for their reception. Its large, marble columns and scenic balcony overlooks make it the perfect spot for a dream reception! And here is where even more meaningful details came to life! Just to name a few: the groom’s cake, modeled to look like crabs in an ocean with Old Bay Seasoning; Old Bay Seasoning on the cookie table for guests to take home; the most adorable fish, mermaid, and sloth cookies; signature drinks, including the “Captain’s Tea” and “Mermaid Mule”; and to top it all off, Max and his mom danced during their mother-son dance in fishing boots!

The attention to detail and thought behind each piece of the wedding day completely blew my mind! What an incredible honor it was to be a part of this beautiful day. Congratulations on your marriage, Jenny and Max! There are officially two less fish in the sea 🐟🐠 (I couldn’t resist!). Enjoy a sampling of their images below!

Vendors:

Ceremony: Carnegie Museum of Natural History, Hall of Architecture

Reception: Carnegie Museum of Natural History, Music Hall Foyer

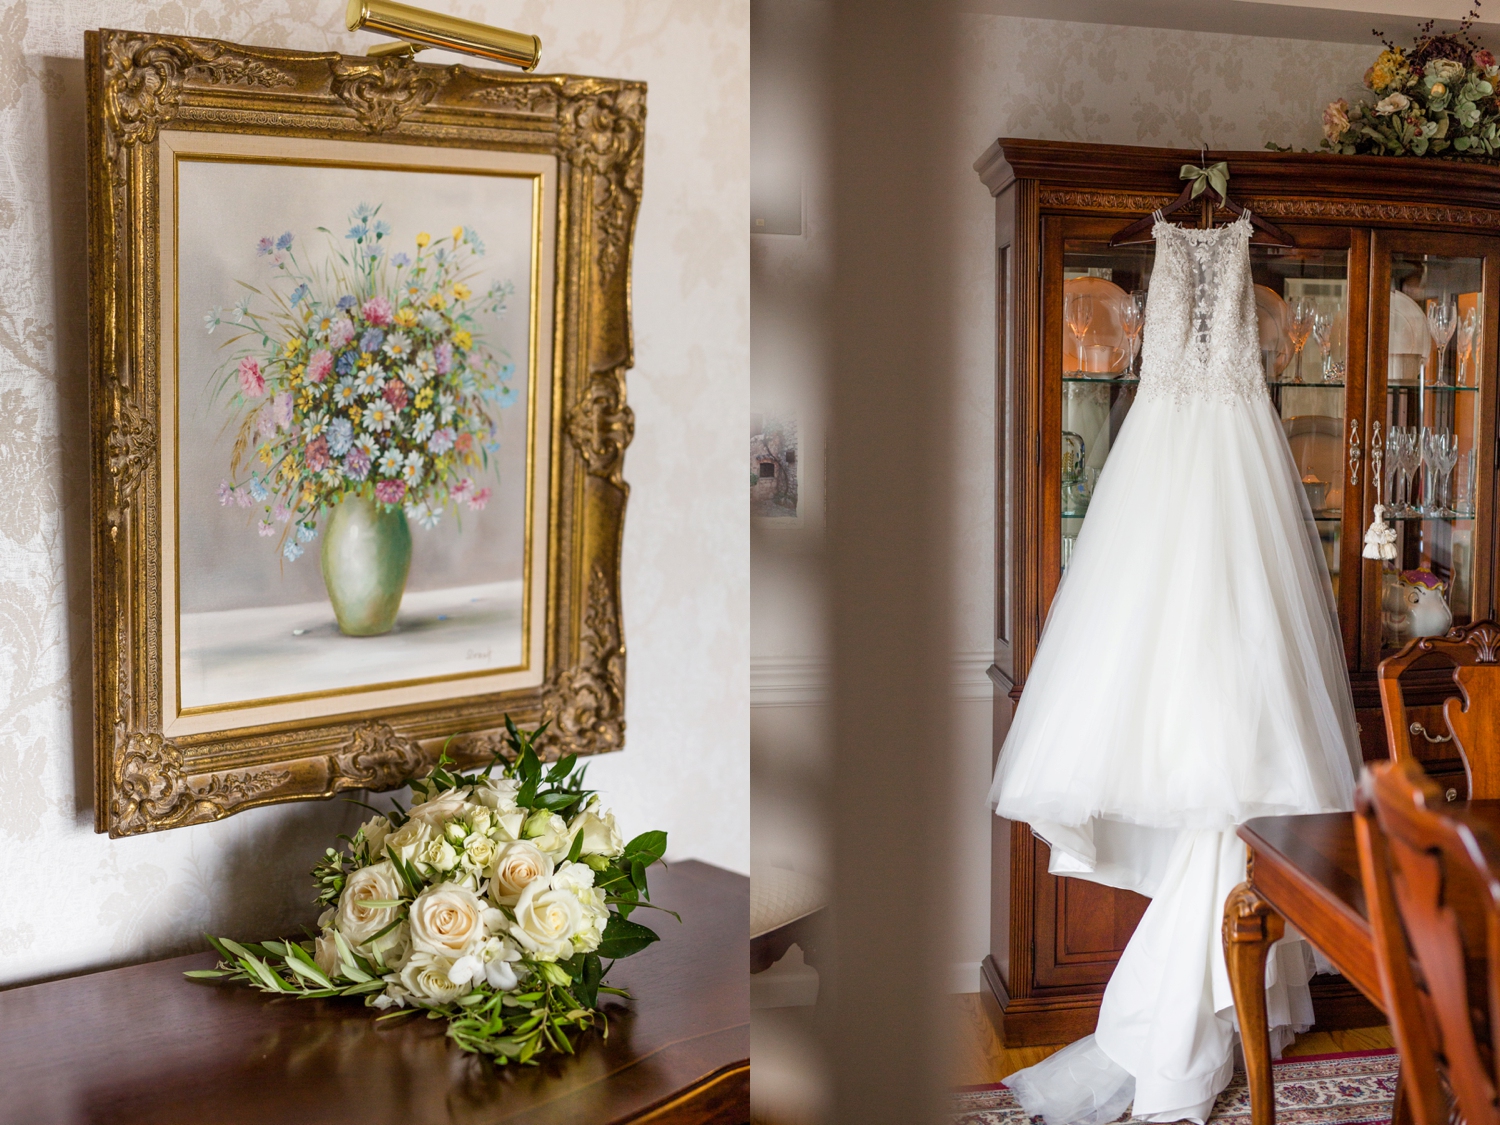
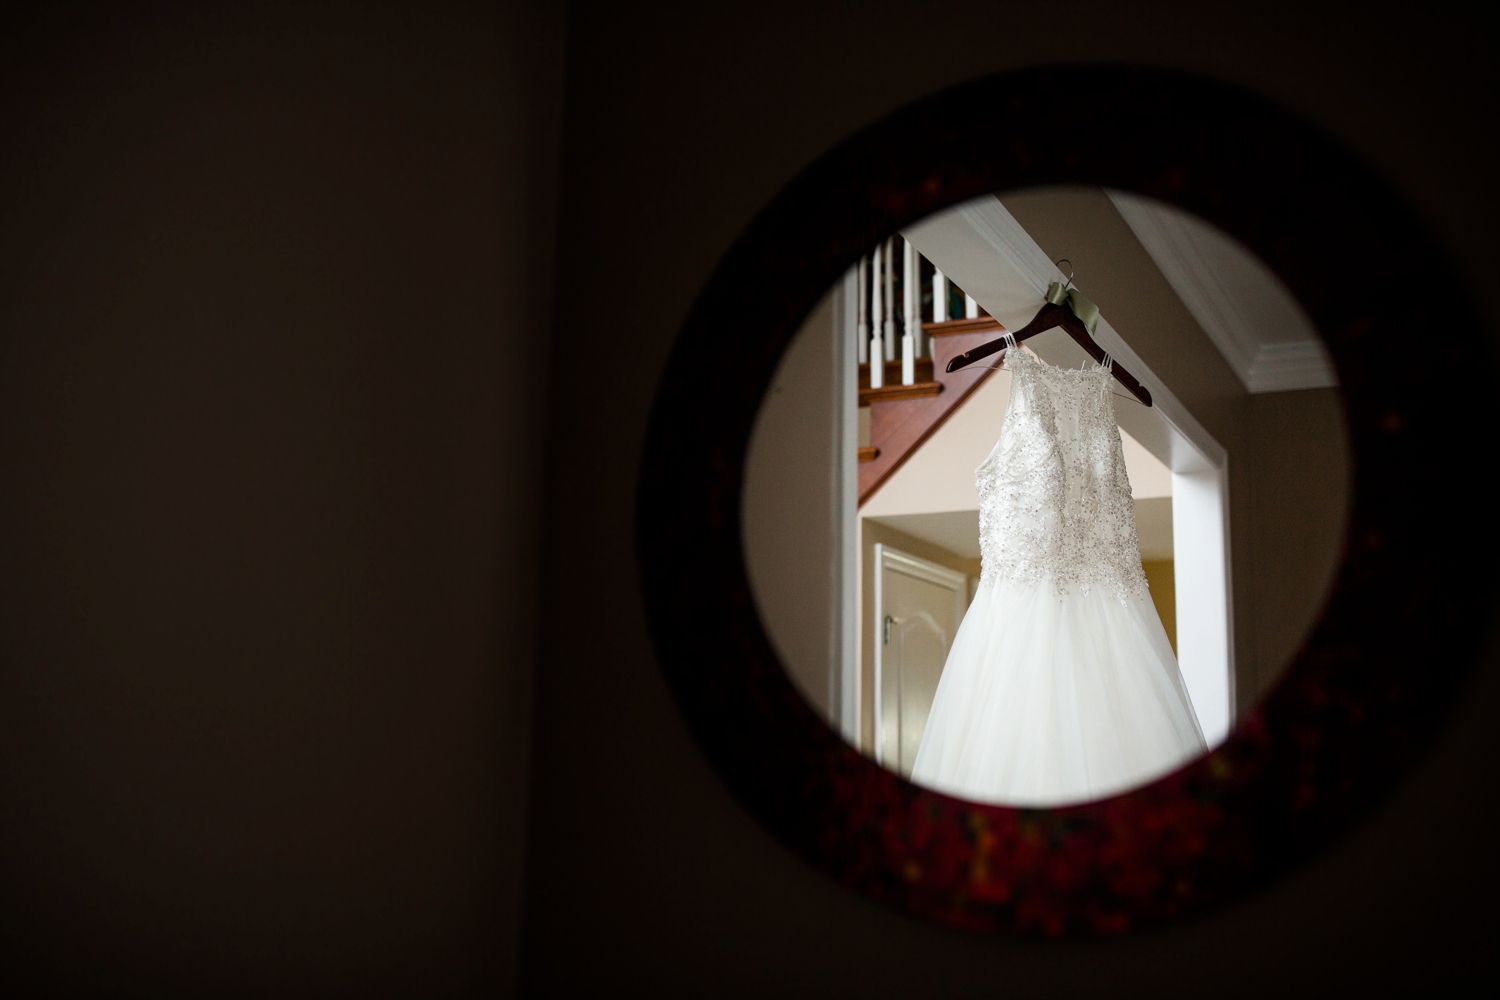
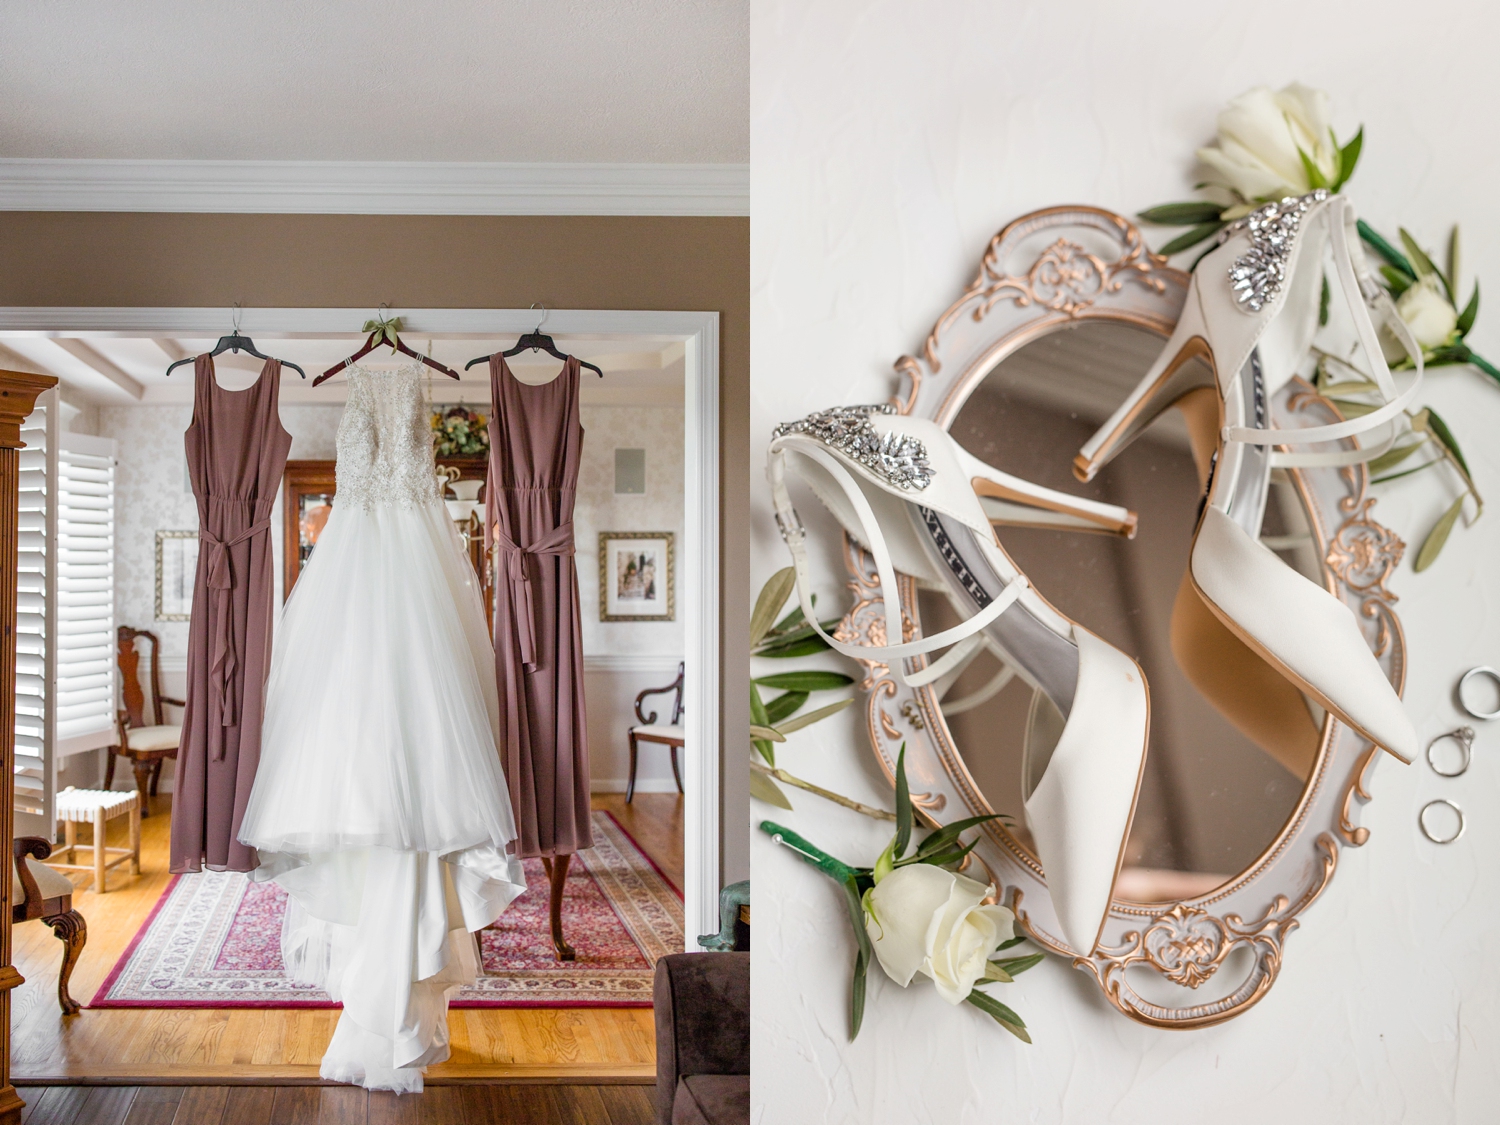
Bride’s Dress: The Exquisite Bride, Maggie Sottero Designs

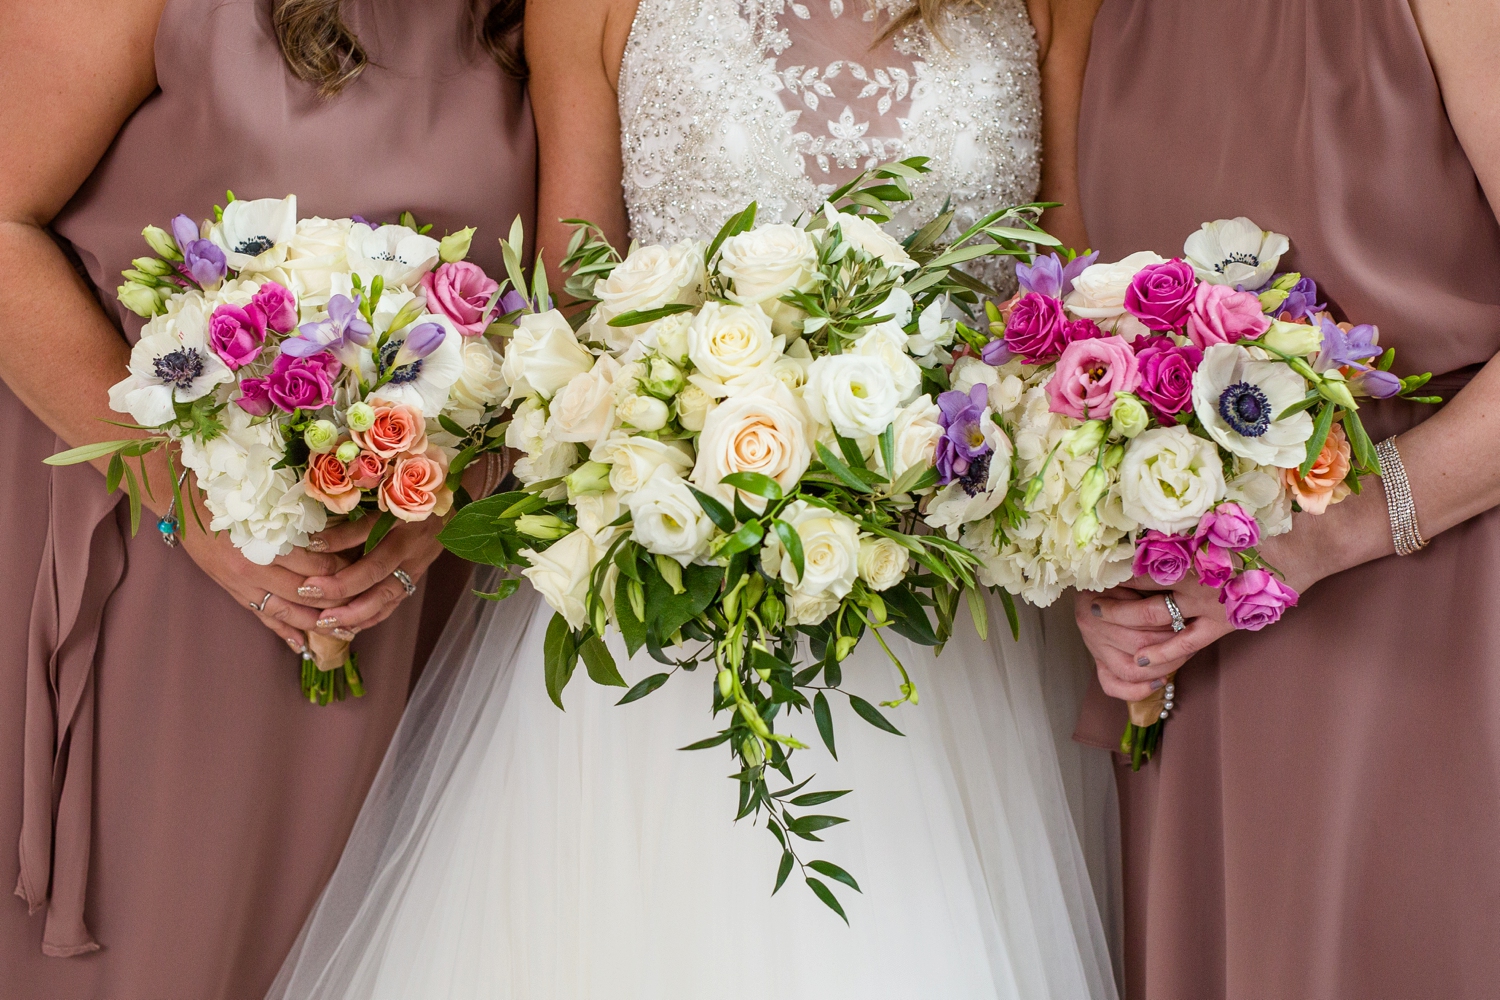
Bridesmaid Dresses: Joanna August

Invitation Design: Nicky Armstrong

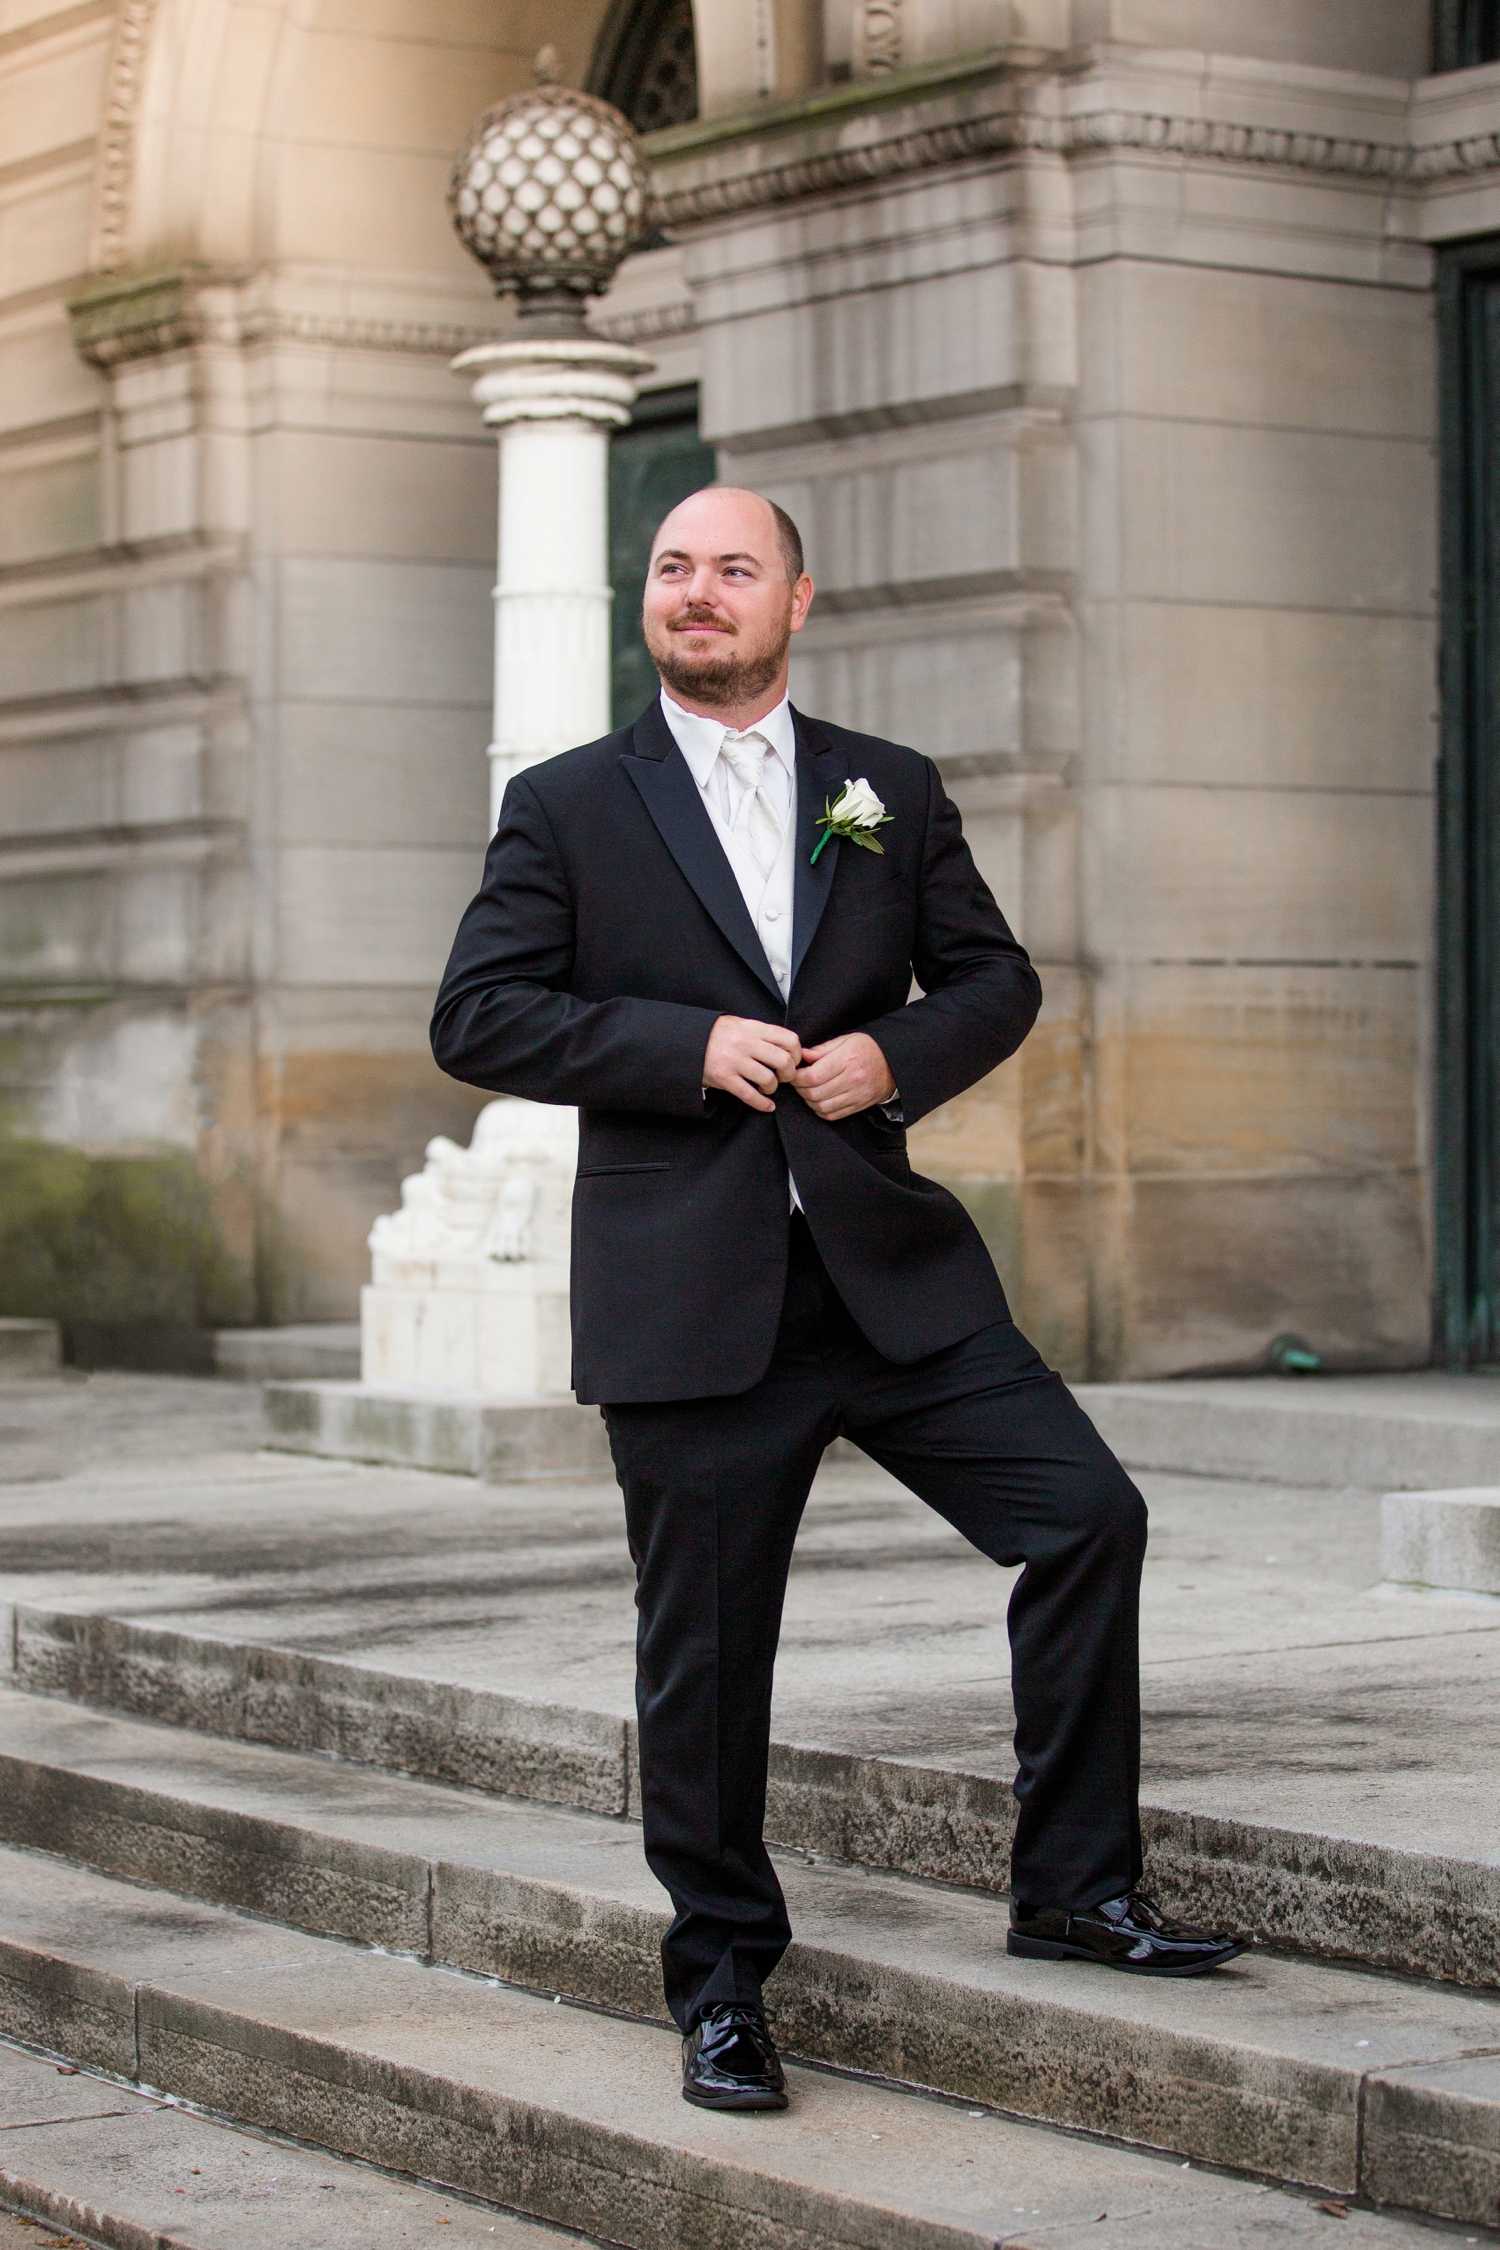
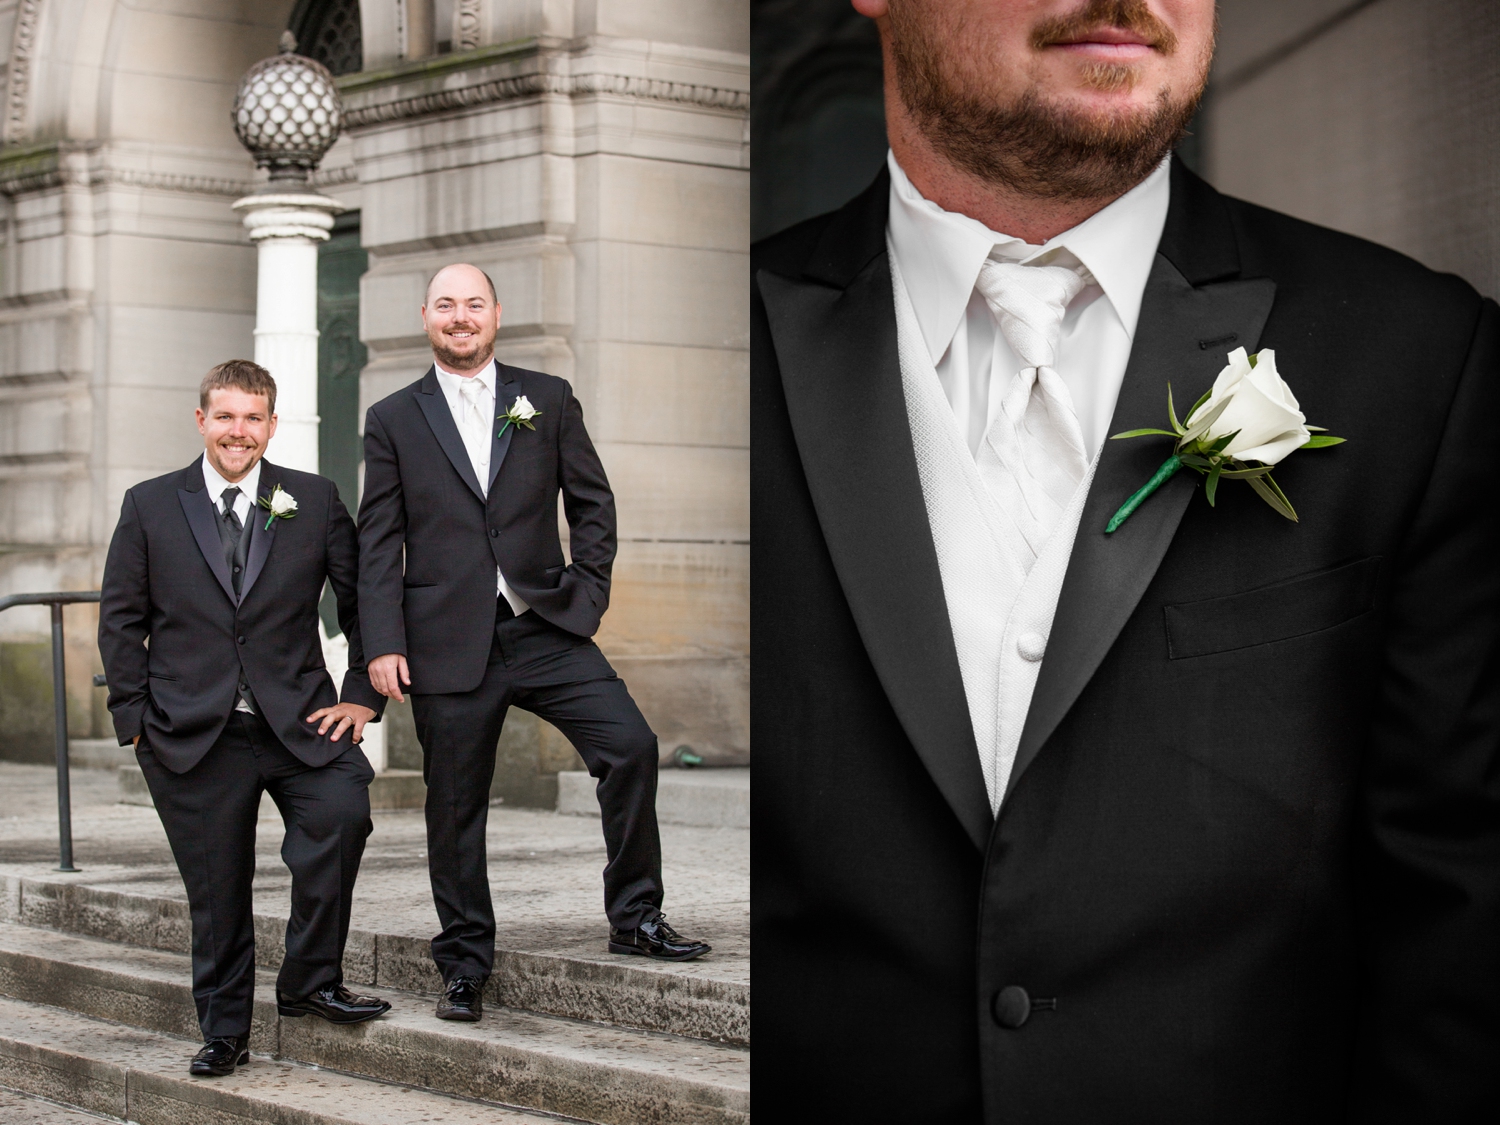
Menswear: Jack’s Tuxedo

Hair: EnV Hair Studios

Floral Design: Dan’s Florals

Cake: Carnegie Museum of Natural History

Groom’s Cake: Tasty Bakery

DJ: Andy Booth Productions

Videographer: Dorosh Documentaries

Comment

3 Ways to Get the Most out of Your Wedding Photography Investment

Comment

3 Ways to Get the Most out of Your Wedding Photography Investment

The definition of “investment,” according to Google, is a “thing that is worth buying because it may be profitable or useful in the future,” as well as “an act of devoting time, effort, or energy to a particular undertaking with the expectation of a worthwhile result.”

If there’s one thing in relation to your wedding day that you’ll spend money on that could be seen as an investment, per the definition above, I think wedding photography would be it! Wedding photos are one of the few things you’ll have left from your wedding day that will allow you to re-experience everything that happened on your wedding day - the emotions, the joy, the tears, and even the decor and details that you put so much thought and love into! And most importantly, your photos will let you experience the beginning of a new adventure with your now-spouse!

As a wedding photographer, if you’re one of my brides (or considering becoming one of my brides! 😉) one of the most important things to me is that you get the most out of your investment. But how, exactly, can you maximize your investment? I’m all about practical steps, so below, I’m sharing three practical ways to maximize your wedding photography investment and get the most ‘bang for your buck’ (one of my mom’s favorite sayings!) when it comes to your wedding photos!

1.     Have all of your wedding events in the same location… or at least within close proximity.

Having all of your wedding events in the same central location has some major benefits! Going from location to location takes time, which will eat into your wedding day photography coverage. For example, many brides book between 8 to 10 hours of “continuous” wedding day coverage, meaning that if your coverage begins at 12PM, it will end at 8PM, regardless of what events happen during that timeframe, whether ther e are events for your photographer to take photos of or not. If you book 8 hours of wedding day coverage, but are driving between different locations (getting ready location, ceremony location, photo location, and reception), and all are about 20 minutes from each other, that’s 60 minutes of wedding day coverage you’re paying for that your photographer is not taking photos during! However, if you book 8 hours of coverage and do not have to travel between locations, you’ll actually get the full worth of your 8 hour coverage investment!

2.     Ask your photographer how much time to leave for photos… then plan for that amount of time!

A full time wedding photographer will typically photograph anywhere from 20 to 40 weddings each year, dealing with and planning the logistics of each of those weddings. If you’re planning a wedding, you’re more than likely pretty brand-spanking-new to this, and you’ve probably never had to think about things like how long you should leave for things like family photos, bridal party portraits, and/or photos of you with your new spouse on your wedding day! Lucky for you, your photographer has ample amounts of experience in this area – so be sure to ask for their help when planning your timeline! As photographers, we want you to ask for our help, because we want to make sure we have enough time to take the dreamy wedding photos you’ve always wanted!

3.     Sneak out during your reception for some sunset photos or epic night shots!

Once the reception gets going, it can be fun to leave the party for a few minutes to get just a few more photos of you with your new spouse! I usually consider this not only “bonus” portrait time, but time for my couples to have a few minutes to themselves. And I’ve never had a couple tell me that they regretted leaving their reception for a few additional photos, whether it be an epic night photo or a few “golden hour” (or sunset) portraits! Many of these photos end up being my favorites (and my couples favorites!) from the entire day.

All of the photos in the slideshow below were taken during “bonus” portrait time!

Happy planning, friends!

Jenna

Comment

Ashley R: Hartwood Acres Mansion Senior Photos

Comment

Ashley R: Hartwood Acres Mansion Senior Photos

It’s spring, and you know what that means… Pittsburgh is in bloom! 🌸 And it just so happens that Ashley’s senior session took place during April when a few of the most gorgeous Magnolia trees were in full bloom at Hartwood Acres Mansion! Which I was SO thankful for, considering that we had originally planned for Ashley’s senior photos not once, but twice in the fall, with one session date getting rained out, and the other snowed out. And if you’re more of a spring girl… you definitely do not want snow in your senior photos! So instead of pushing through the snow, we moved her session to the spring and it totally paid off!

Ashley is a senior at Eden Christian Academy who is graduating this year in just a few short weeks! After her high school graduation, she’s planning on heading to Cedarville to study nursing (go girl!). Ashley, it was such an honor to take these portraits of you! You are an incredible lady, and I know you are going to do amazing things!

Comment

8 Tips for Aspiring Photographers

Comment

8 Tips for Aspiring Photographers

I have something embarrassing to share: when I first started out in photography, I spammed the HECK out of people. Without a doubt, I would almost always ask the same question to as many photographers as I could, over and over: what advice do you have for someone starting out in photography?

 The answers very widely from “get the best gear you can!” to “gear is a waste of time and money if you don’t know how to use it!” to “don’t compare yourself” to no answer at all (that was the most popular ;) )  -  and now, this is one of the most frequently asked questions I receive from other aspiring photographers. So today I wanted to share a few of my favorite answers!

1.     If you’re just starting out - try it ALL!

One of the toughest things about starting out as a photographer? You won’t necessarily know what kind of photography you love most until you actually try different types!

When I first started getting into photography, I photographed anyone who would let me! Seniors, couples, families, newborns, young kids, professionals, products, weddings, and really, it took a couple of years for me to figure out where my “sweet spot” was, and where it wasn’t. Which is why I do not photograph newborns or products, but love seniors, couples, and families!

2.     STOP COMPARING YOURSELF.

You’ve probably heard it before, but it’s worth mentioning over and over again: don’t compare your beginning to someone else’s middle! You never know the story behind how someone’s gotten to where they are, or how much work they’ve put in to get there. The only person you should be comparing yourself to is yourself!

3.     Practice, practice, practice – and break that practice down into manageable goals and steps!

This might be the most obvious piece of advice, but you HAVE to put in the work to learn! Don’t be afraid to put yourself into situations where you have to learn a new skill, and don’t be hard on yourself for the time it takes to master each new skill.

For example, a few years ago, I decided that I wanted to really step up my wedding photography game – but I felt overwhelmed by the sheer amount of things that needed to improve. So, I wrote a list of my top 10 things I wanted to focus on and improve, and each wedding, I tried to focus on one of those improvements – not on all ten things, just on one. By the end of the year, I had ten new skills to incorporate into all of my weddings, each building on the last. And by taking it one skill at a time, one wedding at a time, I was able to improve in a way that wasn’t overwhelming!

4.     Take intentional social media breaks.

Ahhh, social media: where creativity goes to die. Social media can be inspiring, encouraging, and community-driven, but if we’re honest, many times it can leave us feeling lackluster and isolated. Social media seems to breed comparison faster than almost anything else, so taking intentional breaks can be a great way to reset and let your own creativity come to the surface.

5.     Find inspiration from other creative (or non-creative!) mediums.

Other creative endeavors can be a great way to gain inspiration and a different point of view! You never know what can spill over from one medium into another.

6.     Find community with other photographers – beginners and pros.

This has been one of the most life-changing tips for me over the last year! It’s amazing what a simple connection can do – finding other like-minded people who are in the same boat as you, or even further along, make a huge difference in attitude and in success as a whole! We need others in order to succeed. If you don’t believe me, go read The Power of the Other by Henry Cloud!

7.     Find inspiration from other types of photography.

If you’re a portrait photographer, follow a wedding photographer. If you’re a wedding photographer, follow a landscape photographer. If you’re a landscape photographer, follow a sports photographer. You might find something interesting that you can incorporate in a unique way into your work! For example, as a wedding photographer, following food photographers has helped me learn how to better style wedding day details. Many food photographers will use stylists or incorporate their own special tricks into making their food photography stand out – some of which I’ve been able to incorporate into my wedding day detail styling! You never know where you might pick up a bit of inspiration!

8.     If you struggle with comparison but still want to follow the work of other photographers, follow photographers who teach, not just photographers who simply post their work.

A few years ago, I was so in the thick of social media comparison that I knew I either needed to totally delete my accounts or find a way to manage what I was feeling. I remember sitting down with my husband and going through the Instagram accounts I was following, one-by-one saying “yes, I compare myself to that person” or “no, I don’t compare myself to that person.” It might sound silly, but I learned something from it: the people I was following, or specifically the photographers I was following that I tended to not compare myself to were educators. Maybe it’s selfish – but the fact that those photographers posed their accounts as wanting to help me, not simply just show their work, helped me not feel the need to compare myself. And I’ve been using that “line” to judge who I should and shouldn’t follow ever since!

Looking for additional help and resources to feel more confident and comfortable behind your camera? I now offer a limited number of mentoring sessions per year, along with a few digital resources to aid other photographers on their journey! Check out my Senior Guy Posing Guide below, or to inquire about a mentoring session, use the Contact tab above!

Comment

Favorite Epic Night Photos

Comment

Favorite Epic Night Photos

Epic night photos aren’t always a possibility with every wedding, due to variables like location and timeline, but when epic night shots ARE able to happen at a wedding?! They are MAGIC. And because I love them so, I wanted to share a few of my favorite “epic night shots” with you today!

If you are interested a night photo like one of these below at your wedding, here are a few quick tips:

  • Make sure your photography coverage lasts past sunset. These photos are possible after the sun goes down, when it gets dark!

  • Make sure both you and your new-spouse are okay with leaving your reception for a few minutes. It’s always helpful for both parties to talk about leaving the reception for a few minutes beforehand, so there are no surprises!

  • Make sure either you or your photographer lets your DJ know that you’ll be leaving for a few minutes. The very first time I ever set up an “epic night shot” I completely forgot to tell the DJ, and everyone panicked because the DJ announced the garter and bouquet toss, and no one knew where the couple had went! It’s safe to say that I ALWAYS talk with the DJ now before pulling a couple away for a night photo!

And without further ado… below are a few examples of some of my all time favorite night shots! 💛

Also, be sure to check out a detailed article on Night Photography by Pixpa, covering basics of night photography, camera equipment for night time photos, various techniques and tips of night photography in detail.

Comment

3 Tools for Easier Location Scouting

Comment

3 Tools for Easier Location Scouting

This blog post is geared a bit more towards photographers – but brides, this could be helpful for you, too! When it comes to location scouting for wedding days (and for any other type of shoot!) I am most definitely a planner. I’m not typically the type of person who will just show up to a shoot without a plan, so one of my favorite parts of shooting in a new location is being able to scout it out beforehand!

 I use a couple of programs that help me know exactly what I’ll be going in to, and today I wanted to share them with you!

 1. Sun Position (Demo)

I recently discovered this app and am OBSESSED. Light is king when it comes to photography – it dictates where and how I position my subject, as well as what backdrops we can utilize at particular locations. One of my biggest pain points when it comes to location scouting for wedding days is that, often, it’s hard to actually scout out a location at the exact time I’ll be photographing it, which means I don’t get a good idea of the sun’s position might be in the sky in relation to whoever I’m photographing. Which is where Sun Position comes in! Sun Position maps a course for the sun based on your geographical location so you can see exactly where the sun will be in the sky at any point of the day. This app has been a life saver for me on scouting days when conditions are overcast, or when I’m simply unable to make it to a particular location at the time I’ll be photographing it!

2. Instant Google Street View

If you have access to Google, you have access to this amazing tool! Even though I almost ALWAYS make a point to visit a photo location or venue beforehand, sometimes if it’s SUPER far away and I have to wait until the actual wedding day to do my in person scouting, I use Instant Google Street View to get a better view of what a location might look like! I’ve not only used Instant Google Street View to location scout in advance, but also on weeks where it looks like the portrait session time might get rained out so I can look for covered spots!

 3. Mile IQ

If you are a business, when you location scout you gotta be tracking that mileage so you can write it off come tax time! I used to have a little book I would try to remember to scribble down my mileage in after every drive, but really, it’s hard to make time for that on a wedding day when there are multiple locations and drives to keep track of. And it’s just so easy to forget when you’re thinking about a million other things! What I love about Mile IQ is that it tracks every single drive I take based on my phone’s GPS signal. Then, later in the week, I can categorize each drive as “business” or “personal,” and within each of those overarching categories, give a purpose for each drive, such as errands, location scouting, meetings, etc. This app (which has a mobile and desktop version) has been a HUGE time (and money) saver for me! It does have a monthly related cost, but for me, it’s worth it to know I’m saving every dollar I can come tax time!

 Happy scouting!

Comment

Bryce M: North Shore Senior Photos

Comment

Bryce M: North Shore Senior Photos

Unlike last year’s incredibly rainy Pittsburgh spring, this year we have had some amazing weather in April! 🎉 Cue the angels!!! And the day of Bryce’s senior session, the weather was perfect. Sun shining, birds chirping, not too hot, not too cold. You can’t ask for much more here in the ‘burgh!

I’ve known Bryce’s family for a few years now (they are awesome!), but hadn’t had the opportunity to meet Bryce until our session - he was so much fun to work with! Bryce is graduating this spring, and is planning on going to the same college both of his parents went to to study accounting. Thank God for the accountants of the world - I don’t think I could ever do what they do, and am so thankful there are so many people that are that passionate about numbers!!

Bryce also brought his dog, Gracie, along, who makes an appearance for a couple of shots! Congratulations on your senior year, Bryce!

Comment

Todd Family: Historic Harmony Family Photos

Comment

Todd Family: Historic Harmony Family Photos

I had the BEST time hanging out with this incredible family in Historic Harmony! Also, general PSA - feeding your children milkshakes before a photo shoot is definitely encouraged! 😉 But seriously - these kiddos had so much energy, which made our time together so much more fun!

When I first started photographing families, I used to struggle with photographing kids who had lots of energy… until I figured out how to use that energy to my advantage! One of my favorite things about photographing kids now is that they’re naturally moving allllll over the place. They want to move, laugh, talk, and giggle, so I love to lean into that with using some fun games and questions to get them laughing and having a good time. The less they feel forced to smile, the more fun they can have, and the more their natural smiles will come out! (But for any moms out there who might be reading this - don’t worry! I always make sure to get a few of everyone looking directly at the camera!)

Thank you for the incredible honor of taking these photos for you, Todd family! You all are such a blessing!

Comment

Amanda + Chris: Allegheny County Courthouse Elopement

Comment

Amanda + Chris: Allegheny County Courthouse Elopement

Amanda and Chris’s elopement was technically my very first wedding of the 2019 season! And let me tell you - the more elopements I photograph, the more I completely fall in love with them! The intimacy and stress-freeness (is that a word? 😉) the couples I work with experience when eloping is like none other!

Their elopement took place on a Friday morning at the Allegheny County Courthouse, on the beautiful Grand Staircase. Integral Weddings officiated the grand occasion, and after their short (but sweet!) ceremony, we took a few photos with family, then spent the next hour and a half walking around Pittsburgh with the new Mr. & Mrs.!

Amanda and Chris, what an honor it was to work with you! It’s easy to see how much you love each other, and that you’re truly the best of friends. Congratulations on your marriage and on this new season of life! 💛

Also, I need to give a huge shoutout to Jill of Jill Gearhart Photography for helping me carry equipment, and for adding some additional photos to Amanda and Chris’s gallery (you’ll see a few photos of hers sprinkled in below!).

Comment

The One Piece of Gear I Can't Live Without

2 Comments

The One Piece of Gear I Can't Live Without

Well… besides a camera and a few lenses, that is. 😉

My personality lends itself to becoming bit “obsessed” with things – typically, I’ll become obsessed with a certain type of food. For example, my most recent obsession is fried eggs. I literally eat them ALL of the time. For breakfast. For lunch, when I work from home. For dinner, if I can sneak one into the meal somehow (try sneaking a fried egg into an Italian dish – not easy!). But every once in a while, I get obsessed with something that sticks... and the obsession never goes away.

ARTIFICIAL REFLECTORS

When I first started taking portraits of people as a senior in high school (class of 2011, if you can believe it!), I kept looking at my photos, compared them to others, and wondered why mine were falling flat. The skin tone wasn’t creamy – it was flat. The eyes weren’t lit up – they were dark, without light – but no matter what I did with my camera and my subject, I couldn’t create consistency within my portrait work.

 Then, one day, someone told me about a reflector. And it blew. My. Mind. And completely the changed my portrait work for the better! If you’ve never used a reflector, I’d personally equate it to a little slice of heaven, and most definitely one of my longest standing obsessions. You see, a reflector bounces light onto your subject to do things like:

1.     Pop the eyes.

2.     Create creamy, dreamy skin tones.

3.     Fill in unwanted shadows.

4.     And lighten deep set eyes.

MY FAVORITE REFLECTOR

Here’s the reflector that I use. It’s a 5-in-one collapsible piece of amazingness that I kind of have a hard time living without! This lovely piece of equipment has 5 sides and 5 uses:

1.     The White Side softly pops light into the eyes. This side is great to use on a bright day when you want to give your subject’s eyes a little more light!

2.     The Silver Side: in contrast to the white side, the silver side of the reflector has a bit more “pop.” It’s best to use the silver side on a rainy or overcast day for some extra light!

3.     The Gold Side was created to reflect gold light. For example, if you’re shooting portraits during golden hour or sunset, the gold side of the reflector will match the gold light in the sky.

4.     The Black Side of the reflector, in contrast to the rest of the sides, creates shadow and detracts light, or limits any stray and unwanted light.

5.     The Diffuser is what the other sides “zip” over. The diffuser is great for, you guessed it, diffusing light. For example, if I want to put someone outside in an area with harsh, direct light, but want soft light, I just take out my handy dandy diffuser and hold it over them, effectively casting a shadow over my subject, resulting in even light.

DIY REFLECTORS

If you don’t want to wait for your reflector to come in the mail, or if you’re curious to see the affect before you invest, I’d suggest buying a simple piece of white poster-board. In fact, when I first started out… I didn’t even have a real reflector. I just carried around two pieces of poster-board: one white, and one covered in foil (if I needed a stronger reflector!).

NATURAL REFLECTORS

If you don’t have a reflector, or if you find yourself in a situation without one, you can also utilize natural reflectors. But you might be wondering… what exactly is a natural reflector? Didn’t I just tell you to consider buying this other “artificial” reflector from Amazon?

While an artificial reflector can be folded down and carried around with me anywhere, ready to for me to use whenever I need it, natural reflectors are reflective surfaces found on location (and not at every location!). For example, one of my favorite examples of a natural reflector is a cement sidewalk. But why does this make such a great natural reflector? A cement sidewalk is usually a creamy ivory color, which reflects onto the skin, making it luminescent, and making the eyes pop - much like the white side of an artificial reflector. Snow is also an excellent natural reflector (but, of course, is every seasonal...), and pavement can be used as a natural reflector as well, because it is a neutral color.

Using a neutral colored natural reflector is of the utmost importance. If you have your subject standing on, for example, grass, in the mid-day sunlight, that green grass will reflect a green color cast onto your subject… which typically isn’t very flattering. In fact, it usually looks a bit sickly!

Don’t be afraid to get creative about your natural reflectors, too. I once used a whole building painted white as a natural reflector. I used to have a white car that I would use from time to time. And sometimes, in a bridal suite on wedding days when I’m in a pinch, I’ll use a white pillow! It doesn’t matter what you use or how ridiculous you look - as long as the color is neutral and it reflects, it’s fair game!

So if you’re looking for a way to flatter the appearance of your subject and enhance the quality of your work – I would highly suggest either buying a reflector, making your own reflector, or simply scouting out a location in advance to find some natural reflectors that you can utilize! Even if you have to use a car, pillow, or building - it’s worth it!

Happy reflecting!

2 Comments